Low-Cost Ways to Cool a Hot Garage Workshop in Summer (Fix)
When the thermometer in my 600-square-foot garage hit 105 degrees during my third year of business, I realized my fabrication job costing was dangerously wrong. I was mid-weld on a set of custom railings, sweat was shorting out my auto-darkening helmet, and my pace had slowed to a crawl. I wasn’t just uncomfortable; I was losing money because my estimated shop rate didn’t account for the physical toll of a summer environment.
For those of us running a side-hustle metalworking business, the shop environment is a financial variable. If you cannot maintain a productive temperature, your project timelines slip, your consumable waste increases, and your hourly earnings plummet. Managing a workshop’s thermal load through DIY methods is not just about comfort—it is a strategic move to protect your profit margins and ensure your equipment investments continue to yield a positive return.
Establishing a True Shop Rate Under Seasonal Stress
A shop rate is the total cost of running your business for one hour, including labor, overhead, and profit. It ensures every minute spent in the shop contributes to long-term sustainability. When the temperature rises, your efficiency often drops, meaning your standard rate must be robust enough to absorb these seasonal fluctuations.
In my early years, I charged a flat $50 per hour. I quickly learned that this didn’t cover the “heat tax.” On a 95-degree day, I took more breaks and moved slower. My actual output was about 70% of my spring baseline. To stay profitable, I had to refine my small metal shop pricing to reflect actual productivity. I now recommend a shop rate between $65 and $120 per hour for side-hustlers, depending on your local market and specific equipment overhead.
To calculate this, you must look at your total monthly expenses—rent, electricity, insurance, and tool depreciation—and divide that by your billable hours. If you plan to work 20 hours a week but the afternoon heat cuts that down to 15, your hourly requirement increases. By implementing affordable heat-reduction strategies, you are effectively “buying back” those five lost hours without the massive capital expenditure of industrial cooling systems.
Identifying Hidden Thermal Overhead in Fabrication Pricing
Thermal overhead refers to the hidden costs associated with maintaining a workable temperature in your shop. Controlling this through passive DIY methods prevents your utility bills and efficiency losses from eating into your fabrication job costing margins. It is the cost of doing business that most hobbyists ignore until it’s too late.
Every degree of heat above 80 degrees Fahrenheit correlates to a measurable dip in manual labor efficiency. In a metal shop, where we wear heavy PPE and work near heat-generating welders, this effect is magnified. If you don’t manage the shop’s temperature, you are paying for it through extended project timelines.
- Productivity Loss: A 10-degree rise in shop temperature can lead to a 15% increase in the time required for grinding and assembly.
- Energy Burden: Even basic fans add to the monthly bill, which must be factored into your overhead allocation.
- Equipment Fatigue: Tools running in high ambient temperatures may require more frequent maintenance or see shortened lifespans.
| Temperature (F) | Productivity Level | Effective Shop Rate (Base $80/hr) |
|---|---|---|
| 75° | 100% | $80.00 |
| 85° | 90% | $72.00 |
| 95° | 75% | $60.00 |
| 105° | 55% | $44.00 |
As shown in the table, ignoring the shop’s climate can effectively cut your take-home pay in half. This is why low-cost fixes are essential for maintaining a consistent side-hustle metalworking income.
Low-Cost Airflow Strategies to Maintain Productivity
Passive ventilation uses natural air movement and strategic openings to remove hot air without the need for high-cost mechanical cooling. It is a critical component of small metal shop pricing because it requires zero ongoing operational expenditure once the initial setup is complete. By mastering the flow of air, you keep the “human machine” running at peak performance.
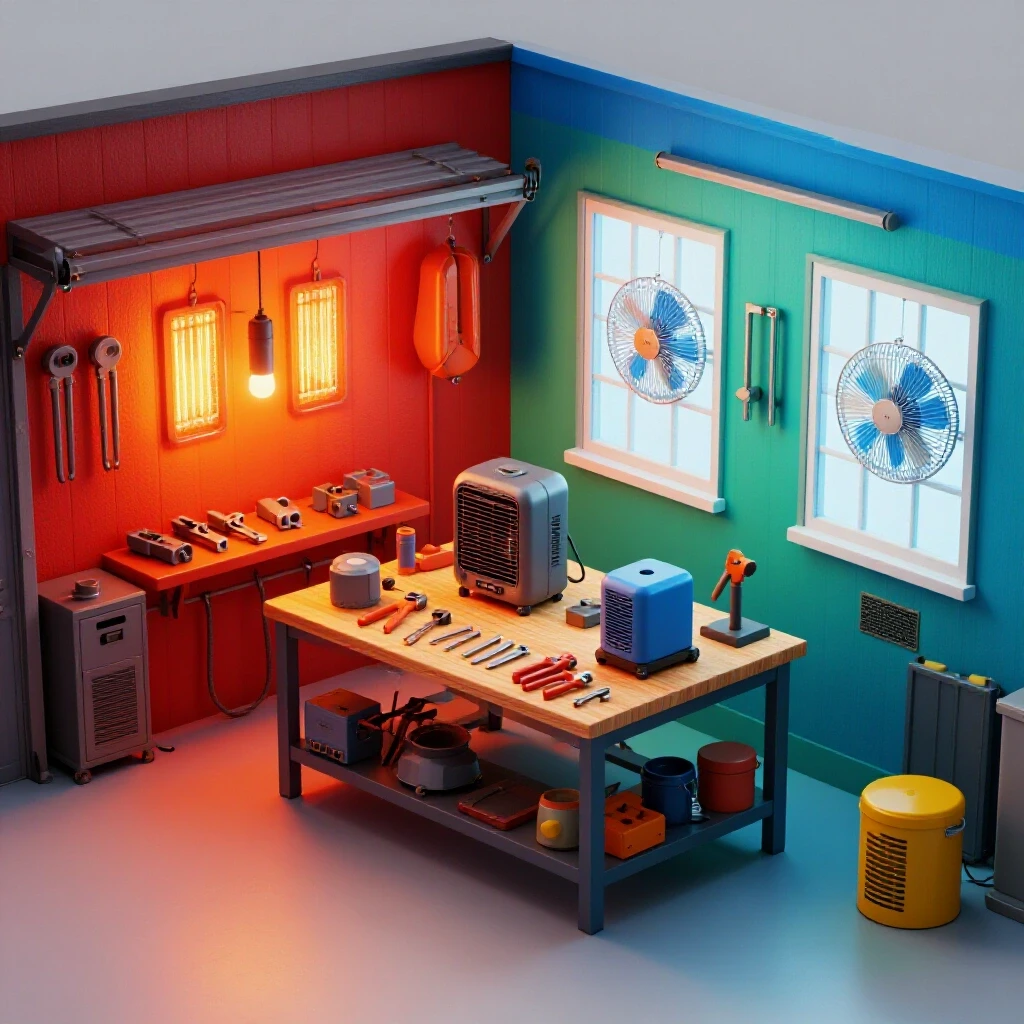
The most effective DIY method I have found is the “night flush.” Since metal and concrete have high thermal mass, they soak up heat all day and radiate it back at you all night. By opening the shop during the coolest part of the night or early morning and using floor fans to exhaust the warm air, you start your workday with a “cool bank” of temperature.
Strategic fan placement is also vital. Do not just aim a fan at your face; aim it to create a cross-breeze. If you have a window or a side door, place an exhaust fan there to pull air out, while a second fan pulls fresh air in from a shaded side of the building. This creates a low-pressure system that constantly cycles the air. In my shop, I use a high-volume floor fan ($120) positioned near the floor where the air is coolest, which has a much higher ROI than smaller, cheaper units that just stir up hot air.
Reflective Barriers and Radiant Heat Management for Tool Longevity
A reflective barrier is a low-cost shield, often made of foil-faced foam or radiant barrier film, that blocks the sun’s energy before it enters your workspace. Calculating the return on investment for these shields involves comparing their one-time cost against the value of recovered billable hours and reduced equipment wear.
Most garage doors are uninsulated sheets of metal that act like giant radiators. On a sunny day, the surface temperature of a dark garage door can exceed 150 degrees. This heat radiates directly onto your workbench and your machinery. Applying a DIY radiant barrier kit—which usually costs under $50—can drop the interior surface temperature of that door by 30 degrees or more.
I once tracked the performance of my cold saw before and after adding reflective film to my shop’s west-facing windows. Before the film, the saw’s motor housing would become uncomfortably hot to the touch just from sitting in the sun. After the $20 DIY fix, the ambient temperature near the saw dropped significantly, reducing the risk of thermal shutdown during heavy cutting sessions.
- Foil-Faced Foam: Great for garage door panels; easy to cut and friction-fit.
- Radiant Barrier Film: Best for windows; reflects up to 96% of radiant heat.
- White Roof Coating: If you own the structure, a simple coat of white reflective paint can drastically reduce the “heat soak” from the roof.
Tracking Consumables and Material Waste in High Temperatures
Welding consumable tracking involves monitoring the use of gases, wires, and abrasives to ensure job profitability. High heat doesn’t just affect the person; it can lead to faster operator fatigue, which results in more mistakes, wasted material, and increased use of grinding disks to fix poor welds.
When you are overheated, your hand isn’t as steady. You might blow through a thin piece of tubing or create a weld with excessive spatter. In my consulting work, I’ve seen side-hustlers lose 5-8% of their profit margin in the summer simply due to “re-work.” This is why I suggest a “consumable burden factor” in your quotes. This is a percentage—usually 5% to 10%—added to the material cost to cover the gases and abrasives you use.
In the summer, I often bump my consumable burden factor up by an extra 2% to account for the increased waste associated with heat-induced fatigue. It seems small, but over a $2,000 project, that’s $40—enough to pay for the fans that keep you cool.
- Log every disk: Use a simple tally sheet on the wall to track how many grinding and cutting disks you use per project.
- Monitor gas levels: Heat can cause slight pressure fluctuations; ensure your regulators are tight to avoid wasting shielding gas.
- Document scrap: Keep a “mistake bin.” If it fills up faster in July than in October, your shop environment is costing you money.
Calculating ROI on Shop Environment Upgrades
The metal business ROI calculator isn’t a complex piece of software; it’s a simple comparison of what you spend versus what you save. For a small shop owner, the goal is to find the “sweet spot” where a small investment in cooling leads to a large increase in billable output.
Let’s look at the math for a common DIY upgrade: a high-quality shop fan and a garage door insulation kit.
- Investment: $150 (Fan + Insulation)
- Shop Rate: $80/hr
- Efficiency Gain: 15% (Saving roughly 1 hour for every 7 hours worked)
- Payback Period: After 14 hours of work, the efficiency gain has “paid” for the $150 investment.
Everything after those first 14 hours is pure profit. This is a much better investment than buying a new specialized tool that you might only use once a month. By focusing on your environment, you are optimizing the most expensive tool in the shop: yourself.
Sourcing Materials and Planning Fabrication Job Costing Around Weather
Fabrication job costing is the process of estimating every expense for a specific project. Planning your heavy welding or grinding for cooler morning hours is a sourcing strategy for “human energy” that protects your margins. If you know a project requires eight hours of intense welding, don’t bid it as a single day’s work in August.
I’ve learned to structure my summer workflow into “Heat Zones.” I do my heavy layout and machine work from 6:00 AM to 10:00 AM. From 10:00 AM to 2:00 PM, I focus on lighter assembly or administrative tasks like quoting and invoicing. After 2:00 PM, if the shop is too hot, I step out.
By splitting the workday, I maintain a higher average hourly rate. If I tried to power through the 2:00 PM heat, my “effective” rate would drop because I’d be moving so slowly. When you provide a quote to a client, build in a “buffer” for these seasonal shifts. Instead of promising a three-day turnaround, give yourself five. This prevents the stress of working in dangerous heat just to meet an unrealistic deadline.
Why Hidden Consumables Bleed Small Shop Profits
Many side-hustlers fail because they only charge for the steel. They forget that every weld uses cents worth of wire and dollars worth of gas. In the summer, your “hidden” consumables include the extra electricity for fans and the increased wear on your body.
To combat this, I use a tiered material markup system. For raw steel, I typically mark up 20-30% to cover the time spent sourcing and transporting it. For consumables, I don’t just guess; I use a linear-foot cost baseline. I know that for every foot of MIG weld, I’m spending roughly $0.15 in wire and gas. If I’m working slower in the heat, I might leave the gas running longer between tacks or waste more wire clipping ends. Tracking these tiny leaks is what separates a profitable business from a hobby that loses money.
Using Digital Tools for Better Shop Management
In the modern era, you don’t need a degree in accounting to track your shop’s health. There are several low-cost or free tools that can help you manage your fabrication job costing and ROI timelines.
- QuickBooks or FreshBooks: Excellent for tracking overhead and invoicing clients professionally.
- Google Sheets: I still use a custom spreadsheet for my “Metal Business ROI Calculator.” It allows me to plug in the cost of a new tool and see exactly how many billable hours it takes to pay off.
- Evernote or Notion: Perfect for keeping a “Project Log.” Document the temperature, the consumables used, and the total time taken. Over a year, this data becomes your most valuable bidding asset.
- CalcTool: A free online resource for calculating material weights and volumes, which is essential for accurate shipping and sourcing estimates.
Moving Toward a More Profitable (and Cooler) Future
Optimizing your workshop for the summer months is a foundational step in scaling from a hobbyist to a professional fabricator. It requires a shift in mindset: you are no longer just “making things”; you are managing a production environment where time, temperature, and money are inextricably linked.
Start by implementing one or two of the low-cost fixes mentioned here. Track your time and your energy levels. You will likely find that a $50 roll of reflective foil does more for your bottom line than a $500 upgrade to a tool you rarely use. By mastering the “shop math” of your environment, you build a business that is resilient, profitable, and—most importantly—sustainable for years to come.
Frequently Asked Questions
How do I calculate my shop rate for a side business? Add up all monthly shop expenses (rent, power, insurance, tool depreciation) and your desired take-home pay. Divide this total by the number of hours you can realistically bill each month. For most side-hustles, this lands between $65 and $120 per hour.
Why does heat affect my project estimates? High temperatures cause physical fatigue, leading to slower movement and more frequent breaks. This reduces your “arc-on” time. If a job takes 10 hours in the spring, it might take 13 hours in the summer heat, which must be reflected in your quote.
What is the cheapest way to block sun through a garage door? Foil-faced radiant barrier kits are the most cost-effective. They reflect radiant heat back outside before it can warm the metal of the door. These kits usually cost between $40 and $60 and can be installed in an hour.
How do I track welding consumables in a small shop? Assign a “consumable burden” to every job. This is typically 5-10% of the material cost. For more accuracy, track how many tanks of gas and rolls of wire you buy over six months and divide that by your total billable hours.
Should I mark up materials differently in summer? While the markup stays the same (usually 20-30%), you should increase your “labor buffer.” Since heat slows you down, adding a 10-15% “seasonal contingency” to your labor estimate helps protect your profit margins.
How does machine depreciation factor into shop cooling? Tools running in extreme heat wear out faster. By keeping the shop cooler through passive DIY methods, you extend the life of your welders and saws, lowering your long-term “amortized capital” costs and improving ROI.
What is the best fan placement for a metal shop? Create a cross-breeze. Place one fan low to pull in cool air from a shaded area and another fan high (like in a window or door) to exhaust the hot air that accumulates near the ceiling.
Can passive cooling really save money on fabrication bids? Yes. By maintaining a more consistent working pace, your actual hours will stay closer to your estimated hours. This prevents “profit bleed,” where a job takes longer than quoted and eats into your hourly take-home pay.
How do I account for “heat breaks” in my quotes? Don’t list them as a line item. Instead, adjust your “efficiency factor.” If you know you’ll need 10 minutes of rest for every 50 minutes of work, multiply your estimated labor time by 1.2 to ensure you are still being paid for your time in the shop.
What is a “consumable burden factor”? It is a percentage added to a quote to cover items that are hard to measure individually, like welding gas, sanding disks, drill bits, and electricity. It ensures these “hidden” costs don’t come out of your pocket.
(This article was written by one of our staff writers, Michael Hargrove. Visit our Meet the Team page to learn more about the author and their expertise.)