Calculate Payback Periods for Shop Machinery Purchases (Tips)
When I first started my fabrication shop, I spent more time worrying about the price of a new TIG welder than I did about the cost of the electricity to run it. Like many of you, I transitioned from a hobbyist to a professional because I loved the craft. However, I quickly learned that loving the work and making a profit from it are two very different things. The transition from making gifts for friends to quoting jobs for paying clients is often where the financial reality sets in. You realize that your shop isn’t just a place to build things; it is a financial entity that consumes cash and, hopefully, generates more in return.

Managing a small shop requires a shift in mindset. You have to stop thinking like a maker and start thinking like a controller. Every tool you buy and every hour you spend under the hood has a specific dollar value attached to it. If you cannot track where your money goes, you cannot know if you are actually making a profit or just slowly liquidating your savings. My goal is to help you move past the guesswork. We will look at how to set a real shop rate, how to determine when a new tool will finally start adding to your bottom line, and how to price your work so you aren’t paying the customer to let you work for them.
Establishing a Foundation with a True Shop Hourly Rate
A shop hourly rate is the total cost of keeping your doors open for sixty minutes, plus the profit you want to earn. It covers your rent, power, insurance, and the wear and tear on your equipment before you even pick up a torch.
Many side-hustlers make the mistake of picking a number out of thin air. They see a local shop charging $100 an hour and decide to charge $50 because they work out of a garage. This is a dangerous trap. If your overhead costs you $40 an hour and you charge $50, you are only making $10 an hour for your skilled labor. You could make more flipping burgers with zero financial risk. To find your true rate, you must add up every single annual expense—including the “invisible” ones like shop rags, grinding discs, and the spike in your heating bill during winter—and divide that by the number of billable hours you actually work.
Calculating Your Total Overhead Burden
Overhead burden represents all the costs of running your business that cannot be directly billed to a specific project. This includes fixed costs like shop rent and variable costs like the monthly increase in your utility bills when the compressor runs all day.
To calculate this, I recommend looking at your last twelve months of bank statements. If you are just starting, estimate these costs based on local rates. You need to account for everything: shop insurance, website hosting, software for CAD or invoicing, and even the coffee in the breakroom. Once you have a total annual overhead number, divide it by your billable hours. Remember, if you spend 20 hours a week in the shop, you might only spend 12 of those hours actually fabricating. The other 8 hours are spent quoting, cleaning, and sourcing material. Use the 12 hours for your calculation.
- Rent/Mortgage: Even if you own the building, the shop space has a value.
- Utilities: Electricity, water, heat, and high-speed internet.
- Insurance: General liability and equipment coverage are non-negotiable.
- Consumables: Abrasives, drill bits, and welding wire that aren’t easily tracked per job.
- Maintenance: Oil for the saw, coolant for the mill, and replacement filters.
Measuring the Financial Impact of New Machinery
Evaluating an equipment purchase involves comparing the upfront cost against the time or material it will save you over its working life. It is the process of figuring out how many parts you need to sell before the machine has essentially cost you nothing.
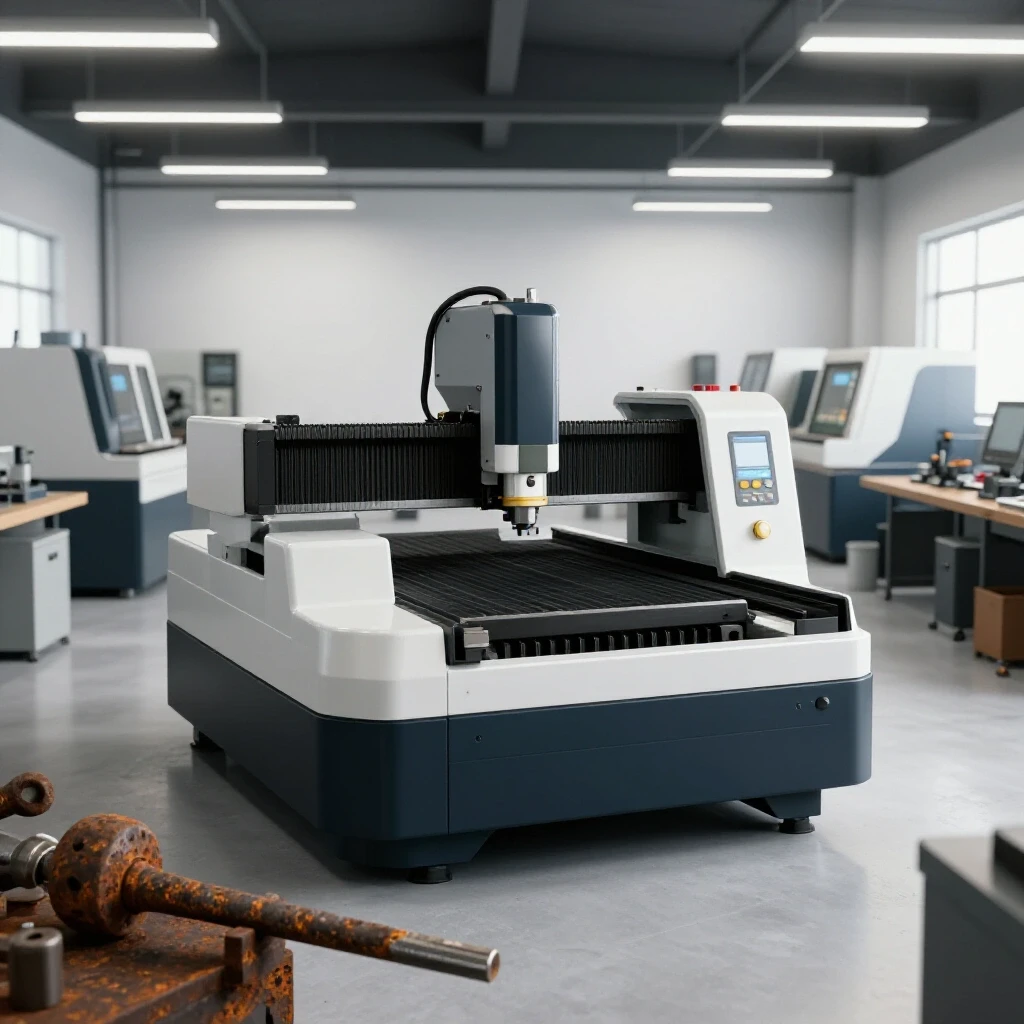
When I considered buying my first CNC plasma table, the price tag was intimidating. I had to ask myself: “Will this machine save me enough time on manual cutting and grinding to pay for its own monthly payment?” This is the core of tool investment analysis. You aren’t just buying a shiny new toy; you are buying “time” or “capability.” If a $5,000 machine saves you 10 hours of labor a month, and your labor is worth $75 an hour, the machine “pays” you $750 a month in reclaimed time. In that scenario, the tool is paid off in less than seven months.
Analyzing the Recovery Timeline for Major Tools
The recovery timeline is the duration it takes for the increased revenue or decreased costs generated by a new tool to equal the initial purchase price. This metric helps you decide if an upgrade is a smart move or a financial burden.
To find this timeline, you need to be honest about your throughput. If you buy a high-end cold saw to replace a cheap abrasive chop saw, you will save time on every cut and even more time on cleanup because the cuts are square and burr-free. If that saw saves you 5 minutes per job and you do 20 jobs a month, that is 100 minutes saved. At a $90/hour shop rate, that saw is saving you $150 a month. If the saw cost $3,000, it will take 20 months to break even. If you don’t do that many jobs, the timeline stretches out, making the investment harder to justify.
Tool Investment Recovery Comparison Table
| Equipment Item | Initial Cost | Monthly Time Savings | Labor Value ($80/hr) | Months to Break Even |
|---|---|---|---|---|
| CNC Plasma Table | $8,500 | 25 Hours | $2,000 | 4.25 |
| Industrial Cold Saw | $3,200 | 8 Hours | $640 | 5.0 |
| High-End TIG Welder | $4,500 | 5 Hours* | $400 | 11.25 |
| Automated Band Saw | $5,000 | 12 Hours | $960 | 5.2 |
*Note: Savings for a welder often come from reduced scrap and faster travel speeds on specialized alloys.
Why Hidden Consumables Bleed Small Shop Profits
Consumables are the items used up during the fabrication process, such as welding gas, shielding wire, sanding discs, and bandsaw blades. Because these items are small, many shop owners fail to track them, leading to significant profit leaks.
I once realized I was spending nearly $400 a month on flap discs and shielding gas that I wasn’t charging for. I was essentially giving away a small piece of equipment’s value every single year. In a small shop, these “hidden” costs can easily eat 10% to 15% of your gross margin if they aren’t factored into your bid. You cannot track every inch of wire, but you can apply a “consumable burden” to every job to ensure these costs are covered.
Formulating a Real Material Markup
A material markup is a percentage added to the raw cost of metal and supplies to cover the time spent sourcing, picking up, and handling the material. It also acts as a buffer against market price fluctuations.
I generally recommend a markup of at least 20% to 35% on raw materials. If you spend two hours driving to the steel yard and loading a rack, that is time you aren’t welding. If the steel costs $500 and you mark it up 30%, you’ve made $150. That $150 covers your fuel, your truck wear, and the time spent away from the bench. Without this markup, you are essentially providing a free delivery service to your customers.
- Tier 1 (Standard Stock): 20% markup for materials you keep on the rack.
- Tier 2 (Special Order): 35% markup for items that require a special trip or freight shipping.
- Tier 3 (Small Quantity): 50% markup for “onesie-twosie” parts that are a hassle to source.
Building a Custom Job Quote with Precision
A custom job quote is a formal estimate that breaks down labor, material, consumables, and profit into a single price for the customer. It is your primary tool for ensuring a project remains profitable from start to finish.
When I sit down to quote a project, I break it into phases: Prep, Fabrication, Finishing, and Crating. I estimate the hours for each phase and then multiply by my shop rate. Then, I add the marked-up material costs. Interestingly, the biggest mistake I see is “optimistic quoting.” We all think we can weld a frame in two hours because we did it once when everything went perfectly. In reality, you should quote based on your average speed, not your record speed. Always add a 10% “slop factor” for unforeseen complications like broken taps or warped material.
Factoring in the Consumable Burden Factor
The consumable burden factor is a flat percentage or hourly fee added to a quote to cover the cost of gas, wire, and abrasives. This simplifies bookkeeping while ensuring you don’t lose money on “shop supplies.”
Instead of trying to measure how much argon you used on a specific bracket, many successful shops add a “Shop Supplies” line item. This is usually 5% to 10% of the total labor cost. For example, if a job has $1,000 in labor, adding a $75 shop supply fee covers your discs, gas, and electricity. This keeps your bidding process fast and consistent. It also ensures that as you use more expensive processes—like pulse spray MIG or high-frequency TIG—your supply fee scales with the complexity of the work.
Analyzing Post-Job Performance to Refine Future Quotes
Post-job performance analysis is the act of comparing your estimated costs and time against what actually happened during the project. It is the only way to “close the loop” and improve your quoting accuracy over time.
Every time I finish a project, I look at my notes. Did I estimate 10 hours but take 14? Why? Maybe the material was rustier than expected, requiring more prep time. Or perhaps my old bandsaw struggled with the heavy-wall tubing. This is where the math of equipment upgrades becomes real. If I see that I am consistently losing 4 hours of labor to slow cutting on every gate project, I now have a data-driven reason to buy a better saw. I can see exactly how much that inefficiency is costing me in cold, hard cash.
Tracking Job Cost Variance
Job cost variance is the difference between your quoted price and your actual cost to produce the work. A positive variance means you were more efficient than expected; a negative variance means you lost money.
I keep a simple spreadsheet for every major job. I list the estimated hours versus actual hours and estimated material cost versus actual spend. If I see a pattern of negative variance in my “finishing” phase, I know I need to either raise my rates for grinding or invest in better finishing tools. This data removes the emotion from the business. You stop feeling like you’re “bad at quoting” and start seeing where the shop’s workflow is actually breaking down.
Post-Job Analysis Checklist
- Total Labor Hours: Did the project stay within the estimated timeframe?
- Material Waste: How much scrap was generated, and was it more than the 5-10% estimated?
- Consumable Usage: Did I go through an unusual amount of abrasives or gas?
- Outside Services: If I sent parts out for powder coating, did the shipping and lead time eat into the profit?
- Net Profit: After all expenses and shop rate allocations, how much “actual” profit was left?
Strategies for Sourcing and Bulk Purchasing
Bulk sourcing involves buying materials in larger quantities to lower the per-unit cost. For a small shop, this is one of the fastest ways to increase margins without raising prices for the customer.
When you are starting out, you might buy one stick of tubing at a time from a local retail metal supplier. You are likely paying a 300% premium for that convenience. Once I started buying full lifts of common sizes—like 1″ x 1″ square tube or 2″ flat bar—my material costs dropped by nearly 40%. Even if you have to pay a small delivery fee, the savings on the metal itself, combined with the time saved by not driving to the yard, makes a massive difference in your project profitability.
- Identify “Evergreen” Stock: Determine which 3-5 metal shapes you use in almost every project and buy them in bulk.
- Establish Commercial Accounts: Even a side-hustle can often get “tier 2” pricing at a steel service center if you have a business name and a tax ID.
- Consolidate Orders: If you need a special beam for a job, look ahead at your next three quotes and order all the material at once to save on freight.
- Buy Consumables in Bulk: Boxes of 25 or 50 grinding discs are significantly cheaper than buying them individually at the hardware store.
- Track Scrap Value: Separate your aluminum, stainless, and clean steel. Selling high-quality scrap can often cover the cost of your shop’s welding gas for the month.
Modern Tools for Shop Management and Estimation
In today’s market, using a pencil and a legal pad for quoting is a recipe for error. Digital tools allow you to save material prices, track labor in real-time, and send professional invoices that get paid faster.
I have found that using a dedicated estimation spreadsheet or simple shop management software prevents me from forgetting the “little things” like sales tax or crating fees. When a quote looks professional, customers are less likely to haggle over the price. They see a structured breakdown and realize they are paying for a professional service, not just a guy in a garage.
- Cloud-Based Invoicing (e.g., Wave, QuickBooks, or Square): These allow you to take credit cards and track when a customer has viewed a quote.
- Custom Excel/Google Sheets Estimators: Build a sheet where you input the linear feet of weld and the number of cuts, and it calculates the labor for you.
- Time Tracking Apps (e.g., Toggl or Harvest): Use these on your phone to clock in and out of specific jobs to get an accurate labor count.
- Inventory Trackers: Simple apps to remind you when you are low on 75/25 gas or .035″ wire.
- CAD/CAM Software: Using software to nest parts on a sheet can save 15% in material waste, which goes straight to your bottom line.
Conclusion: Making Data-Driven Decisions for Growth
The path from a hobbyist to a successful shop owner is paved with spreadsheets, not just weld beads. By understanding your true shop rate and tracking the time it takes to recover the cost of new machinery, you move away from “guessing” and toward “knowing.” It’s about more than just surviving; it’s about building a sustainable business that respects your time and your skill.
Start small. This week, track every minute you spend on a single project and every penny you spend on materials and supplies. Compare that to what you charged. That single exercise will likely reveal more about your business than a year of “feeling” like you’re doing okay. Once you have the data, you have the power to make the changes that lead to real, consistent profitability.
Frequently Asked Questions
How do I know if I should buy a new machine or keep using my old one?
The decision should be based on “reclaimed time.” Calculate how many hours the new machine will save you per month. Multiply those hours by your shop rate. If that monthly “saving” is significantly higher than the monthly cost of the machine (or the lost interest on the cash spent), it is a sound investment. If the machine only saves you an hour a month, it is likely a luxury, not a business necessity.
What is a “standard” shop rate for a side-hustle fabrication business?
While it varies by region, most small professional shops in the US charge between $65 and $120 per hour. If you are under $50, you are likely not covering your true overhead and depreciation. If you are over $150, you generally need specialized equipment or certifications (like mobile welding or aerospace TIG) to justify the rate to customers.
Should I charge the customer for my “learning time” on a complex job?
Generally, no. If a job takes you 10 hours because you’ve never done it before, but a pro would do it in 5, you should quote closer to the 5-hour mark. However, you should account for the “complexity” by increasing your markup. Charging for your own inefficiency is a quick way to lose customers; instead, view that extra time as an investment in your own skills.
How do I factor in the cost of electricity for heavy machinery?
For most small shops, electricity is a small part of the overhead. However, if you run a large CNC plasma table or a high-tonnage press all day, it adds up. A good rule of thumb is to look at the “duty cycle” and the amperage of the machine. Most shops simply include power in their general overhead hourly rate, but for power-hungry machines, you might add a $2-$5 “machine hour” fee to the quote.
Why is my bank account empty even though I’m finishing jobs on time?
This is usually due to “untracked overhead” or “cash flow lag.” You might be finishing the work, but if you aren’t accounting for the $200 you spent on drill bits, gas, and grinding wheels this month, your profit is disappearing. Also, if you pay for material upfront but the customer doesn’t pay for 30 days, you are effectively acting as a bank for your customers.
How much should I markup my materials?
A standard starting point is 20% to 30%. This isn’t just “extra profit”; it covers the time you spent quoting the material, the gas to go get it, and the space it takes up in your shop. For very small orders or specialized alloys that are hard to find, markups of 50% or more are common.
Is it better to lease or buy shop equipment?
For a side-hustle, buying with cash is almost always better to avoid high-interest small business loans. However, if a machine will immediately generate enough revenue to cover a lease payment three times over, financing can be a tool for rapid growth. Always look at the total “cost of capital” before signing a lease.
How often should I raise my shop rates?
You should review your rates at least once a year. If your power bill goes up, your welding gas supplier raises prices, or you invest in a major new tool, your rate needs to reflect that. Most customers understand a 3-5% annual “cost of living” increase, but large jumps should be backed by an increase in your shop’s capabilities or speed.
Do I really need to track every grinding disc?
No, that is a waste of your time. Instead, track your total spending on abrasives for three months and divide it by the number of hours you worked. This gives you a “consumable cost per hour.” Add that number to your hourly shop rate, and you’ll never have to worry about tracking individual discs again.
What is the biggest mistake people make when pricing fabrication work?
The biggest mistake is forgetting “non-welding time.” People often quote the time they spend with the arc on, but they forget the time spent cleaning the steel, deburring the holes, packaging the part, and talking to the customer on the phone. These “soft hours” can often equal or exceed the actual fabrication time.
(This article was written by one of our staff writers, Michael Hargrove. Visit our Meet the Team page to learn more about the author and their expertise.)