Common Problems With Budget Benchtop Drill Presses (DIY Fix)
When I first opened my doors to paying customers, I operated out of a garage that felt more like a storage unit than a manufacturing facility. Like many of you, I started with a modest equipment budget, which meant making compromises on machinery. I distinctly remember a job for a local contractor that required drilling thirty precise holes in stainless steel brackets. My entry-level benchtop drill press, which I hadn’t yet properly tuned, began to show its limitations immediately. The table flexed, the bit wandered due to spindle runout, and I ended up scrapping four expensive pieces of material before I realized that my “cheap” tool was actually costing me a fortune in lost time and wasted supplies.
This experience taught me that in a professional fabrication setting, your tools are not just hardware; they are financial assets that must perform predictably. If a machine requires constant fiddling or produces inaccurate results, it directly lowers your hourly shop rate. For those of you transitioning from a hobby to a side-hustle, understanding how to resolve mechanical inconsistencies in entry-level equipment is the first step toward accurate fabrication job costing.
Establishing Your Financial Foundation Through Shop Rate Accuracy
A shop hourly rate is the total dollar amount you must charge per hour of labor to cover all expenses and generate a profit. This metric is the heartbeat of your business, ensuring that every hole drilled and every weld laid contributes to your financial growth rather than just covering the electric bill.
Setting a shop rate between $65 and $120 per hour is common for small-scale metalworking, but you cannot simply pick a number. You must calculate your overhead burden, which includes rent, insurance, utilities, and even the software you use for invoicing. When your equipment, such as a light-duty benchtop drill, fails to perform, you are not just losing the cost of a drill bit; you are burning through that $80-an-hour overhead without producing billable results.
Defining the Overhead Burden in Small-Batch Fabrication
Overhead burden refers to all the indirect costs associated with running your workshop that cannot be directly billed to a specific project. This includes fixed costs like workshop rent and variable costs like the monthly increase in your energy bill when the machines are running.
To calculate this, I recommend totaling every single shop-related expense from the previous year and dividing it by your total billable hours. If your overhead is $1,200 a month and you work 40 hours on side projects, your overhead burden is $30 per hour. This means before you even pay yourself a dime, you must earn $30 every hour just to keep the lights on. If a mechanical issue with your drill press doubles the time it takes to complete a task, your profit margin on that job effectively evaporates.
Mapping Machinery Amortization for Budget Equipment
Machine amortization is the process of spreading the cost of a tool over its expected useful life. For a budget benchtop drill press, you might expect a three-year lifespan under consistent use, meaning you need to earn back its initial cost plus the cost of any DIY upgrades within that window.
| Expense Category | Annual Estimate | Hourly Impact (20 hrs/week) |
|---|---|---|
| Workshop Rent/Utilities | $4,800 | $4.62 |
| Insurance & Licensing | $1,200 | $1.15 |
| Consumables (Bits, Fluids) | $900 | $0.87 |
| Equipment Amortization | $600 | $0.58 |
| Total Overhead Baseline | $7,500 | $7.22 |
Mitigating Mechanical Errors to Protect Fabrication Profit Margins
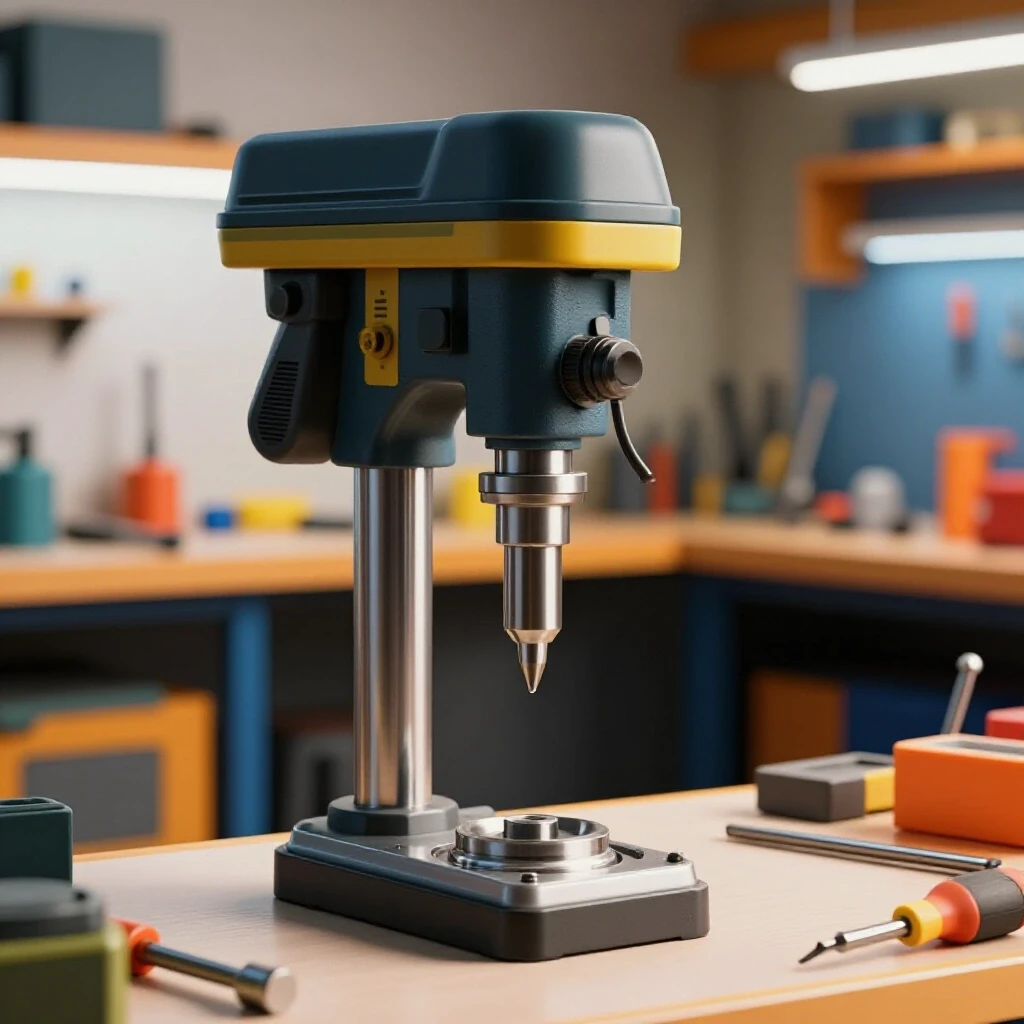
Inexpensive benchtop drill presses often suffer from spindle runout, which is the amount of “wobble” or deviation from the center as the chuck rotates. If your spindle is not perfectly aligned, your drill bits will create oversized holes, leading to poor fitment in your fabrication projects and potentially rejected parts.
When you are pricing a job, you are selling precision. If a customer pays for a 1/2-inch hole and you deliver a 9/16-inch hole because of spindle wobble, you have failed the contract. Fixing these mechanical inconsistencies through DIY methods—like shimming the chuck or truing the quill—is a high-ROI activity. It transforms a $200 hobby tool into a reliable piece of production equipment, allowing you to bid on more complex work with confidence.
Resolving Spindle Runout and Chuck Inaccuracy
Spindle runout is a measurement of how much the drill bit deviates from its intended axis of rotation. In budget machines, this is often caused by poor tolerances in the tapered fit between the chuck and the spindle.
To fix this without buying expensive replacement parts, you can use a dial indicator to find the high spot of the runout. Sometimes, simply removing the chuck, cleaning the tapers with a degreaser, and reseating it with a firm strike from a rubber mallet can reduce wobble. If the runout persists, thin brass shims can be used to offset the deviation. Reducing runout from .005″ to .001″ can significantly extend the life of your expensive carbide drill bits, directly impacting your welding consumable tracking and overall project costs.
Stabilizing Table Flex Under Heavy Loads
Table flex occurs when the cast-iron or aluminum worktable of a drill press bends or tilts under the pressure of the drill bit entering the metal. This causes the hole to be drilled at a slight angle, which can ruin the alignment of multi-part assemblies.
In my experience, the most cost-effective fix is to create a “table jack” or an adjustable support that sits between the drill press base and the underside of the table. Using a length of threaded rod and two nuts, you can create a brace that prevents the table from sagging during heavy drilling operations. This simple DIY fix ensures that your holes remain perpendicular, reducing the time you spend on post-job corrections and improving your side-hustle metalworking reputation.
The Hidden Cost of Consumables in Hole-Making Operations
Consumable tracking is the practice of monitoring the lifespan and cost of items that are used up during fabrication, such as drill bits, cutting oils, and sanding discs. Many shop owners fail to realize that consumables can account for 10% to 15% of a project’s total cost.
When a drill press has excessive vibration or insufficient torque, it generates heat. Heat is the primary enemy of drill bits. If you are burning through $20 cobalt bits because your benchtop press is vibrating too much, your small metal shop pricing must reflect that loss. By adding weight to the base of the machine or installing a belt-tensioning idler to reduce vibration, you protect your investment in cutting tools.
Formulating a Realistic Material and Consumable Markup
A material markup is a percentage added to the raw cost of metals and supplies to cover the time spent sourcing, transporting, and managing inventory. For small shops, a markup of 20% to 50% is standard to ensure that the “hidden” work of procurement is paid for.
I recommend keeping a simple log of how many holes you can drill with a specific bit before it needs sharpening or replacement. If a $15 bit lasts for 100 holes in 1/4-inch mild steel, your consumable cost is $0.15 per hole. On a job with 200 holes, that is $30. If you don’t track this, that $30 comes directly out of your take-home pay.
- Track the number of holes per bit.
- Log the amount of cutting fluid used per project.
- Account for the electricity used by high-draw machinery.
- Factor in the cost of sharpening equipment or services.
Why Vibration Dampening Improves Tool ROI
Vibration in a benchtop tool is often caused by unbalanced pulleys or thin metal housings acting like a drum. This vibration leads to “chatter,” which leaves a rough finish inside the hole and dulls the cutting edges of your tools prematurely.
A practical fix involves replacing the factory-standard V-belts with link belts, which are designed to absorb vibration. Additionally, bolting the drill press to a heavy, sand-filled wooden stand can provide the mass needed to dampen oscillations. These improvements increase the machine’s efficiency, meaning you can complete jobs faster and with less tool wear, shortening your metal business ROI calculators’ payback period.
Building a Professional Fabrication Job Quote
Fabrication job costing is the systematic process of estimating the total cost of labor, materials, and overhead for a specific project. A professional quote protects you from “scope creep” and ensures that the customer understands exactly what they are paying for.
When bidding on a job that requires significant drilling, I use a tiered pricing model. I charge a flat setup fee for the machine, an hourly rate for the labor, and a “per-hole” fee that covers consumable wear. This ensures that if a project requires 500 holes, the increased wear on my drill press and bits is fully compensated. Using digital estimation tools or a simple spreadsheet can help you maintain consistency across different clients.
Step-by-Step Quote Construction for Side-Hustlers
- Calculate Raw Material Cost: Include all metal, fasteners, and specialized components.
- Apply Material Markup: Usually 30% for small-batch orders to cover sourcing time.
- Estimate Labor Hours: Be honest about how long the setup, drilling, and finishing will take.
- Add Overhead Burden: Multiply your total estimated hours by your hourly overhead rate.
- Factor in Consumable Fee: Calculate bit wear and fluid usage based on your tracking logs.
- Apply Profit Margin: Add a final 10% to 20% on top of everything to grow your business.
| Component | Cost Calculation | Total |
|---|---|---|
| Raw Steel | $150 + 30% Markup | $195.00 |
| Labor | 5 Hours @ $60/hr | $300.00 |
| Overhead | 5 Hours @ $15/hr | $75.00 |
| Consumables | 40 Holes @ $0.50/ea | $20.00 |
| Total Quote | $590.00 |
Avoiding the Low-Margin Trap in Custom Work
The low-margin trap occurs when a shop owner underprices their work to win a contract, only to find that the operational costs exceed the payment. This is particularly common when using budget equipment that requires frequent adjustment or repair.
To avoid this, always include a “buffer” or contingency fee of 5-10% for unexpected issues, such as a broken bit or a machine alignment problem. If you don’t use the buffer, it becomes extra profit. If you do use it, it saves you from losing money on the job. Professional shop owners know that it is better to lose a job on price than to win a job and pay for the privilege of doing the work.
Analyzing Post-Job Profits and Workflow Efficiency
Post-job profit analysis is the act of comparing your initial estimate to the actual costs incurred after the project is completed. This is the most valuable data a small shop owner can possess, as it reveals exactly where money is being made or lost.
If you estimated a drilling task would take two hours, but it took four because you had to keep stopping to adjust the belt tension on your drill press, you have a clear data point. That two-hour discrepancy represents a loss of potential income. This data justifies the time spent on DIY fixes—like adding a belt tensioner—because you can see the direct correlation between machine reliability and bank account balance.
Using Post-Job Logs to Refine Future Bids
Every time you finish a project, write down what went right and what went wrong. Did you spend too much time deburring holes? Perhaps a higher-quality bit or a more stable drill press table would have produced a cleaner cut.
- Actual vs. Estimated Labor: Did you stay within the time budget?
- Consumable Variance: Did you break more bits than expected?
- Material Waste: How much scrap was generated?
- Machine Downtime: How much time was spent on “unpaid” maintenance?
By reviewing these logs monthly, you can adjust your shop rates and markup percentages to reflect the reality of your workshop’s performance. This data-driven approach is what separates a hobbyist from a successful business owner.
ROI Timelines for Equipment Upgrades
A tool ROI timeline helps you decide when it is time to stop fixing a budget machine and start investing in a higher-end model. If you are spending five hours a month fixing a benchtop drill press, and your shop rate is $80, that machine is costing you $400 a month in lost labor.
In less than six months, that lost labor could have paid for a significantly better machine. However, for many side-hustlers, the DIY fixes mentioned earlier—shimming, bracing, and dampening—can extend the life of a budget tool long enough to save up for the upgrade without taking on debt. The goal is to make the tool pay for its own replacement through the profits it generates.
Practical Resources for Modern Shop Management
Managing a fabrication business requires more than just mechanical skill; it requires a suite of tools to track the “boring” side of the business. Fortunately, there are many digital tools available that make this easier for the one-person shop.
- Invoicing Software: Tools like Wave or FreshBooks allow you to send professional quotes and track payments easily.
- Inventory Spreadsheets: A simple Google Sheet can track your current stock of steel and consumables, preventing last-minute trips to the supplier.
- Time Tracking Apps: Using an app like Toggl can help you see exactly how much time you are spending on “billable” work versus “shop maintenance.”
- Digital Calipers and Gauges: Investing in a decent dial indicator is essential for performing the DIY fixes that keep your budget equipment accurate.
By integrating these tools into your daily routine, you move away from “guesstimating” and toward a model of predictable profitability. Your benchtop drill press might be a budget model, but your business management doesn’t have to be.
Frequently Asked Questions
How do I know if my shop rate is too high or too low?
If you win 100% of the jobs you bid on, your rate is likely too low. If you win fewer than 20%, you may be too high for your local market or your current level of equipment. A healthy “win rate” for custom fabrication is typically between 30% and 50%. Always ensure your rate covers your overhead burden and a fair wage for your labor.
Can a budget benchtop drill press really handle thick steel?
Yes, but it requires patience and proper setup. You must use the correct RPM (lower for larger bits and harder materials) and plenty of cutting fluid. DIY fixes like table bracing are essential for thick steel to prevent the bit from angling as it enters the material.
What is the most common cause of inaccurate holes?
Spindle runout and table flex are the primary culprits. If the spindle wobbles, the hole will be oversized. If the table flexes, the hole will be crooked. Both can be addressed with the DIY fixes discussed in this guide, such as shimming the chuck and adding a table support jack.
How do I track “hidden” consumables like electricity?
For a small shop, it is often easiest to look at your utility bills from a month when the shop was idle versus a month when you were busy. Divide that difference by your billable hours to get a “power cost per hour.” Usually, this is a small amount (often under $1.00/hr), but it should be included in your overhead.
Is it worth fixing a cheap tool or should I just buy a better one?
If the fix costs only your time and a few dollars in scrap material (like a table brace), it is almost always worth it for a side-hustle. If the tool requires expensive replacement parts that cost more than 50% of its original price, it is usually better to save that money for an upgrade.
How do I explain a “consumable fee” to a customer?
Most customers understand that tools wear out. You can list it as a “Shop Supplies” or “Tooling Charge” on your invoice. If a job requires a specialized bit that you don’t normally stock, it is standard practice to charge the customer for the full cost of that bit.
What is the best way to reduce vibration on a light machine?
Replacing standard V-belts with link belts is one of the most effective DIY fixes. Additionally, ensuring the machine is bolted to a heavy, stable surface will prevent the base from moving during operation.
How much should I mark up raw materials?
A 30% markup is a standard starting point for small shops. This covers the time you spend driving to the steel yard, the fuel for your truck, and the administrative time spent ordering and tracking the material. For very small orders, some shops charge a flat “sourcing fee” instead.
What is “chatter” and how does it affect my profit?
Chatter is the vibration of the cutting tool against the workpiece, creating a wavy surface finish. It dulls bits quickly and can lead to rejected parts. Reducing vibration and ensuring the workpiece is clamped tightly are the best ways to eliminate chatter and protect your margins.
Should I charge for the time I spend fixing my tools?
In the long run, yes. Your shop rate should include an “indirect labor” component that covers machine maintenance. However, you shouldn’t bill a specific customer for the three hours you spent fixing your drill press; that cost should be spread across all your jobs through your overhead burden calculation.
How do I calculate the ROI of a DIY fix?
Estimate how much time the fix will save you per job. If a table brace saves you 10 minutes of alignment work per project, and you do 10 projects a month, you’ve saved 100 minutes. Multiply that by your shop rate to see the monthly “earnings” of that simple fix.
(This article was written by one of our staff writers, Michael Hargrove. Visit our Meet the Team page to learn more about the author and their expertise.)