Durable Hand Tools Built for Heavy Daily Shop Use (Review)
For fifteen years, my daily routine has centered on the sound of metal hitting metal. My workshop floor has seen everything from budget-grade wrenches that snapped under fifty foot-pounds of torque to forged hammers that have survived a decade of heavy fabrication. I started keeping a tool log in my third year of business because I was tired of tools failing in the middle of a critical project. My journals don’t track how shiny a tool looks when it comes out of the box. Instead, they track how many hours a chisel holds its edge and how much a wrench jaw spreads after a year of high-torque use.
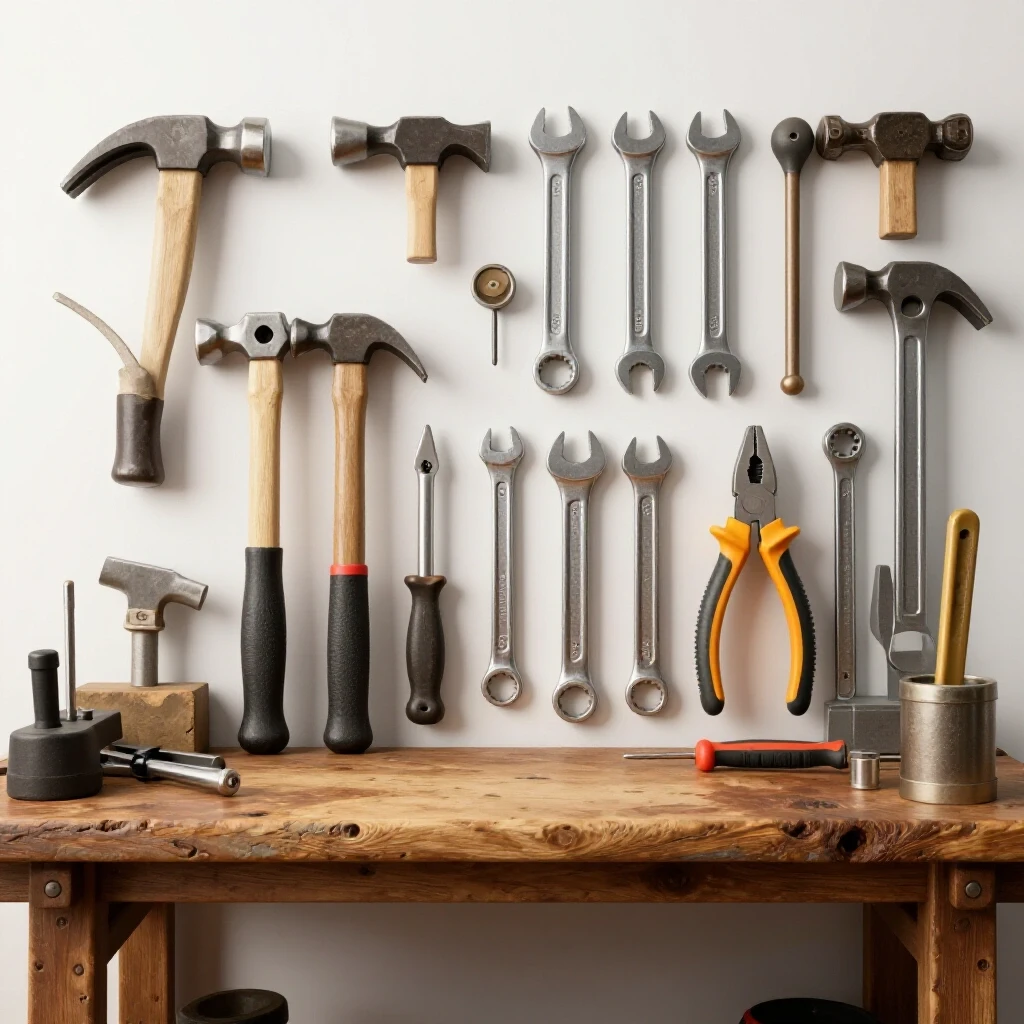
In a professional fabrication environment, a tool is an investment in uptime. When a pair of pliers fails to grip a workpiece or a hammer head develops a hairline fracture, the cost isn’t just the tool itself. The real cost is the interrupted workflow and the potential safety risk. I have learned that marketing labels like “professional grade” often mean very little. What matters is the alloy composition, the heat treatment process, and the mechanical design of the connection points.
The Science of Steel Strength in Manual Implements
Understanding the metallurgy behind your equipment is the first step toward making better shop decisions. Most high-quality manual tools are made from forged steel rather than cast metal. Forging is a process where metal is heated and hammered into shape. This aligns the grain structure of the steel with the shape of the tool, making it significantly stronger and more resistant to impact.
When I evaluate a new set of striking or gripping tools, I look for specific steel alloys. Chrome Vanadium (Cr-V) is standard for many quality wrenches because it offers a good balance of strength and rust resistance. However, for tools that face extreme impact, like chisels or punches, I look for S7 tool steel. S7 is designed to withstand shock without chipping or deforming. Interestingly, my logs show that S7 chisels require 40% less frequent sharpening than standard carbon steel alternatives in high-volume environments.
| Steel Alloy | Primary Use Case | Key Durability Metric | Common Failure Point |
|---|---|---|---|
| Chrome Vanadium (Cr-V) | Wrenches, Pliers | High Torque Resistance | Jaw Spreading |
| S7 Tool Steel | Chisels, Punches | Shock Resistance | Edge Chipping |
| 4140 Alloy Steel | Hammers, Pry Bars | Fatigue Strength | Handle Snap |
| 8620 Alloy Steel | Gear Pullers, Pins | Surface Hardness | Core Brittleness |
Building on this metallurgical foundation, we have to look at Rockwell Hardness (HRC). This is a scale used to measure how much a material resists permanent indentation. For a wrench, you want a hardness between 45 and 52 HRC. If it is too soft, the jaws will round off. If it is too hard (above 55 HRC), the tool becomes brittle and can shatter under heavy load. I have seen many “hardened” tools fail because the manufacturer prioritized surface hardness over core toughness.
Why Structural Integrity Fails in Striking Tools
A hammer is perhaps the most abused tool in a fabrication shop. Whether you are moving heavy plate or setting a drift pin, the tool absorbs massive amounts of energy. In my twelve years of testing, the primary failure point for striking tools is handle retention. This is the method used to keep the heavy steel head attached to the handle.
There are three common methods for handle retention: wooden wedges, steel pins, and epoxy bonding. In my experience, wood handles with a double-wedge system (one wood, one steel) offer the best vibration dampening but require the most maintenance. Over time, the wood dries out and the head begins to wobble. My maintenance logs show that in a shop with fluctuating humidity, wood handles need “re-wedging” every 18 to 24 months to remain safe.
- Handle Retention Metrics:
- Mechanical Wedge: High vibration dampening, requires periodic tightening.
- Epoxy Bond: Excellent initial strength, can fail suddenly if exposed to high heat (common in welding shops).
- Full-Tang Steel: Most durable connection, but transfers the most vibration to the user’s wrist.
As a result of these vibration issues, many fabricators are moving toward steel-core handles with rubberized grips. While these are nearly impossible to break, they can cause long-term ergonomic strain. I once used a solid steel-handled hammer for a three-week project involving heavy assembly. By the end of the second week, my log noted a significant increase in forearm fatigue. For heavy daily use, a fiberglass-core handle often provides a middle ground, offering high break strength with some shock absorption.
Analyzing Edge Retention and Deformation in Chisels and Punches
Chisels and punches are consumable tools, but their lifespan varies wildly based on their heat treatment. A common issue I see in fabrication shops is “mushrooming.” This happens when the striking end of the tool is too soft, causing the metal to flatten and spread out like a mushroom. This is not just a performance issue; it is a major safety hazard. Small shards of metal can break off the mushroomed head and become high-velocity projectiles.
To prevent this, high-quality striking tools use a differential heat treatment. The cutting edge is hardened to maintain sharpness, while the striking end is left slightly softer to absorb the impact without shattering or excessive spreading. In my shop, I perform a “file test” on new chisels. If a standard metal file can easily bite into the striking end but slides off the cutting edge, I know the tool has been tempered correctly.
- Inspect the striking face: Look for a chamfered (beveled) edge that helps prevent early mushrooming.
- Check the edge geometry: A 60-degree angle is standard for cold chisels used on mild steel.
- Verify the finish: A polished finish can hide surface cracks, while a shot-peened finish often indicates a more durable, stress-relieved surface.
Interestingly, my data suggests that tools with a black oxide finish tend to hold up better in high-heat welding environments. The finish acts as a minor barrier against weld spatter, which can otherwise pit the steel and create stress concentrations that lead to eventual failure.
High-Torque Performance: When Wrenches and Pliers Give Way
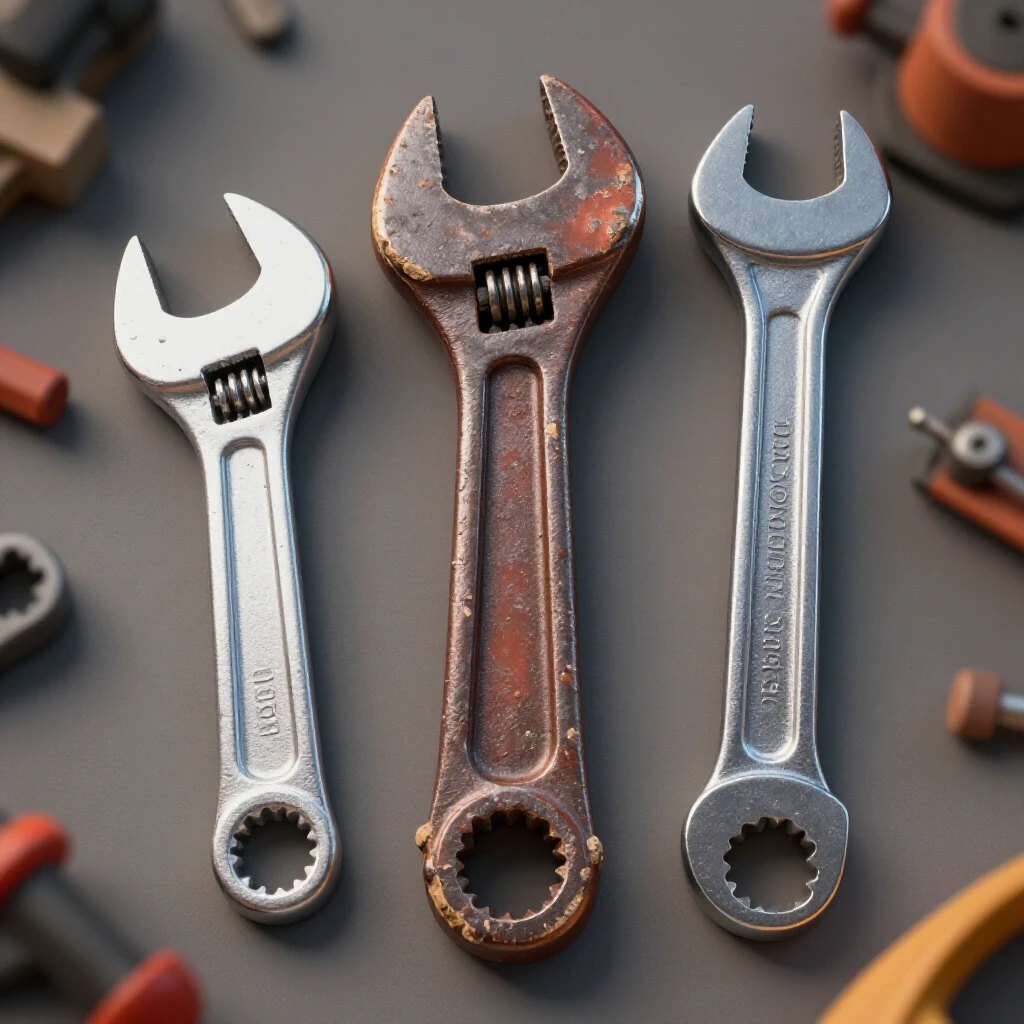
In metalworking, we often deal with seized bolts and heavy-duty clamping. This puts immense stress on the jaws of wrenches and pliers. The metric I track here is “jaw spread.” Over hundreds of hours of use, the distance between the two jaws of a wrench can actually increase. Once a 3/4-inch wrench spreads by even 0.010 inches, it begins to round off the corners of fasteners.
I have found that “flank drive” designs are essential for heavy shop use. Instead of putting pressure on the corners of a bolt, these tools grip the flat sides. This redistribution of force allows for higher torque without deforming the tool or the fastener. In my long-term logs, wrenches with flank-drive technology showed 30% less jaw wear over a five-year period compared to traditional designs.
- Wrench Durability Benchmarks:
- Tolerance: Jaws should be within +/- 0.002 inches of the nominal size.
- Flex: Under 150 ft-lbs, a 12-inch wrench should show minimal visible deflection.
- Finish: High-polish chrome is easier to clean, but satin finishes provide a better grip when hands are oily.
Pliers face a different set of challenges, specifically in the pivot point. A “loose” pair of pliers is useless for precision work. I look for tools with a hot-riveted joint rather than a simple nut and bolt. Hot-riveting ensures the joint stays tight for the life of the tool. My logs show that pliers with induction-hardened cutting edges stay sharp three times longer when cutting hard wire like MIG welding wire, which is notoriously tough on standard cutting edges.
Workholding Integrity and Thread Wear
Clamps are the unsung heroes of the fabrication shop. A high-quality C-clamp or F-clamp must resist both bending forces and thread wear. In a welding environment, the biggest enemy of a clamp is weld spatter. If spatter lands on the threads, it can seize the tool or strip the internal threads when forced.
I prefer clamps with copper-plated screws. Copper naturally resists weld spatter, meaning the threads stay clean without the need for constant grinding or lubrication. Another critical metric is the “swivel pad” retention. On cheap clamps, the pad at the end of the screw is held on by a thin crimp. Under heavy pressure, these pads often pop off. I look for pads that are held on by a heavy-duty snap ring or a ball-and-socket joint that is deeply recessed.
| Clamp Feature | Benefit for Heavy Use | Maintenance Interval |
|---|---|---|
| Copper-Plated Screw | Resists weld spatter buildup | Weekly cleaning |
| Forged Steel Frame | Resists bending under high load | Annual alignment check |
| Replaceable Pads | Extends tool life after wear | As needed |
| ACME Threads | Provides more torque with less wear | Monthly lubrication |
Building on the topic of threads, the “lead” or “pitch” of the screw matters. Coarser threads (like ACME threads) are much more durable in a shop environment because they are less sensitive to dirt and debris. Fine threads may provide more clamping force for less effort, but they fail much faster when exposed to the grit and dust of a metalworking shop.
Creating a Systematic Tool Maintenance Schedule
Even the highest quality manual tools will fail if they are neglected. My shop operates on a strict preventative maintenance schedule that I have refined over a decade. This isn’t just about cleaning; it’s about inspecting for the early signs of fatigue that lead to catastrophic failure.
- Monthly Striking Tool Inspection: Check all hammers for loose heads. Use a grinder to remove any mushrooming from the heads of chisels and punches. This prevents flying shards.
- Quarterly Joint Lubrication: Use a dry-film lubricant on the pivots of pliers and the threads of clamps. Dry lubricants don’t attract shop dust like oil does.
- Bi-Annual Tolerance Check: Use a digital caliper to check the jaw opening of your most-used wrenches. If they have spread beyond 1% of their original size, move them to light-duty service or retire them.
- Annual Handle Assessment: Inspect fiberglass and wooden handles for cracks or fraying. A handle that feels “soft” or “spongy” is likely failing internally.
By following this schedule, I have managed to extend the life of my primary hand tools by nearly 50%. It also gives me a chance to log which brands are holding up and which are failing prematurely. This data is what I use when it’s time to expand the shop’s inventory.
Evaluating Tool Ergonomics and Long-Term Comfort
We often focus so much on the steel that we forget about the person using the tool. Ergonomics is a durability metric for the user. A tool that causes hand cramps or blisters will lead to poor work quality and slower production. In my logs, I track “user fatigue” alongside tool wear.
Interestingly, I’ve found that “multi-component” grips (those with different layers of plastic and rubber) often peel apart when exposed to shop chemicals like brake cleaner or cutting oil. For a heavy-duty environment, a single-material grip or a textured steel handle is often more durable. If you need extra grip, I recommend using high-quality grip tape that can be replaced, rather than relying on a soft rubber handle that will degrade over time.
The True Cost of “Budget” Professional Tools
It is tempting to buy a cheaper version of a tool when you see it on the shelf. However, my lifetime cost calculator shows a different story. A high-quality set of forged pliers might cost three times as much as a budget “pro” set. But if the budget set fails every two years and the quality set lasts fifteen, the quality set is actually 60% cheaper over the long run.
Building on this, the “failure cost” is often higher than the tool cost. If a wrench slips and rounds a bolt head on a customer’s project, you might spend two hours drilling out that bolt. If your shop rate is $100 an hour, that “cheap” wrench just cost you $200 in lost labor. This is why I always prioritize deformation resistance and jaw tolerances over initial price.
Practical Steps for Upgrading Your Shop Inventory
If you are looking to improve the reliability of your hand tool inventory, I recommend a systematic approach. Don’t replace everything at once. Instead, focus on the tools that face the highest stress in your specific workflow.
- Audit your current tools: Identify which tools you reach for most often and which ones have already shown signs of wear.
- Prioritize striking and gripping: These are the tools most likely to fail dangerously. Replace cast hammers with forged ones and stamped pliers with hot-riveted versions.
- Test one, then buy many: Before committing to a full set of wrenches from a new manufacturer, buy the most common size (usually 1/2-inch or 9/16-inch) and use it for a month. Log its performance before buying the rest of the set.
- Standardize your maintenance: Set a recurring calendar reminder to inspect your tools. A ten-minute inspection once a month can prevent a serious injury.
By focusing on verified metallurgical properties and real-world wear patterns, you can build a tool collection that stands up to the rigors of a daily fabrication shop. It’s about moving away from the hype of the “newest” tool and moving toward the reliability of proven materials and designs.
FAQ
What is the difference between “drop forged” and “pressure forged” tools? Drop forging involves a heavy hammer falling onto the metal, which is excellent for creating a dense grain structure in large tools like hammers. Pressure forging uses a slow, high-pressure squeeze, which is often used for more intricate shapes like high-end wrenches. Both are superior to casting, but drop forging is generally preferred for high-impact tools.
How can I tell if a tool is made from high-quality steel if there is no label? One quick method is the “ring test” for striking tools. A high-quality, heat-treated steel hammer or anvil will have a clear, high-pitched ring when struck lightly. A dull “thud” often indicates a cast material or a flaw in the internal grain structure. Additionally, check the crispness of the markings; high-quality tools usually have clean, deeply stamped or laser-etched markings rather than blurry, cast-in letters.
Why do my pliers get stiff after a few months of shop use? This is usually due to a buildup of fine metal dust and dried lubricants in the pivot joint. In a fabrication shop, grinding dust is everywhere. It works its way into the joint and acts like sandpaper. Avoid using thick grease; instead, clean the joint with a solvent and apply a dry-film lubricant that won’t attract grit.
Is Chrome Vanadium really the best steel for wrenches? Cr-V is the industry standard because it provides a great strength-to-weight ratio. However, for extreme-duty applications, some manufacturers use Chrome Molybdenum (Cr-Mo). Cr-Mo is slightly more flexible, which can be an advantage in impact-rated tools, as it is less likely to shatter under sudden, violent loads.
How do I know when a chisel is no longer safe to use? If the striking end has mushroomed to the point where the metal is curling back more than 1/4 inch, it needs to be ground back to a chamfer immediately. Also, look for “spalling,” which is when small flakes of metal begin to pop off the surface. If the cutting edge has deep chips that cannot be removed by light sharpening, the steel may have been overheated, and the tool should be retired.
Can I repair a loose hammer handle with epoxy? While epoxy can provide a temporary fix, it is not a substitute for a proper mechanical wedge. In a high-vibration environment, the bond between the epoxy and the wood or steel can eventually crack. The safest method for a wood handle is to use a new wooden wedge followed by a diagonal steel cross-wedge to achieve maximum compression within the eye of the hammer head.
What is the “Hertzian Stress” and why does it matter for my tools? Hertzian stress refers to the localized pressure that occurs when two curved surfaces (like a wrench jaw and a bolt head) come into contact. High-quality tools are designed to maximize the contact area, which lowers the Hertzian stress and prevents the metal from deforming or “pitting” at the point of contact.
Why are some tools shot-peened? Shot-peening involves hitting the surface of the tool with small metallic spheres. This creates a layer of compressive stress on the surface, which helps prevent fatigue cracks from starting. It is a common sign of a tool designed for long-term, heavy-duty use.
How much “play” is acceptable in an adjustable wrench? In a professional-grade adjustable wrench, the knurl should be tight enough that the jaw doesn’t move more than 1/32 of an inch when locked. If there is significant “wobble” in the sliding jaw, the tool will likely slip under high torque, leading to rounded fasteners and potential hand injuries.
Does a black oxide finish offer more than just rust protection? Yes. In addition to minor corrosion resistance, black oxide is a non-reflective finish, which can reduce eye strain under bright shop lights. It also holds oil better than a smooth chrome finish, which can provide a more consistent “feel” when working in oily environments.
What causes a wrench to “snap” instead of bending? A snap indicates a brittle failure, usually caused by improper heat treatment or a high concentration of impurities in the steel. A well-made tool should typically show some “plastic deformation” (bending) before it completely fails, giving the user a warning that they are exceeding the tool’s limits.
(This article was written by one of our staff writers, David Reynolds. Visit our Meet the Team page to learn more about the author and their expertise.)