Essential Tools Needed for a Welding Side Hustle (Checklist)
When I transitioned from a weekend hobbyist to a professional shop owner, the biggest shock wasn’t the difficulty of the welds. It was the realization that my equipment was no longer just a collection of toys; they were capital assets that needed to pay for themselves. In my 16 years of metalworking, I have seen many talented fabricators fail because they didn’t understand the relationship between their gear and their bottom line. Every piece of equipment in your shop represents a fixed cost that must be recovered through productivity.
If you are moving from making gifts for friends to taking on paid contracts, your equipment needs change. You are no longer looking for the cheapest option, but the one with the best return on investment (ROI). This means looking at durability, duty cycles, and how quickly a tool allows you to finish a task. A tool that saves you ten minutes every hour will pay for itself much faster than a budget alternative that requires constant troubleshooting.
Selecting a Primary Power Source for Professional Use
A power source is the heart of any metalworking setup and usually represents the largest initial investment for a small shop. In a professional environment, the primary goal is versatility and reliability to ensure the machine can handle a variety of project requirements without overheating.
For most small shops starting out, a multi-process welder is often the most financially sound choice. These machines allow you to perform MIG, Stick, and often TIG welding from a single unit. From a depreciation standpoint, owning one high-quality multi-process machine is often more efficient than maintaining three separate entry-level machines. You save on bench space and power circuit requirements, which are hidden costs in a small garage setup.
When evaluating a machine, I always look at the duty cycle. This is a measurement of how many minutes out of a ten-minute period a welder can operate at a specific amperage before it needs to cool down. A 20% duty cycle might be fine for a hobbyist, but for a side business, it can lead to forced downtime that kills your productivity. I recommend aiming for a machine with at least a 40% to 60% duty cycle at the ranges you plan to work in most frequently.
Understanding Machine Amortization and Lifespan
Amortization is the process of spreading the cost of an expensive tool over its expected useful life. If you buy a professional-grade welder for $2,500 and expect it to last five years, your equipment cost is $500 per year, or about $42 per month, regardless of how much you use it.
By breaking down the cost this way, you can see how many hours the machine needs to run to cover its own purchase price. A cheaper machine might seem like a bargain, but if it only lasts two years before the circuit board fails, its annual cost is actually higher than the premium model. I have found that investing in a reputable brand with a solid warranty typically results in a lower cost per hour over the long term.
| Machine Type | Typical Cost | Expected Lifespan | Annual Amortization |
|---|---|---|---|
| Entry-Level MIG | $600 | 2 Years | $300 |
| Professional Multi-Process | $2,800 | 7 Years | $400 |
| Industrial TIG Station | $4,500 | 10 Years | $450 |
Essential Personal Protective Equipment as an Operational Cost
Safety gear is often viewed as a one-time purchase, but in a professional shop, it is an ongoing operational requirement. High-quality personal protective equipment (PPE) protects your most valuable asset: your ability to work.
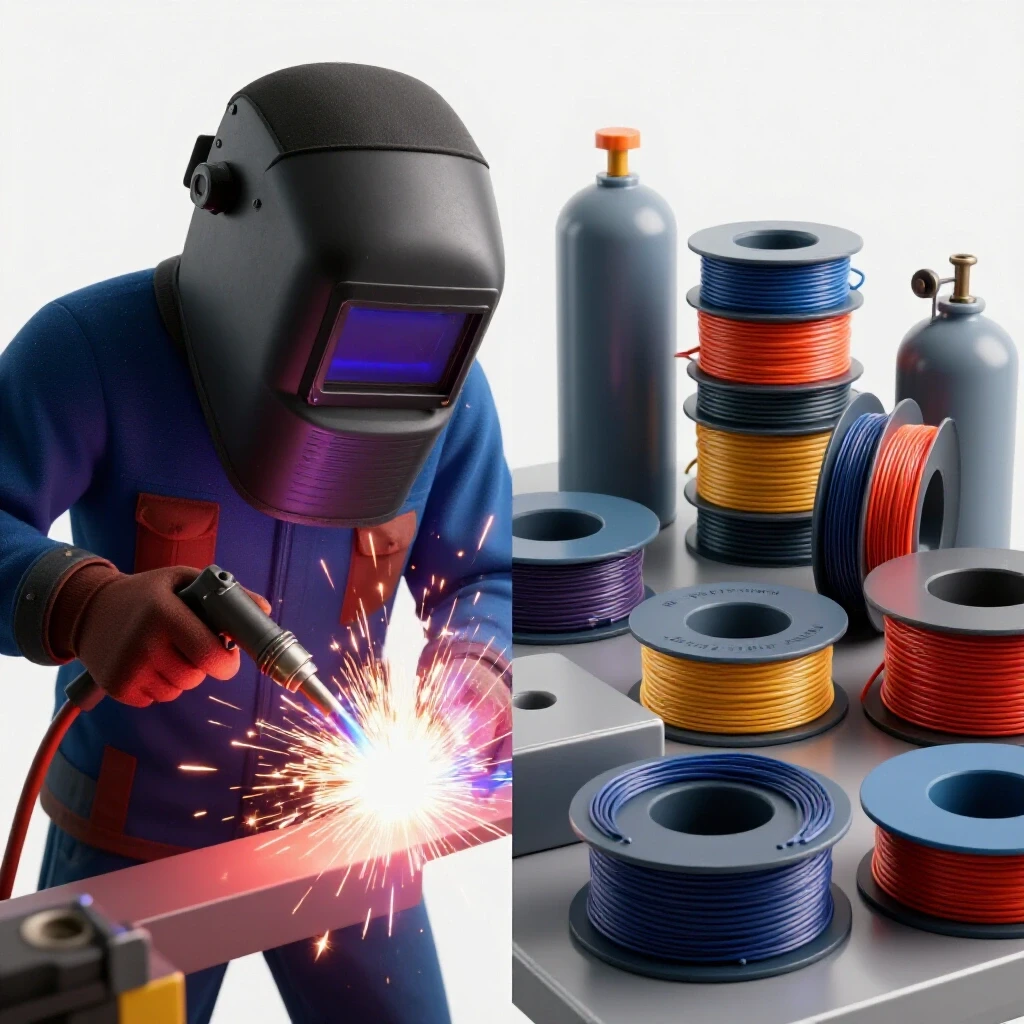
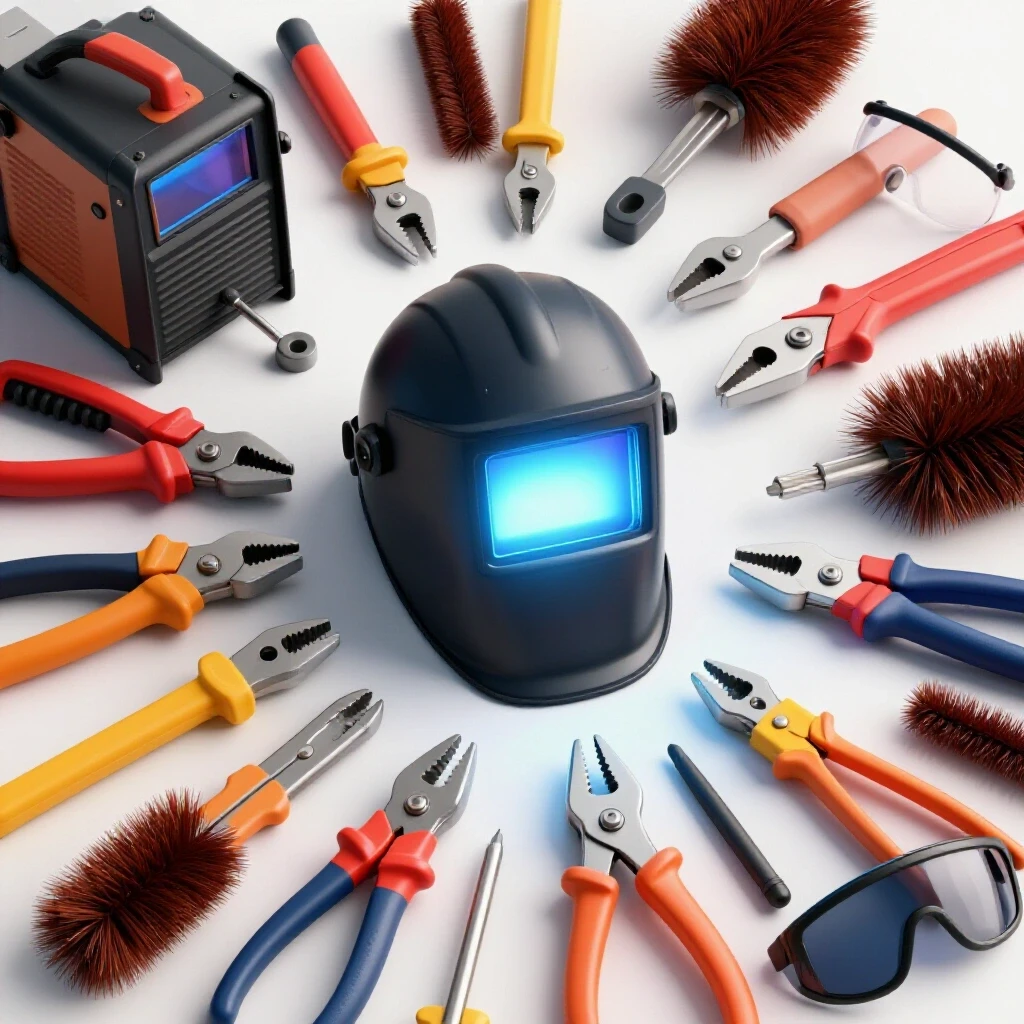
A professional-grade auto-darkening helmet is the most important investment here. Look for a helmet with a large viewing area and a high optical clarity rating (1/1/1/1). In my experience, the reduced eye strain from a high-end lens allows for longer work sessions and fewer mistakes. This directly impacts your efficiency. If you are squinting to see your puddle, you are moving slower and risking weld defects that require expensive rework.
You should also budget for high-quality leather jackets, gloves, and respirators. I treat respirators as a mandatory consumable. The cost of filters is a small price to pay to avoid long-term health issues that could end your fabrication career prematurely.
- Auto-darkening helmet with grind mode
- Flame-resistant (FR) jacket or leather apron
- TIG and MIG specific gloves for dexterity
- P100 rated respirator for galvanized or stainless work
- Steel-toed boots with metatarsal guards
Metal Preparation and Finishing Efficiency
In a professional shop, you will spend more time preparing and finishing metal than actually welding it. Efficiency in this area is where many side-hustlers lose their profit margins. If it takes you an hour to prep a joint with a low-powered tool, you are losing money compared to a tool that does it in fifteen minutes.
I recommend having at least three 4.5-inch angle grinders. Swapping discs—moving from a flap disc to a grinding wheel to a wire brush—takes time. If you have three dedicated grinders, you eliminate that downtime. This is a classic example of spending a little more upfront to increase your hourly output.
A cold cut saw or a high-quality band saw is another essential for a growing shop. A traditional abrasive chop saw is cheap, but it leaves a mess and creates heat-affected zones that require more cleanup. A band saw allows for hands-free cutting, meaning you can prep the next piece of material while the saw is working. This “parallel processing” is key to maximizing your shop’s capacity.
- 4.5-inch Angle Grinders (Multiple units)
- Horizontal/Vertical Band Saw
- Bench Grinder with wire wheel
- Die Grinder for tight spaces
- Belt Sander for edge finishing
Workholding and Layout Tools for Accuracy
Accuracy in the layout stage prevents costly errors during the fabrication stage. If a frame is out of square by even an eighth of an inch, the time required to fix it can easily consume the profit from the entire job.
A dedicated welding table is a foundational tool. While a simple wooden bench with a steel plate might work for hobbies, a professional setup benefits from a heavy-duty, flat steel table with a hole pattern for fixturing. These tables allow you to clamp workpieces securely and repeatably. This reduces the “fiddling time” associated with using mismatched C-clamps and magnets.
I also suggest investing in high-quality squares and measuring tapes. In my shop, I replaced my cheap hardware store squares with precision-ground steel squares. The difference in consistency was immediate. When your tools are reliable, you spend less time second-guessing your measurements and more time producing finished parts.
- Heavy-duty steel welding table (ideally 1/2-inch plate or thicker)
- Strong hand clamps (C-clamps, F-clamps, and locking pliers)
- Magnetic squares for quick tacking
- Precision framing squares and T-bevels
- Scriber and soapstone for marking
Tracking Consumable Burdens and Hidden Expenses
Consumables are the “hidden” costs that can quietly drain a shop’s bank account. These include welding wire, shielding gas, grinding discs, and electricity. Many new shop owners fail to track these accurately, leading to a situation where they are essentially paying to work.
Shielding gas is a significant recurring expense. I recommend owning your tanks rather than leasing them if you plan to be in business for more than a year. The “lease” fees from local gas suppliers can add up quickly. Furthermore, I always suggest getting the largest tank your shop can safely handle (usually an 80 or 125 cubic foot tank for mobile use, or 250+ for the shop). The cost to refill a large tank is often only slightly more than a small one, meaning your cost per cubic foot of gas drops significantly.
Grinding discs and flap wheels should be bought in bulk. Buying a single disc at a big-box store might cost $5.00, but buying a box of 25 from an industrial supplier can drop that cost to $2.00 per disc. Over a year of fabrication, these savings represent a direct increase in your shop’s bottom line.
| Consumable Item | Tracking Metric | Replacement Trigger |
|---|---|---|
| MIG Wire | Weight (lbs) | When spool is 10% remaining |
| Shielding Gas | PSI (Pressure) | Below 200 PSI |
| Flap Discs | Surface Wear | When backing plate is visible |
| Tungsten | Length/Contamination | When too short to sharpen |
| Anti-Spatter Spray | Fluid Ounces | Keep one backup bottle |
Infrastructure: Power and Air Requirements
Your shop’s infrastructure is the “silent partner” in your business. If your electrical circuit is constantly tripping, or your air compressor can’t keep up with your plasma cutter, your workflow stalls.
Most professional welding machines require a 240V circuit. If you are running your shop out of a garage, you may need to hire an electrician to install a dedicated sub-panel. This is a capital improvement to your workspace. While it feels like a large upfront cost, it is necessary for the machine to operate at its rated capacity. Running a high-end welder on an undersized extension cord can actually damage the machine’s internal electronics over time.
Compressed air is also vital. Even if you aren’t using a plasma cutter, you will need air for cleaning parts, running pneumatic tools, or operating a bead breaker. I recommend a compressor with at least a 20-gallon tank and a high CFM (cubic feet per minute) rating. This ensures the motor isn’t running constantly, which saves on electricity and reduces noise fatigue in a small shop.
- Dedicated 240V/50A electrical circuit
- High-CFM air compressor
- Clean, dry air filtration system
- Heavy-duty extension cords (properly gauged)
- Adequate overhead LED lighting (5000K color temp)
Developing a Maintenance Schedule for Equipment Longevity
In a production environment, equipment failure is a crisis. To minimize this risk, I treat my tools with the same respect a mechanic treats an engine. This means regular maintenance is a scheduled part of my work week.
For welders, this includes blowing out dust from the internal fans with compressed air and checking the drive rolls for wear. For saws, it means checking blade tension and coolant levels. These small tasks prevent the “catastrophic failure” that occurs right when a deadline is approaching. I keep a simple logbook hanging near my main welder to track when I last changed the liners or serviced the compressor.
By maintaining your tools, you preserve their resale value. In the manufacturing world, we track “residual value.” A well-maintained Miller or Lincoln welder will often retain 60% to 70% of its value even after five years of use. This makes it much easier to “trade up” to a larger machine as your business grows.
- Weekly: Blow out welder power sources
- Monthly: Inspect all power cords for nicks or burns
- Monthly: Check air compressor oil and drain tank moisture
- Quarterly: Deep clean welding table and check for flatness
- As Needed: Sharpen drill bits and cold saw blades
Frequently Asked Questions
What is the most cost-effective way to buy my first professional welder? I recommend looking for a high-quality used machine from a reputable brand before buying a brand-new “budget” welder. Industrial-grade machines are built to be serviced. A ten-year-old Miller or Hobart that has been well-maintained will often outlast a brand-new, unbranded machine from a discount retailer.
Should I buy a MIG or a TIG welder for my side business? If your goal is production speed and general repair, MIG is the standard. It is faster and easier to learn. If you plan to specialize in high-end custom work, aluminum, or stainless steel, TIG offers more control but is significantly slower. Many shops start with MIG to generate cash flow, then add TIG later.
How do I calculate the ROI on a new piece of equipment? Divide the total cost of the tool by the number of hours it will save you over its lifespan. Then, multiply those hours by your internal labor rate. If the labor savings are higher than the cost of the tool, it is a sound investment.
Is a plasma cutter necessary for a starting shop? A plasma cutter is a massive time-saver for cutting complex shapes or thick plate. However, for most basic fabrication, a good band saw and a steady supply of zip-cut wheels on a grinder will suffice. I suggest waiting until you have a specific job that requires it before making the investment.
How many grinders do I actually need? At a minimum, three. One for a grinding rock (heavy material removal), one for a flap disc (finishing and blending), and one for a wire wheel (cleaning rust or mill scale). This setup prevents you from wasting time changing discs.
What is the difference between a “hobby” helmet and a “pro” helmet? Professional helmets have faster switching speeds (how quickly they darken), better optical clarity, and more sensors. This prevents “flashing” your eyes in tight spots where one sensor might be blocked.
Why shouldn’t I just use a wooden table with a steel top? Wood is a fire hazard in a welding environment. Furthermore, wood warps with humidity. A professional welding table needs to be perfectly flat to ensure your projects are square. A warped table leads to warped projects.
How do I track my gas usage effectively? Keep a log of the PSI when you start and end a project. Over time, you will learn that a certain type of project (like a trailer frame) typically uses 500 PSI of gas. This helps you anticipate when you need a refill before you run out in the middle of a job.
Is it better to own or lease gas cylinders? For a side-hustle, owning is almost always better. Lease fees are a “forever” cost that eats into your monthly overhead. Most local gas suppliers allow you to buy the tank upfront and then just pay for the gas during exchanges.
What is the most underrated tool for a new shop? A high-quality set of drill bits and a solid drill press. Many people focus so much on the welding that they forget how much time is spent putting holes in metal. Dull bits waste time and ruin workpieces.
How do I handle power requirements in a residential garage? You must ensure you have a 240V outlet. If you don’t, you’ll be limited to 120V welders, which lack the penetration needed for structural work. Hiring an electrician to run a 50-amp circuit is a standard “cost of doing business.”
What is a “consumable burden”? This is a percentage added to the cost of a project to cover things you can’t easily measure, like electricity, anti-spatter spray, and the tiny amount of wire used. Most shops use a burden of 10% to 15% of the material cost.
(This article was written by one of our staff writers, Michael Hargrove. Visit our Meet the Team page to learn more about the author and their expertise.)