How to Apply Metal Fabrication Safety Standards (Tutorial)
I spent the first few years of my career believing that if a weld looked clean and the metal was thick, the project was safe. That illusion shattered during a routine inspection of a heavy-duty storage rack I’d built for a local shop. Under a static load that was well within what I thought were my “safe” limits, a primary support beam didn’t just bend—it snapped at the joint with a sound like a gunshot. The culprit wasn’t the thickness of the steel, but a combination of hydrogen embrittlement and a misunderstood heat-affected zone. That failure taught me that in the world of metalwork, what you can’t see is often more dangerous than what you can.
Working in a home or small-scale shop presents a unique set of challenges. We don’t always have a team of safety officers or a metallurgy lab on standby. However, by adopting the same rigorous structural verification and hazard mitigation strategies used in industrial settings, we can eliminate the guesswork. My goal is to help you move past the “it feels strong enough” phase and into a mindset where every cut, joint, and safety protocol is backed by physical data and proven industry benchmarks.
Understanding Structural Metal Load Capacity and Material Stress
Structural metal load capacity refers to the maximum force a component can withstand before permanent deformation or failure occurs. Understanding this requires analyzing yield strength, tensile strength, and how external forces distribute through the material’s crystalline structure under specific environmental conditions and geometry.
When I evaluate a design, I start with the yield strength. This is the point where the metal stops acting like a rubber band and starts permanently deforming. For common A36 structural steel, this is typically 36,000 PSI. If your design pushes the material past this limit, the structure is effectively compromised, even if it hasn’t collapsed yet. Tensile strength, on the other hand, is the ultimate breaking point.
To ensure safety, I always apply a safety factor. For static loads, such as a workbench or a stationary shelf, a 2:1 safety factor is a minimum. For dynamic loads—anything that moves, vibrates, or supports a moving weight—I jump to a 4:1 safety factor. This margin accounts for material inconsistencies and the inevitable degradation of joints over time.
| Material Type | Yield Strength (PSI) | Tensile Strength (PSI) | Common Application |
|---|---|---|---|
| A36 Mild Steel | 36,000 | 58,000 – 80,000 | General frames, brackets |
| 6061-T6 Aluminum | 40,000 | 45,000 | Lightweight structures |
| 304 Stainless Steel | 30,000 | 75,000 | Corrosion-resistant parts |
| 4130 Chromoly | 63,000 | 97,000 | High-stress tubing |
- Always calculate the “worst-case” load before selecting material thickness.
- Factor in the weight of the fabrication itself (the “dead load”) when calculating stress.
- Remember that drilling holes in a structural member reduces its cross-sectional area and lowers its total capacity.
Identifying and Mitigating Heat Affected Zone Weakness
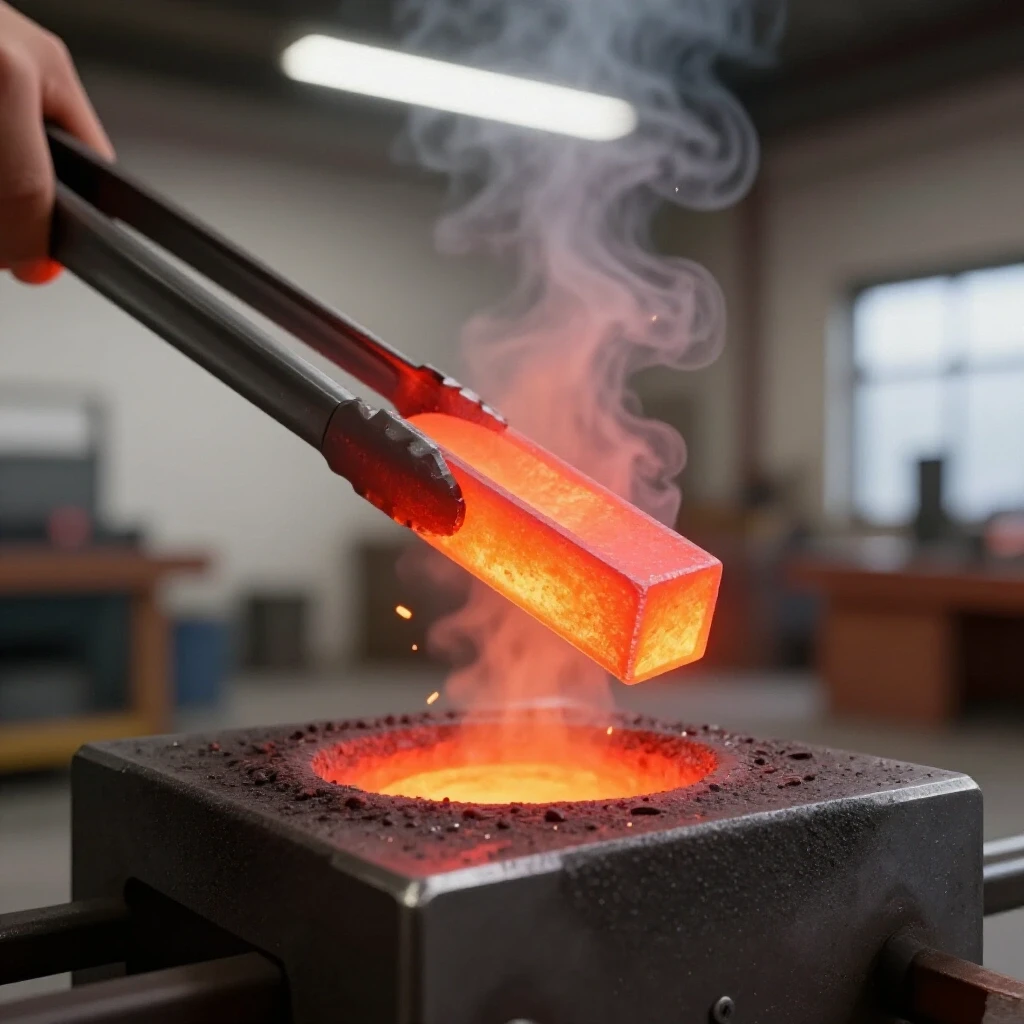
The heat-affected zone (HAZ) is the area of base metal that hasn’t melted but has had its microstructure and properties altered by the intense heat of welding. This region often becomes the weakest point in a fabrication, prone to cracking and reduced fatigue resistance.
In my years of inspecting industrial frames, the HAZ is where I find the most cracks. When you apply 3,000-degree heat to a specific spot, you are essentially heat-treating the metal in a very uncontrolled way. This can make the area surrounding the weld brittle. If you are working with high-carbon steels or certain alloys, the HAZ can become so hard that it loses all ductility, leading to “brittle fracture” where the metal snaps without warning.
To manage this, I focus on heat input. Using lower amperage and moving faster can minimize the width of the HAZ. Additionally, avoiding “over-welding”—putting a massive bead where a small one would suffice—reduces the total heat energy absorbed by the part. If a part is critical, I sometimes use a pre-heat or a slow-cool method to ensure the molecular structure settles into a stable state.
- Keep weld beads to the minimum size required by the design to limit heat soak.
- Use “stitch welding” (short, spaced-out welds) rather than long continuous beads to distribute heat.
- Be wary of quenching a hot weld with water; this rapid cooling can create a brittle, glass-like structure in the HAZ.
Establishing a Comprehensive Workshop Safety Checklist
A workshop safety checklist is a systematic verification tool used to ensure that equipment, environment, and personal protective gear meet established industrial benchmarks before work begins. It serves as the primary defense against preventable accidents like fires, electrical shocks, and mechanical injuries.
Safety in a garage fabrication environment is about more than just wearing gloves. It is about creating a “safety zone” where hazards are predictable. I’ve seen more fires started by a stray spark landing in a pile of sawdust ten feet away than by the actual welding arc. My pre-work routine involves a literal walk-around of the shop to ensure the floor is dry and flammable materials are shielded or removed.
Ventilation is another area where many intermediate fabricators cut corners. Welding fumes contain vaporized metals like manganese and hexavalent chromium, which are serious health risks. If I can see the “blue haze” hanging in the air, my ventilation is failing. I aim for a cross-draft system that pulls air away from my face, not up through it.
- Clear a 35-foot radius of flammable materials or cover them with fire-resistant blankets.
- Verify that a Class ABC fire extinguisher is within reach and fully charged.
- Inspect all power cords for nicks or exposed wires that could cause a short.
- Ensure the work surface is stable and the workpiece is securely clamped to prevent movement.
- Check that all machine guards are in place on grinders and saws.
Precision Welding Gas Flow Rate and Atmospheric Protection
Welding gas flow rate is the measured volume of shielding gas, typically expressed in cubic feet per hour (CFH), required to displace atmospheric oxygen and nitrogen from the weld pool. Proper calibration prevents porosity and ensures the chemical integrity of the solidified weld metal.
If your gas flow is too low, oxygen enters the weld pool and creates “porosity”—tiny bubbles that look like a sponge inside the metal. If the flow is too high, it creates turbulence that actually sucks air into the weld. I generally find the “sweet spot” for most MIG and TIG operations in a home shop to be between 15 and 20 CFH.
Atmospheric contamination is a silent killer of structural integrity. I once investigated a trailer hitch failure where the weld looked beautiful on the outside. However, the fabricator had been working near an open garage door on a windy day. The wind blew the shielding gas away, resulting in internal porosity that reduced the weld’s strength by 60%. If you feel a breeze, you need a screen or a higher gas flow rate.
- Use a dedicated flowmeter at the regulator for accurate CFH readings.
- Regularly perform a “leak test” by spraying soapy water on gas hose connections.
- Identify porosity early: if you see tiny holes on the surface of the bead, stop and check your gas supply immediately.
Welding Defect Troubleshooting and Structural Integrity
Welding defect troubleshooting involves the visual and mechanical inspection of joints to identify flaws such as undercut, lack of fusion, or slag inclusions. Detecting these errors early allows for corrective grinding and re-welding, preventing catastrophic structural failures during the project’s service life.
One of the most common defects I see is “undercut.” This is a groove melted into the base metal next to the weld toe that isn’t filled back in by the filler metal. It acts as a “stress riser,” essentially a pre-made notch where a crack can start. In a structural application, an undercut deeper than 1/32 of an inch is often grounds for rejection in industrial standards.
Another critical issue is “lack of fusion,” where the weld metal sits on top of the base metal without actually melting into it. This is often caused by low heat or a dirty surface. I tell my students that a weld should look like it’s “grown out” of the metal, not like a caterpillar sitting on a branch.
| Defect Type | Likely Cause | Structural Consequence | Solution |
|---|---|---|---|
| Porosity | Low gas flow / Wind | High brittleness, internal voids | Increase gas to 20 CFH; use screens |
| Undercut | High voltage / Fast travel | Stress concentration; cracking | Lower voltage; pause at weld edges |
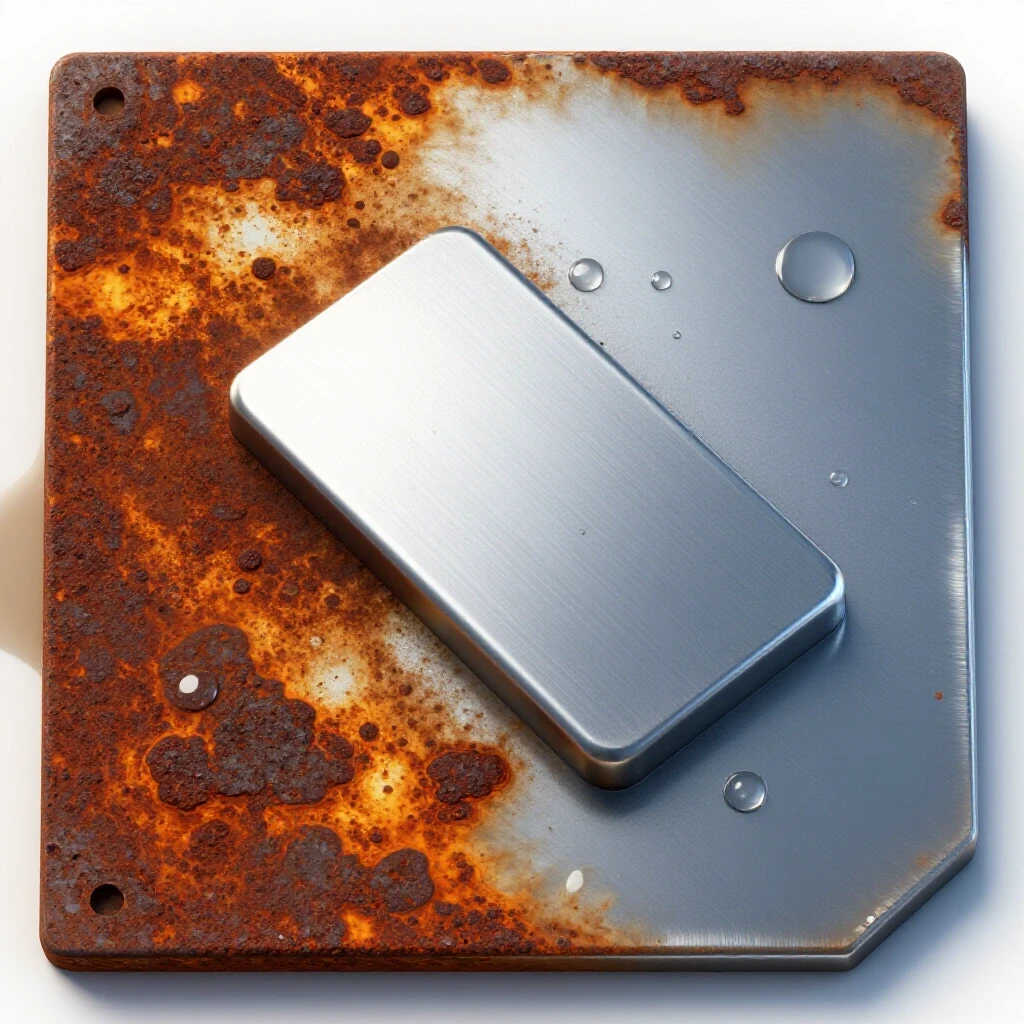
| Lack of Fusion | Low heat / Surface rust | Joint separation under load | Increase heat; clean metal to bright silver |
| Slag Inclusion | Poor cleaning between passes | Internal weak points | Grind out slag before the next pass |
- Use a “weld gauge” to measure the height and width of your beads to ensure they meet design specs.
- Always clean the base metal at least one inch back from the joint to prevent contamination.
- If a weld looks suspicious, grind it out. It is much easier to re-weld now than to fix a failure later.
PPE Integration and Respiratory Health in Garage Fabrication Safety
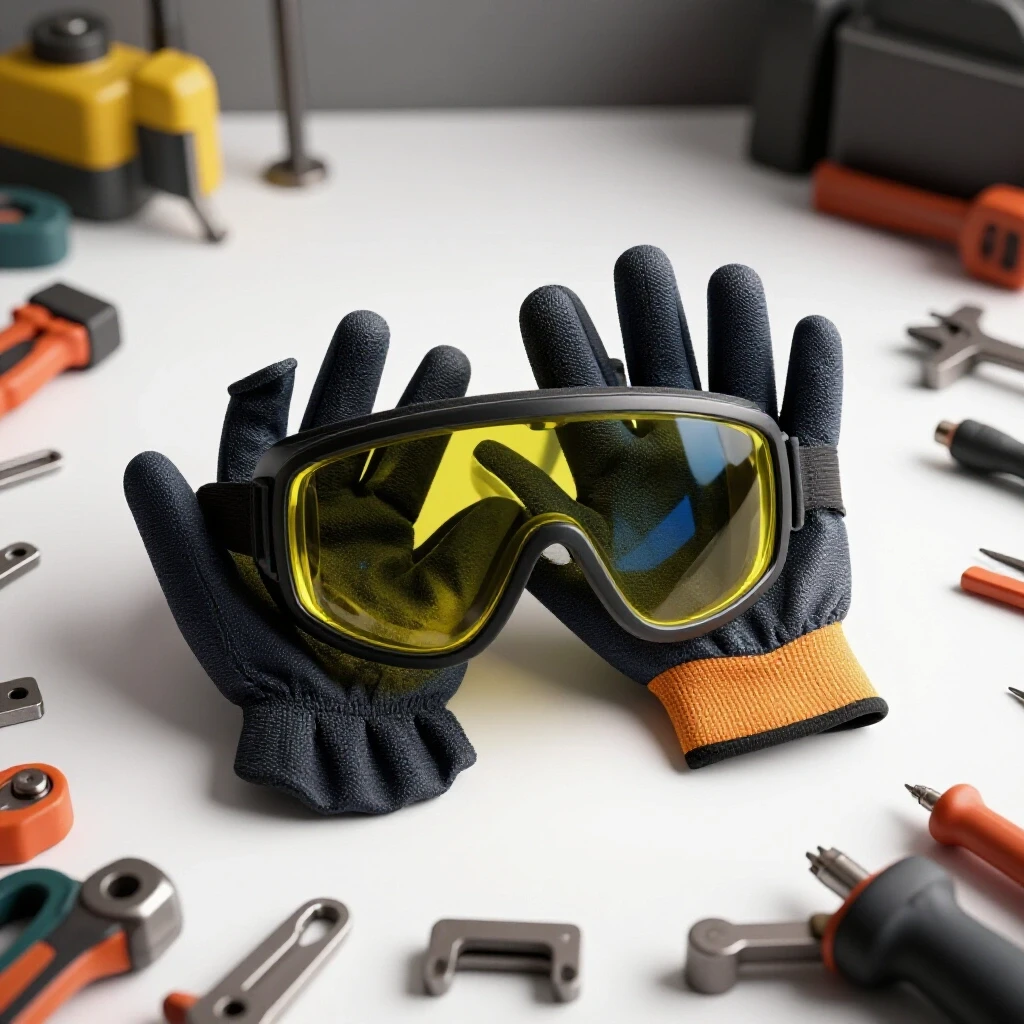
PPE integration refers to the consistent use of specialized gear—including auto-darkening helmets, flame-resistant clothing, and respirators—to shield the body from ultraviolet radiation, thermal burns, and toxic fumes. This is especially critical in confined garage spaces where ventilation may be limited.
I don’t view PPE as a chore; I view it as a tool that allows me to work more accurately. For example, a high-quality auto-darkening helmet with a Shade 10 to 13 filter allows me to see the weld puddle clearly, which directly improves weld quality. If you are straining to see, you are likely making mistakes in your joint preparation or bead placement.
Respiratory health is often neglected because the damage is cumulative. I wear a P100-rated pancake respirator under my welding hood, especially when working with galvanized steel or stainless. The “metal fume fever” that comes from breathing zinc vapors is not just uncomfortable; it’s a sign of acute poisoning. In a home shop, your lungs are your most vulnerable asset.
- Eyes: Use a helmet with a 1/1/1/1 optical clarity rating to reduce eye fatigue.
- Skin: Wear 100% cotton or leather; synthetic fabrics can melt to your skin in a fire.
- Lungs: Ensure a minimum of 200 linear feet per minute of air movement at the weld site.
- Ears: Grinding noise regularly exceeds 100 decibels; use earplugs to prevent permanent hearing loss.
Final Structural Load Testing and Verification Procedures
Structural load testing is the process of applying controlled weights or forces to a finished fabrication to verify its real-world performance against design calculations. This step confirms that the assembly can safely handle its intended service load without excessive deflection or joint failure.
Before I put any project into service, I perform a verification test. For a heavy-duty table, this might mean loading it with twice the intended weight (applying that 2:1 safety factor) and measuring the “deflection” or sag. If the metal doesn’t return to its original shape after the weight is removed, you have exceeded the yield strength, and the design needs reinforcement.
For critical welds, I use a “dye penetrant kit.” This is a simple, non-destructive testing (NDT) method where you spray a red dye on a weld, wipe it off, and apply a developer. The developer pulls the dye out of any microscopic surface cracks that the naked eye can’t see. It’s a $50 investment that can prevent a $5,000 disaster.
- Visual Inspection: Check for cracks, undercut, and consistent bead profile.
- Dimension Check: Ensure the structure hasn’t warped out of square due to heat distortion.
- Static Load Test: Gradually apply the design load and monitor for popping sounds or visible bending.
- Dye Penetrant Test: Use on primary structural joints to rule out surface-level fractures.
- Documentation: Record the test results and the date for future reference and maintenance.
Moving Toward Professional-Grade Reliability
Building something that lasts is not a matter of luck; it is a matter of respecting the physics of the materials and the hazards of the process. When you stop guessing about load capacities and start measuring your gas flow and heat input, your confidence in your work increases exponentially.
I encourage you to take your next project and treat it like an industrial contract. Document your material PSI, track your weld settings, and perform a formal load test. By treating every garage project with this level of technical rigor, you transform from a hobbyist into a true fabricator. The peace of mind that comes from knowing a structure is sound is worth every extra minute spent on preparation.
Frequently Asked Questions
How can I tell if my weld has good penetration without cutting it open? While you can’t see inside the metal, you can look for “heat tint” on the back side of the joint. In thinner materials, a slight discoloration or a small “root bead” on the back indicates the weld has traveled all the way through. For thicker materials, ensuring you have a proper “V-groove” beveled into the edges is the best way to guarantee the weld reaches the center of the joint.
What is the safest way to weld galvanized steel in a home shop? Galvanized steel is coated in zinc, which releases toxic white clouds of zinc oxide when heated. The safest method is to grind off the galvanized coating at least two inches away from the weld area until you see shiny, bare steel. Always wear a P100 respirator and use a high-powered fan to pull fumes away from your workspace.
Why does my metal warp even when I clamp it down tightly? Warping is caused by the expansion and contraction of the metal as it heats and cools. Clamping helps, but the internal forces are incredibly strong. To minimize this, use “tack welds” to lock the structure in place, weld in short increments, and allow the metal to cool naturally between passes. Alternating sides of the joint can also help balance the pulling forces.
Is a 2:1 safety factor always enough for structural projects? A 2:1 factor is generally safe for static, unchanging loads. However, if the project will experience vibration (like a trailer), impact (like a bumper), or support human life (like a loft or stairs), you should increase that to 4:1 or even 5:1. When in doubt, more material is cheaper than a structural failure.
How do I know which shade to use on my welding helmet? The shade depends on the amperage you are using. For most DIY projects between 60 and 160 amps, a Shade 10 or 11 is standard. If you go higher (up to 250 amps), you need a Shade 12 or 13. If you see “spots” after welding or your eyes feel scratchy (like they have sand in them), your shade is too light or your helmet isn’t reacting fast enough.
Can I use a standard shop vac for welding fume extraction? No. A standard shop vac is not designed for hot sparks or fine metallic dust and can actually become a fire hazard. True fume extractors use flame-retardant filters and specific airflow rates to safely capture particles. For a home shop, it is better to use a powerful exhaust fan to vent the air directly outside.
What is the difference between a “cold” weld and a “hot” weld? A “cold” weld occurs when there isn’t enough heat to melt the base metal, resulting in the filler metal just sitting on the surface (lack of fusion). A “hot” weld uses too much energy, which can cause the metal to sag (burn-through) or create an excessively large heat-affected zone that weakens the surrounding area. A proper weld should have a smooth transition into the base metal with a slight “crown.”
How often should I replace my welding gloves and PPE? Replace your gloves as soon as the leather becomes stiff, charred, or develops holes. Stiff leather reduces your dexterity, which can lead to poor weld control. For helmets, check the outer clear lens daily; if it is pitted or cloudy, replace it so you can see your work clearly. PPE is a consumable item, just like your welding wire.
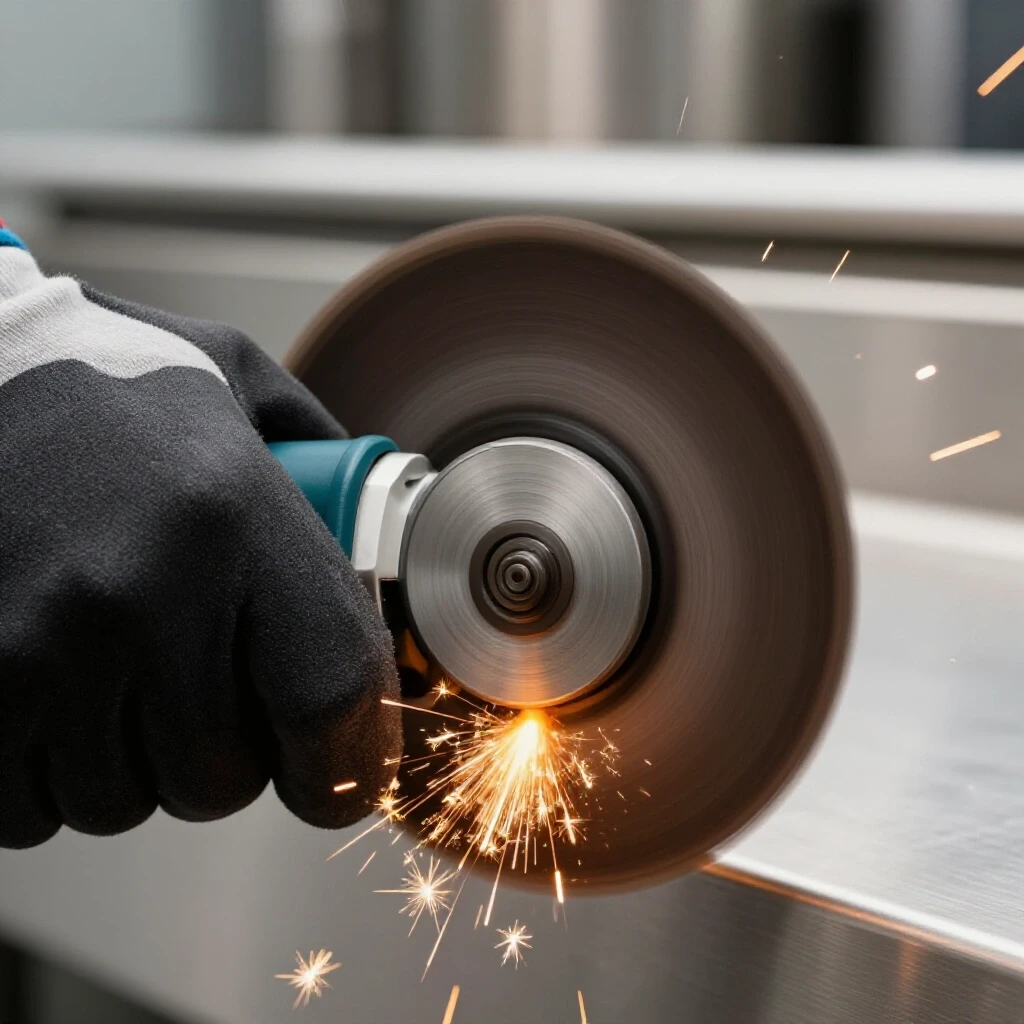
What is the most dangerous tool in a metal fabrication shop? Statistically, the angle grinder causes more emergency room visits than the welder. Between disintegrating discs, kickbacks, and flying sparks, it requires constant respect. Always use the guard, wear a full face shield over your safety glasses, and never “force” the tool into the cut.
Does the type of shielding gas really affect structural strength? Yes. For example, using 100% CO2 provides deep penetration but creates more splatter and a rougher bead. A 75% Argon / 25% CO2 mix (C25) is the standard for MIG because it provides a more stable arc and better puddle control, leading to fewer defects. The wrong gas for the material (like using MIG gas on TIG stainless) will result in a brittle, porous weld that will fail under stress.
(This article was written by one of our staff writers, James Harlan. Visit our Meet the Team page to learn more about the author and their expertise.)