How to Control Overhead Weld Puddle Drop-Out Safely (Tips)
I have spent the last 15 years in fabrication shops, often tucked inside cramped frames or reaching up into the skeletal structures of industrial mills. There is a specific kind of frustration that occurs when you are working against gravity. You pull the trigger or strike the arc, and instead of a clean, stacking bead, the molten metal decides to obey the laws of physics and succumb to gravity. It lands on your sleeve, or worse, leaves a gaping hole in your workpiece.
In my experience as a diagnostic specialist, I have learned that “luck” has nothing to do with preventing molten metal from falling out of a joint. Whether I am diagnosing a motor controller fault or troubleshooting weld porosity, the methodology remains the same: isolate the variables, test the assumptions, and control the environment. When a puddle drops, it is a symptom of a system out of balance.
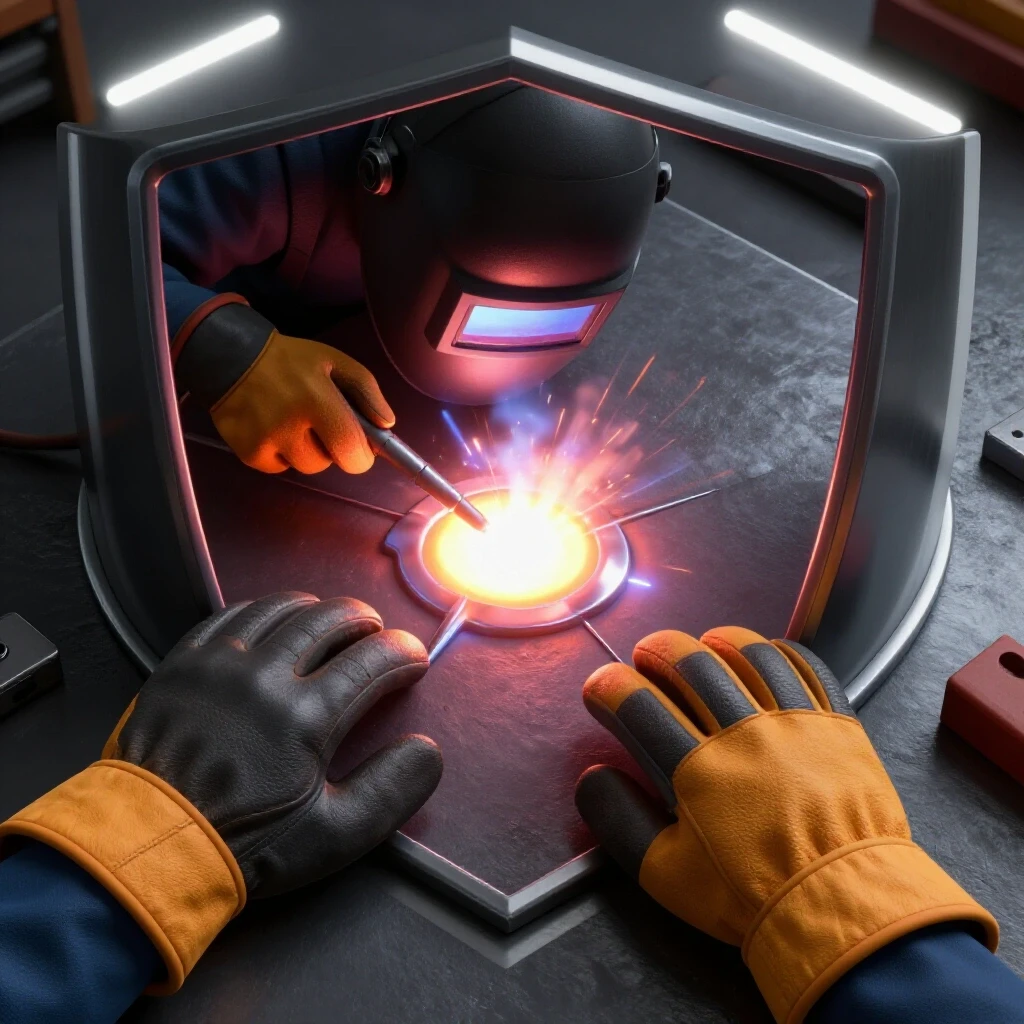
Overhead fabrication requires a shift in how we think about heat and fluid dynamics. We are essentially trying to freeze metal in mid-air before it has a chance to sag. This guide is built on the same systematic troubleshooting steps I use to resolve tool chatter or mechanical misalignments. We will break down the physics of the molten pool and look at how to stabilize it through precise machine calibration and operator technique.
Systematically Isolating Variables in Overhead Pool Retention
A systematic diagnostic framework is the first step in resolving any fabrication error. This involves identifying every factor that influences the molten pool—such as heat input, travel speed, and arc gap—and adjusting them one at a time to find the root cause of instability.
In mechanical troubleshooting, we often look for “backlash,” which is the lost motion in a mechanism caused by gaps between parts. In welding, we have a similar concept where the “gap” is the distance between your desired result and the actual behavior of the metal. If the puddle is sagging, your “backlash” is likely an excessive heat-to-mass ratio. By isolating variables, we can determine if the issue is the machine’s output or the operator’s physical manipulation of the torch.
Calibrating Machine Settings for Thermal Equilibrium
Thermal equilibrium in overhead work refers to the balance where the heat input is high enough to ensure fusion but low enough that the surface tension of the puddle can overcome the pull of gravity. Achieving this requires precise adjustments to amperage or voltage settings.
When I troubleshoot a machine, I start with a baseline. For overhead work, I generally find that a 5% to 10% reduction in amperage compared to flat-position settings is necessary. This reduction prevents the puddle from becoming too fluid. If the metal is too “watery,” surface tension fails. I treat this like adjusting the feed-per-tooth (IPT) on a mill; if the feed is too high for the spindle speed, you get tool chatter. If the heat is too high for the overhead position, you get puddle drop-out.
| Variable | Baseline Setting | Adjustment for Drop-Out |
|---|---|---|
| Amperage (SMAW/GTAW) | 125 Amps (Flat) | 110–115 Amps |
| Voltage (GMAW/FCAW) | 22 Volts | 19–20.5 Volts |
| Shielding Gas Flow | 20 CFH | 15–18 CFH |
| Wire Feed Speed | 250 IPM | 210–225 IPM |
Identifying Shielding Gas Contamination and Flow Rates
Shielding gas contamination occurs when outside air enters the weld zone, often causing porosity, which is the presence of tiny gas bubbles trapped in the cooling metal. In overhead positions, excessive gas flow can actually create turbulence that destabilizes the puddle.
I once spent three days tracking down what looked like a machine error on a large overhead gantry. The beads were foaming and dropping. We checked the motor brushes and the wire tension, but the fix was simpler. The gas flow was set at 35 CFH. This high pressure was creating a venturi effect, drawing in atmospheric air and “pushing” the molten metal out of the joint. By dropping the flow to 17 CFH, we stabilized the arc and the puddle stayed put.
Managing Mechanical Forces and Gravity in Overhead Positions
Controlling the molten pool requires an understanding of work angles and travel speeds to ensure the metal solidifies quickly. This stage of troubleshooting focuses on the physical relationship between the electrode and the workpiece to minimize the time the metal remains in a liquid state.
Think of this like aligning a lathe spindle. If the alignment is off by even 0.002 inches, the cut will taper. In overhead welding, if your work angle is off by 5 degrees, gravity will pull the puddle toward the bottom edge of the joint rather than allowing it to center. We must use specific angles to “push” the metal into the root and hold it there until it transitions from liquid to solid.
Correcting Electrode Manipulation and Work Angles
The work angle is the position of the electrode relative to the joint surfaces, while the travel angle is the lean of the electrode in the direction of the weld. Proper angles are critical for directing arc force, which acts as a mechanical pressure to help hold the puddle in place.
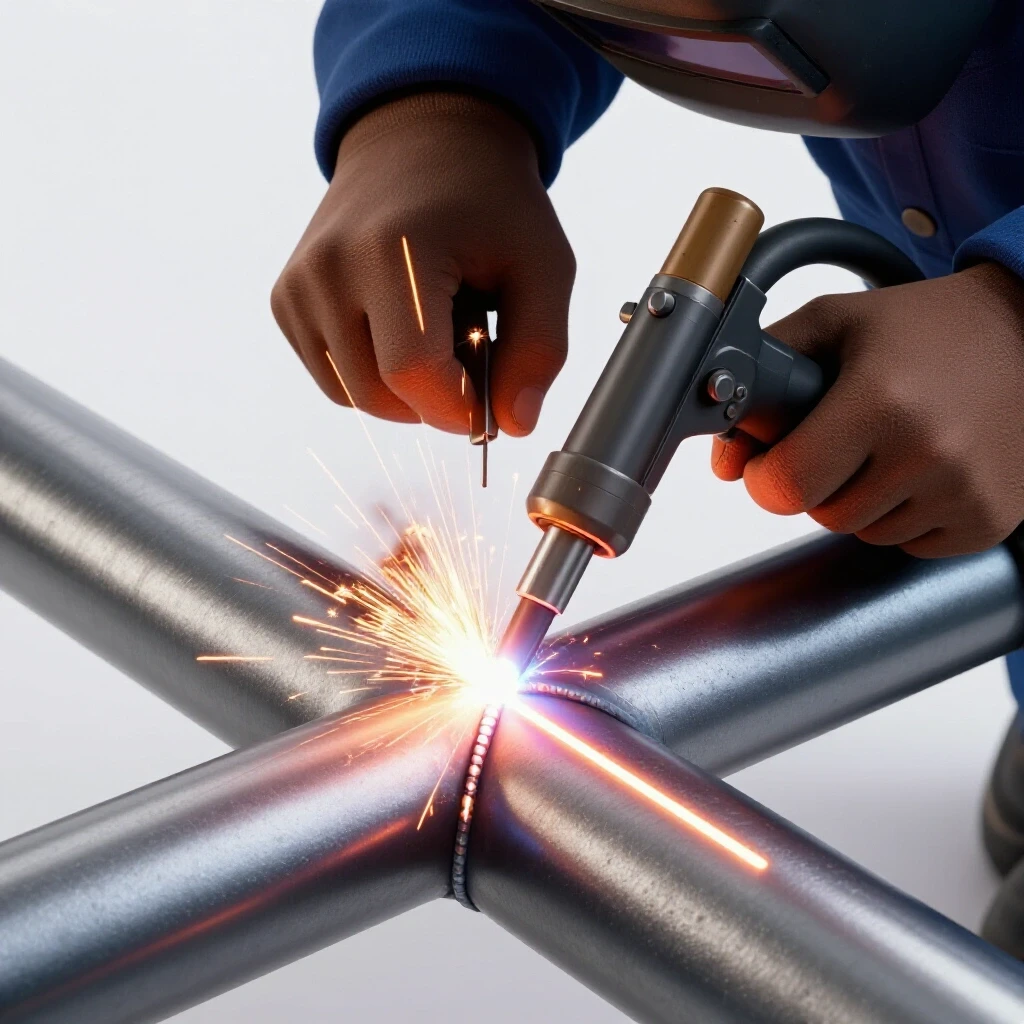
For a standard overhead fillet weld, I keep the work angle at a dead 45 degrees to the joint. If the puddle starts to sag toward one side, I may slightly favor the top piece to let gravity pull the metal down into the corner. My travel angle is usually a “push” or “drag” of 5 to 10 degrees. Anything more than that spreads the heat over too large an area, making the puddle harder to control.
- Keep the arc short; an arc length of 1/16 to 1/8 inch is ideal.
- Avoid wide weaving motions which keep the metal molten for too long.
- Use a slight “whip and pause” technique with certain electrodes to let the puddle cool.
- Ensure the electrode is pointed directly into the root of the joint.
Troubleshooting Arc Length and Voltage Fluctuations
Arc length is the distance from the tip of the electrode to the surface of the molten pool, and it directly affects the voltage and heat of the weld. A long arc increases voltage and spreads heat, which is the primary cause of puddle drop-out in overhead work.
In my diagnostic logs, I often compare a long arc to “spindle backlash” in a CNC machine. It introduces an unpredictable variable that ruins precision. When you pull the electrode away, the arc flares out. This creates a large, hot, and uncontrollable pool. By maintaining a tight arc—roughly the diameter of the wire or electrode core—you concentrate the heat and use the arc force to pin the metal against the ceiling of the joint.
Safety and Environmental Variables in Overhead Fabrication
Safety in overhead work involves more than just wearing a helmet; it requires managing the trajectory of sparks and ensuring the operator’s physical stability. If you are wobbling or straining to reach the joint, your arc length will fluctuate, leading to the very puddle instability we are trying to avoid.
I approach workspace setup the same way I approach a machine re-alignment checklist. If the foundation is not stable, the rest of the work will fail. In overhead scenarios, the “foundation” is your body positioning and the protection of your equipment.
Ventilation and Positioning for Process Control
Proper positioning ensures that the operator can maintain a steady hand while staying out of the path of falling sparks and fumes. Ventilation must be managed so that it removes fumes without creating a draft that disturbs the shielding gas.
When I am setting up for an overhead job, I never weld directly over my head. I position myself so the joint is slightly in front of me. This allows the sparks to fall past my shoulder rather than onto my chest or helmet. I also use a “third point of contact,” such as leaning my shoulder against a brace or using a steadying hand, to eliminate the natural micro-tremors that occur when reaching upward. This stability is what allows for the 0.002-inch precision needed for high-quality fabrication.
- Wear a leather cape or full leather jacket to prevent burns from falling slag.
- Use a respirator or fume extractor positioned to pull air away from the face.
- Clear the floor of flammable debris where sparks will land.
- Secure the workpiece with heavy-duty clamps to prevent any vibration or movement.
- Ensure your helmet lens is clean; if you cannot see the puddle’s edge, you cannot control it.
Diagnostic Tools for Monitoring Weld Health
To truly master overhead control, you need to move beyond guesswork and use data. Modern diagnostic tools can help you identify why a process is failing before you waste material.
- Digital Calipers: Use these to check fit-up tolerances. A gap wider than 3/32 of an inch in an overhead joint is a recipe for drop-out.
- Infrared Heat Tracking: Use an IR thermometer to check the interpass temperature. If the base metal gets too hot, the puddle will never stay in the joint.
- Smartphone Vibration Analyzers: These apps can detect if nearby machinery is causing resonant harmonics in your workpiece, which can jitter the molten pool.
- Digital Flow Meters: Verify that your gas flow at the nozzle matches the regulator setting to prevent turbulence.
Case Study: Resolving Intermittent Puddle Sag on a 10-Ton Crane Rail
I once consulted on a repair for a 10-ton overhead crane rail. The fabricators were struggling with intermittent puddle sag. They thought it was a power fluctuation or a “back-EMF fault” in the welder. After observing the process, I noticed the sag only happened every 12 inches.
We performed a systematic check. We tested the voltage drop across the leads and found it was within the 2% tolerance. We checked the wire feeder for spindle backlash and found nothing. Finally, I used a digital level on the rail. It turned out the rail had a slight 1-degree twist. As the welder moved, their work angle was unknowingly changing. By correcting the operator’s stance to compensate for the rail’s twist, the “electrical gremlin” disappeared. It wasn’t the machine; it was a mechanical alignment issue that affected the fluid dynamics of the weld.
Actionable Troubleshooting Checklist for Overhead Stability
When you encounter puddle drop-out, follow this sequence to isolate the cause. Do not change two things at once, or you will never know which fix worked.
- Step 1: Verify Fit-Up. Is the gap consistent? Anything over 1/8 inch requires a change in technique or a backing bar.
- Step 2: Check Amperage/Voltage. Drop your heat by 10%. If the metal still runs, drop it another 5%.
- Step 3: Tighten the Arc. Ensure your arc length is no more than one electrode diameter.
- Step 4: Analyze the Angle. Are you at 45 degrees? Is your travel angle too steep?
- Step 5: Inspect the Gas. Is the flow between 15 and 20 CFH? Look for signs of porosity that indicate a draft.
- Step 6: Monitor Interpass Temp. Let the metal cool to the touch (or below 400°F for mild steel) before the next pass.
Conclusion and Next Steps
Mastering the overhead position is a matter of managing heat and gravity through systematic observation. By treating the molten pool like a mechanical system—one that requires specific tolerances and calibrations—you can eliminate the guesswork that leads to frustration and wasted time.
Start by practicing on scrap material with your amperage set 10% lower than usual. Focus entirely on maintaining a tight arc and a steady work angle. Once you can consistently produce a flat, frozen bead without sag, you can begin to fine-tune your travel speed for better productivity. Remember, in fabrication, the fastest way to finish a job is to do it once, correctly.
Frequently Asked Questions
Why does my overhead weld puddle always seem to “drip” even when I lower the heat? This is often caused by an arc length that is too long. When the arc is long, the voltage increases, making the puddle more fluid and wider. Even at lower amperage, a long arc spreads the heat too much for surface tension to hold the metal. Keep your arc as tight as possible to concentrate the heat.
What is the best travel speed for preventing molten metal sag? You generally need a faster travel speed overhead than in a flat position. The goal is to move quickly enough that the metal begins to solidify almost as soon as the arc passes. If you move too slowly, you build up too much heat in one spot, causing the pool to become too large and heavy for surface tension to support.
Can shielding gas flow really affect how well the puddle stays in the joint? Yes. If the flow rate is too high (above 25 CFH), the gas pressure can create turbulence or a “pushing” force that destabilizes the liquid metal. Conversely, if it is too low, atmospheric contamination causes porosity. Porosity makes the puddle “foam,” which increases its volume and makes it much more likely to drop out.
How do I handle a wide gap in an overhead joint? Wide gaps are difficult because there is no “ceiling” to help hold the metal. In these cases, use a “shelf” technique. Deposit a small bead on one side of the joint, let it cool slightly, and then use that solidified metal as a support for the next pass. This requires a very disciplined “whip” or “oscillating” motion.
Does the type of electrode or wire make a difference in overhead control? Absolutely. Some fillers are designed to be “fast-freeze,” meaning they transition from liquid to solid very quickly. If you are using a “fast-fill” electrode designed for flat work, you will struggle overhead because the metal stays molten too long. Always check that your consumable is rated for all-position work.
What should I do if I see porosity forming while welding overhead? Stop immediately. Porosity is a sign of gas coverage failure or base metal contamination. In overhead work, the bubbles created by porosity make the puddle structurally unsound and more fluid. Clean the base metal with a grinder to remove mill scale or oil, and check your gas lines for leaks.
Is a weave bead or a stringer bead better for overhead work? Stringer beads are almost always better for overhead positions. A stringer bead keeps the heat localized and the puddle small. Weaving spreads the heat across a wider area and keeps the entire width of the weld molten for a longer period, which significantly increases the risk of the puddle falling out.
How can I tell if my amperage is too low for overhead work? If the amperage is too low, the electrode will tend to “stick” to the workpiece, or the bead will look “ropey” and sit on top of the metal without proper fusion. You want the highest amperage possible that still allows the puddle to freeze quickly enough to stay in the joint.
How does body positioning affect the quality of an overhead weld? If your body is not braced, you will have micro-tremors in your hands. These tremors cause the arc length to fluctuate. In overhead work, a fluctuation of even 1/16 of an inch can be the difference between a stable pool and a drop-out. Always find a way to lean or brace your arm to maintain a steady arc.
What safety gear is most important for preventing burns during overhead fabrication? A leather welding jacket or cape and a leather hood (bib) attached to the bottom of your welding helmet are essential. These prevent hot sparks and molten slag from falling down your shirt or onto your neck. Additionally, ensure your gloves are in good condition; a hole in a glove is a magnet for falling metal in overhead positions.
(This article was written by one of our staff writers, Paul Whitaker. Visit our Meet the Team page to learn more about the author and their expertise.)