How to Fix Oil Canning in Welded Steel Panels (Easy Guide)
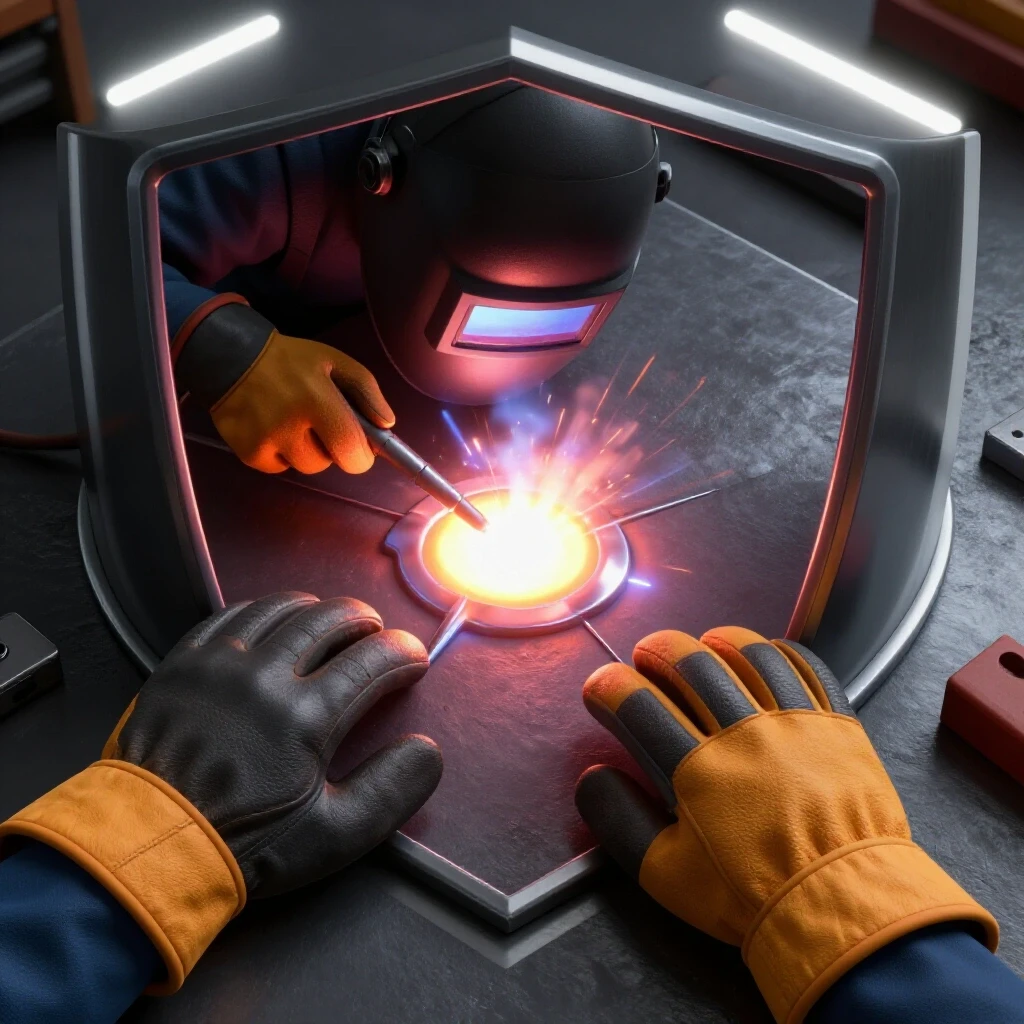
The sound of a steel panel snapping back and forth is one of the most frustrating noises in a fabrication shop. It is a metallic “thunk” that signals a loss of structural integrity and a failure in surface flatness. After eighteen years of diagnosing industrial machinery and custom metalwork, I have learned that this specific type of distortion is rarely a random occurrence. It is a predictable result of metallurgical stress. When you finish a weld and see a panel buckle, you are dealing with a localized imbalance of internal tension.
In my career, I have spent countless hours tracking down elusive issues like motor controller faults or tool chatter solutions. However, resolving surface buckling in thin-gauge steel remains one of the most tactile challenges a fabricator faces. It requires a systematic approach, much like identifying the root cause of troubleshooting weld porosity. You cannot simply hammer the problem away without a plan. If you do, you risk stretching the metal further, turning a small wave into a permanent structural defect.
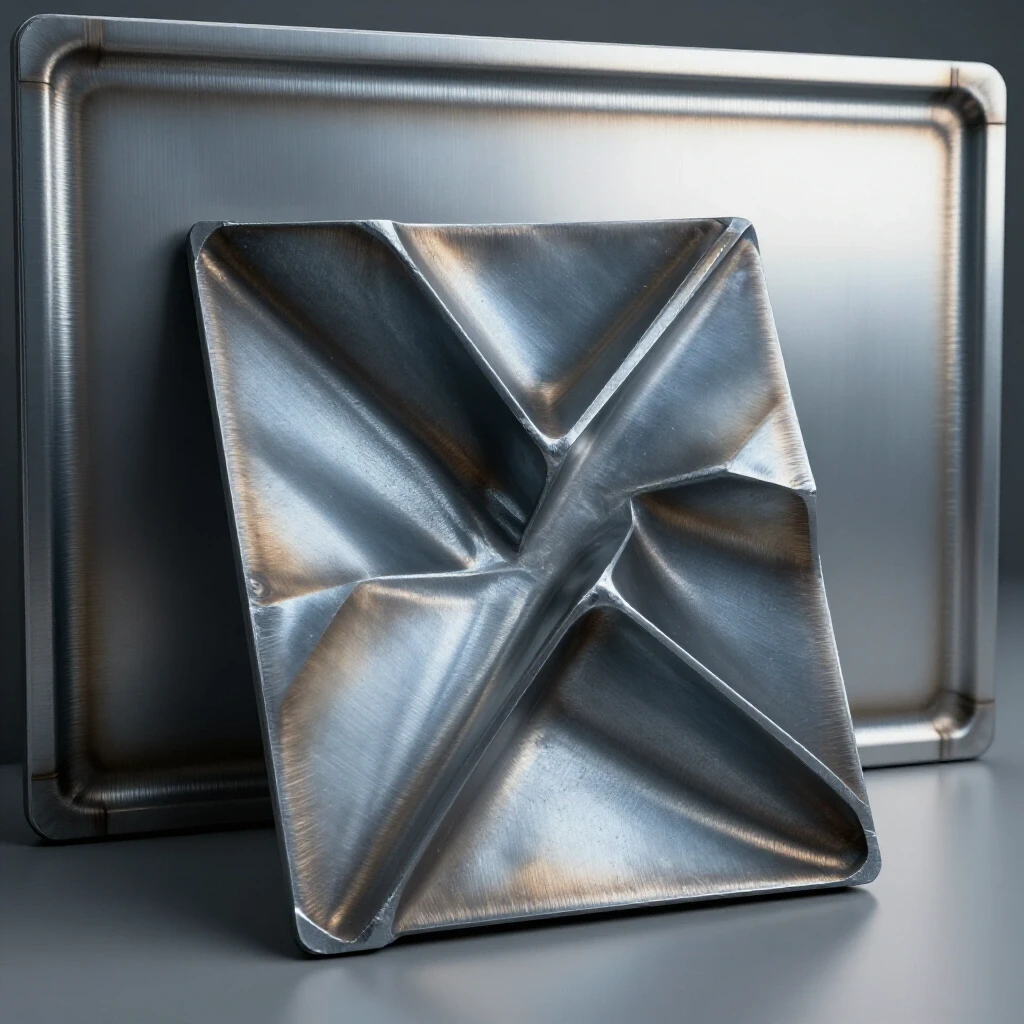
This guide focuses on the diagnostic and corrective measures needed to restore flatness to steel panels after they have suffered thermal distortion. We will move through a structured process of observation, mechanical manipulation, and thermal correction. We will treat the steel not as a static object, but as a dynamic system of stresses that must be brought back into equilibrium.
Identifying Post-Weld Surface Distortion and Buckling
Surface distortion in thin steel occurs when internal stresses from welding exceed the material’s ability to stay flat. It manifests as a “pop” or wave in the sheet, often moving back and forth when pressed. This happens because the weld area shrinks during cooling, pulling the surrounding metal into a dome.
When a weld bead cools, it undergoes a phase change and physical contraction. For a typical mild steel, this contraction can be significant. If the sheet is thin—usually 16-gauge or thinner—it lacks the cross-sectional stiffness to resist these pulling forces. The result is a “buckle” or a “bubble” in the center of the panel. This is not unlike how a misaligned lathe can produce tool chatter; a small error at the source creates a resonant problem across the entire workpiece.
To begin the repair, you must first understand if the metal is “long” or “short.” A “long” area has been stretched and has too much surface area for the space it occupies. A “short” area is under tension and is pulling on the rest of the panel. Most post-weld buckling is caused by the weld itself being “short” (contracted), which forces the adjacent metal to become “long” (bunched up).
Systematic Mapping of Panel Stress Points
Mapping involves using straightedges and light sources to find the exact boundaries of the warped area. This step ensures you aren’t chasing shadows or applying heat to the wrong sections of the steel. By identifying the “hinge lines” of the buckle, you can target your repairs with surgical precision.
I approach this the same way I handle a lathe alignment checklist. I start with a baseline. Place a 24-inch machinist straightedge across the panel. Use a high-intensity LED work light at a low angle to cast shadows. The shadows will reveal the “high” and “low” spots that the naked eye might miss.
- The High Spot: This is the peak of the buckle. Mark it with a circle using soapstone.
- The Hinge Line: This is the transition point where the metal goes from flat to curved. This is often where the most stress is stored.
- The Weld Path: Note the distance of the buckle from the actual weld. Usually, the buckle forms parallel to the heat-affected zone (HAZ).
Once you have mapped the panel, you can use a feeler gauge to measure the depth of the distortion. If the gap under your straightedge is more than 0.060 inches on a 20-gauge panel, mechanical or thermal intervention is mandatory.
Correcting Metal Warpage with Hammer and Dolly Techniques
This method uses mechanical force to stretch or compress specific areas of the steel. By thinning the metal slightly or moving it with precise strikes, you relieve the tension pulling the panel out of shape. It is a fundamental metalworking diagnostic guide technique that relies on tactile feedback.
Hammer and dolly work is divided into two primary methods: “on-dolly” and “off-dolly.” Understanding the difference is critical for fixing mechanical troubleshooting steps in sheet metal.
The On-Dolly Technique
When you strike the metal directly over a steel dolly, you are effectively “squeezing” the steel. This thins the metal and causes it to spread out or stretch. If your panel is buckled because the weld area is too tight (short), you might use light on-dolly strikes directly on the weld bead. This stretches the weld, relieving the pull on the rest of the panel.
The Off-Dolly Technique
In this method, the dolly is placed under a low spot while you strike the high spot nearby. This does not stretch the metal as much as it moves or “rebends” it. It is used to level out the waves that surround a primary buckle. I find this similar to adjusting for spindle backlash; you are taking up the “slop” in the material’s shape without changing its thickness significantly.
| Technique | Action | Result | Best Use Case |
|---|---|---|---|
| On-Dolly | Hammer hits metal directly against dolly | Thins and stretches the metal | Relieving tight weld beads |
| Off-Dolly | Hammer hits metal adjacent to dolly | Shifts and levels the metal | Flattening broad waves |
| Slapping | Using a flat slapper instead of a hammer | Spreads force over a wide area | Final smoothing of high spots |
Using Thermal Shrinking to Restore Panel Flatness
Thermal shrinking uses localized heat from a torch to “upset” the metal. As the spot cools and contracts, it pulls the surrounding material tight, removing the buckle. This is a common metal fabrication fix for large flat surfaces where mechanical hammering would be too aggressive.
This process relies on a phenomenon called “upsetting.” When you heat a small spot of steel to a dull red color (roughly 1,100°F to 1,200°F), the surrounding cold metal acts as a clamp. The heated spot wants to expand, but it can’t move outward, so it expands “upward” (getting thicker). When you quench that spot with a wet rag or compressed air, it contracts in all directions. Because it grew thicker when hot, it pulls much harder when it cools, effectively “shrinking” the surface area.
Steps for a Successful Heat Shrink:
- Identify the Peak: Find the highest point of the “long” metal (the bubble).
- Apply Heat: Use an oxy-acetylene torch with a small tip (00 or 0). Heat a spot no larger than a dime.
- Watch the Color: Stop as soon as you see a dull red glow. Overheating can crystallize the steel or cause excessive scale.
- Quench: Immediately apply a soaking wet rag to the spot. The rapid temperature drop is what creates the tension.
- Re-evaluate: Never do two shrinks in the same spot back-to-back. Let the panel reach room temperature and check it with your straightedge.
Advanced Tensioning and Stress Relief Methods
These techniques involve using mechanical tension or surface impact to redistribute internal stresses. It is often the final step in a metalworking diagnostic guide for complex repairs. Sometimes, heat and hammers aren’t enough, and you need to address the molecular tension within the steel.
One effective method is “peening” the weld. Using a ball-peen hammer or a pneumatic scaling tool, you lightly strike the weld bead along its entire length. This acts like a thousand tiny hammer-on-dolly strikes. It stretches the weld bead that contracted during cooling. In my experience, this is the most overlooked step in resolving structural alignment faults in welded frames.
Another method involves “pre-stressing.” If a panel has a persistent buckle, you can use a series of clamps and a stiff backing bar to force the panel into a slight “reverse” curve. While under this tension, you apply a very light “line heat” (not a full shrink) along the hinge line. When the clamps are removed, the panel often springs back to a perfectly flat state.
Case Study: Resolving a Buckled 18-Gauge Door Skin
I recall a project involving a custom equipment cabinet where a 48-inch side panel developed a massive oil can effect after the internal stiffeners were TIG welded. The center of the panel would pop inward with the slightest touch.
- Observation: I used a digital dial indicator on a magnetic base to measure the “pop.” The panel was moving 0.125 inches.
- Isolation: By using a straightedge, I found that the weld beads on the back were the “short” points. They had pulled the panel tight at the edges, forcing the center to bow out.
- Mechanical Fix: I started by peening the weld beads on the back of the panel. This reduced the pop to 0.040 inches.
- Thermal Fix: I identified three high spots in the center. I applied three dime-sized heat shrinks in a triangular pattern.
- Result: After the final quench and a light planishing with a hammer and dolly, the panel stayed flat under a 10-lb load.
This process mirrored how I might approach tool chatter solutions: identify the source of the vibration (the weld tension), dampen the resonance (peening), and then fine-tune the geometry (heat shrinking).
Tools and Calibration for Surface Restoration
To achieve professional results, your tools must be in top condition. A scarred hammer face or a rusty dolly will transfer those imperfections directly into your steel panel.
- Body Hammers: You need a high-quality bumping hammer and a finishing hammer. The faces must be polished to a mirror shine.
- Dolly Selection: A “toe” dolly and a “universal” dolly cover 90% of flat panel work.
- Heat Source: An oxy-acetylene torch is preferred for its localized heat, but a TIG torch set to 40 amps can work for “spot” shrinking if you are careful.
- Measuring Tools: A 24-inch and 48-inch straightedge are non-negotiable. For advanced work, a digital protractor helps track panel angles.
- Quenching Media: A bucket of clean water and several heavy cotton rags. Do not use synthetic sponges, as they will melt onto the hot steel.
Troubleshooting Common Errors in Panel Flattening
Even experienced fabricators can run into dead ends. If the panel seems to be getting worse, you are likely misdiagnosing the type of stress.
- Over-Shrinking: If the panel goes from a “pop” to being “tight as a drum” but still warped, you have shrunk the metal too much. You must now use on-dolly hammering to stretch it back out.
- Chasing the Bubble: If you shrink a spot and the bubble simply moves two inches to the left, you haven’t found the primary hinge line. Stop heating and re-map the panel.
- Surface Galling: This happens when you hammer too hard without a clean dolly. It creates thin spots that are nearly impossible to fix without filler. Keep your strikes light and frequent rather than heavy and sparse.
Practical Benchmarks for Success
How flat is “flat enough”? In industrial fabrication, we use specific tolerances. For a standard 16-gauge steel panel, a deviation of less than 0.015 inches over a 12-inch span is generally considered “flat” for paint and finish work.
- Tension Test: Press the center of the panel with your thumb. It should resist movement and not “snap” or “pop.”
- Visual Test: View the panel under fluorescent “shop lights” that run parallel to the surface. Any remaining waves will appear as breaks in the light’s reflection.
- Straightedge Test: You should not be able to slide a 0.010-inch feeler gauge under the straightedge at any point across the repair zone.
FAQ: Addressing Surface Distortion in Steel Panels
What causes the metal to “pop” even after I’ve hammered it flat? This is usually due to “latent stress.” The metal may look flat, but the internal tension from the weld is still pulling on it. You likely need to stretch the weld bead itself through peening or on-dolly hammering to truly neutralize the force.
Can I use a propane torch for heat shrinking? Generally, no. Propane does not produce a concentrated enough flame to heat a small spot quickly. It tends to soak the entire panel with heat, which causes even more expansion and warping. You need the intense, localized heat of oxy-acetylene.
Is it possible to fix a panel that has been stretched too much? Yes, but it requires careful shrinking. If a panel has been over-hammered (stretched), it will have too much surface area. You must use the “upset” heat shrinking method to pull that extra material back into itself.
How do I know if I should hammer on-dolly or off-dolly? Use on-dolly if you need to make the metal thinner and longer (to relieve a tight spot). Use off-dolly if you need to move a high spot down into a low spot without changing the metal’s thickness.
Why did my panel crack after I quenched it? Cracking usually occurs in high-carbon steels or if the metal was heated past the bright red stage (over 1,500°F). For standard A36 mild steel, a dull red heat followed by a quench should not cause cracking unless the weld itself was porous or contaminated.
How many heat shrinks are too many? There isn’t a set number, but each shrink hardens the metal slightly. If you find yourself doing more than 10 or 15 shrinks in a small area, you are likely fighting a larger structural alignment fault that needs mechanical correction first.
Does the thickness of the steel change the repair method? Absolutely. Thicker steel (12-gauge and up) is much harder to shrink with heat and often requires more aggressive mechanical force, like a power hammer or heavy sledges with a helper holding the dolly.
Can I fix buckling in stainless steel using these same steps? Stainless steel has a much higher rate of thermal expansion and lower thermal conductivity than mild steel. While the principles are the same, you must be much more careful with heat, as stainless can “work-harden” rapidly and become brittle.
Summary of Corrective Steps
Restoring a distorted panel is a process of elimination. You start by identifying where the metal is too tight (the weld) and where it is too loose (the buckle). By systematically stretching the tight areas and shrinking the loose areas, you bring the panel back into a state of neutral tension.
- Map the distortion with a straightedge and light.
- Relieve weld tension by peening or on-dolly hammering the bead.
- Level the surrounding waves using off-dolly techniques.
- Shrink the remaining “long” metal using localized heat and quenching.
- Verify the repair with feeler gauges and visual inspection.
This methodical approach reduces downtime and prevents the frustration of “random guesswork.” Like any high-level fabrication skill, it requires patience and a keen eye for detail. Once you master the relationship between heat, force, and tension, you can handle even the most severe panel distortions with confidence.
(This article was written by one of our staff writers, Paul Whitaker. Visit our Meet the Team page to learn more about the author and their expertise.)