Essential Metal Prep Steps for Clean and Strong Welds (Fix)
I spent a cold Tuesday afternoon in 2012 staring at a fractured engine hoist frame that had snapped under a load well within its rated capacity. As a mechanical engineer and shop floor inspector, I’ve seen my fair share of failures, but this one was particularly sobering. The break didn’t happen in the middle of the steel beam; it happened right at the interface where the weld met the base metal. When I looked at the cross-section of the failed joint, the problem was immediately clear. Beneath a beautiful-looking bead was a layer of dark, flaky crust—mill scale that had never been removed. The weld had simply “glued” itself to the oxide layer rather than fusing with the structural steel. This is the reality of working with metal: what you don’t see before you start the arc is often what causes the project to fail later.
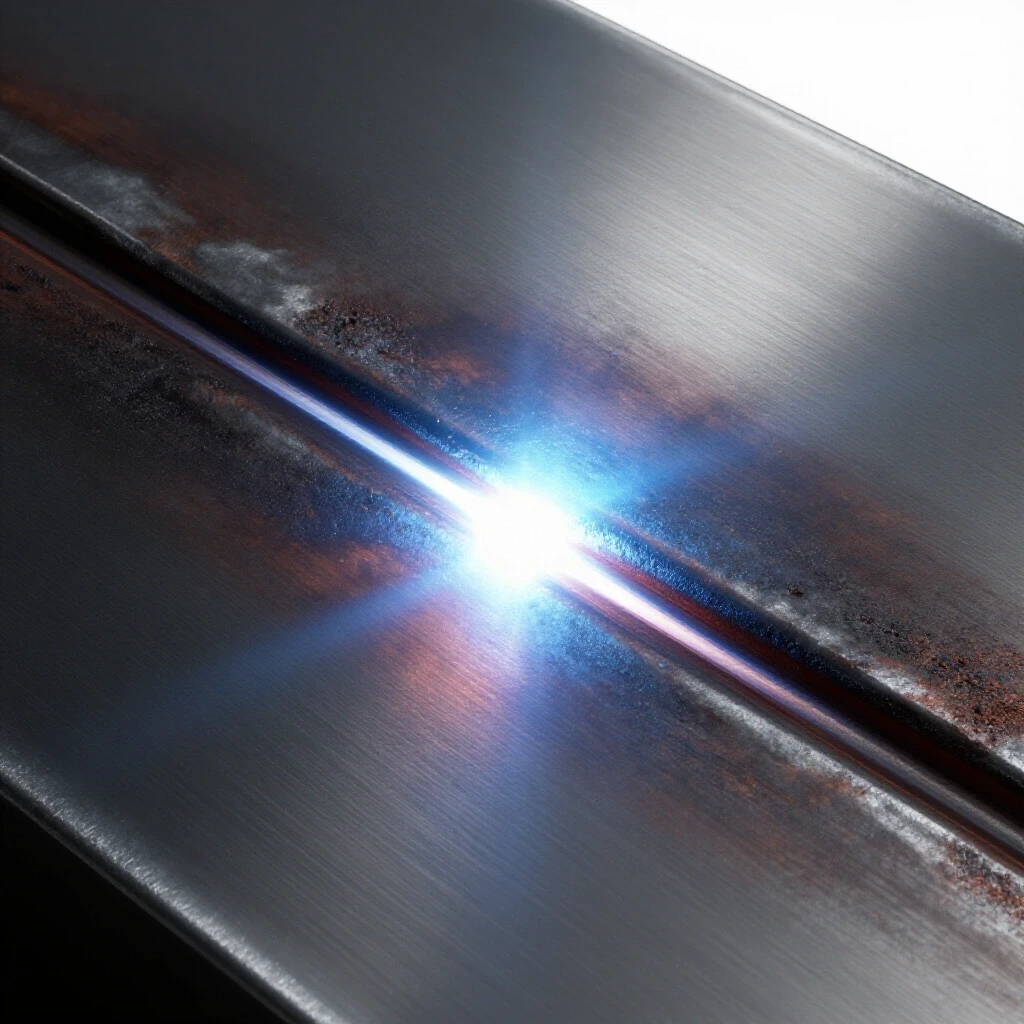
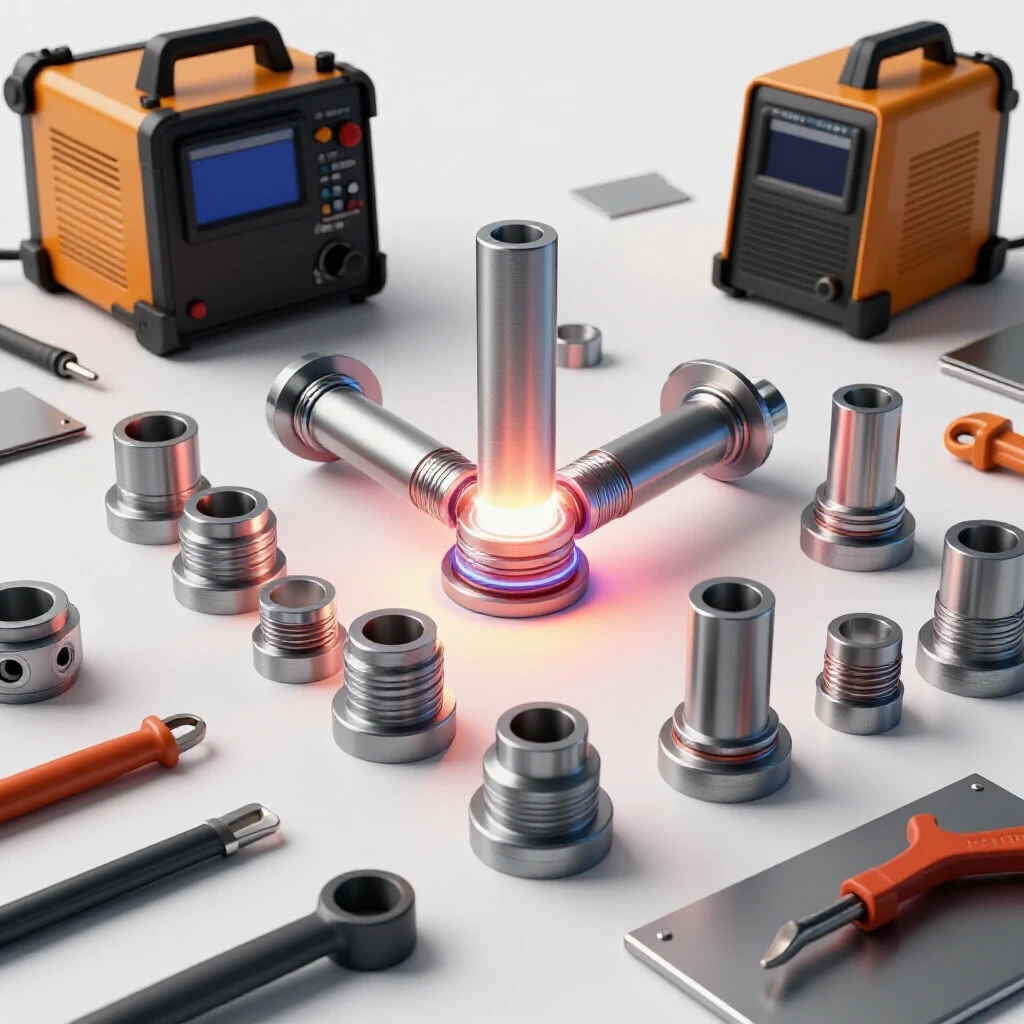
Over my 14 years in metal fabrication, I’ve learned that the integrity of a structure is decided long before the torch is lit. Whether you are building a custom rack for your truck or a heavy-duty workbench, the bond between two pieces of metal relies on a clean atomic path. Any barrier—be it oil, rust, or factory coatings—acts as an insulator that disrupts the flow of electricity and prevents the deep penetration required for a safe, load-bearing joint. In this guide, I will break down the technical reasons why surface conditioning is the most critical phase of your build and how you can implement a rigorous workflow to prevent structural failures in your own workshop.
The Science of Surface Contaminants and Structural Integrity
Surface contamination refers to any foreign material, such as iron oxide, hydrocarbons, or moisture, that sits between the welding arc and the base metal. These elements can cause chemical reactions that weaken the metal’s molecular structure or create physical gaps known as inclusions.
When I talk about structural metal load capacity, I am referring to the maximum stress a material can handle before it deforms or breaks. In a perfect world, a weld should be as strong as the metal it joins. However, when we leave contaminants on the surface, we create “stress risers.” Imagine a microscopic bubble trapped inside a weld. Under a load, the stress concentrates around that bubble. Eventually, a tiny crack forms, and once a crack starts, the tensile strength of the joint—the amount of pulling force it can withstand—drops significantly.
Interestingly, many intermediate fabricators underestimate the impact of factory-applied coatings. Hot-rolled steel comes from the mill with a layer of blue-grey magnetite called mill scale. While it looks like part of the metal, it is actually a brittle ceramic-like layer. It has a much higher melting point than the steel beneath it. If you try to weld over it, the arc often fails to “bite” through to the base metal, leading to a defect called lack of fusion. In my experience inspecting industrial frames, lack of fusion is the primary cause of sudden, catastrophic brittle fractures.
| Surface Condition | Estimated Yield Strength Retention | Primary Failure Risk |
|---|---|---|
| Cleaned to Bright Metal | 98-100% | Minimal / Base Metal Failure |
| Light Surface Rust | 85-90% | Porosity and Brittleness |
| Heavy Mill Scale | 70-80% | Lack of Fusion / Cold Lap |
| Oil or Grease Film | 50-70% | Severe Porosity / Cracking |
Mechanical De-scaling: Tools and Techniques for a Pure Interface
Mechanical de-scaling involves using abrasive tools to physically grind, sand, or brush away surface oxides and coatings until the base metal is exposed. This process creates a clean, “bright” surface that allows for optimal electrical conductivity and metal-to-metal fusion.
To get a truly structural bond, you need to reach what we call “white metal.” This means the steel should look like shiny silver, not dull grey. For heavy mill scale, a standard 4.5-inch angle grinder equipped with a 36-grit or 60-grit flap disc is usually the most efficient tool. I prefer flap discs over solid grinding wheels because they are less likely to “gouge” the metal, which can create thin spots in your structural design.
Building on this, the direction of your grinding matters more than you might think. If you leave deep, jagged scratches perpendicular to the direction of the weld, you can trap tiny amounts of air or debris at the bottom of those grooves. I always recommend a final pass with a finer grit or a wire wheel to smooth out the surface. This ensures that the molten puddle can flow smoothly into the microscopic “peaks and valleys” of the metal surface.
- Flap Discs (40-60 Grit): Best for removing heavy mill scale and shaping edges.
- Wire Wheels: Excellent for removing loose rust without thinning the base material.
- Fiber Discs: High-speed removal for flat surfaces where consistency is key.
- Clean and Strip Discs: These “poly-web” discs are great for removing paint or light scale without removing any actual steel.
Chemical De-greasing: Neutralizing Hydrocarbons to Prevent Porosity
Chemical de-greasing is the use of solvents to dissolve and remove oils, cutting fluids, and protective waxes that mechanical grinding might simply smear across the metal. Removing these hydrocarbons is essential to prevent gas bubbles from forming inside the cooling weld pool.
I once consulted on a project involving a large hydraulic tank that kept developing tiny leaks. The fabricator was grinding the edges perfectly, but he was using a recycled rag that had traces of motor oil on it. Even a fingerprint can contain enough oil to cause welding defect troubleshooting headaches. When hydrocarbons are hit by the intense heat of an arc, they vaporize instantly. This gas gets trapped in the cooling metal, creating “porosity”—which looks like a sponge when viewed under a microscope.
In a garage fabrication safety context, you must be extremely careful about which chemicals you use. Never use chlorinated solvents, like some brake cleaners, near a welding area. When exposed to UV light and heat, these chemicals can turn into phosgene gas, which is highly toxic even in tiny amounts. I always stick to pure acetone or a dedicated wax and grease remover. Apply the solvent to a clean, lint-free cloth, wipe the joint thoroughly, and wait for it to fully evaporate before striking an arc.
- Identify the contaminant: Is it heavy grease, light machine oil, or a clear protective wax?
- Select the solvent: Acetone is the industry standard for its fast evaporation and lack of residue.
- Wipe-on, Wipe-off: Use a two-cloth method. One to apply the solvent and dissolve the oil, and a second clean cloth to lift it away.
- Verification: The cloth should come away completely clean. If it’s grey or black, repeat the process.
Managing the Heat-Affected Zone (HAZ) Through Proper Preparation
The Heat-Affected Zone (HAZ) is the area of base metal surrounding the weld that has not melted but has undergone a change in its physical properties due to the intense heat. Proper preparation helps minimize the size of this zone and prevents it from becoming a point of structural weakness.
When we heat steel, its internal grain structure changes. If we have to dump excessive heat into a joint just to burn through rust or scale, the HAZ becomes much larger. A larger HAZ often results in a loss of ductility, meaning the metal becomes brittle and prone to cracking under vibration. By starting with a surgically clean surface, the arc transfers heat more efficiently into the joint. This allows you to weld faster and with more control, keeping the HAZ as small as possible.
In my years of conducting load tests, I’ve found that failures almost always occur at the edge of the HAZ. If the metal wasn’t prepped correctly, the “toe” of the weld (where the weld meets the base metal) will have a sharp angle or an undercut. This creates a massive stress point. A clean surface allows the weld to “wet out” or flow smoothly into the base metal, creating a gentle transition that distributes loads more evenly.
| Defect Name | Cause Related to Prep | Structural Consequence |
|---|---|---|
| Porosity | Moisture or oil on surface | Internal voids; reduced shear strength |
| Inclusion | Slag or scale trapped in weld | Internal “cracks” that grow under load |
| Lack of Fusion | Failure to remove mill scale | Weld “peels” off the base metal |
| Undercut | Over-heating to burn through dirt | Thinning of base metal at the joint edge |
Specialty Preparation for Stainless Steel and Aluminum
Non-ferrous metals like aluminum and specialty alloys like stainless steel require a different preparation philosophy because their oxide layers behave differently than the rust found on carbon steel. These materials are highly sensitive to cross-contamination and atmospheric gases.
Aluminum is a unique challenge. It naturally forms an aluminum oxide layer that melts at roughly 3,700°F, while the aluminum itself melts at about 1,200°F. If you don’t remove that oxide layer with a dedicated stainless steel wire brush right before welding, you will struggle to get a puddle to form. Interestingly, you must use a brand-new brush that has never touched carbon steel. If even a tiny bit of carbon steel is embedded in the aluminum, it will cause “galvanic corrosion,” and your project will literally start to rot from the inside out within months.
For stainless steel, the goal is to preserve the chromium oxide layer that makes it “stainless.” Prep involves removing any surface iron or oils that could “carbonize” during the welding process. Carbonization makes the stainless steel lose its corrosion resistance and can lead to “intergranular corrosion,” a failure where the metal crumbles like a dry cracker.
- Dedicated Tools: Keep a set of brushes and discs specifically for stainless or aluminum. Mark them with colored tape.
- Stainless Brushing: Always brush in one direction, not back and forth, to avoid folding contaminants into the surface.
- Immediate Execution: Aluminum starts oxidizing the moment it hits the air. Prep the joint and weld it within the hour for the best results.
Quantifying the Risk: How Preparation Influences Safety Margins
In structural engineering, we use a “safety factor” to account for unknowns. A 4:1 safety factor means the structure is built to hold four times its intended load. However, poor surface preparation can eat through that safety margin faster than any other variable.
If you are building a gantry crane for your shop, you are relying on the tensile strength of your welds to hold thousands of pounds over your head. If your prep is poor, and you have 20% porosity in your joints, your 4:1 safety factor effectively drops to 3.2:1. If you also have lack of fusion due to mill scale, that factor could plummet to 1.5:1 or lower. This leaves very little room for error if you accidentally bump the load or if the material has a hidden flaw.
As a result, I treat cleaning as a form of insurance. It is the only part of the fabrication process where you have 100% control over the outcome. You cannot control the internal chemistry of the steel you bought, but you can control exactly how clean the interface is. When I inspect a home-built trailer or frame, the first thing I look at is the “toe” of the weld. If I see signs of mill scale peeking out from under the bead, I know the fabricator took a shortcut, and the structural integrity is now a question mark.
The Workshop Prep Checklist: A Systematic Workflow
To ensure consistency in your builds, I recommend following a rigid checklist for every joint. This removes the guesswork and ensures that you are treating every weld as a critical structural component.
- Mechanical Clearance: Grind back mill scale at least 1 inch away from the weld zone on all sides.
- Edge Beveling: For material thicker than 1/4 inch, create a V-groove to allow for full-depth cleaning and fusion.
- Chemical Wipe: Use acetone and a clean rag until no residue remains.
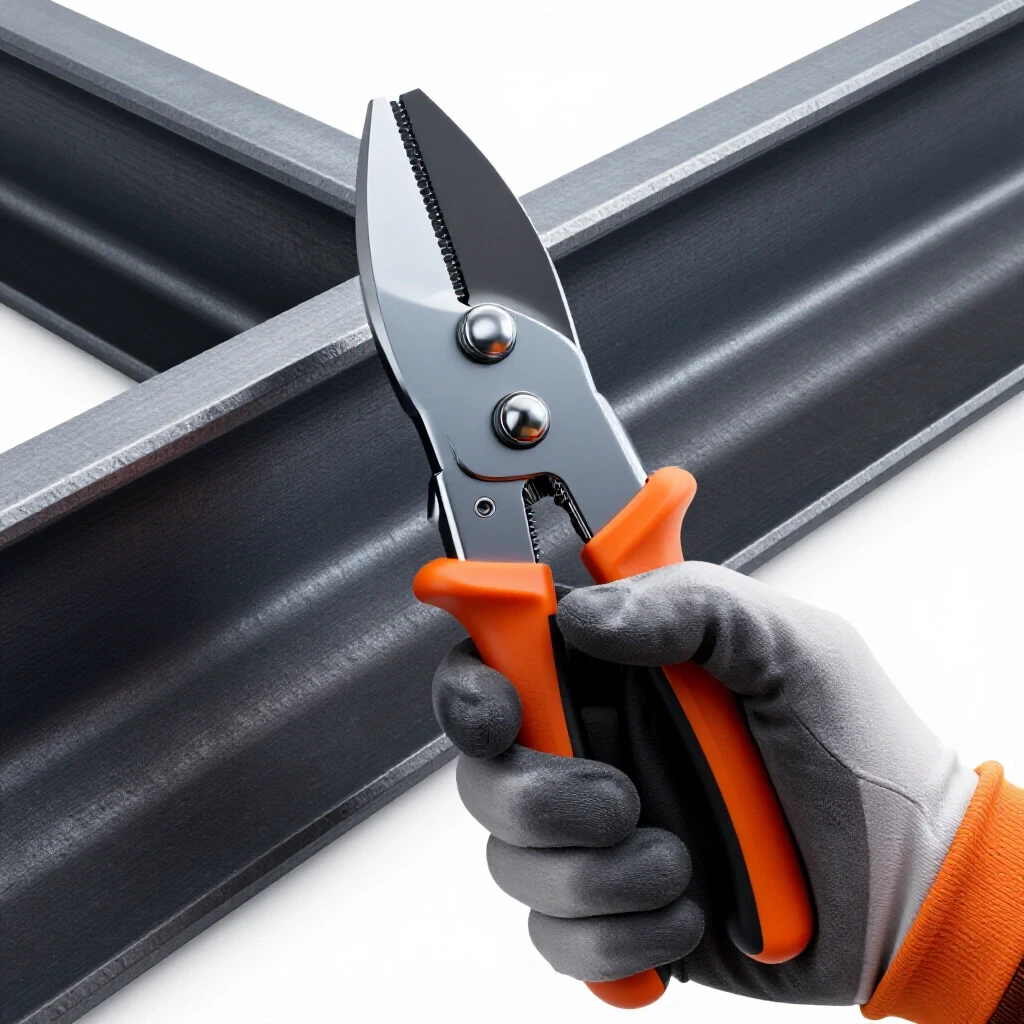
- De-burring: Remove any sharp “burrs” left by cutting tools, as these can trap air and cause turbulence in your shielding gas.
- Tack Weld Prep: Even your tack welds need clean metal. Don’t just “zap” through the rust to hold a piece in place.
- Final Inspection: Use a bright light to check for any missed spots of scale or shiny oil streaks.
Building on this, consider your environment. If you are welding in a garage with high humidity, moisture can condense on your cold steel. This moisture is a source of hydrogen, which causes “hydrogen embrittlement”—a condition where the weld becomes extremely brittle. I often use a propane torch to lightly pre-heat the metal to about 100°F just to drive off any surface moisture before I start.
Common Prep Mistakes and How to Avoid Them
Even experienced fabricators fall into traps when they are in a hurry. One of the most common errors is using a “dirty” abrasive. If you use a flap disc to grind down a piece of painted scrap and then use that same disc on your new structural steel, you are grinding old paint particles into your new joint.
Another mistake is over-grinding. While we want clean metal, we don’t want to thin the material. If you are working with 1/8-inch tubing and you grind a deep flat spot into it, you have reduced the structural metal load capacity of that member. The goal is to remove the “skin” (the oxide), not the “meat” (the steel).
Finally, don’t forget the back of the joint. If you are doing a full-penetration weld, the “root” or the backside of the metal needs to be just as clean as the front. If the arc pushes through to the other side and hits rust or paint, it will suck those impurities back into the center of your weld bead.
FAQ: Essential Preparation for Structural Welding
Why can’t I just “burn through” the rust with more heat? Increasing heat to burn through contaminants usually results in an oversized Heat-Affected Zone and excessive “spatter.” More importantly, the impurities don’t just disappear; they stay in the weld as slag inclusions or gas pockets, which significantly weaken the joint.
Is it really necessary to remove the blue mill scale on new steel? Yes. Mill scale is an iron oxide that is brittle and has a different melting point than steel. If left in place, it prevents the weld from actually fusing with the structural base metal, leading to “cold lap” where the weld just sits on top of the scale.
How far back from the weld should I clean the metal? A good rule of thumb is to clean at least 1 inch (25mm) back from the edge of the joint on all sides. This prevents the heat of the arc from drawing in nearby contaminants like paint or oils.
Can I use a wire brush on a drill instead of a grinder? A wire brush is excellent for removing loose rust or cleaning aluminum oxides, but it is often not aggressive enough to remove heavy, baked-on mill scale from hot-rolled steel. For mill scale, an abrasive disc is required.
What is the best way to clean inside square tubing? Internal cleaning is difficult but necessary for high-load projects. I use a small “cone” stone on a die grinder or a long-handled wire brush. If you can’t reach it, ensure the outside is perfectly prepped to maximize the strength you can control.
Does the type of metal affect how I clean it? Absolutely. Carbon steel requires the removal of rust and scale. Aluminum requires the removal of a transparent oxide layer using a dedicated stainless brush. Stainless steel requires de-greasing and the removal of any surface iron to prevent corrosion.
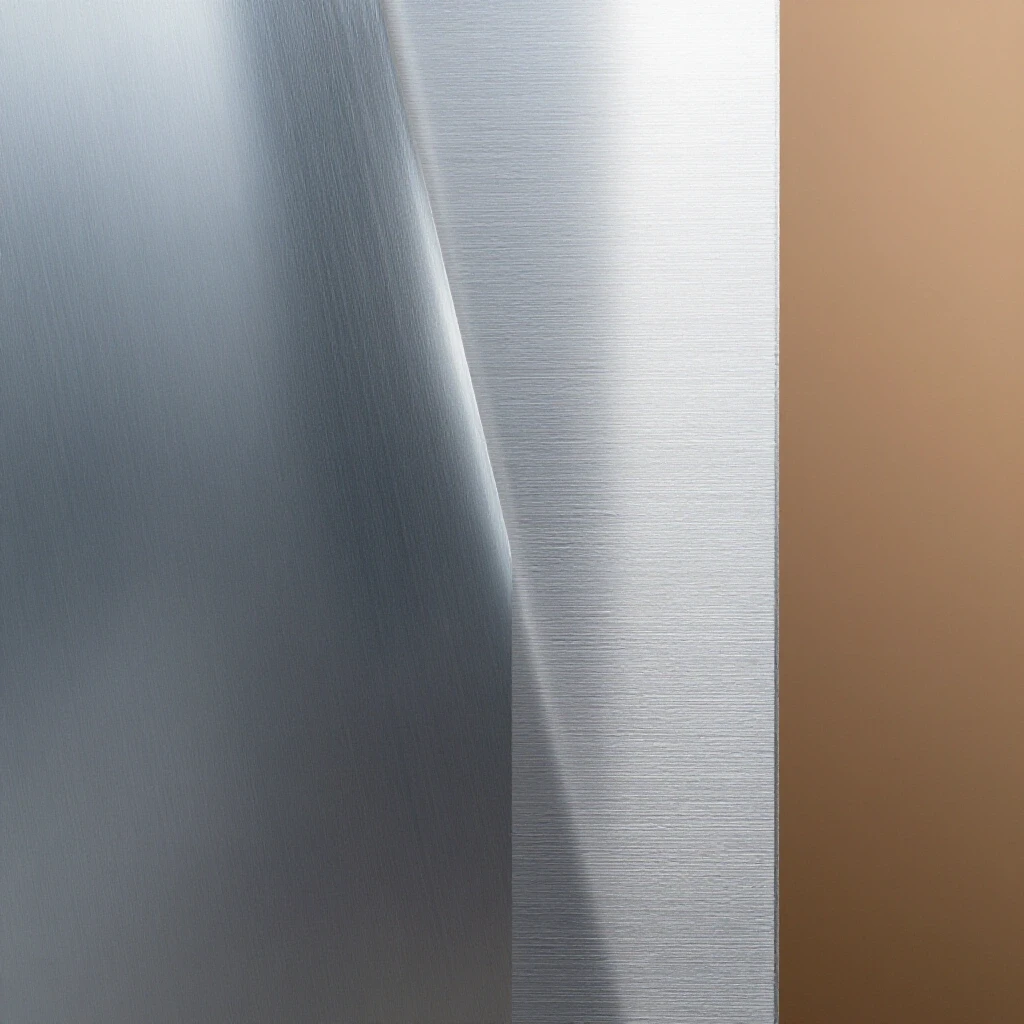
How do I know if the metal is clean enough? The metal should be “bright and shiny.” If it looks dull, grey, or has any dark spots, there is still oxide or scale present. A clean surface will reflect light almost like a mirror.
Can I use soapy water to de-grease my metal? I don’t recommend it. Soap can leave a film of its own, and water is a source of hydrogen. Stick to high-volatility solvents like acetone that evaporate completely and leave zero residue.
By taking the time to master these preparation steps, you are doing more than just making a “clean” weld. You are ensuring that the structural physics of your design can actually perform as intended. In my 14 years of fabrication, I’ve never regretted the extra ten minutes spent cleaning a joint, but I have certainly regretted the hours spent cut-grinding a failed one. Treat your metal with respect before you ever pull the trigger, and your builds will stand the test of time.
(This article was written by one of our staff writers, James Harlan. Visit our Meet the Team page to learn more about the author and their expertise.)