How to Design and Maintain a Safe Metal Shop (Checklist)
I remember standing in my cold, empty garage back in 2013 with exactly $2,000 in my savings account and a goal to build my first fabrication space. At the time, I was working as an industrial maintenance technician, so I knew what a professional shop looked like. However, translating those massive industrial standards to a 200-square-foot residential garage was a challenge. I felt the same anxiety many of you feel today: the fear of overspending on the wrong tools or, worse, setting up a space that was fundamentally unsafe for my home and family.
Establishing a functional metalworking area is not about buying the most expensive equipment. It is about understanding the relationship between your tools, your power supply, and your workflow. Over the last 15 years, I have learned that a well-organized shop is built on meticulous planning rather than a high credit limit. By focusing on a few core principles of shop design and equipment maintenance, you can create a space that is both productive and secure without draining your bank account.
Evaluating Your Workspace Foundations and Power Limits
A workshop foundation involves assessing the physical space and electrical capacity of your garage to ensure it can handle the demands of metalworking machinery. This step prevents circuit overloads and ensures you have enough physical clearance to move long pieces of steel.
Before you buy a single tool, you must understand your electrical limits. Most standard household outlets are on 15-amp circuits. While this might run a drill, it will likely trip the breaker the moment you strike an arc with a welder or lean into a heavy grind. I learned this the hard way during my first month when I kept blowing the fuse for the garage and the living room simultaneously.
To avoid this, I recommend a workshop electrical setup checklist. You need to identify which outlets are on which breakers. For a starter metal workshop layout, I suggest having at least one dedicated 20-amp circuit for your primary tools. If you plan on using a larger welder or a plasma cutter, you may eventually need a 240-volt outlet, which usually requires a professional electrician to install.
Understanding Power Draw and Circuit Loads
A circuit load is the total amount of electricity being pulled by all devices plugged into a single breaker at once. If the draw exceeds the breaker’s rating, the power shuts off to prevent the wires from overheating and causing a fire.
- 15-Amp Circuit: Best for LED lighting, small hand grinders, and cordless tool chargers.
- 20-Amp Circuit: Necessary for larger angle grinders, chop saws, and entry-level 120V welders.
- 30-Amp/50-Amp 240V Circuit: Required for heavy-duty welders and large air compressors.
Power Consumption by Tool Class
| Tool Type | Typical Amperage (Start-up) | Recommended Circuit | Priority Level |
|---|---|---|---|
| 4.5-inch Angle Grinder | 6 – 10 Amps | 15A or 20A | Essential |
| 120V MIG Welder | 15 – 20 Amps | Dedicated 20A | Essential |
| Bench Grinder | 3 – 5 Amps | 15A | Secondary |
| Magnetic Drill Press | 8 – 12 Amps | 15A or 20A | Optional |
| 14-inch Abrasive Saw | 15+ Amps | Dedicated 20A | Secondary |
Strategic Tool Prioritization for Budget-Conscious Builders
Tool prioritization is the process of ranking equipment purchases based on their necessity, frequency of use, and long-term value. This approach prevents “analysis paralysis” and ensures your limited funds are spent on high-quality basics rather than low-quality gimmicks.
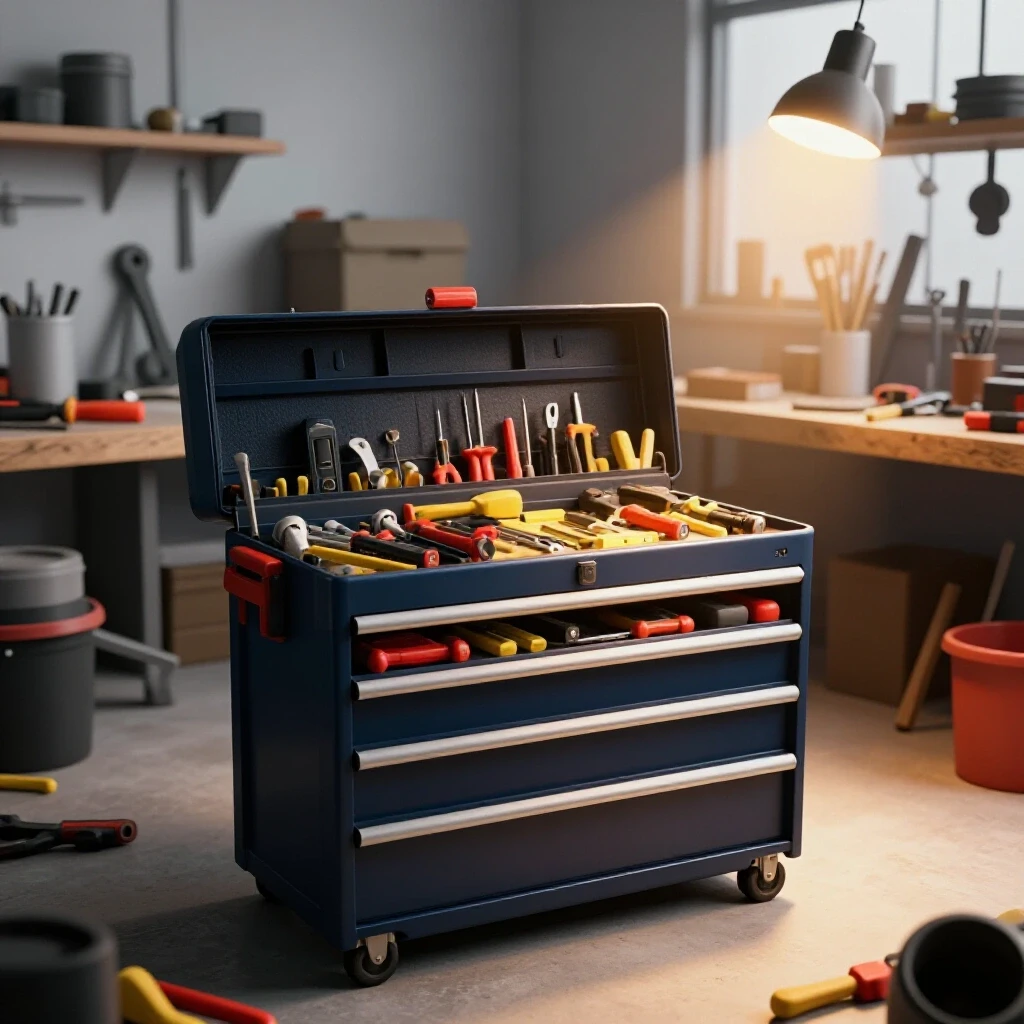
When I started, I spent too much on a fancy tool chest and not enough on a quality welding helmet. I quickly realized that a cheap helmet made it impossible to see my work, which stalled my progress. Now, I suggest a “tooling-to-machine” cost ratio. For every dollar you spend on a machine, expect to spend about 30 to 50 cents on the accessories and consumables required to make it work safely.
Focus on affordable fabrication tools that offer versatility. An angle grinder, for instance, can cut, grind, and polish. It is the most used tool in any small shop. Instead of buying a specialized metal-cutting band saw immediately, start with a high-quality grinder and a variety of discs.
Essential Starter Tool Sequencing
- Safety Gear (PPE): High-quality welding helmet, leather gloves, and eye protection.
- Layout and Measurement: Steel squares, scribes, and a reliable tape measure.
- The Multi-Tool: A 4.5-inch angle grinder with various abrasive wheels.
- The Joiner: An entry-level MIG or Flux-core welder.
- The Work Surface: A sturdy, level metal table or a heavy-duty wooden bench with a steel plate top.
Why Quality Abrasives Save Money
It is tempting to buy the cheapest grinding discs available in bulk. However, cheap abrasives wear down faster and often require more pressure, which puts unnecessary strain on your tool’s motor. I have found that mid-range discs last three times longer than the bargain-bin versions. This reduces your long-term costs and keeps your shop cleaner by producing less dust.
Designing a Safe and Efficient Workshop Layout
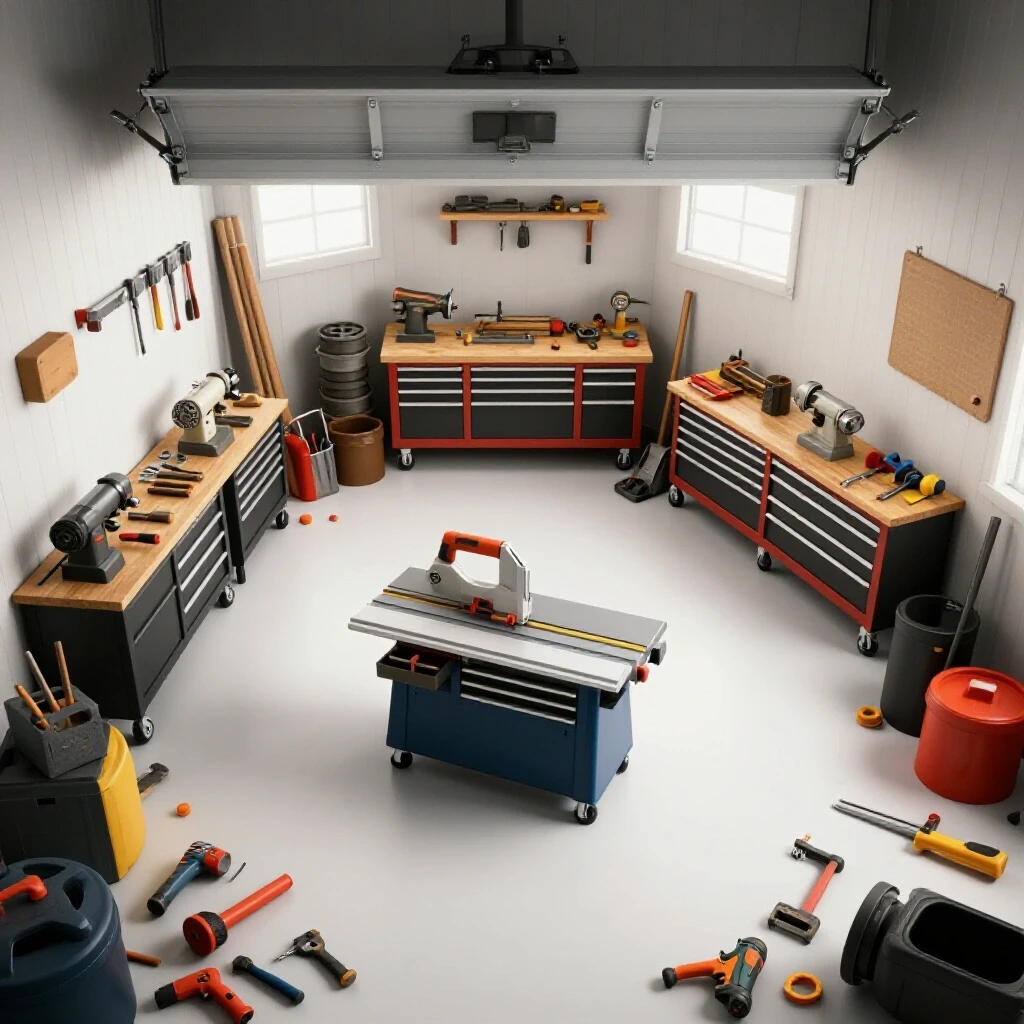
A workshop layout is the strategic arrangement of tools, workbenches, and storage to create a logical flow of materials while maintaining clear paths for safety. A good layout minimizes the distance you carry heavy steel and keeps sparks away from flammable materials.
In a small garage, you have to deal with the “Spark Path.” When you are grinding or welding, sparks can fly up to 10 or 15 feet. If your scrap wood pile or gasoline can for the lawnmower is in that path, you have a major hazard. I divide my shop into “Hot Zones” and “Clean Zones.”
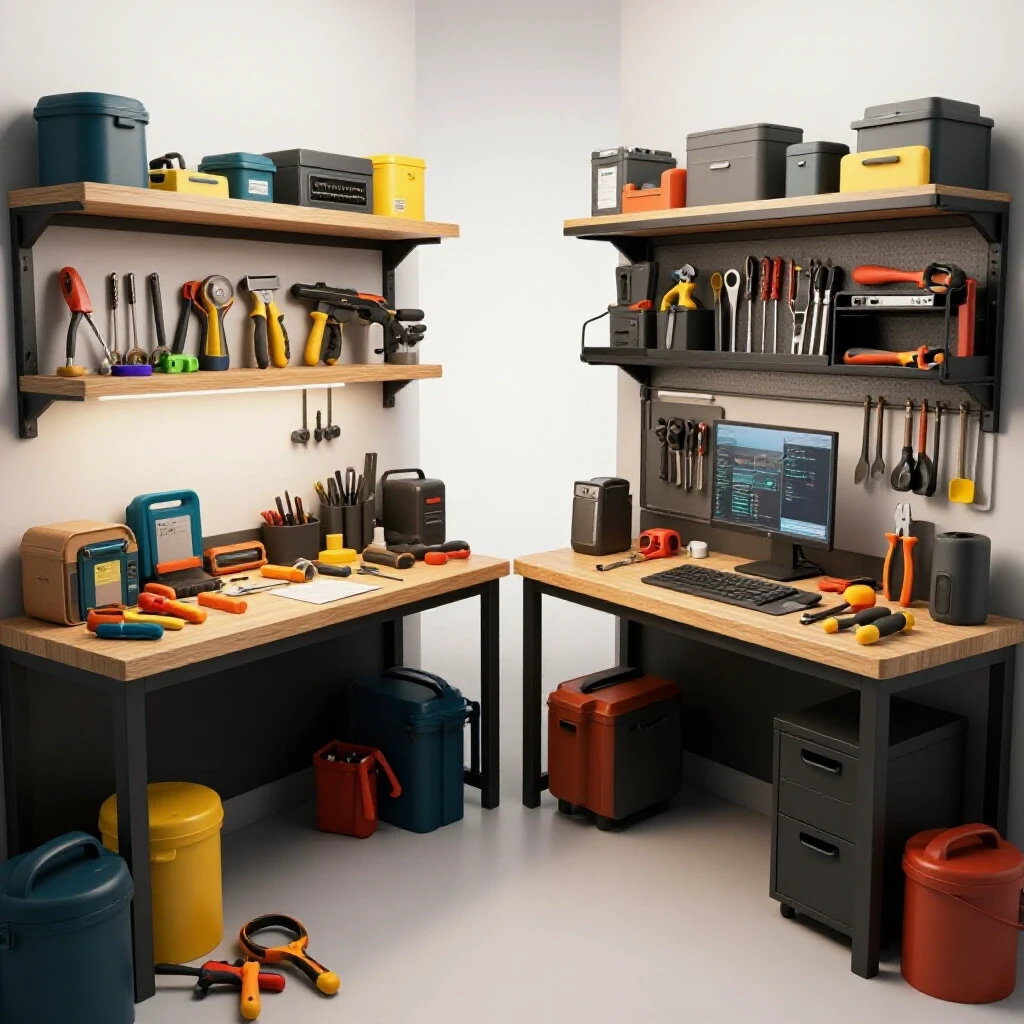
The Hot Zone contains the welding table and grinding station. This area should have non-flammable flooring and be clear of clutter. The Clean Zone is for layout, measuring, and tool storage. Keeping these areas separate, even if only by a few feet, significantly reduces the risk of accidental fires and keeps your precision tools free from metallic dust.
Key Layout Measurements for Small Spaces
- Work Triangle: Keep the welder, the workbench, and the grinder within a 6-foot triangle to minimize movement.
- Clearance Boundaries: Maintain at least 3 feet of open space around your main welding table.
- Material Storage: Store long steel bars vertically or on wall-mounted racks to keep the floor clear.
- Spark Deflection: Use welding blankets or portable screens if you are working within 10 feet of flammable items.
Workshop Layout Checklist
- Identify the “Hot Zone” furthest from the garage door or flammable storage.
- Ensure the main workbench is accessible from at least three sides.
- Place the scrap bin directly under or next to the cutting station.
- Position your fire extinguisher near the exit, not deep inside the Hot Zone.
- Verify that all power cords are routed away from walking paths to prevent trips.
Managing Ventilation and Air Quality
Workshop ventilation refers to the systems used to exchange indoor air with outdoor air to remove harmful fumes, smoke, and dust. In a home metal shop, managing air quality is critical because welding fumes and grinding dust can settle in the rest of your house.
I once spent a whole afternoon welding in a closed garage. By the evening, I had a headache and a metallic taste in my mouth. That was the day I realized a standard ceiling fan is not a ventilation system. You need to move the air at the source.
For budget metalworking tools and setups, the most effective solution is a combination of “source extraction” and “ambient air exchange.” Source extraction means using a fan or vacuum to pull fumes away from your face as you weld. Ambient exchange means replacing all the air in the garage several times per hour.
Ventilation Requirements and Metrics
To calculate your needs, you look at CFM, or Cubic Feet per Minute. This measures the volume of air a fan can move. For a standard two-car garage, you want a fan that can move at least 1,000 to 2,000 CFM to clear smoke effectively.
- Natural Ventilation: Opening the garage door and a side window to create a cross-breeze.
- Mechanical Ventilation: Using high-velocity floor fans or wall-mounted exhaust fans.
- Respirators: Using a P100-rated mask under your welding helmet for an extra layer of protection against fine particulates.
Air Quality Action Steps
- Step 1: Position a floor fan to blow air across your work area (not directly at the weld) toward the open garage door.
- Step 2: Use a shop vacuum with a HEPA filter when grinding to catch dust at the source.
- Step 3: Never weld on galvanized steel or metal with unknown coatings without high-level respiratory protection, as these can release toxic gasses.
Maintenance and Inspection Routines for Longevity
Maintenance routines are scheduled checks and cleaning tasks performed on tools and the workspace to ensure everything functions correctly and safely. Regular inspections help you catch small issues, like a frayed cord or a loose bolt, before they cause a tool failure.
In my years as a maintenance tech, I saw that the most reliable machines weren’t the newest ones—they were the ones that were cleaned and oiled every week. In a home shop, metal dust is your biggest enemy. It is conductive, meaning if it gets inside your welder or power tools, it can cause a short circuit.
I keep a simple logbook in my shop. Every Saturday morning, I spend 30 minutes doing a “walk-through.” I check the cords on my grinders, blow out the dust from my welder with compressed air, and ensure my fire extinguisher is still in the green zone. This habit has saved me hundreds of dollars in replacement costs.
Monthly Equipment Inspection Checklist
- Electrical Cords: Check for nicks, burns, or exposed wires on all power tools.
- Abrasive Wheels: Inspect grinding discs for cracks or chips; discard any that look damaged.
- Welder Consumables: Check the welding tip and shroud for buildup and replace if necessary.
- Fire Safety: Ensure the path to the fire extinguisher is clear and the unit is fully charged.
- Work Surfaces: Clean the welding table of any “spatter” (small beads of metal) to ensure a flat, conductive surface.
Tool Lifespan Estimates Based on Maintenance
| Tool | Expected Life (Poor Maintenance) | Expected Life (Regular Cleaning) |
|---|---|---|
| Entry-level MIG Welder | 2 – 3 Years | 7 – 10 Years |
| Angle Grinder | 1 – 2 Years | 4 – 5 Years |
| Bench Vise | 10 Years | Lifetime |
| Drill Press | 5 Years | 15+ Years |
Personal Protection and Emergency Preparedness
Personal protection involves using specialized clothing and gear to shield your body from heat, sparks, and sharp edges. Emergency preparedness is the act of having a plan and the necessary tools to respond to accidents, such as fires or cuts.
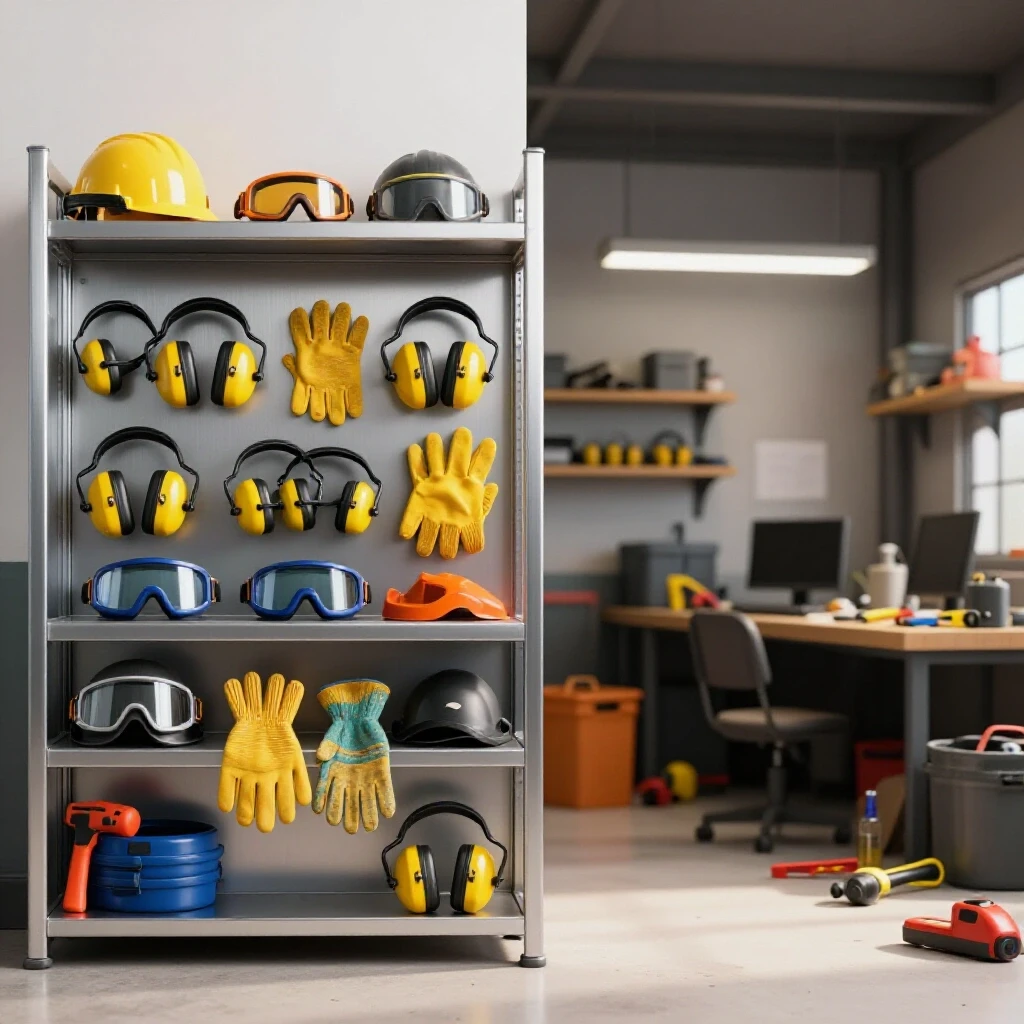
Budgeting for safety is non-negotiable. I recommend allocating 30% of your initial budget to high-quality safety gear and measuring tools. A $10 pair of safety glasses is much cheaper than an emergency room visit. Look for the ANSI Z87.1 rating on eye protection, which ensures the lenses can withstand high-velocity impacts from metal fragments.
Beyond gear, your shop environment needs to be ready for the unexpected. Because metalworking involves high heat and electricity, you must have a Class ABC fire extinguisher within arm’s reach. I also keep a basic first aid kit stocked with burn cream and sterile eye wash.
Critical Safety Benchmarks
- Eye Protection: Must be worn 100% of the time you are in the shop, even when not actively cutting.
- Clothing: Wear 100% cotton or leather. Synthetic fabrics like polyester can melt to your skin in a fire.
- Footwear: Leather boots are essential; sparks will burn through mesh sneakers in seconds.
- Hearing Protection: Use earplugs or muffs when grinding; noise levels often exceed 100 decibels.
Safety Integration Steps
- Mark a “Safety Line” on the floor around your welding area.
- Hang your welding helmet and gloves in a visible, easy-to-reach spot.
- Install a smoke detector that is rated for garage use (to avoid false alarms from dust).
- Keep a “Fire Watch” for 30 minutes after you finish welding to ensure no hidden sparks are smoldering.
Establishing Your Workflow: The First Test Cuts
Once your space is set up and your safety protocols are in place, it is time to perform initial testing workflows. This is the process of running your tools through their basic functions to ensure everything is grounded, ventilated, and positioned correctly.
Don’t start with a complex project. Start by cutting a few pieces of scrap steel and tacking them together. This allows you to check if your circuit breaker can handle the load and if your ventilation is moving the smoke away from your face. During these first cuts, pay attention to the “vibe” of the shop. Is it too cramped? Is the light sufficient?
Adjusting your layout early on is easy. Once you have 500 pounds of steel and tools in place, it becomes much harder. Use these initial sessions to refine your space. I spent the first three months of my shop journey moving my workbench three different times until I found the spot that felt most natural.
Low-Barrier Next Steps for Beginners
- Week 1: Clear the garage and map out your electrical circuits.
- Week 2: Build or buy a sturdy workbench and install basic lighting.
- Week 3: Purchase your PPE and first angle grinder; practice safe cutting on scrap.
- Week 4: Set up your welding station and perform your first test beads.
Setting up a fabrication space is a marathon, not a sprint. By focusing on the fundamentals of power, layout, and maintenance, you build a foundation that will support your hobby for years to come. You don’t need a massive budget to be a great metalworker; you just need a disciplined approach to your environment.
FAQ: Common Questions on Metal Workshop Setup
What is the minimum electrical requirement for a home welding shop? At a minimum, you need a dedicated 20-amp, 120-volt circuit. This will run most entry-level MIG and flux-core welders. However, if you find your lights flickering or the breaker tripping, you may need to upgrade to a 240-volt outlet to handle the start-up surge of the machine.
How much should I realistically spend on my first set of tools? For a functional starter setup, a budget of $1,500 to $2,000 is realistic. This covers a decent welder ($500-$700), safety gear ($300), an angle grinder and consumables ($200), a workbench ($200), and basic hand tools ($300).
Can I weld in a garage with a wooden floor? It is not recommended. If you have a wooden floor, you must cover the welding area with a fire-resistant material like a large sheet of heavy-gauge steel or specialized welding blankets. Always keep a fire extinguisher nearby and perform a fire watch after working.
What is the best way to control grinding dust in a small space? The most effective budget method is using a shop vacuum with a “dust shroud” attachment on your grinder. Additionally, using a high-quality air ambient filter or simply positioning a powerful fan to blow dust out an open door will help keep the air clear.
How do I know if my welding helmet is safe enough? Look for the ANSI Z87.1 and Z89.1 ratings. For beginners, an auto-darkening helmet is best. Ensure it has a “grind mode” and at least two sensors to detect the arc. Avoid “no-name” bargain helmets that may have slow reaction times, which can lead to eye strain or “arc eye.”
Is a flux-core welder better than a MIG welder for beginners? Flux-core is often cheaper because it doesn’t require a gas bottle, making it a great budget choice. However, it creates more smoke and “spatter” (metal droplets). MIG is cleaner and easier to learn but has a higher initial cost due to the gas regulator and tank rental.
How do I store metal so it doesn’t rust in my garage? Keep your steel off the concrete floor, as moisture can wick up and cause corrosion. Use a wall rack or wooden pallets. For long-term storage, a light coat of WD-40 or specialized tool oil will protect the surface from humidity.
What is a “duty cycle” and why does it matter? A duty cycle is the amount of time a welder can operate at a specific output within a 10-minute period without overheating. For example, a 20% duty cycle means you can weld for 2 minutes and then the machine must cool for 8 minutes. Understanding this prevents you from damaging your machine.
Do I really need a dedicated metal-cutting saw? Not immediately. A 4.5-inch angle grinder with a thin “zip disc” can handle most cuts for a beginner. As your projects grow in size and you require more precision, a cold-cut saw or a metal-cutting band saw becomes a worthwhile investment.
How often should I replace my safety gear? Safety glasses should be replaced as soon as they are scratched enough to obscure vision. Welding gloves should be replaced when the leather becomes stiff or develops holes. Inspect your welding helmet’s outer lens frequently and replace it when it becomes pitted with sparks.
(This article was written by one of our staff writers, Michael Thompson. Visit our Meet the Team page to learn more about the author and their expertise.)