How to Fix a Sticking Drill Press Return Spring (Easy Guide)
There is a specific rhythm to a productive shop. It is the sound of a bandsaw finishing a cut, the hum of a welder, and the predictable “thunk” of a drill press quill returning to its home position after a hole is bored. When that rhythm breaks—when you release the handle and the spindle hangs halfway down or sluggishly creeps upward—it is more than a minor annoyance. It is a symptom of mechanical inefficiency that can lead to broken bits, ruined workpieces, and a significant drop in your shop’s output.
In my 18 years as a fabrication specialist, I have learned that machinery rarely fails all at once. Instead, it gives you warnings. A sticking vertical feed is a warning that friction has overcome tension. Much like troubleshooting weld porosity where you must systematically check gas flow, wire speed, and base metal cleanliness, resolving a dragging quill requires a process of elimination. You cannot simply spray some oil on the housing and hope for the best. You need to understand the relationship between the clock spring, the rack and pinion, and the casting tolerances of the machine head.
This guide is designed to help you move past “guesswork” and into a structured diagnostic framework. We will look at how to isolate the root cause of return failures, whether they stem from contaminated lubricants, spring fatigue, or mechanical binding within the assembly. By the end of this process, you will have a machine that operates with the precision required for high-stakes metalworking.
Establishing a Mechanical Diagnostic Baseline
A mechanical diagnostic baseline is a set of known-good parameters used to evaluate the current state of a machine. By establishing these metrics, you can determine if a failure is caused by a single component or a combination of environmental factors and wear.
When a vertical feed becomes unresponsive, the first step is to isolate the spring from the rest of the mechanism. I often see fabricators immediately start cranking on the spring tension housing. This is a mistake. Before you touch the spring, you must ensure the quill itself is moving freely within the head casting. If there is a burr on the rack or dried “cosmoline” from the factory inside the bore, no amount of spring tension will create a smooth return.
I recall a case in a custom mill where a drill press was exhibiting severe tool chatter solutions weren’t fixing. The operator thought the spindle bearings were shot. Upon inspection, we found the return spring was so loose that the quill wasn’t being held firmly against the pinion. This allowed 0.005 inches of vertical play during the cut. Establishing a baseline involves checking the quill’s “naked” movement without the spring engaged.
Primary Variables in Quill Movement
- Static Friction (Stiction): The force required to start the quill moving from a dead stop.
- Kinetic Friction: The resistance encountered while the quill is in motion, often caused by thick grease or metal chips.
- Spring Rate: The amount of force the return spring exerts as it is wound; this should be linear, not jerky.
- Mechanical Interference: Physical obstructions like a bent depth stop rod or a mushroomed rack tooth.
Identifying Friction vs. Mechanical Binding
Friction is a resistance to motion caused by surface contact, while mechanical binding is a hard stop or “catch” caused by physical interference. Distinguishing between these two is the most critical step in a metalworking diagnostic guide for machinery repair.
If the quill moves slowly but consistently, you are likely dealing with friction. This is often caused by old, oxidized grease that has reached a high viscosity. In contrast, if the handle moves smoothly and then suddenly “locks” at a certain depth, you have a binding issue. This could be a chip stuck in the rack teeth or a bent pinion shaft.
In my repair logs, I’ve found that 70% of return issues in older shops are friction-based, caused by the “varnish” that forms when oil mixes with fine metal dust. The remaining 30% are usually mechanical, often following a heavy drilling operation where the operator forced the feed, slightly deforming a gear tooth.
| Symptom | Likely Cause | Diagnostic Test |
|---|---|---|
| Sluggish return throughout full stroke | High-viscosity grease or cold shop temps | Clean and re-lube with light machine oil |
| Quill stops at a specific point every time | Burred rack tooth or bent depth rod | Visual inspection of rack with a flashlight |
| Spindle “drops” or has no return force | Broken or unhooked clock spring | Inspect spring housing for tension |
| Grinding noise during return | Metal chips in the pinion gear | Flush the housing with degreaser |
Systematic Cleaning and Lubrication Protocols
Cleaning and lubrication protocols involve the removal of spent lubricants and contaminants followed by the application of a medium specifically suited for the machine’s tolerances. This process ensures that the coefficient of friction remains low enough for the return spring to function.
Once you have determined that the issue is friction-based, you must strip the old grease. Do not just add new oil on top of old grease; this creates a slurry that acts like a grinding compound. I prefer using a mild solvent or a dedicated degreaser to wipe down the quill and the internal bore of the head casting.
After cleaning, the choice of lubricant is vital. For most drill presses, a light coat of ISO 32 or ISO 46 hydraulic oil is better than heavy grease. Grease attracts the fine swarf and chips generated during drilling, which eventually leads to the very sticking issues you are trying to solve. Much like a lathe alignment checklist requires clean ways, a drill press requires a clean quill for repeatable accuracy.
- Step 1: Extend the quill fully and lock it in place.
- Step 2: Use a lint-free cloth and solvent to remove all visible residue from the rack and the polished surface of the quill.
- Step 3: Inspect the rack for “mushrooming”—where the edges of the teeth have rolled over due to excessive pressure.
- Step 4: Apply a light film of oil. You only need enough to make the surface look “wet,” not enough to drip.
Calibrating Spring Tension and Housing Alignment
Spring tension calibration is the process of adjusting the clock spring within its housing to provide just enough force to return the quill without making the downward feed difficult. This requires a delicate balance of mechanical advantage and safety.
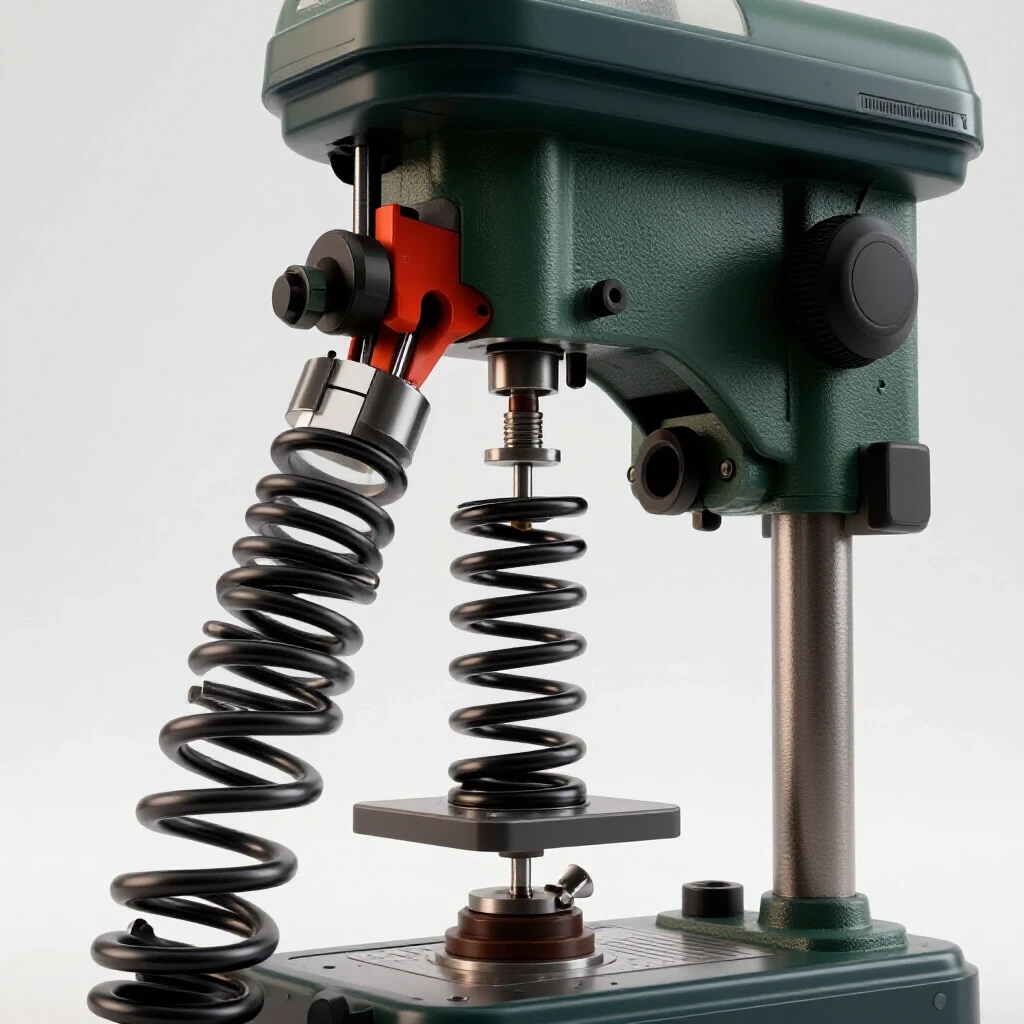
The return spring is a “power spring” or “clock spring” housed in a circular cap on the side of the drill press head. It is under significant tension. When you are adjusting this, safety is paramount. If the housing slips, the spring can unwind rapidly, potentially causing injury or breaking the spring’s internal hook.
I’ve seen many fabricators over-tighten the spring to compensate for a dirty quill. This is a “band-aid” fix that leads to premature spring fatigue. A properly adjusted spring should only have enough tension to bring the quill to the top of its stroke. If you have to fight the handle to drill a hole, your tension is too high. This is similar to how over-tensioning a drive belt can ruin motor bearings.
Step-by-Step Tension Adjustment
- Safety First: Wear eye protection and heavy gloves. Ensure the machine is unplugged.
- Loosen the Locknuts: Most machines have two nuts on the spring housing. Loosen the outer one while holding the housing firmly.
- Disengage the Housing: Carefully pull the housing out just enough to clear the locking lugs or pins. Do not let go.
- Rotate to Adjust: Rotate the housing counter-clockwise (on most machines) to increase tension. Move in small increments—usually 1/4 to 1/2 a turn at a time.
- Re-seat and Test: Push the housing back onto the lugs and tighten the nuts. Test the return. If it still sags, repeat the process.
Correcting Rack and Pinion Backlash
Backlash in a drill press refers to the “slop” or clearance between the teeth of the pinion gear and the rack on the quill. While some backlash is necessary for movement, excessive play or misalignment can cause the mechanism to bind during the return stroke.
If you have cleaned the machine and adjusted the spring, but the return still feels “notchy,” the issue may be the pinion shaft alignment. Over years of use, the bushings supporting the pinion shaft can wear. This causes the pinion to tilt slightly, meaning the teeth no longer mesh squarely with the rack.
In my experience with metal fabrication fixes, this is often overlooked. You can check this by trying to wiggle the feed handle. If there is more than 0.005 inches of lateral movement in the shaft, the pinion may be binding against the rack. Adjusting the set screws or replacing worn bushings can restore the geometric alignment needed for a smooth return.
Real-World Case Study: The “Intermittent Stick”
I once worked with a shop that was struggling with a high-end floor drill press. The quill would return perfectly for ten holes, then stick on the eleventh. The operator had already replaced the spring twice, thinking they were getting “duds.”
We performed a systematic diagnostic. First, we checked the quill for straightness using a dial indicator; it was within 0.001 inches. Next, we inspected the rack. Under a magnifying glass, we found a tiny “hook” on one tooth of the pinion gear. This hook was catching a specific tooth on the rack only when the handle was released at a certain angle.
We used a small needle file to remove the burr and polished the gear tooth with 400-grit sandpaper. The “intermittent stick” vanished. This taught the team that even “easy” fixes require a microscopic look at the mechanical interfaces. It’s the same level of detail you’d use when investigating metallurgical cracking in a critical weld.
Tracking Framework for Machine Maintenance
To prevent future failures, I recommend a simple tracking framework. This ensures that maintenance isn’t just a reaction to a breakdown, but a scheduled part of your shop’s workflow.
- Monthly Cleaning: Wipe down the quill with a clean rag. Do not use compressed air, as this can blow chips into the head casting.
- Quarterly Inspection: Check the depth stop nuts and the spring housing for any signs of loosening.
- Annual Lubrication: Flush the pinion area with a light degreaser and re-apply a high-quality machine oil.
- Vibration Logging: Use a smartphone vibration spectrum analyzer app once a year to check for spindle imbalances that might be wearing down your quill bushings.
Essential Tools for Mechanical Diagnostics
- Dial Indicator (0.001″ resolution): For checking quill runout and lateral play.
- Needle Files: For removing burrs from rack and pinion teeth.
- Degreaser (Non-residue): For stripping old, gummed-up lubricants.
- ISO 32 Machine Oil: The ideal lubricant for close-tolerance sliding fits.
- Snap Ring Pliers: Occasionally needed if you must fully disassemble the spring housing.
Conclusion
Mastering the mechanics of your shop equipment is a hallmark of an advanced fabricator. A sticking quill is not just a nuisance; it is a diagnostic puzzle that tests your ability to isolate variables and apply precise fixes. By focusing on cleanliness, proper lubrication, and the careful calibration of spring tension, you ensure that your tools work with you rather than against you.
Remember that the goal is not to force the machine into submission with more tension, but to remove the obstacles—friction and binding—that prevent it from working as designed. This systematic approach will serve you well across all areas of fabrication, from aligning a lathe to troubleshooting complex weld defects. Keep your machines clean, your tolerances tight, and your diagnostic process consistent.
FAQ: Troubleshooting Drill Press Return Mechanisms
Why does my drill press quill return slowly in the winter?
Most greases have a “pour point” or viscosity index that changes with temperature. In a cold shop, the grease on the quill thickens, increasing friction. Switching to a lighter ISO 32 oil or a synthetic lubricant with a better cold-weather rating usually resolves this.
Can I use WD-40 to fix a sticking spring?
WD-40 is a solvent and a water displacer, not a long-term lubricant. While it may provide temporary relief by thinning old grease, it evaporates quickly and leaves behind a sticky residue that can actually make the problem worse over time. Use a dedicated machine oil instead.
How do I know if my return spring is actually broken?
If you turn the feed handle and there is zero resistance, and the quill falls to the bottom of its stroke under its own weight, the spring is likely broken or has come unhooked from the internal arbor. You will need to open the housing to verify.
Is it dangerous to take the spring housing off?
Yes, the clock spring stores a significant amount of potential energy. If you remove the housing without securing the tension, it can spin rapidly. Always hold the housing with a firm grip or a pair of pliers while loosening the locking nuts.
How much tension is “too much” for the return spring?
If the quill “snaps” back with enough force to jar the machine, or if you feel significant muscle fatigue after drilling just a few holes, the tension is too high. The spring should provide just enough lift to overcome the weight of the quill and the chuck.
Why does my quill stick only when the motor is running?
This usually indicates a vibration-related binding issue. It’s possible that the spindle bearings are worn, causing the spindle to oscillate and bind against the quill walls under load. Check for spindle “runout” using a dial indicator.
What is the best way to clean the rack teeth?
Use a stiff nylon or brass brush and a degreaser. Avoid steel brushes, as they can scratch the polished surface of the quill. Ensure you rotate the pinion handle to expose all parts of the rack during cleaning.
Can a bent depth stop rod cause the quill to stick?
Absolutely. If the depth stop rod is even slightly bent, it will create lateral pressure on the quill as it moves through its stroke. This friction can easily overcome the return spring. Ensure the rod is straight and the nuts move freely.
My spring housing is plastic; can I still adjust it?
Many modern, smaller drill presses use plastic housings with notched teeth. These are adjusted the same way as metal ones, but you must be extra careful not to strip the plastic notches when re-seating the housing.
Should I lubricate the inside of the spring housing?
A very light mist of spray lubricant can help prevent rust inside the housing, but do not pack it with grease. Heavy grease inside the spring housing can actually cause the coils of the spring to “stick” to each other, resulting in a jerky return.
How often should I perform this maintenance?
In a professional fabrication environment, a quick wipe-down and oiling should happen monthly. A full “deep clean” of the rack and pinion and a tension check should be performed annually or whenever you notice a change in the machine’s “feel.”
Can I replace a broken spring with a generic one?
It is best to get a replacement spring from the original equipment manufacturer (OEM). The spring rate, width, and the shape of the mounting hooks are specific to the machine’s design. A generic spring may not fit the arbor or the housing slots correctly.
(This article was written by one of our staff writers, Paul Whitaker. Visit our Meet the Team page to learn more about the author and their expertise.)