How to Organize and Track Metal Stock Inventory (DIY Guide)
When I first moved my fabrication work from a hobbyist garage to a rented commercial bay, I made a mistake that nearly cost me the business in the first six months. I landed a contract for twenty custom gate frames. I estimated the steel based on a price list from six months prior, assumed I had enough “scrap” in the corner to cover the bracing, and didn’t account for the three dozen grinding wheels I’d burn through. By the time I finished, I had essentially paid the customer $200 for the privilege of doing the work.
That experience taught me that success in a small metal shop isn’t just about the quality of your welds; it is about the precision of your math. Transitioning to a side-hustle or a full-time small shop requires a shift in how you view your materials. In a hobby shop, a pile of steel in the corner is a resource; in a business, that pile is “dead capital” until it’s sold. If you don’t know exactly what you have, what it cost, and where it is, you cannot price your work accurately.
Establishing a Realistic Hourly Shop Rate for Fabrication
A shop rate is the foundational number used to determine how much you must charge per hour to cover all expenses and generate a profit. It includes your “nut”—fixed costs like rent and insurance—plus variable costs like electricity and your own desired take-home pay.
Many side-hustlers pick a number like $40 or $50 an hour because it sounds high compared to a day job. However, once you factor in the “hidden” costs of running a shop, that number often results in a net loss. To find your true rate, you must add up every single annual expense: shop rent, utilities, insurance, welding gas, consumables, and even the depreciation of your welder. Divide that total by the number of billable hours you realistically expect to work. If you only have 10 hours a week for your side-hustle, your hourly overhead is much higher than a full-time shop.
- Fixed Costs: Rent, insurance, business licenses, and software subscriptions.
- Variable Costs: Electricity, heating, and shop supplies.
- Labor: What you would have to pay someone else to do the work, plus your profit margin.
| Expense Category | Monthly Cost (Example) | Annual Total |
|---|---|---|
| Shop Rent/Mortgage | $800 | $9,600 |
| Utilities (Power/Heat) | $150 | $1,800 |
| Insurance (Liability) | $100 | $1,200 |
| Consumables (Gas/Wire/Discs) | $200 | $2,400 |
| Total Overhead | $1,250 | $15,000 |
If you work 20 billable hours a week (1,040 hours a year), your overhead alone is $14.42 per hour. If you want to earn $40 an hour for your labor and keep a 20% profit margin for the business, your shop rate should be closer to $65–$70 per hour.
Accounting for Machinery Amortization and Tool ROI
Amortization is the process of spreading the cost of a large equipment purchase over its expected useful life. This ensures that when a machine finally breaks or becomes obsolete, the business has already “saved” enough money through job billing to replace it without a massive cash outlay.
When I bought my first industrial cold saw for $3,500, I didn’t just see it as a $3,500 expense. I estimated it would last 10 years and cut roughly 5,000 pieces of steel a year. That means every time I pulled the handle, the machine “cost” the business $0.07. While that seems small, failing to account for the wear and tear on your $5,000 welder or $10,000 CNC plasma table means you are slowly liquidating your equipment to pay your bills.
To calculate this, take the purchase price of the tool, subtract its estimated scrap or resale value at the end of its life, and divide by the number of years you’ll use it. Include this yearly “replacement fee” in your overhead calculations. This is how you determine if a tool will actually generate a positive return on investment (ROI). If a new tube bender costs $2,000 but only saves you two hours of work a year, the ROI timeline is too long for a small shop.
Building a Manual System for Raw Material Storage
Organizing your metal stock involves creating a physical layout that allows you to identify material types, shapes, and sizes at a glance. In a small shop, this usually means utilizing vertical space for long bars and specialized bins for smaller pieces, ensuring nothing is buried or forgotten.
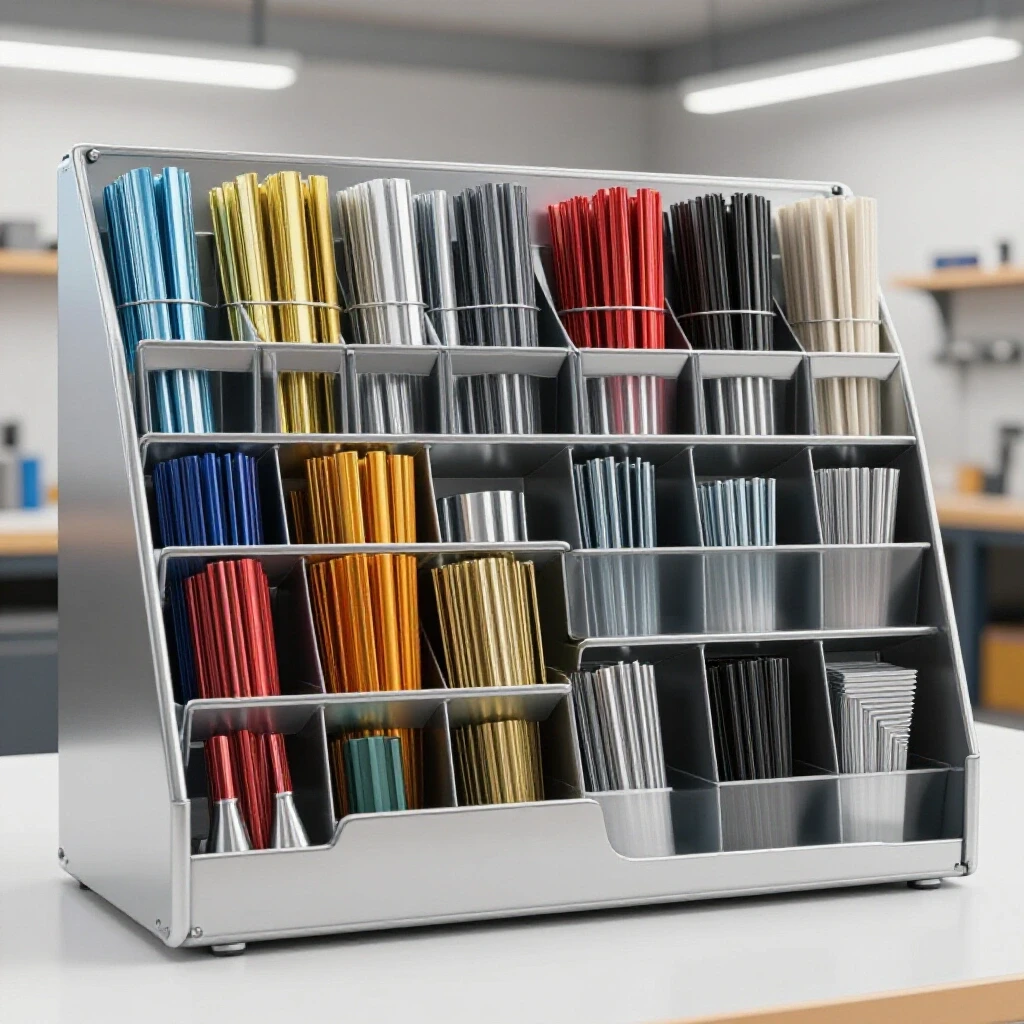
The most common mistake I see in small shops is “the pile.” Steel is heavy and awkward. If you have to move ten pieces of angle iron to get to the one piece of square tubing you need, you are losing billable time. I recommend building a simple cantilever rack against a main wall. Sort your materials by shape: all square tubing on one level, all angle iron on another, and flat bar on a third.
- Vertical Storage: Best for shops with high ceilings; saves floor space but can be harder to load.
- Horizontal Racks: Easier to sort by size and thickness; requires more floor area.
- Color Coding: Use a simple spray paint or paint pen system on the ends of the bars. For example, blue for cold-rolled steel, red for hot-rolled, and green for aluminum. This prevents grabbing the wrong alloy in the middle of a project.
Tracking Offcuts and Remnants to Protect Your Margins
Managing remnants involves keeping track of the “leftover” pieces of metal that are too small to be considered full stock but too large to be scrap. These pieces are pure profit if used correctly, as they were likely already paid for by a previous customer’s project.
In my shop, we had a rule: if it’s shorter than two feet, it goes in the remnant bin. If it’s longer, it goes back on the main rack. The “remnant trap” is when you spend 30 minutes looking for a “free” piece of steel instead of just cutting a new piece from a full bar in 30 seconds. To avoid this, organize your remnant bins by material type and rough length.
When quoting a job, I always price the material as if I am buying it new. If I can fulfill part of that order using remnants, that extra money stays in the shop’s pocket. This is one of the few ways a small shop can increase its margin without raising prices on the customer. It rewards you for being organized.
Why Hidden Consumables Bleed Small Shop Profits
Consumables are the items that are used up during the fabrication process, such as welding wire, shielding gas, abrasives, and drill bits. Because these items are small and purchased frequently, their costs are often overlooked during the estimation phase, leading to “margin creep.”
I once tracked the cost of flap discs over a month of building railings. I was shocked to find I was spending nearly $4.00 in abrasives for every foot of railing. If I hadn’t accounted for that in my material markup, I would have lost hundreds of dollars. For most small shops, a “consumable burden” of 10% to 15% should be added to the raw material cost of every quote.
- Welding Gas: Track how many hours of arc time you get per tank.
- Abrasives: Note how many cuts or grinds you get per disc.
- Fasteners: Never “throw in” bolts or nuts for free; they add up.
A simple way to track this is the “Clipboard Method.” Hang a sheet of paper near your consumables cabinet. Every time you open a new box of welding wire or a pack of grinding wheels, jot it down. At the end of the month, you’ll see exactly how much “invisible” money is leaving your shop.
Implementing a Spreadsheet-Based Inventory Log
An inventory log is a living document—either on paper or a simple computer spreadsheet—that records every piece of metal you buy and every piece you use. This provides an immediate answer to “Do I have the steel for this job?” without having to walk out and dig through the racks.
You don’t need fancy software. A simple table with columns for “Material Type,” “Dimensions,” “Quantity,” and “Cost per Foot” is sufficient. When a delivery arrives, enter the data. When you finish a job, subtract what you used. This practice is vital for accurate job costing. If you know you paid $4.20 per foot for 2×2 tubing last month, but the price just jumped to $5.10, your spreadsheet will tell you to update your quotes immediately.
- Date of Purchase: Helps track price fluctuations over time.
- Supplier: Useful for knowing who has the best price on specific items.
- Minimum Stock Level: Set a “red line” for common materials. If you always need 1×1 tubing, mark your log to reorder when you hit two full bars left.
Building a Custom Job Quote and Analyzing Post-Job Profits
A job quote is a formal estimate provided to a customer, while a post-job analysis is the practice of comparing your estimated costs against your actual spending once the work is done. This feedback loop is the only way to improve your pricing accuracy over time.
When I quote a project, I use a “three-tier” approach. First, I calculate the raw material cost based on my inventory log. Second, I add the consumable burden (usually 15%). Third, I apply my shop hourly rate to the estimated time. Finally, I add a “buffer” of 5-10% for unexpected issues.
After the job is delivered and paid for, I go back and look at the actuals. Did it take 10 hours or 12? Did I use more gas than I thought? If I consistently find that my actual costs are higher than my quotes, I know I need to adjust my shop rate or my material markup.
| Quoting Component | Estimated Cost | Actual Cost | Variance |
|---|---|---|---|
| Raw Steel | $450 | $475 | +$25 |
| Consumables | $67 | $80 | +$13 |
| Labor (10 hrs @ $75) | $750 | $1,125 (15 hrs) | +$375 |
| Total | $1,267 | $1,680 | +$413 |
In the example above, the “hidden” loss was in the labor. I underestimated the complexity of the build. Without tracking the data, I might have thought I made money, when in reality, my hourly rate dropped from $75 to about $47.
Sourcing Metal and Evaluating Bulk Purchase Returns
Effective sourcing means finding a balance between the lowest price per foot and the cost of your time and fuel to go get it. For small shops, buying in bulk can lower material costs, but only if you have the space to store it and the cash flow to support it.
Many new shop owners drive an hour to save $20 on a steel order. If your shop rate is $75/hour, you just spent $75 of time (plus gas) to save $20. It’s a net loss. I prefer to have material delivered whenever possible, even if there is a delivery fee. This keeps me in the shop making chips and sparks, which is where the money is made.
- Local Steel Service Centers: Best for full bars and large orders.
- Online Specialty Sellers: Good for small quantities of exotic metals (stainless, brass) but shipping is high.
- Scrap Yards: Occasionally great for heavy plate or odd shapes, but the time spent “hunting” often outweighs the savings.
Key Takeaways for Shop Management
Managing a small fabrication business is a game of inches. By organizing your physical space and tracking your financial data, you remove the guesswork that leads to unprofitable jobs.
- Know your numbers: Calculate a true shop rate that includes overhead and depreciation.
- Organize for speed: Build racks that make material easy to find and identify.
- Track the small stuff: Don’t let consumables like gas and discs eat your profit.
- Review every job: Compare your quotes to your actual costs to refine your pricing.
Success doesn’t come from the one “big hit” job; it comes from consistently making a 20% to 30% profit on every small job through disciplined tracking and organization.
Frequently Asked Questions
How do I handle price increases from my steel supplier? You should update your inventory log costs the moment a new invoice arrives. If prices are volatile, use a “market price” clause in your quotes that is only valid for 7 to 14 days. This protects you from buying material at a higher price than you quoted.
What is the best way to label different types of steel? The most effective DIY method is color-coding the ends of the bars with spray paint. Create a small chart and hang it on the wall next to your rack so you (and anyone helping you) know that “Yellow” means Grade 8 cold-rolled and “No Color” means standard A36 hot-rolled.
Should I charge the customer for a full 20-foot bar if the job only uses 5 feet? If the material is a specialty item you don’t normally stock, charge for the full bar. If it is a common size you use every week, charge for the 5 feet plus a small “cut fee” or a 20% markup to cover the cost of storing the remaining 15 feet until the next job.
How do I track welding gas usage without a meter? While you can’t be 100% accurate, you can track “bottle life.” Note the date you start a fresh tank and the date it hits empty. Over three or four tanks, you will see an average number of shop hours per tank. Divide the cost of the refill by those hours to get your hourly gas cost.
Is it worth keeping every small scrap of metal? No. Space is a finite resource in a small shop. If a piece is so small that it takes more time to find and clean than it’s worth in material value (usually anything under 6-12 inches for common steel), toss it in the scrap bin. Your time is more valuable than $0.50 worth of steel.
How do I calculate depreciation for a used machine? Estimate how many years of life the machine has left in your shop. Take what you paid for it and divide by those years. Even if you bought it for $500, you should be “charging” the business enough to eventually buy its replacement at new-market prices.
What is a “Consumable Burden”? This is a percentage added to the material cost of a job to cover things that are hard to measure individually, like shield gas, welding wire, sandpaper, and electricity. For most fab shops, 10% to 15% is a safe and realistic starting point.
How often should I update my inventory log? Ideally, you should update it twice: once when new material is delivered and once when a job is completed. If that feels too frequent, set aside 30 minutes every Friday afternoon to reconcile your material use for the week.
Do I need a computer in the shop to track this? Not necessarily. A sturdy clipboard with a printed spreadsheet template works perfectly well. You can then transfer those numbers to a digital spreadsheet once a month to look at long-term trends and profit margins.
What is the biggest mistake people make when pricing fabrication work? Underestimating “non-arc time.” People often forget to charge for the time spent unloading the truck, cleaning the steel, layout, measuring, and the final cleanup of the shop. If you are at the shop working on a job, the clock should be running.
(This article was written by one of our staff writers, Michael Hargrove. Visit our Meet the Team page to learn more about the author and their expertise.)