How to Organize Your Shop Workbench for Efficiency (Layout)
In my fourteen years of inspecting industrial steel and building heavy-duty frames, I have learned that a project’s success is often decided before the first arc is struck. I once watched a 500-pound structural assembly fail during a load test because the fabricator’s workspace was so disorganized that they missed a critical root opening measurement. The clutter on their bench led to a rushed fit-up, which created a weak heat-affected zone (HAZ) that snapped under pressure.
When you work with metal, you are managing physical forces that do not forgive mistakes. My background in mechanical engineering has taught me that your immediate work surface is more than just a table; it is a controlled environment for managing material stress and structural integrity. If your tools are not where they need to be, or if your material staging interferes with your welding path, you are inviting structural cracking and weld defects into your build.
Designing a Primary Work Zone for Structural Precision
The primary work zone is the 24-inch semi-circle directly in front of your torso where the most critical fabrication occurs. This area must remain clear of any permanent obstructions to allow for the flat, level positioning of workpieces, which is essential for maintaining accurate load paths. A level surface ensures that your structural metal load capacity is not compromised by unintended angles or gravity-induced warping during the cooling phase.
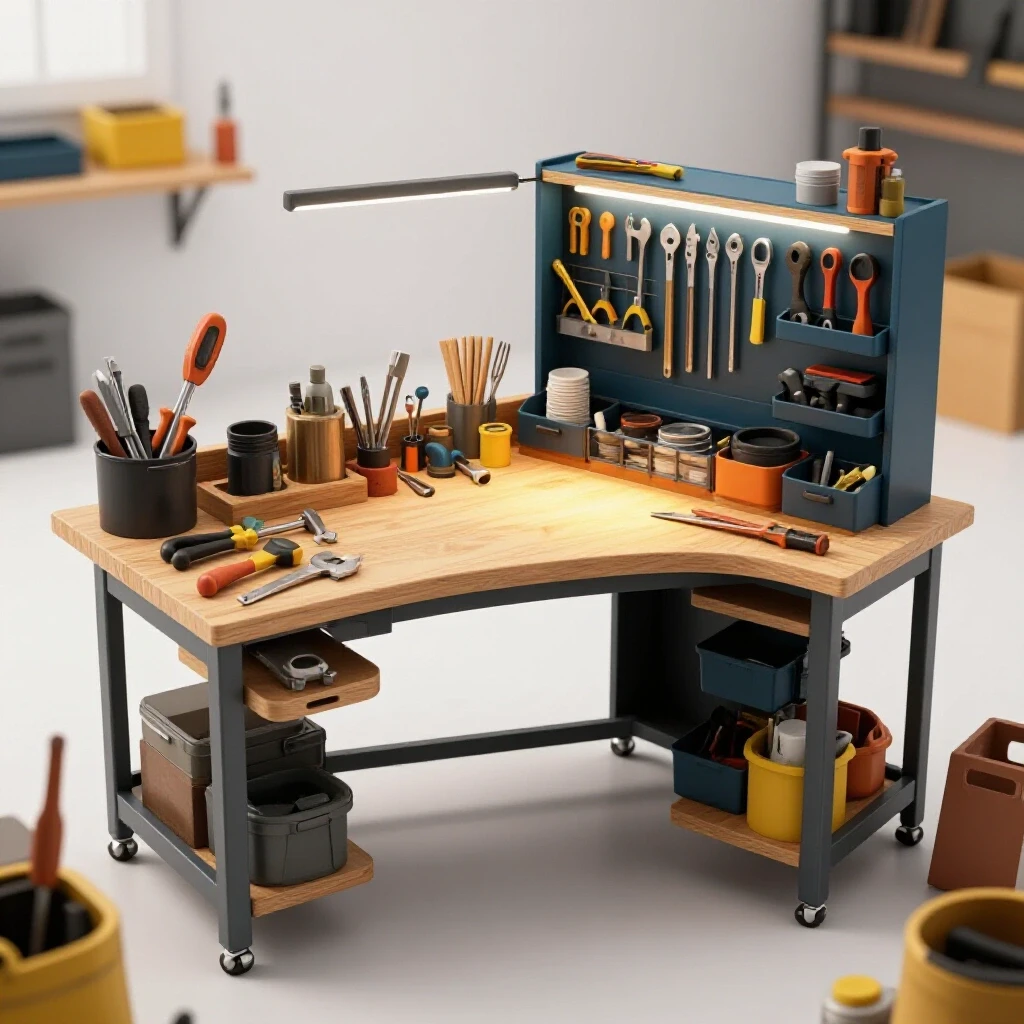
In this zone, every inch matters. When I set up a bench for a heavy frame build, I ensure that my most frequently used measuring tools—squares, calipers, and markers—sit on a dedicated rail just outside this 24-inch radius. This prevents “tool creep,” where hammers or wrenches migrate into your welding area. When a tool gets in the way of a steady weld pass, it can cause erratic movement, leading to shielding gas porosity or slag inclusions that weaken the joint.
- The Reach Radius: Keep your welding lead and ground clamp on the side of your dominant hand to prevent cord interference.
- The Flatness Standard: Use a 4-foot straight edge to verify your bench surface weekly; a 1/16-inch dip can cause a 4-foot vertical post to be out of plumb by nearly an inch.
- Staging Area: Reserve the back 6 inches of the bench for “active” parts only, keeping the center clear for the assembly.
Strategic Vise Placement to Manage Shear Stress
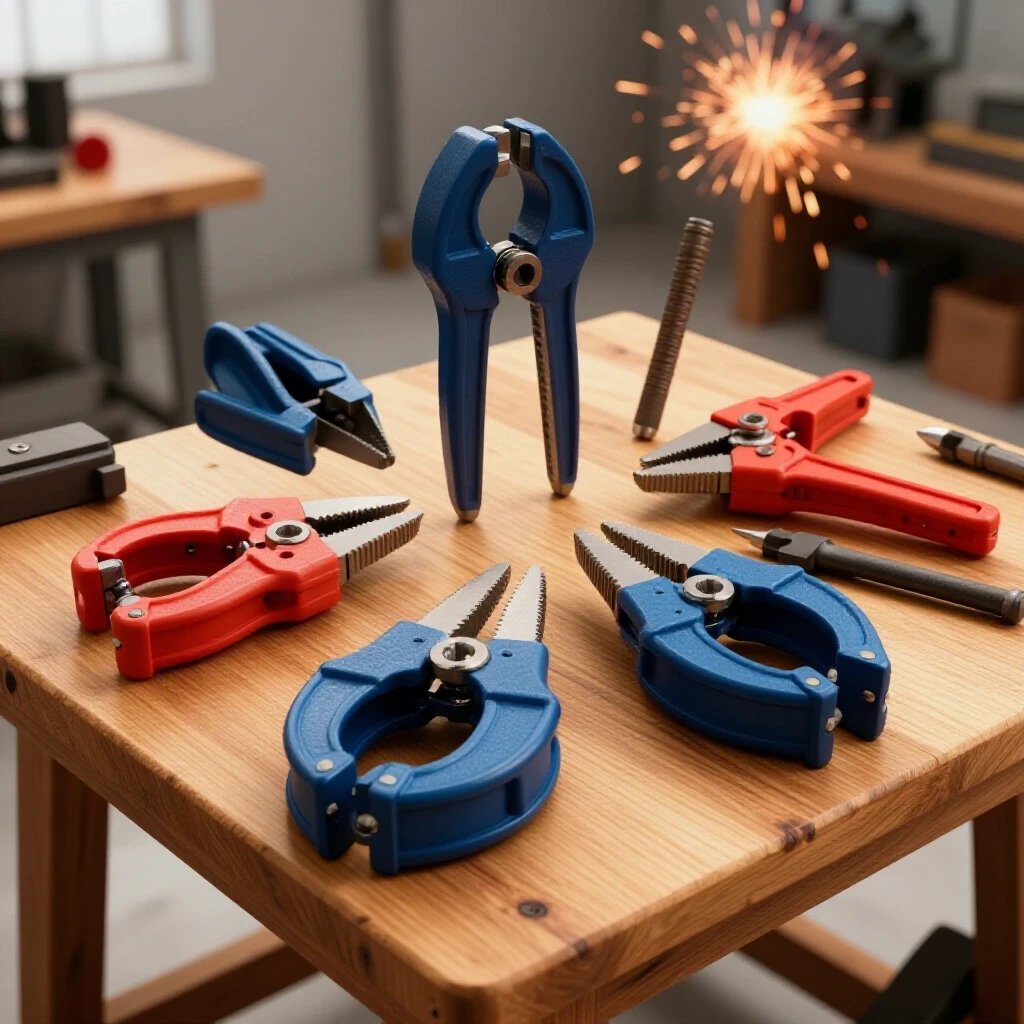
A vise is the most important tool for securing material against the high torque of grinding and the thermal expansion of welding. Placing the vise at the corner of the workbench allows for the clamping of long vertical members without hitting the floor or the bench legs. This positioning is vital for maintaining structural safety margins, as it allows you to work on the joint at a comfortable height, reducing the risk of a shaky, inconsistent weld.
When you clamp a piece of tubing to grind a bevel, the vibration can actually introduce micro-fractures if the material is not supported correctly. I prefer mounting the vise over a bench leg to transfer the energy directly to the floor. This minimizes “bench bounce,” which is a common cause of poor joint preparation. If your joint prep is sloppy, your weld penetration will be uneven, leading to potential brittle fracture in the structural members.
| Material Type | Yield Strength (PSI) | Recommended Clamping Pressure | Common Failure Mode |
|---|---|---|---|
| A36 Mild Steel | 36,000 | High | Ductile Tearing |
| 6061-T6 Aluminum | 35,000 | Medium (Use Soft Jaws) | Stress Cracking |
| 304 Stainless Steel | 30,000 | High | Work Hardening |
| Chromoly (4130) | 63,000+ | Moderate | Brittle Fracture (HAZ) |
Sequencing the Bench Layout for Thermal Management
The way you move material across your bench should follow a logical sequence: prep, fit, weld, and cool. By dedicating the left side of the bench to raw material and the right side to finished components, you reduce the risk of “heat soak” transferring to your precision measuring tools. Keeping your calipers away from the welding zone prevents thermal expansion from giving you false readings on your next joint.
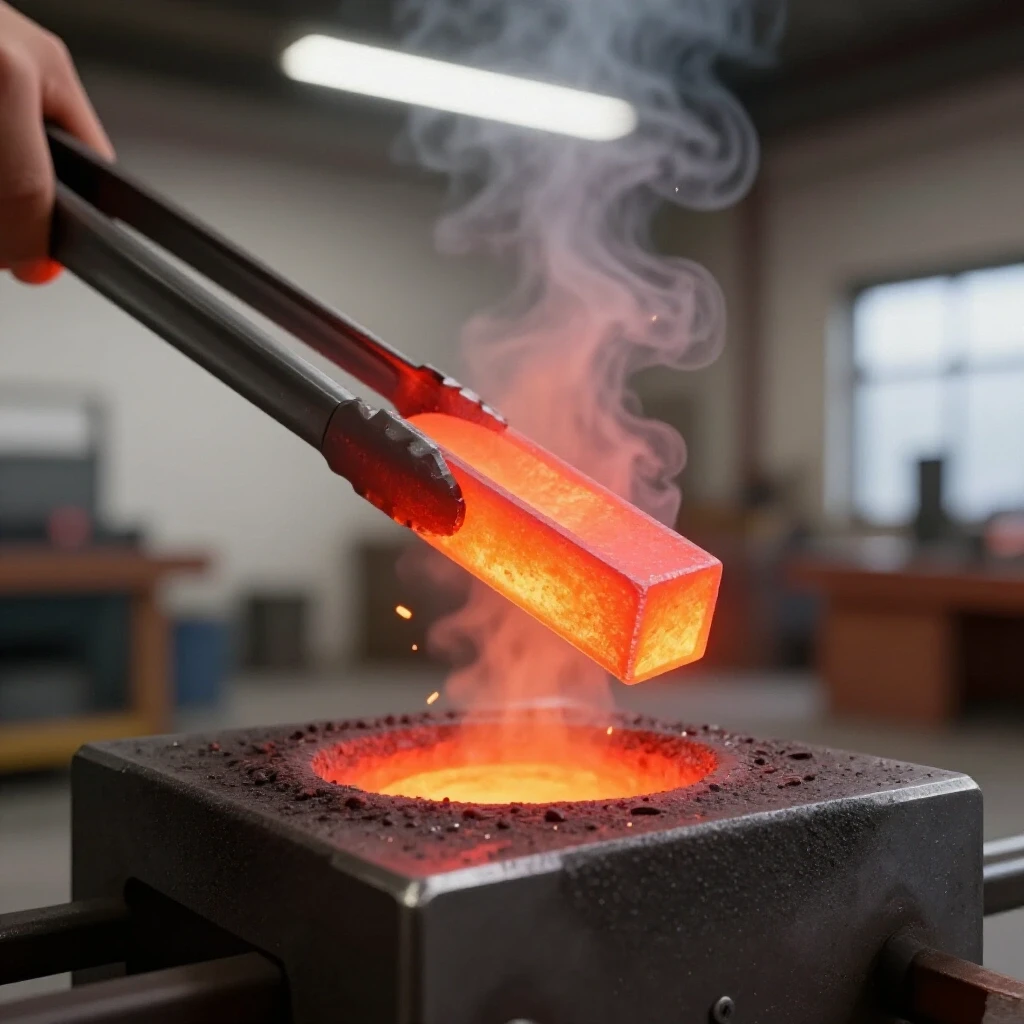
Proper sequencing also helps in managing the heat-affected zone weakness. When I am working on a critical structural joint, I need to know exactly where my cooling blocks are. By having a designated “cool-down zone” on the bench, equipped with copper or aluminum heat sinks, I can control the rate at which the metal cools. This is essential for preventing the grain growth that leads to weak spots in the metal.
- Preparation Zone (Left): Space for grinders, wire brushes, and degreasers.
- Assembly Zone (Center): The flat, grounded area for tack welding and final passes.
- Inspection Zone (Right): A clean area for using NDT (Non-Destructive Testing) kits or dye penetrants.
Minimizing Welding Defects Through Spatial Organization
Welding gas flow rate is often disrupted by poor bench organization. If your shielding gas bottle or hose is tucked behind a pile of scrap, you might not notice a kink or a leak. I recommend a dedicated “gas lane” on the side of the bench where the flowmeter is visible at all times. Maintaining a steady 15–20 CFH (cubic feet per hour) is impossible if you are constantly fighting your equipment layout.
Porosity is one of the most frustrating welding defects, and it often stems from a messy bench. If your grinding dust is blowing directly into your welding zone because of how your bench is positioned, you will end up with contaminated welds. I always position my grinding station so the sparks and dust fly away from the assembly area. This simple spatial choice can save hours of troubleshooting later.
- Gas Flow Check: Ensure the flowmeter is at eye level to verify the 15–20 CFH rate before every session.
- Lead Management: Use under-bench hooks to keep welding leads off the floor, preventing trip hazards and insulation damage.
- Anti-Spatter Zone: Keep a dedicated spot for nozzle gel and anti-spatter spray away from the heat of the weld to avoid fire risks.
Integrating PPE and Safety into the Bench Flow
Garage fabrication safety is not just about wearing a mask; it is about making safety the path of least resistance. If your Shade 10-13 welding helmet is buried under a pile of gloves, you are more likely to “just do a quick tack” without it. I mount a heavy-duty hook on the front of my bench specifically for my helmet and another for my jacket. This ensures that my PPE is the first thing I touch when I approach the bench.
I also keep a workshop safety checklist posted on the wall directly behind the bench. This list includes checking for flammable materials within 35 feet and ensuring the fire extinguisher is unobstructed. By building these safety checks into the physical layout of the bench, you create a environment where structural failure and personal injury are much less likely to occur.
| PPE Item | Minimum Rating | Purpose | Bench Location |
|---|---|---|---|
| Welding Helmet | Shade 10-13 | UV/IR Protection | Front Hook |
| Safety Glasses | Z87+ | Impact Resistance | Eye-Level Shelf |
| Welding Gloves | TIG/MIG Rated | Thermal Protection | Right-Side Bin |
| Respirator | P100 | Metal Fume Filtration | Sealed Container |
Structural Load Testing and Inspection Procedures
Once a fabrication is complete, the bench serves as the primary site for initial inspection. I use a dedicated section of the bench to perform “shop floor” load tests. This involves using calibrated weights or hydraulic jacks to apply force to a joint, ensuring it meets the 2:1 or 4:1 safety factors required for the project. If the bench is cluttered, you cannot safely perform these tests or accurately measure the deflection of the metal.
Structural joint failure analysis often reveals that the failure started at a point where the fabricator couldn’t see the weld root. By organizing your bench to allow for 360-degree access to the workpiece—perhaps by using a heavy-duty turntable—you ensure that every inch of the weld is inspected. I use a magnifying glass and a flashlight, kept in a specific “inspection drawer,” to look for undercut or cold lap before the piece ever leaves the shop.
- Visual Inspection: Check for consistent bead profile and lack of undercut.
- Dimensional Check: Verify all angles with a machinist square.
- Stress Test: Apply a controlled load to check for unexpected flexing.
- Documentation: Note the material batch and weld settings for future reference.
Preventing Brittle Fracture with Proper Material Handling
Material handling on the bench is a subtle but vital part of structural integrity. If you drop heavy steel plates onto a hard bench surface, you can cause work hardening or surface nicks. These small imperfections act as “stress risers,” which are the starting points for brittle fractures under load. I keep a sacrificial layer of plywood or a rubber mat on one end of my bench for the initial handling of raw materials to prevent this.
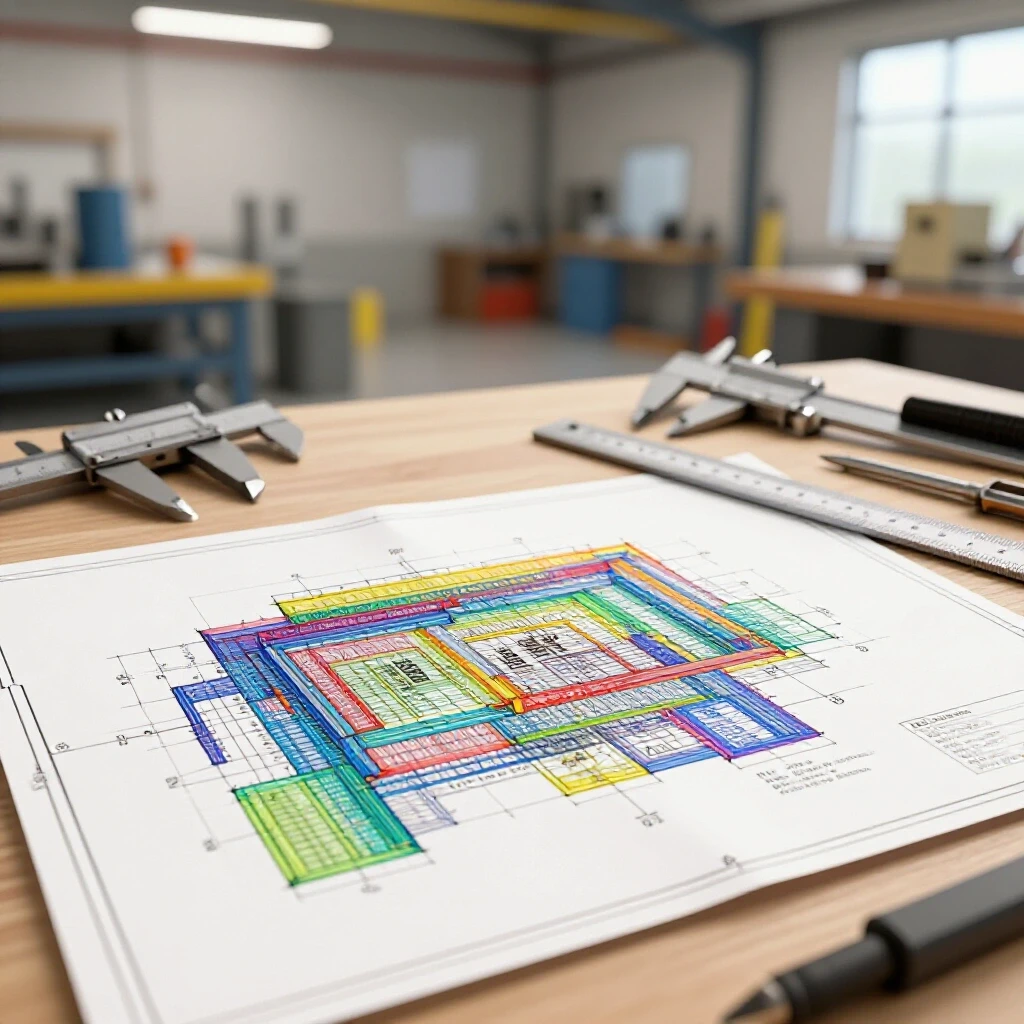
When I am preparing a structural build, I analyze the load paths before I even cut the metal. I mark these paths directly on the bench surface using soapstone. This visual guide helps me remember which joints will bear the most weight, reminding me to give them extra attention during the cleaning and fit-up stages. It is a simple habit, but it bridges the gap between engineering theory and shop floor reality.
- Avoid Surface Damage: Never use your primary welding surface as an anvil; the dings will transfer to your work.
- Mark Load Paths: Use the bench top as a chalkboard to visualize how forces will move through your frame.
- Cleanliness Matters: Wipe down the bench with a degreaser between projects to prevent cross-contamination of different alloys.
Implementing a Workshop Safety Checklist for Daily Bench Use
A disciplined layout is only effective if it is maintained. At the end of every work session, I follow a strict “reset” protocol. This isn’t just about tidiness; it is about safety. A stray grinding disc left on the bench can shatter if something is dropped on it, and a puddle of cutting oil can become a fire hazard during the next welding session. My daily routine ensures that the bench is a “blank slate” for the next day’s structural challenges.
I have found that the most successful fabricators are those who respect the physics of their environment. By organizing your workspace to support accurate measurements, consistent gas flow, and ergonomic movement, you are directly contributing to the strength of your projects. You are moving away from “guessing” and toward “verifying,” which is the hallmark of a professional-grade builder.
- Clear the Surface: Remove all scrap and tools not needed for the current task.
- Inspect Leads: Check for burns or frays in the welding and grinding cords.
- Verify Gas: Ensure the cylinder valve is closed and the regulator is bled.
- Sweep Dust: Remove metallic dust to prevent electrical shorts or respiratory issues.
Frequently Asked Questions
How does bench layout affect weld porosity?
A cluttered bench can trap moisture or hide contaminants like oil and grease near your work area. Additionally, if your tools are positioned in a way that forces you to use an awkward torch angle, you may lose shielding gas coverage. By keeping a clear 24-inch work zone and a dedicated “clean zone” for chemicals, you minimize the risk of atmospheric contamination entering the weld pool.
Why is the 24-inch reach radius so important for safety?
The 24-inch radius is the ergonomic “sweet spot” where you have the most control over your movements. Working outside this zone causes muscle fatigue, which leads to shaky hands and inconsistent welds. In structural fabrication, a shaky hand can result in “arc strikes” outside the joint, which create localized brittle spots that can fail under stress.
Can a messy workbench really cause structural failure?
Yes. Structural failure often starts with a “fit-up” error. If your bench is too cluttered to allow for proper clamping or if your squares are buried under scrap, you might accept a joint that is 2 or 3 degrees out of alignment. This misalignment creates unintended “eccentric loading,” where the weight of the structure puts twisting force on a joint that was only designed for compression.
Where should I place my vise for the best structural support?
The vise should be mounted directly over a bench leg and at a corner. This allows the bench to absorb the energy of heavy hammering or prying without vibrating the rest of the workspace. Stabilizing the vise reduces the risk of “chatter” during grinding, which ensures a smoother surface for better weld fusion.
What is the ideal height for a fabrication bench?
For most people, a height of 34 to 36 inches is ideal. This allows you to stand with a straight back while welding, which is critical for maintaining a steady hand. If the bench is too low, you will hunch over, leading to fatigue and poor weld quality. If it is too high, you lose the leverage needed for heavy manual tasks like sawing or filing.
How do I manage heat-affected zones (HAZ) on a wooden workbench?
If you are using a wooden bench, you must use a steel plate (at least 3/8-inch thick) as your primary welding surface. This plate acts as a heat sink, drawing thermal energy away from the joint. Without a proper heat sink, the metal stays hot for too long, which can lead to excessive grain growth and a significantly weakened HAZ in the base metal.
What are the risks of keeping grinders too close to the welding area?
Grinders produce fine metallic dust that is highly flammable and can contaminate your weld. If this dust is sucked into your welding machine’s cooling fan, it can cause an internal short. Furthermore, grinding sparks can ignite the shielding gas hose or damage the lens of your welding helmet if they are stored too close to the grinding zone.
How often should I calibrate the layout of my bench?
You should check the level and flatness of your bench at least once a month. Over time, the weight of heavy projects and the heat from welding can cause even steel benches to warp. If you are starting a high-precision project, such as a vehicle frame or a load-bearing bracket, perform a full check of your squares, levels, and bench surface before you begin.
How can I prevent “tool creep” during a complex build?
Use vertical tool rails or magnetic strips located just behind your primary work zone. By giving every tool—especially your measuring tools—a “home” that is off the flat work surface, you prevent them from sliding into your way. This keeps your workspace clear for the actual fabrication and reduces the chance of a measuring error.
What is the best way to organize welding leads on a bench?
Use heavy-duty hooks or “J-hooks” mounted under the edge of the bench. This keeps the leads off the floor, where they can be tripped over or damaged by falling metal. Keeping the leads organized also prevents them from pulling on your torch, which allows for much smoother and more precise weld beads.
Should I have a separate area for stainless steel and mild steel?
If you have the space, yes. Cross-contamination is a major cause of corrosion in stainless steel. If you use a wire brush on mild steel and then use the same brush on stainless, you will embed carbon steel particles into the stainless, leading to “tea staining” or rusting. At the very least, have dedicated bins and tools for different material types to maintain their structural integrity.
(This article was written by one of our staff writers, James Harlan. Visit our Meet the Team page to learn more about the author and their expertise.)