How to Reinforce and Upgrade an Old Steel Workbench (Guide)
I remember the first time I tried to weld a heavy bumper on an old, thin-walled steel table I’d found at a local auction. Every time I struck an arc, the table seemed to groan. By the time I finished the project, the table top had a visible sag, and the legs were splayed like a newborn calf. It was a wake-up call. In my 13 years as a prototype technician and fabricator, I’ve learned that your work is only as accurate as the surface it’s built on. If your foundation is flimsy, your chassis, trailers, and fixtures will never be square.
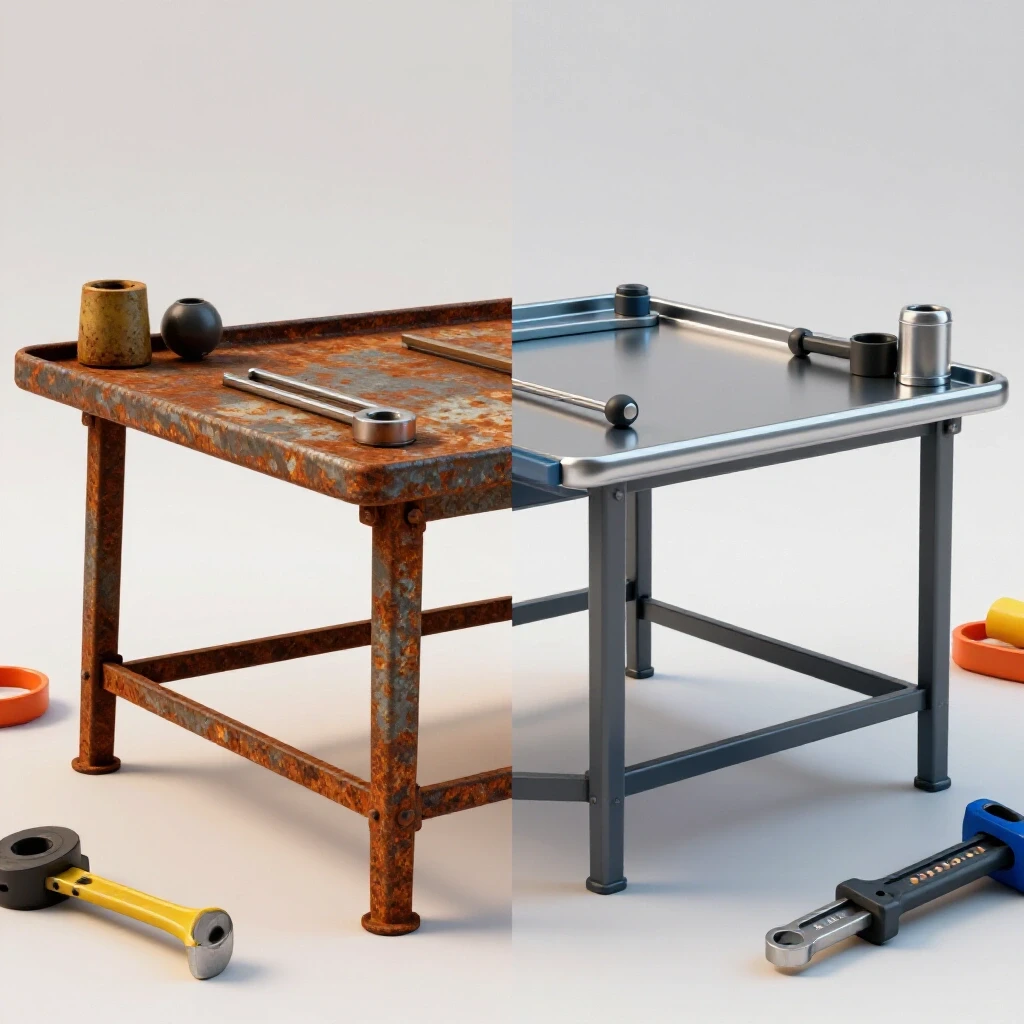
Rehabilitating a tired metal station isn’t just about slapping on more steel; it’s about understanding how to manage the forces of heat and weight. When we add bracing or thicken a top plate, we are essentially fighting physics. Metal moves when it gets hot, and it stays moved when it cools. To turn a shaky relic into a professional-grade fabrication surface, we need a plan that accounts for material behavior, weld shrinkage, and structural load paths.
Evaluating the Structural Health of an Existing Frame
Before you strike a single arc, you must determine if the bones of your project are worth the effort. This involves checking for “racking,” which is the side-to-side swaying that occurs when joints are weak or the geometry is insufficient for the load.
In my shop, I start by stripping the unit down to its bare frame. I use a four-foot level and a machinist’s square to check the current state of the legs and the top. If the frame is out of square by more than 1/4 inch over a four-foot span, you’ll need to decide whether to pull it back into alignment with a bottle jack or cut and re-weld the primary joints. Most old industrial units suffer from “parallelogramming,” where the rectangles have shifted into slanted shapes.
I also look for fatigue cracks near old welds. These are often hidden under layers of paint or grease. A quick pass with a wire wheel on an angle grinder reveals the truth. If the original welds are porous or undercut, they won’t support the new reinforcements we plan to add. We are building a system, and a system is only as strong as its weakest connection.
Planning Material Cuts and Kerf Allowances
Accuracy in fabrication begins at the saw, not the welding table. When you are adding cross-bracing or new leg supports, your cuts must be precise to within 1/16th of an inch to ensure tight fit-up.
One of the most common mistakes I see in garage shops is ignoring the kerf. The kerf is the width of the material removed by the cutting tool. If you need a brace that is exactly 24 inches long and you mark 24 inches on your steel, your finished piece will be short by the width of your blade. This gap leads to poor weld penetration and increased distortion as the weld pool tries to bridge the void.
| Cutter Type | Typical Kerf Width (Inches) | Best Use Case |
|---|---|---|
| Abrasive Chop Saw | 1/8″ to 5/32″ | Rough structural cuts |
| Cold Saw | 3/32″ to 1/8″ | Precision square cuts |
| Plasma Cutter | 1/16″ to 1/8″ | Curved or irregular shapes |
| Portaband (Portable Band Saw) | 0.025″ to 0.035″ | On-site fitting and thin wall |
| Oxy-Acetylene Torch | 1/8″ to 3/16″ | Heavy plate dismantling |
When I’m mapping out my cut list for a reinforcement project, I always account for these values. For a standard 2×2 inch angle iron brace, I prefer using a cold saw or a high-quality band saw. The smaller kerf and lower heat input keep the material from warping before it even reaches the frame.
Surface Preparation and Rust Mitigation
Welding onto old, contaminated steel is a recipe for project failure. Porosity—tiny holes in the weld caused by trapped gases—is a constant threat when working with repurposed workshop furniture.
To ensure a structural bond, I grind all weld zones back to shiny, “white” metal. This means removing not just the paint, but the mill scale and any deep-seated rust. Mill scale is the dark, flaky layer found on hot-rolled steel. It has a higher melting point than the base steel, which can lead to lack of fusion. I typically use a 40-grit flap disc for initial cleaning, followed by a quick wipe with acetone to remove any residual oils.
If the frame has internal rust inside hollow tubing, I use a rust-converting primer on the interior surfaces where I can’t reach with a grinder. However, I never weld over these converters. I keep the weld zone—about one inch on either side of the joint—completely bare. This preparation ensures the arc stays stable and the puddle flows smoothly into the base material.
Implementing Cross-Bracing for Lateral Stability
The most effective way to stop a table from wobbling is to add diagonal bracing. This transforms a flexible rectangle into a series of rigid triangles, which are much better at resisting shear forces.
I generally use 1-1/2″ x 1-1/2″ x 3/16″ angle iron for this. While square tubing is stronger in torsion, angle iron is easier to fit against existing legs. When installing these, I place them on the rear and sides of the frame, leaving the front open for my legs or a stool. For maximum stability, the braces should connect as far apart as possible—ideally from a lower corner to an upper corner.
Interestingly, you don’t always need a full “X” brace. A single diagonal (a “K” brace or a “half-X”) can often provide 80% of the required stiffness with 50% of the weight and cost. If I’m building a station that will hold a heavy engine block or a transmission, I’ll opt for the full “X” to ensure the frame cannot twist under an off-center load.
Strengthening Leg Joints with Gussets
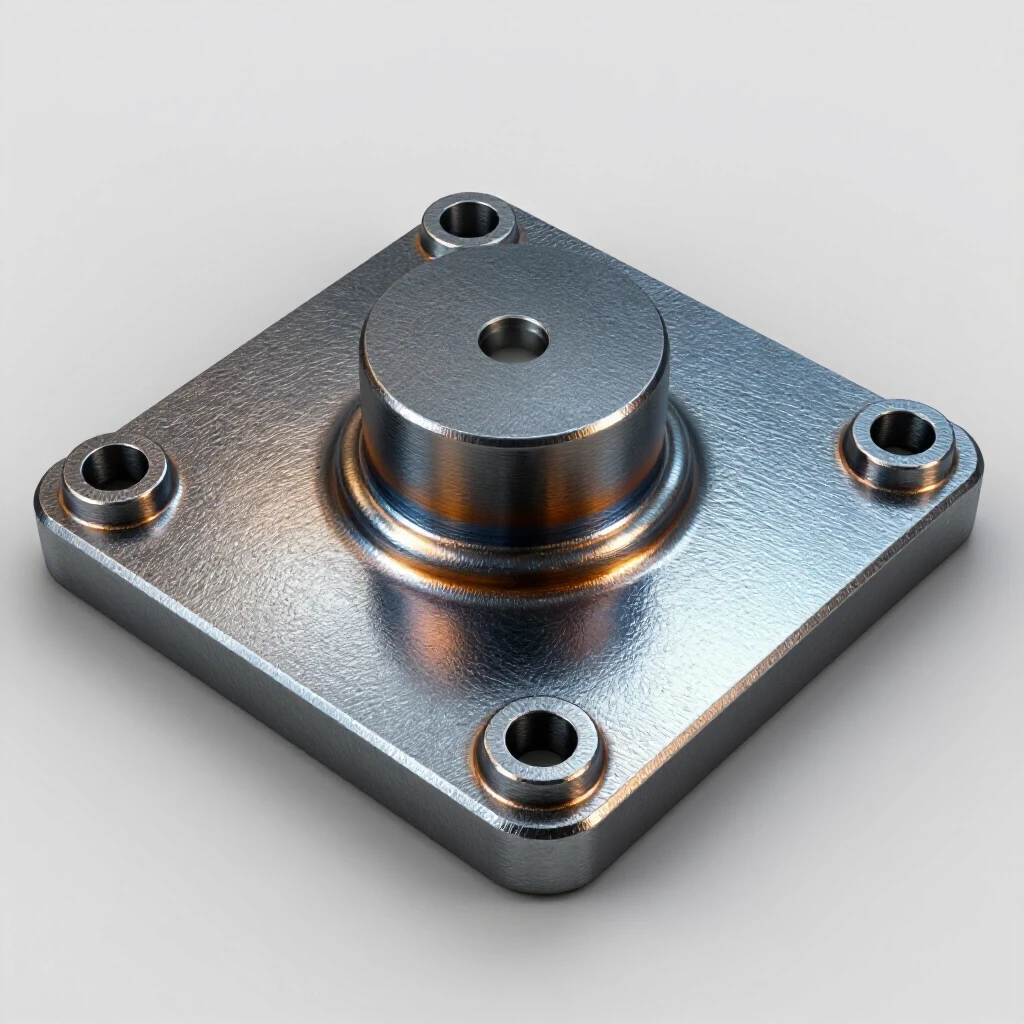
Gussets are triangular reinforcement plates used to strengthen the corners where the legs meet the top frame. They are essential for preventing the legs from buckling under heavy vertical pressure or folding during a lateral push.
I recommend using 1/4-inch thick steel plate for gussets on any heavy-duty build. A standard size is a 4×4 inch or 6×6 inch right triangle. When I install these, I don’t just weld the outer edges. I make sure to leave a small gap—about 1/8 inch—at the very corner of the triangle. This prevents the weld from “stacking up” in the corner, which can actually create a stress riser and lead to cracking later on.
- Tack Spacing: Place tacks every 2 inches along the gusset edge before final welding.
- Gusset Placement: Align the gusset with the centerline of the structural members.
- Sizing: The gusset should cover at least 25% of the length of the joint it is reinforcing.
In my experience, a well-placed gusset is more effective than a larger weld bead. It spreads the load over a wider area of the base metal, reducing the chance of the thin-walled tubing tearing away from the joint.
Stiffening the Top Surface for Heavy Fabrication
A thin sheet-metal top is the enemy of accurate work. If your surface bows when you clamp a project to it, your project will be built with that same bow. To fix this, we add “ribs” or stiffeners to the underside of the top plate.
I like to use C-channel or 2-inch square tubing for this. I space these stiffeners every 12 to 16 inches across the span of the table. If you are welding a new, thicker plate (like 3/8″ or 1/2″ steel) onto an existing frame, these ribs become even more important. They act as a spine, keeping the plate flat while you’re laying down heavy beads on your workpieces.
When attaching a heavy top plate to the reinforced frame, I avoid continuous welds. Instead, I use “plug welds” or short, 2-inch beads spaced 6 inches apart. This allows the plate to expand and contract slightly without bowing the entire table. If you weld the entire perimeter, the heat will almost certainly pull the center of the table into a “dish” shape, ruining your flat reference surface.
Managing Weld Sequencing to Prevent Distortion
This is where most DIY builders run into trouble. You’ve got your braces cut and your gussets ready, but as you start welding, the heat causes the frame to pull out of square. This is known as angular weld shrinkage. As the molten metal cools, it contracts, pulling the two pieces of steel toward the side where the weld was laid.
To combat this, I use a strict sequencing strategy. I never finish one joint completely before moving to the next. Instead, I “stitch” the project together. I start with small, 1/4-inch tacks at every corner. Then, I check the frame for square using the 3-4-5 triangle method or by measuring diagonals. If the diagonals are within 1/16th of an inch, I proceed with the welding sequence.
| Sequence Step | Action | Purpose |
|---|---|---|
| 1. Primary Tacking | Small tacks at all 4 corners of a joint | Holds geometry without over-heating |
| 2. Opposite Side Tacking | Tacking the diagonal opposite corner | Balances initial pull |
| 3. Root Pass (Short) | 1-inch beads on the “inside” of joints | Establishes structural base |
| 4. Balancing Beads | Move to the opposite side of the frame | Counteracts the pull of the first bead |
| 5. Final Fill | Complete the welds in 2-inch increments | Minimizes total heat soak |
By jumping from corner to corner and side to side, you allow the heat to dissipate. If you feel the steel getting too hot to touch more than 6 inches away from the weld, stop. Let it air cool. Quenching it with water will only lock in the internal stresses and likely cause the frame to warp instantly.
Integrating Structural Upgrades for Tool Mounting
Once the frame is stiff and square, it’s time to add the features that make the bench functional. A heavy vise is a must-have, but mounting it directly to a thin top will eventually tear the metal.
I always weld a “doubler plate”—a 6×6 inch piece of 1/2-inch steel—under the area where the vise will sit. I drill through both the top plate and the doubler, using Grade 8 bolts to secure the vise. This ensures that when you’re hammering on a part in the vise, the force is distributed through the frame and down into the legs, rather than just flexing the top skin.
For drawer slides or shelving, I weld 1-inch angle iron “runners” between the legs. This adds even more lateral stability to the lower half of the frame. When installing these, I use a jig—usually just two pieces of scrap wood cut to the exact height—to ensure the runners are perfectly level with each other. Even a 1/8-inch difference from front to back will cause drawers to bind or slide open on their own.
Maintaining Dimensional Tolerances During Assembly
Throughout the build, I keep a “Post-Weld Alignment Log.” It sounds tedious, but it’s the only way to catch errors before they become permanent. After every major set of welds, I re-measure the width, depth, and diagonals.
If I notice the frame has pulled 1/8-inch out of square, I can often correct it by placing the next weld on the opposite side of the joint. The shrinkage of the new weld will pull the frame back toward the center. This is “using the heat” to your advantage. However, this only works if you catch the movement early. If you wait until the entire bench is welded out, you’ll be stuck using a porta-power or a torch to “heat-straighten” the frame, which is a much more difficult skill to master.
I also use modern tools like a laser level to project a flat line across the top of the legs before I weld the top plate on. This helps me identify any legs that are slightly “proud” or “short.” Shimming a leg with a piece of 16-gauge sheet metal before welding is much easier than grinding down a hardened weld bead later.
Final Finishing and Alignment Checks
Once the fabrication is complete, I do one final check for flatness. I use a long straightedge (a 6-foot piece of extruded aluminum works well) and a set of feeler gauges. I slide the feeler gauges under the straightedge at various points on the table. In a professional shop, we aim for less than 0.030 inches of deviation across the entire surface. For most home projects, 1/16th of an inch (+/- 0.0625) is more than acceptable.
If there are high spots, I carefully flap-disk them down. If there are low spots, I might add a small “pad” of weld and grind it flush, though this is a last resort as it adds more heat. Finally, I apply a coat of industrial enamel or a simple coat of paste wax to the top surface. I prefer wax for fabrication tables because it prevents weld spatter from sticking to the surface, making cleanup much easier after a long day of tacking frames.
Frequently Asked Questions
How do I know if my old workbench is made of weldable steel? Most industrial benches from the last 50 years are made of mild steel (A36 or similar). You can test this by touching an angle grinder to an inconspicuous spot. If it produces long, orange sparks, it’s mild steel. If it produces short, bushy, white sparks, it might be cast iron, which requires specialized welding procedures and pre-heating.
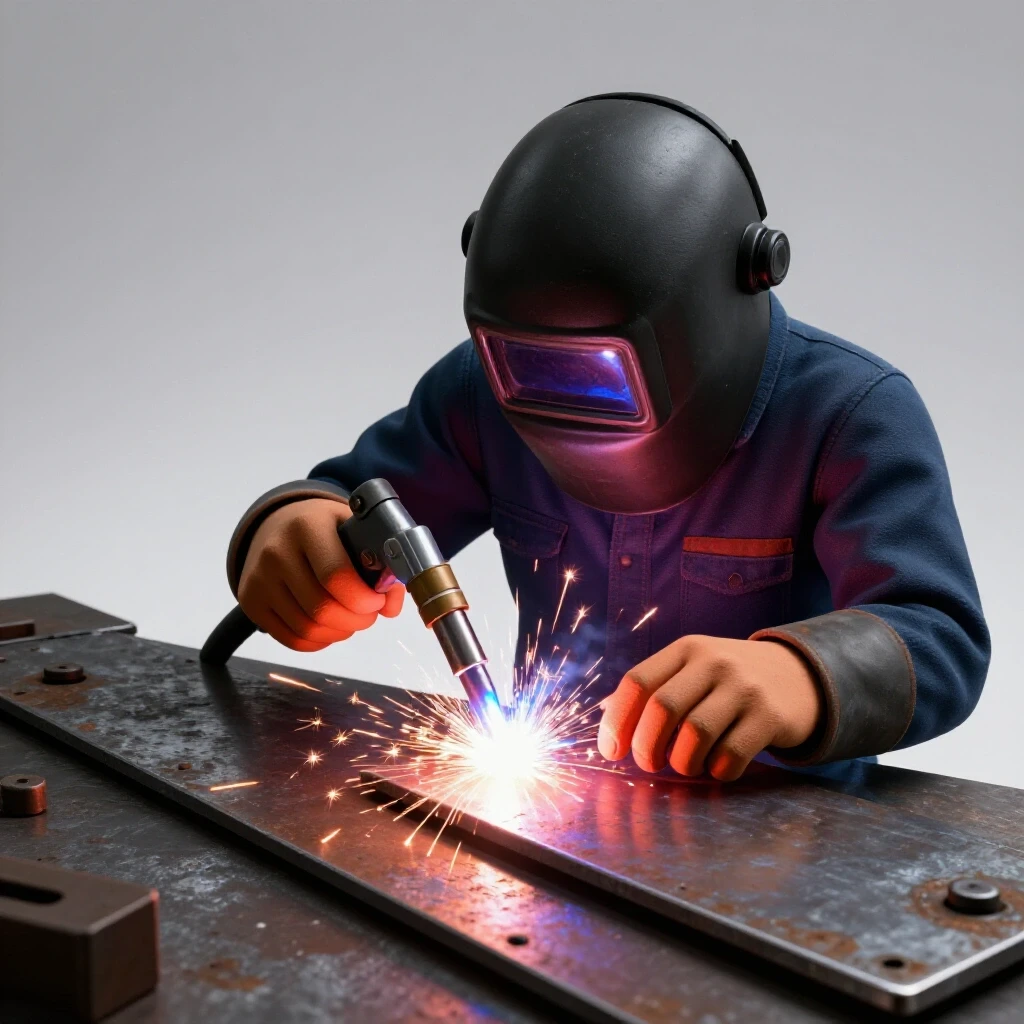
Can I use a standard MIG welder for these reinforcements? Yes, a 110V or 220V MIG welder is perfect for this. For 3/16″ and 1/4″ reinforcements, I recommend using .030 or .035 solid wire with C25 shielding gas (75% Argon, 25% CO2). Ensure you have enough amperage to get deep penetration into the thicker gussets.
What is the best way to stop the bench from “walking” across the floor? If you don’t need the bench to be mobile, the best solution is to weld 4×4 inch “feet” (1/4-inch plate) to the bottom of the legs and bolt them to the concrete floor using wedge anchors. If you need it mobile, use heavy-duty locking casters with a total weight rating at least double the weight of the bench plus your heaviest expected project.
How do I prevent the top plate from warping when I weld it to the frame? Use the “skip welding” technique. Weld 1 inch, move to the opposite side of the table, weld 1 inch, and repeat. Never weld a long continuous bead. Keeping the heat input low and localized is the only way to maintain a flat surface.
Is it better to bolt or weld the new braces? Welding provides a more rigid, permanent connection that won’t loosen over time due to vibration. Bolting is useful if you think you might need to disassemble the bench later, but it requires much more precision in drilling and uses hardware that can eventually shear under heavy lateral loads.
How thick should the new top plate be for a fabrication bench? For a serious DIY builder, 3/8-inch is the “sweet spot.” It’s heavy enough to resist warping and support a vise, but not so heavy that it makes the bench impossible to move. If you do a lot of heavy sledgehammer work, go up to 1/2-inch.
What should I do if the frame is already severely rusted? If the rust has “pitted” the metal (created deep craters), the structural integrity is compromised. If more than 20% of the metal thickness is gone, it’s safer to replace that section of tubing or angle iron entirely rather than trying to reinforce it.
How do I square a frame that is already tacked together? You can use a ratcheting tie-down strap (come-along) to pull the long diagonal of the frame until it matches the short diagonal. Once the measurements are equal, add more substantial tacks to “lock” it in place before final welding.
Should I paint the whole bench when I’m done? Paint the legs and the bracing to prevent rust, but leave the top surface bare or waxed. A painted top will burn and peel the first time you weld a project on it, creating toxic fumes and a mess.
What is the most common mistake in reinforcing an old bench? Over-welding. Beginners often think more weld equals more strength. In reality, excessive welding adds unnecessary heat, which causes massive distortion. A few well-placed, high-quality 2-inch welds are much better than a continuous bead that warps the entire frame.
How do I mount a vise if the top is only 1/8-inch thick? You must use a doubler plate. Weld a piece of 1/2-inch plate (at least 6×6 inches) to the underside of the thin top, then bolt the vise through both layers. This prevents the vise from “tearing” the thin metal like a can opener.
Can I use flux-core wire for this project? Yes, flux-core is great for thicker structural steel, especially if you are working in a drafty garage where shielding gas might blow away. Just be prepared for more cleanup (slag removal) and a bit more heat input.
(This article was written by one of our staff writers, Robert Kline. Visit our Meet the Team page to learn more about the author and their expertise.)