How to Use a Welding Position Reference Chart (DIY Guide)
When I first picked up a TIG torch twelve years ago, I thought I could just “wing it” by watching the arc and moving my hand. I spent my first three months producing what looked like bird droppings on steel plate. My beads were inconsistent, my penetration was shallow, and I had no idea why a weld that worked on the bench failed completely when I tried to join two tubes vertically. It wasn’t until I started using a systematic approach to joint orientation and torch geometry that my skills finally began to level off.
The frustration of hitting a plateau is something every self-taught fabricator faces. You feel like you are doing the same thing every time, yet the results vary wildly. This guide is designed to bridge that gap. By understanding how to categorize your work and adjust your physical movements based on the orientation of the metal, you can turn a confusing craft into a repeatable science. We are going to look at how to map out your welds so that every time you strike an arc, you have a plan for your hand, your machine, and your eyes.
Decoding the Standard Orientation Symbols for Shop Success
Understanding how to categorize different types of welds is the first step in moving from a hobbyist to a skilled fabricator. These alphanumeric codes act as a shorthand for where the metal is located and what kind of joint you are making. Mastering this language helps you quickly determine the correct settings for your machine.
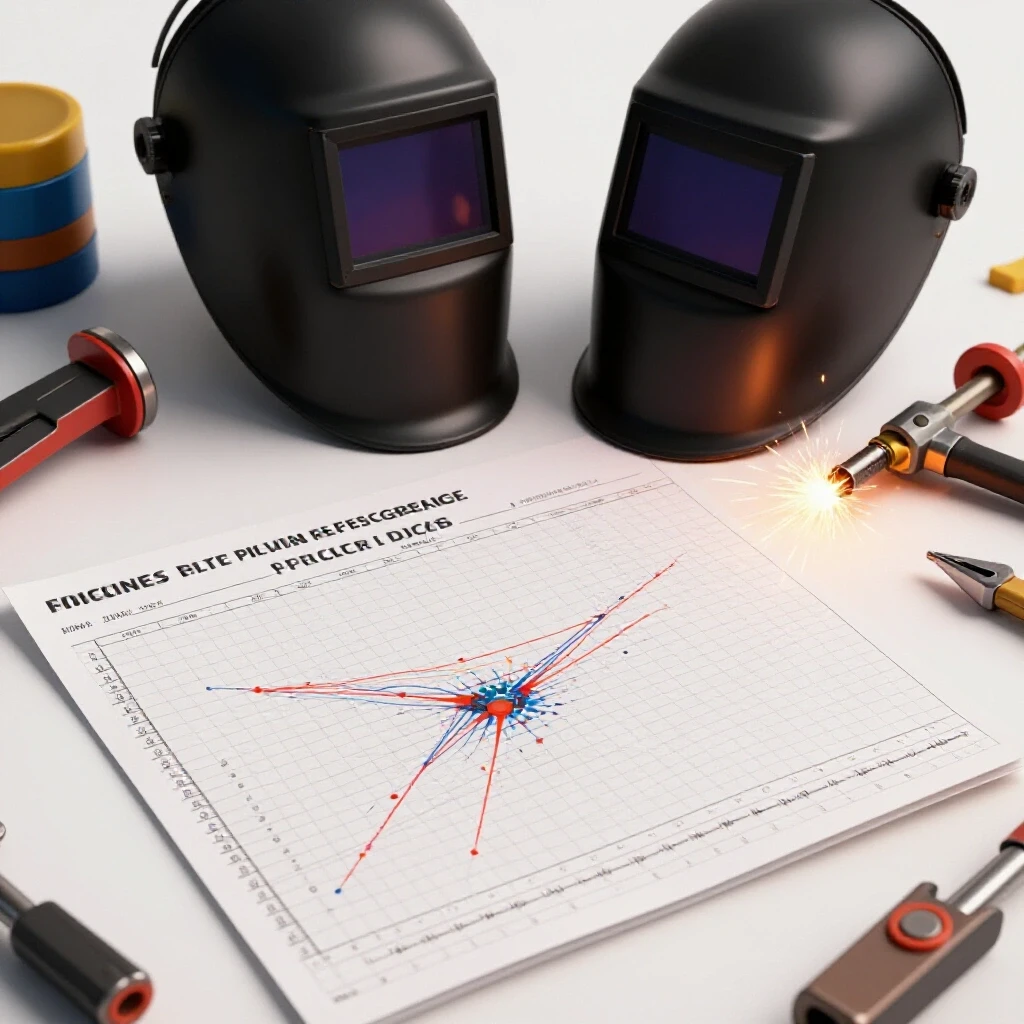
When you look at a technical layout for a project, you will often see numbers and letters like 1G or 2F. The number refers to the position: 1 is flat, 2 is horizontal, 3 is vertical, and 4 is overhead. The letter tells you the joint type: “G” stands for a groove weld (butt joint) and “F” stands for a fillet weld (T-joint or lap joint). For most of us in a home shop, we spend 90% of our time in the 1 and 2 positions, but moving into 3 and 4 is where true skill is built.
In my early days, I tried to weld a vertical T-joint using the same amperage I used for a flat plate. The molten metal simply ran down the steel and landed on my boots. I didn’t realize that a 3F weld requires a completely different heat management strategy than a 1F weld. By identifying the position first, you can adjust your travel speed and torch angle before you ever pull the trigger.
Common Joint Position Classifications
| Position Code | Description | Physical Orientation |
|---|---|---|
| 1G / 1F | Flat | The weld is performed from the top side of the joint. |
| 2G / 2F | Horizontal | The weld axis is horizontal; the face is on a vertical plane. |
| 3G / 3F | Vertical | The weld axis is vertical; the torch moves up or down. |
| 4G / 4F | Overhead | The weld is performed from the underside of the joint. |
Why Torch Angles Dictate Bead Quality in Different Positions
Your hand position must change depending on how the metal is oriented relative to the ground. Learning to adjust your work and travel angles ensures that the heat goes exactly where it needs to go. If your angle is off by even ten degrees, the arc force can push the molten metal out of the joint.
There are two main angles to track: the work angle and the travel angle. The work angle is the relationship between the torch and the metal surface. For a T-joint, this is usually 45 degrees. The travel angle is how much you tilt the torch in the direction you are moving. Most beginners tilt the torch too far back, which results in a long arc and poor gas coverage. I recommend staying between 10 and 15 degrees of “drag” or “push” depending on the process.
Mastering Torch and Electrode Geometry
- Work Angle: This centers the heat between the two pieces of metal. If one piece is thicker, you point the torch slightly more toward the thicker side to balance the melt.
- Travel Angle: This controls the shape of the bead. A steep angle (too much tilt) creates a wide, thin bead with shallow penetration. A shallow angle (more upright) creates a narrower, deeper weld.
- Arc Gap: For most processes, keeping a tight arc gap of 3/32″ to 1/8″ is vital. As you move into vertical or overhead positions, maintaining this gap becomes harder as gravity pulls on your arm.
- Clean Zones: No matter the angle, you must have a clean zone of at least 1 inch on either side of the joint. Rust, mill scale, and oil will ruin the surface tension of the puddle.
Calculating Travel Speed Metrics for Consistent Penetration
Moving too fast leads to thin, weak beads, while moving too slow causes excessive heat buildup. Mastering a steady 8–12 inches per minute (IPM) is the foundation of professional-looking fabrication. If you can’t maintain a consistent speed, your bead will look like a series of lumps rather than a smooth “stack of dimes.”
I often tell my students to use a stopwatch. Mark out a six-inch line on a scrap piece of steel and try to weld it in exactly 45 seconds. This translates to 8 inches per minute. It sounds easy, but when the sparks are flying and the heat is rising, your brain naturally wants to speed up. By timing your practice runs, you build an internal clock that tells you exactly how fast your hand should be moving across the metal.
Weld Travel Speed and Heat Parameters
| Material Thickness | Target Travel Speed | Recommended Arc Gap | Common Mistake |
|---|---|---|---|
| 1/16″ (16ga) | 12–15 IPM | 1/16″ | Burning through the metal |
| 1/8″ (11ga) | 8–12 IPM | 3/32″ | Moving too fast (cold lap) |
| 1/4″ | 5–8 IPM | 1/8″ | Moving too slow (excessive heat) |
Managing Heat Input and Gravity in Vertical and Overhead Joints
When welding out of position, gravity becomes your biggest opponent. Adjusting your machine settings and travel patterns is essential to prevent the molten metal from sagging or falling out of the joint. This is where most intermediate fabricators get stuck because the physics of the puddle change completely.
When you weld vertically (3G or 3F), the heat from the bottom of the weld rises and pre-heats the metal above it. If you keep your amperage the same as your flat welds, the puddle will get too large and drop off. I usually drop my amperage by 10% to 15% when moving from flat to vertical-up. You also need to learn to “weave” or “oscillate” the torch to move the heat to the sides of the joint, allowing the center to solidify slightly and hold the weight of the puddle.
Techniques for Out-of-Position Control
- Lower the Heat: Reduce your voltage or amperage to keep the puddle small and manageable.
- Shorten the Arc: A tighter arc gap gives you more control over where the metal goes.
- Watch the “Shelf”: In vertical-up welding, you are building a small shelf of solidified metal and then placing the next drop of molten metal on top of it.
- Body Positioning: Never weld in a position where you are reaching or off-balance. If your body is stable, your hand will be stable. I often use a “third point of contact,” like resting my elbow on the table or a brace, to steady my torch hand.
Building a Structured Metalworking Practice Routine
Mastery comes from repetition, but only if that repetition is focused. A structured progression from flat beads to complex joints helps you build muscle memory without becoming overwhelmed by technical variables. I spent years just “making things” before I realized that 20 minutes of focused bead-on-plate practice was worth five hours of random project work.
Start with “padding” a plate. This involves running parallel beads on a flat piece of scrap. Each bead should overlap the previous one by about 50%. This teaches you to follow a straight line and maintain a consistent height. Once you can pad a plate without any gaps or high spots, move to lap joints, then T-joints. Only after you have mastered the flat version of these joints should you tilt the plate up and try them horizontally or vertically.
Skill Progression Milestones
- Phase 1: Bead-on-Plate (1G). Focus on travel speed and arc length. Your goal is a straight, uniform bead.
- Phase 2: Horizontal Fillet (2F). Focus on the 45-degree work angle. Ensure the weld is not “sagging” toward the bottom plate.
- Phase 3: Vertical-Up Fillet (3F). Focus on heat management. Learn to wait for the puddle to freeze slightly before moving up.
- Phase 4: Multi-Pass Joints. Learn to stack beads in a thick joint. This requires cleaning the slag or soot between every single pass.
Troubleshooting Common Defects Using Visual Reference Data
Identifying why a weld failed is the first step toward fixing it. By comparing your results to known defect patterns like undercut or porosity, you can make precise adjustments to your technique. Every mistake leaves a footprint in the metal that tells you exactly what went wrong with your hand or your machine.
One of the most common issues I see is “undercut.” This looks like a small groove melted into the base metal right at the edge of the weld. It is usually caused by having the torch at the wrong angle or moving too fast. Another common issue is “porosity,” which looks like tiny holes or bubbles in the weld. This is almost always a gas coverage issue or dirty metal. If you see these patterns, stop immediately and adjust your settings rather than finishing a bad weld.
Visual Defect Evaluation Chart
- Undercut: A notch at the toe of the weld. Fix: Slow down and point the torch more toward the edge that is melting away.
- Overlap (Cold Lap): The weld metal is sitting on top of the base metal without fusing. Fix: Increase your amperage or slow your travel speed.
- Porosity: Small holes like a sponge. Fix: Check your shielding gas flow and clean the metal with a stainless steel brush.
- Excessive Spatter: Small balls of metal stuck around the weld. Fix: Lower your voltage or shorten your arc gap.
Tracking Your Progression with a Practice Log
To move past a plateau, you need data. I recommend keeping a small notebook in your shop to track every practice session. When you find a setting that works perfectly for a 1/8″ T-joint in the 2F position, write it down. This prevents you from having to “re-learn” your machine every time you start a new project.
Your log should include the material type, thickness, joint position, amperage/voltage, and a brief note on how the puddle felt. Did it feel “sluggish”? Was it “too fluid”? Over time, you will see patterns emerge. You might notice that your vertical welds are always better in the morning when your hands are fresh, or that a certain brand of filler rod flows better at a slightly higher heat.
Sample Practice Log Template
- Date and Time: (e.g., Oct 12, 10:00 AM)
- Joint Type and Position: (e.g., 3F Vertical Fillet)
- Material: (e.g., 1/8″ Mild Steel)
- Machine Settings: (e.g., 115 Amps, 18.5 Volts)
- Torch Angle: (e.g., 10-degree push)
- Observations: (e.g., “Puddle was sagging. Dropped to 110 Amps and it stayed in the joint better.”)
- Self-Grade: (1-10 scale based on visual appearance and penetration)
The Importance of Ergonomics and Body Mechanics
Welding is as much a physical discipline as it is a technical one. If you are strained, your welds will show it. I have found that the most successful fabricators are the ones who spend an extra two minutes setting up their work area so they can move their arm through the entire length of the weld without hitting an obstacle.
Before you strike an arc, do a “dry run.” Move your torch from the start of the joint to the end without turning the machine on. Ensure your hose isn’t going to snag on the corner of the table and that your helmet won’t hit a brace. If you feel any tension in your shoulder or wrist during the dry run, rearrange your position. A relaxed hand is a steady hand.
Ergonomic Best Practices for the Shop
- Support Your Weight: Use a “welding arm” or a simple block of wood to rest your forearm on.
- Clear the Path: Ensure your welding lead is draped over your shoulder or a hook so the weight of the cable isn’t pulling on your torch hand.
- Level the Work: Whenever possible, use a positioner or clamps to bring the work to a comfortable height. Avoid welding on the floor if you can help it.
- Breath Control: Many beginners hold their breath during a weld. This causes muscle tension and shaking. Practice slow, steady breathing as you move the torch.
Advancing Your Skills Through Modern Feedback Tools
In the past, you had to wait for an instructor to look at your work. Today, we have tools that can accelerate the learning curve significantly. One of the best things I ever did was start recording my welds with a smartphone. By placing a piece of welding glass in front of the camera lens, you can film the puddle in slow motion.
Watching yourself weld is a humbling but necessary experience. You will see things in the video that you missed in real-time, like a slight tremor in your hand or the arc jumping because your gap was too wide. There are also digital parameter calculators available as apps that can give you a “starting point” for your settings based on the joint position and material thickness. These tools don’t replace practice, but they make your practice much more efficient.
Digital and Visual Tools for Improvement
- Slow-Motion Video: Use a #10 or #11 welding lens in front of your phone camera to record the puddle.
- Parameter Apps: Use manufacturer apps to get baseline settings for voltage and wire feed speed.
- Digital Angle Finders: Use these to ensure your work and travel angles are exactly where they need to be during setup.
- Online Communities: Share your photos on fabrication forums to get “peer reviews” from more experienced welders.
Conclusion: Turning Theory into Muscle Memory
The path from a frustrated beginner to a confident fabricator is paved with thousands of inches of weld beads. There are no shortcuts, but there is a more efficient way to travel. By using standard joint classifications and orientation codes to guide your practice, you take the guesswork out of the process. You stop asking “why is this happening?” and start saying “I need to adjust my work angle by five degrees.”
As you move forward, remember that even the pros have bad days. I still occasionally blow a hole through a thin piece of sheet metal or produce a bead that I’m not proud of. The difference is that now I have the data and the framework to understand why it happened and how to fix it on the next pass. Keep your practice logs, stay disciplined with your body mechanics, and don’t be afraid to slow down. The consistency you are looking for is just a few hundred practice runs away.
Frequently Asked Questions
What is the most important thing to remember when welding out of position? The most critical factor is heat management and gravity control. When you aren’t in a flat (1G/1F) position, the molten metal wants to fall out of the joint. You must use a tighter arc gap, lower your amperage by about 10-15%, and sometimes use a “weave” motion to help the puddle solidify and stay in place.
How do I know if my travel speed is correct? A good rule of thumb is the 8–12 inches per minute (IPM) range for most DIY-scale projects. Visually, if your bead is tall and narrow, you are moving too fast. If it is wide, flat, and the metal is turning blue or purple far away from the weld, you are moving too slow.
Why does the chart show different angles for a “push” vs. a “pull” technique? The “pull” (drag) technique is common for Stick and Flux-Core welding because it helps keep the slag behind the puddle. The “push” technique is often used for MIG on thin materials because it provides a flatter bead and less penetration. The travel angle usually stays between 10 and 15 degrees for both, but the direction changes based on the process.
Can I use the same machine settings for flat and overhead welding? Generally, no. For overhead (4G/4F) welding, you usually need to run slightly “colder” (lower amperage or voltage) to keep the puddle small. If the puddle gets too large, gravity will pull it down, creating a dangerous situation and a poor weld.
What is the difference between a work angle and a travel angle? The work angle is the position of the torch relative to the joint surfaces (e.g., 45 degrees in a corner). The travel angle is the tilt of the torch in the direction of the weld (e.g., tilting the torch 15 degrees back as you move forward). Both are essential for proper bead shape.
How often should I clean my metal before welding? Every single time. You should clean the “clean zone” (at least one inch from the joint) until the metal is shiny. Use a flap disc or a wire brush. Contaminants like mill scale or rust will cause the arc to wander and create porosity in your weld.
What does “3G” stand for in a welding reference? “3” stands for the vertical position, and “G” stands for a groove weld (a butt joint where two plates are joined edge-to-edge). This is considered one of the more difficult positions to master because you are fighting gravity the entire time.
Is it better to weld vertical-up or vertical-down? For structural strength on thicker materials (1/8″ and up), vertical-up is usually preferred because it ensures better penetration. Vertical-down is often used for thin sheet metal because it is faster and puts less heat into the part, preventing warping.
How do I stop my hand from shaking during a long weld? Focus on your ergonomics. Always find a way to brace your hand, wrist, or elbow. If you are “free-handing” in the air, you will inevitably shake. Use a “third point of contact” to steady yourself and remember to breathe steadily.
Why are my welds cracking as they cool down? Cracking is often caused by “brittleness” due to cooling too fast or using the wrong filler metal. It can also happen if the weld bead is too small for the thickness of the metal. Ensure you are using the correct filler rod for your base metal and that your bead size is sufficient for the joint.
(This article was written by one of our staff writers, Thomas Langley. Visit our Meet the Team page to learn more about the author and their expertise.)