How to Weld a Heavy-Duty Wall Storage Rack for Steel (Plan)
I remember the exact moment I realized my side business was actually losing money. I was standing in my shop, looking at a stack of heavy-duty brackets I had just finished for a client. I had charged what I thought was a fair price based on the steel and a few hours of my time. But when I looked at my empty argon tank and the pile of used grinding discs, the math didn’t add up. I hadn’t just built a storage solution; I had paid for the privilege of working for someone else.
Transitioning from a hobbyist to a professional fabricator requires a shift in how you view your workshop. It is no longer just a place for projects; it is a production environment where every spark costs money. To stay profitable, you must move away from “guesstimating” and toward precise financial tracking. This guide focuses on the economics of building industrial-grade wall storage for raw materials, a project that serves as a perfect case study for mastering shop math and operational efficiency.
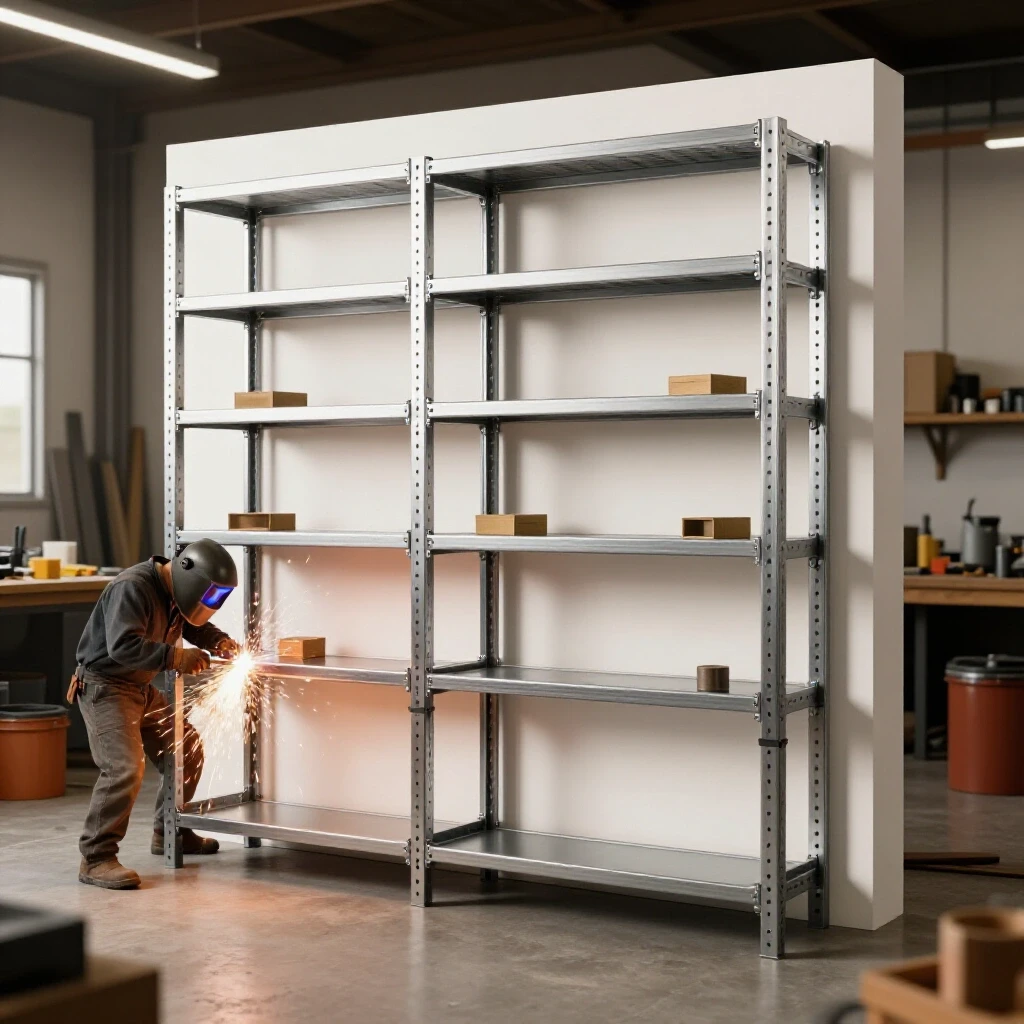
Establishing Your True Shop Rate for Custom Fabrication
A shop rate is the total hourly cost required to keep your business running, including labor, overhead, and profit. It ensures that every hour you spend under the hood contributes to the long-term health of your shop rather than just covering the immediate bills.
Most side-hustlers make the mistake of only charging for their time. However, your shop is a hungry beast. It consumes electricity, requires insurance, and demands rent or property taxes. To find your true shop rate, you need to add up every annual expense—including that expensive shop heater and your liability insurance—and divide it by the number of billable hours you realistically work in a year.
In the world of small-batch metalworking, shop rates typically fall between $65 and $120 per hour. If you are working out of a garage with low overhead, you might lean toward the lower end to stay competitive. However, if you are using high-end MIG machines and industrial plasma cutters, your rate must reflect that investment. For a project like a heavy-duty material rack, which involves significant prep and welding time on 1/4-inch plate, an accurate shop rate is the difference between a profitable weekend and a wasted one.
| Expense Category | Annual Estimated Cost | Monthly Impact |
|---|---|---|
| Shop Rent/Mortgage | $12,000 | $1,000 |
| Utilities (Power/Gas) | $2,400 | $200 |
| Business Insurance | $1,200 | $100 |
| Consumables Base | $1,800 | $150 |
| Total Fixed Overhead | $17,400 | $1,450 |
Building on this, if you only have 15 billable hours a week (780 hours a year), your overhead alone costs you $22.30 per hour before you even pay yourself a dime. If you want to earn $40 an hour for your labor, your base shop rate must be at least $62.30.
Equipment Amortization and Tool ROI Timelines
Amortization is the process of spreading the cost of an expensive tool over its expected lifespan. This ensures that the price of your equipment is factored into every job you bid, allowing you to save for replacement machinery before your current tools wear out.
When you invest in a high-quality MIG welder or a heavy-duty cold saw to build structural storage units, you shouldn’t expect the first job to pay for the tool. Instead, calculate a five-year depreciation cycle. If a new welder costs $3,000 and you expect it to last five years, it costs you $600 a year, or roughly $0.77 per billable hour (based on a 780-hour year).
Interestingly, many fabricators ignore this “hidden” cost. When you are welding 1/4-inch mild steel for a storage system, you are putting significant wear on your machine’s duty cycle. By including an amortization fee in your fabrication job costing, you ensure that when the machine eventually fails, the money for its successor is already in the bank. This methodical approach separates the hobbyists from the sustainable business owners.
- Welder ($3,000): 5-year life = $50/month
- Cold Saw ($1,500): 5-year life = $25/month
- Plasma Cutter ($2,000): 5-year life = $33/month
- Total Tool Burden: $108/month
Estimating Material Costs for Heavy-Duty Steel Frameworks
Material estimation involves calculating the exact linear footage of steel required for a build and adding a markup to cover sourcing, transport, and handling. This ensures that you aren’t stuck eating the cost of rising steel prices or the fuel spent driving to the local service center.
For a wall-mounted storage system designed to hold hundreds of pounds of steel, you will likely use 1/4-inch thick angle iron or square tubing for the uprights and brackets. When I source material for these builds, I never charge the client exactly what I paid at the counter. I apply a material markup of 20% to 50%. This covers the time I spent loading the truck, the gas I used, and the risk of a “mis-cut” during the fabrication process.
Sourcing strategies also play a huge role in profitability. If you buy steel by the stick for every project, you are paying retail prices. As your side-hustle grows, look for bulk sourcing opportunities. Buying a full “lift” of steel or even just five 20-foot sticks at once can drop your price per foot significantly. In my experience, small metal shop pricing becomes much more competitive when you stop buying material at the local big-box hardware store and start building a relationship with a dedicated steel distributor.
- Calculate Total Footage: Add up all uprights, support arms, and gussets.
- Add Waste Factor: Include 10% extra for kerf (the width of the saw blade) and off-cuts.
- Apply Markup: Multiply your total cost by 1.3 (for a 30% markup).
- Sourcing Fee: Add a flat fee if you have to spend more than an hour fetching the material.
Calculating the Consumable Burden in Welding Projects
The consumable burden is the cost of items used up during the fabrication process, such as welding wire, shielding gas, and abrasives. These are often overlooked but can easily consume 5% to 10% of your total project budget if not tracked carefully.
When welding thick 1/4-inch material for load-rated brackets, you will use more wire and gas than you would on thinner sheet metal. A standard 10lb spool of ER70S-6 wire costs about $30, but how much of that goes into a single storage rack? To find out, I started weighing my wire spools before and after large projects. I found that for heavy structural welds, I was using nearly $5 worth of wire and $8 worth of shielding gas per hour of trigger time.
Abrasives are another profit killer. Cutting and cleaning 1/4-inch steel requires high-quality grinding discs and flap wheels. If you use three $6 discs on a project, that’s $18 off your bottom line. I recommend using a Consumable Burden Factor of 10% on top of your material cost for heavy welding jobs. This simplifies the math while ensuring you aren’t paying for the client’s grinding discs out of your own pocket.
- Shielding Gas (C25): Approximately $0.15 to $0.25 per minute of flow time.
- Welding Wire: Roughly $3.00 per pound of deposited metal.
- Abrasives: One flap disc for every 5-10 linear feet of weld cleanup.
- Saw Blades: Factor in the cost of sharpening or replacing cold saw blades every 500 cuts.
Designing for Structural Integrity and Labor Efficiency
Labor efficiency is the art of minimizing the time spent on non-value-added tasks like searching for tools or fixing mistakes. In fabrication, this means designing a project so it is easy to jig, weld, and assemble without unnecessary complexity.
When building wall-mounted brackets for heavy loads, the design must prioritize structural integrity. For 1/4-inch steel, you need deep penetration and consistent weld beads. Using a MIG welder allows for faster production than TIG, which is crucial for maintaining a profitable hourly rate. I often use a “sequential weld pass” technique on critical joints to ensure the bracket won’t fail under the weight of a full rack of steel.
Efficiency also comes from standardization. If you are building six identical brackets for a storage system, do all your cuts at once. Then, set up a simple jig on your welding table to hold the parts in alignment. This eliminates the need to measure every single piece repeatedly. In my shop, move-time is wasted time. By batch-processing the components, I can often cut my labor hours by 30%, directly increasing my profit margin on the fixed-price quote.
Building the Fabrication Quote and Managing Job Variance
A fabrication quote is a formal document that outlines the scope of work and the total cost to the client. Managing job variance means tracking the difference between your estimated costs and your actual costs to improve future bidding accuracy.
When I quote a project for a client, I use a simple formula: (Material Cost x Markup) + (Estimated Hours x Shop Rate) + Consumable Burden = Total Quote. However, things rarely go exactly as planned. A saw blade might break, or a weld might require extra grinding. This is known as “variance.”
To manage this, I keep a post-job log. I write down how long the project actually took versus my estimate. If I consistently find that prep work takes an hour longer than I thought, I adjust my future quotes. For side-hustlers, this data is gold. It prevents the “low-margin trap” where you are busy but never seem to have any money in the bank.
| Item | Estimated Cost | Actual Cost | Variance |
|---|---|---|---|
| Steel (1/4″ Angle) | $200 | $215 | -$15 |
| Labor (5 Hours) | $400 | $6.5 Hours | -$120 |
| Consumables | $20 | $35 | -$15 |
| Total | $620 | $785 | -$165 |
In the example above, the shop owner lost $165 in potential profit because they underestimated the labor and material waste. By tracking this, the owner knows to quote $800 for the next similar job.
Analyzing Post-Job Profits and ROI
Post-job analysis is the final step in the business cycle where you determine the actual return on investment for your time and equipment. It allows you to see which types of projects are the most profitable and which ones you should stop taking.
After finishing a set of heavy-duty storage racks, ask yourself: Did this project move the needle for the shop? If the project took 10 hours and generated $300 in profit after all expenses, your effective “bonus” rate was $30/hour on top of your labor. If the profit was only $50, you might be better off focusing on different types of fabrication work.
I also look at how the project improved my own shop’s efficiency. If I built the storage system for myself, the ROI isn’t measured in dollars but in floor space and time saved. Being able to find a specific piece of 1/4-inch flat bar in 30 seconds instead of digging through a pile for 10 minutes has a massive impact on my future billable hours. This is the “internal ROI” that many small shop owners forget to calculate.
- Review the Invoice: Total amount paid by the client.
- Subtract All Hard Costs: Material, gas, wire, discs, and electricity.
- Subtract Labor: Pay yourself your set hourly wage.
- Identify the Surplus: This is your business profit, used for future tool upgrades or shop expansion.
Best Practices for Side-Hustle Metalworking Success
Running a small metal shop is a balancing act between being a craftsman and being an accountant. To succeed, you must respect the math as much as the metal. Over the years, I have found that the most successful side-hustlers are those who are disciplined with their documentation.
- Track Everything: Use a simple spreadsheet or an app to log every penny spent on consumables.
- Don’t Compete on Price Alone: There will always be someone willing to work for less. Compete on quality, reliability, and structural integrity.
- Keep a Clean Shop: Efficiency starts with organization. A dedicated storage system for your steel is an investment in your own productivity.
- Be Transparent with Clients: Explain why you use 1/4-inch steel instead of thinner, cheaper alternatives. Clients will pay for the peace of mind that their rack won’t collapse.
- Never Stop Learning: Stay updated on new welding techniques and business management software that can streamline your quoting process.
By applying these financial principles to every project—whether it’s a simple storage solution or a complex industrial build—you transform your workshop from a hobby into a profitable, sustainable business. The key is to stop guessing and start measuring.
FAQ: Navigating the Economics of Small-Scale Fabrication
How do I determine if I should build my own shop storage or buy a kit? For a professional shop, building your own storage is often a better investment if you need specific load ratings or custom dimensions. From a financial perspective, you should calculate the “opportunity cost.” If building the rack takes 10 hours and your shop rate is $80, the “cost” is $800 plus materials. If a pre-made kit costs $400 and meets your needs, buy the kit and use those 10 hours for a paying client. However, most kits aren’t built from 1/4-inch steel and won’t handle the weight of heavy stock.
What is the best way to track small consumables like grinding discs? I recommend a “burden percentage” rather than tracking every single disc. For heavy-duty welding projects, add a flat 10% to your material total to cover gas, wire, and abrasives. If you find you are consistently spending more, adjust that percentage upward. For high-precision tracking, keep a dedicated bin for used discs and empty spools for a month to see exactly what you are consuming.
Why is 1/4-inch steel recommended for material storage racks? Safety and structural integrity are the primary reasons. Heavy-duty steel storage must withstand significant static loads and the dynamic force of placing heavy bars onto the brackets. Thinner material can flex or fatigue over time. Using 1/4-inch mild steel ensures that the welds have enough surface area for a strong bond, providing a much higher safety factor for your shop.
How do I calculate the load capacity of a welded bracket? Load capacity depends on the yield strength of the steel, the length of the bracket arm, and the quality of the weld. For a side-hustler, it is best to use established engineering tables for “cantilever beams” or consult a local engineer if you are selling these to clients. Generally, a gusseted 1/4-inch steel bracket with a 3-inch weld throat can hold hundreds of pounds, but the wall attachment point is often the weakest link.
Should I charge a flat fee or an hourly rate for fabrication jobs? For repeatable items like storage brackets, a flat fee is often better because as you get faster (more efficient), your effective hourly rate increases. For custom, one-off jobs where there are many unknowns, an hourly rate protects you from “scope creep” or unexpected complications. Most successful shops use a hybrid approach: a flat fee based on a very detailed estimate.
How do I handle material price fluctuations in my quotes? Steel prices can change weekly. To protect yourself, include a “quote validity” clause. State clearly on your estimate that the price is only good for 7 to 14 days. If the client waits a month to decide, you have the right to re-quote based on current material costs. This is a standard practice in the manufacturing industry.
What is the most common mistake when pricing welding work? Underestimating “prep and finish” time is the biggest mistake. Many fabricators only account for the time the arc is on. They forget the time spent cleaning mill scale, squaring the material, tacking, and the final cleanup of the welds. In many projects, welding is only 25% of the total labor; the other 75% is prep and post-processing.
How can I lower my overhead costs without sacrificing quality? The best way to lower overhead is to increase efficiency. Improve your shop layout to reduce “travel time” between tools. Invest in better lighting to reduce errors and eye strain. Additionally, review your recurring bills—like insurance or software—annually to ensure you are getting the best rate. Small savings in overhead directly increase your profit margin.
Is it worth it to buy a more expensive welder for structural projects? Yes, if it improves your duty cycle and weld quality. A machine that can handle 1/4-inch steel in a single pass without overheating will save you hours of labor over a project’s lifespan. Calculate the ROI: if a $2,000 upgrade saves you 2 hours a week, it will pay for itself in less than six months at an $80 shop rate.
How do I account for the electricity used by my welder? For most small shops, electricity is a relatively small part of the overhead compared to rent and labor. However, if you are doing heavy industrial welding all day, it adds up. A simple way to track this is to compare your shop’s power bill during a busy month versus a slow month. Most fabricators include power in their general “shop overhead” rather than billing it as a separate line item.
(This article was written by one of our staff writers, Michael Hargrove. Visit our Meet the Team page to learn more about the author and their expertise.)