How to Weld Aluminum With a Budget Spool Gun (DIY Tutorial)
When I first transitioned from welding mild steel to working with aluminum, I felt like a complete novice again. My hands, which were used to the slow, rhythmic pace of steel, couldn’t keep up with the frantic speed required for non-ferrous metals. I remember staring at a pile of melted coupons and bird-nested wire, wondering why my usual techniques were failing so miserably. It took me months of tracking my settings and recording my hand movements to realize that aluminum isn’t harder; it just requires a different set of physical rules.
Learning to use a dedicated wire-feed attachment for aluminum is one of the most rewarding steps in a fabricator’s journey. It bridges the gap between simple hobby work and professional-grade projects like boat repairs or custom vehicle racks. However, because aluminum conducts heat so well and has a sensitive oxide layer, the margin for error is slim. This guide is built on the data I have collected over 12 years of practice, focusing on the physical mechanics and machine calibrations needed to master this specific process.
Mastering Body Mechanics for Aluminum Feed Systems
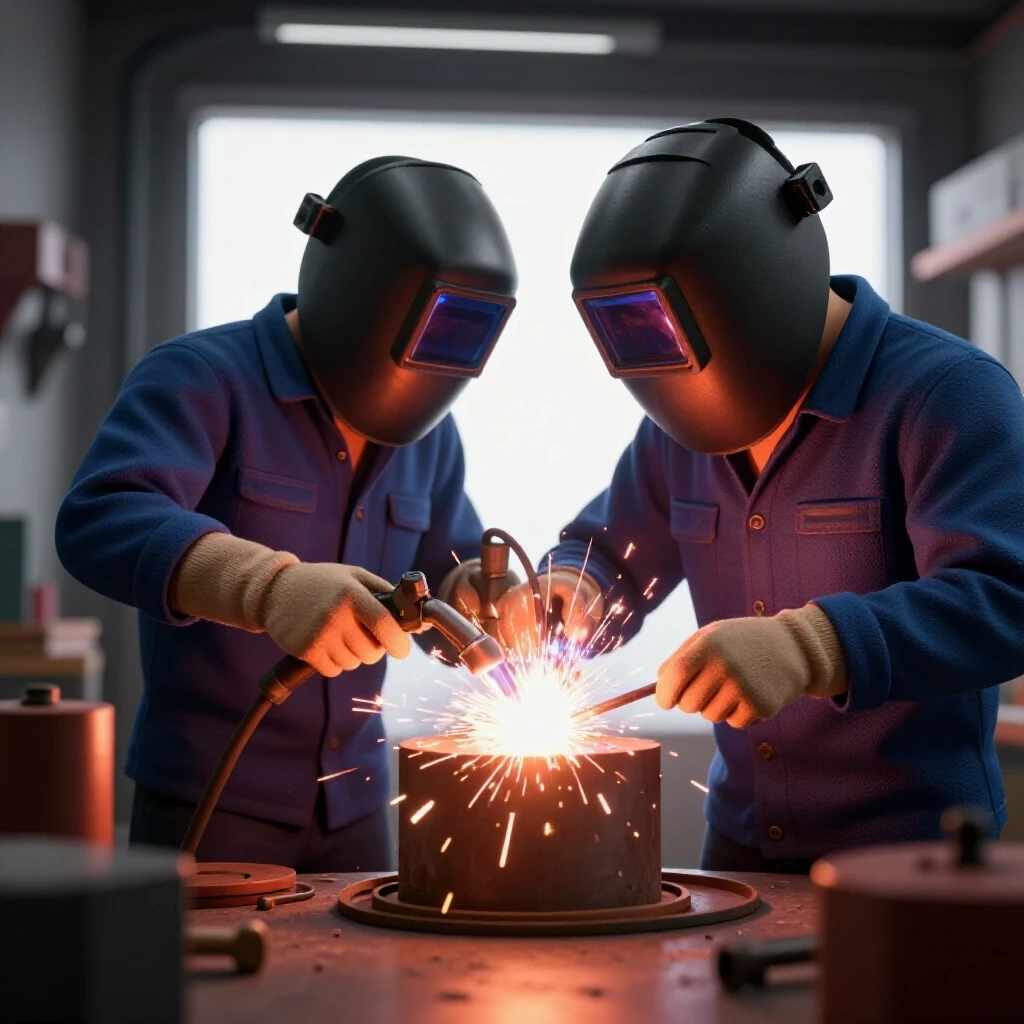
Body mechanics refers to the physical orientation of your stance, grip, and arm movement to maintain a steady arc. Because aluminum requires faster travel speeds than steel, your posture must allow for a long, unobstructed range of motion without resetting your hands mid-weld.
When I started, I realized my “steel stance” was too rigid. For aluminum, I had to learn to “flow” with the torch. You aren’t just moving your wrist; you are moving your entire upper body. I recommend a “tripod” stance: plant your feet shoulder-width apart, lean your non-dominant hip against the welding table for stability, and use your off-hand to support the neck of the spool gun. This stabilization reduces the micro-tremors that cause inconsistent bead widths.
The “push” technique is non-negotiable here. In steel welding, you might pull or drag the torch, but with aluminum, you must push the puddle. This ensures the shielding gas cleans the path ahead of the arc. I tracked my results over fifty test coupons and found that a 10 to 15-degree push angle consistently produced the brightest, cleanest welds. If you tilt too far, you lose gas coverage; if you go vertical, you risk soot buildup.
Torch and Body Alignment Metrics
| Physical Factor | Recommended Setting | Why It Matters |
|---|---|---|
| Travel Angle | 10–15 Degrees (Push) | Ensures gas cleaning of the oxide layer. |
| Work Angle | 90 Degrees (to joint) | Provides even heat distribution on both plates. |
| Contact Tip to Work | 1/2″ to 3/4″ | Prevents the wire from melting back into the tip. |
| Stance | Tripod / Braced | Minimizes hand fatigue and erratic movements. |
Key Takeaway: Stabilize your body against a fixed object and always use a push angle to keep the weld zone clean.
Setting Baseline Machine Parameters for Light-Gauge Projects
Machine parameters are the specific combinations of voltage and wire feed speed that create a stable arc for a given metal thickness. For budget-friendly spool gun setups, finding the “sweet spot” is often the biggest hurdle because these machines can be sensitive to voltage fluctuations.
Aluminum has a very high thermal conductivity, meaning it sucks heat away from the weld zone faster than steel. Because of this, you will find yourself using much higher wire feed speeds. On my 120V and 240V machines, I typically set the wire speed 20% to 30% higher than I would for the same thickness of steel. This keeps the arc from burning back into the copper contact tip, a common frustration for beginners.
Gas selection is another area where precision is required. You must use 100% Argon. I have seen many students try to use their “75/25” steel gas mix, only to end up with a black, soot-covered mess. Set your flow rate between 20 and 30 cubic feet per hour (CFH). If you are in a drafty garage, you might need more, but too much gas can actually cause turbulence and pull in atmospheric air, leading to porosity.
Common Parameter Starting Points (1/8″ Plate)
- Voltage: 19–21 Volts
- Wire Feed Speed: 350–400 Inches Per Minute (IPM)
- Gas Flow: 25 CFH (100% Argon)
- Wire Type: 4043 or 5356 (0.035″ diameter)
Key Takeaway: Start with higher wire speeds and 100% Argon gas to prevent contact tip meltdowns and ensure a clean arc.
Preparing the Clean Zone and Removing Oxide Layers
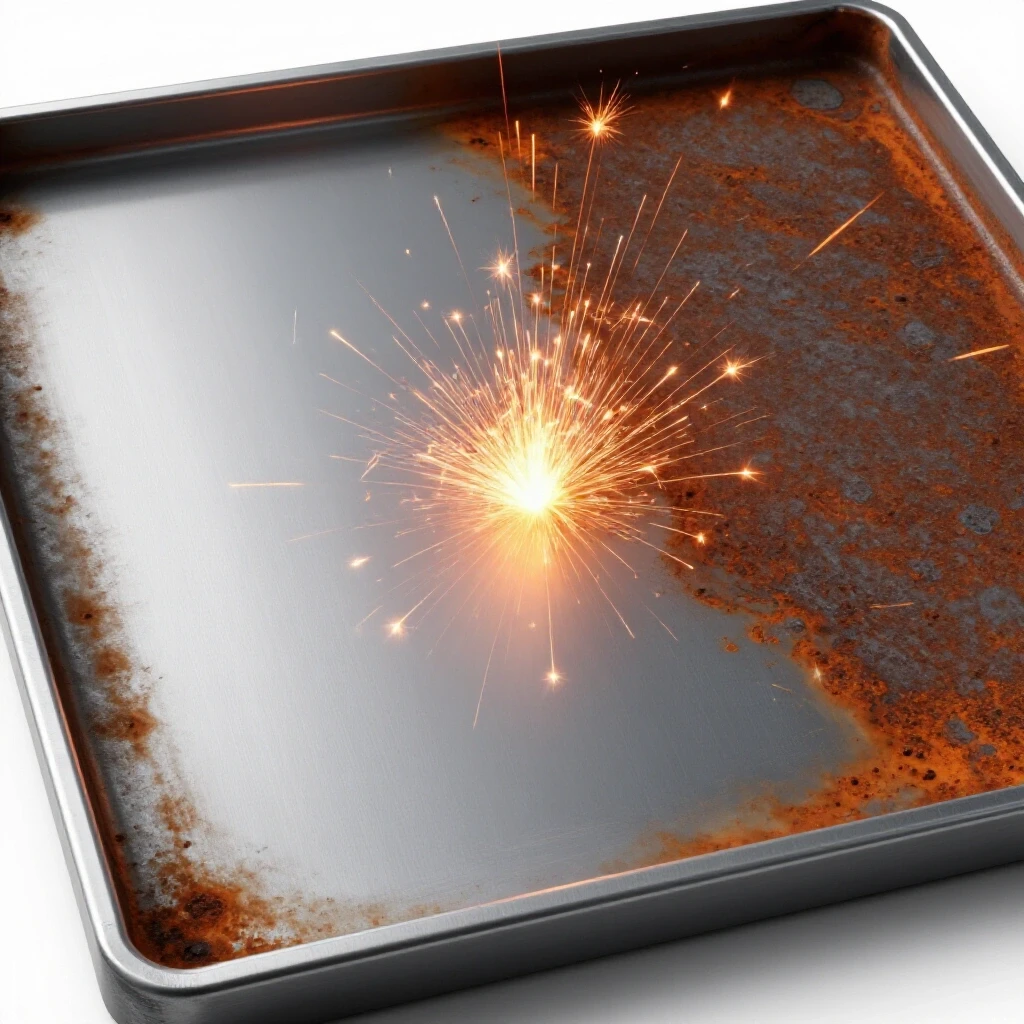
The clean zone is the area of the metal surface that has been mechanically and chemically stripped of contaminants and the aluminum oxide layer. Aluminum oxide melts at a much higher temperature than the base metal, so if you don’t remove it, you’ll melt the inside of the plate while the surface remains solid.
In my practice logs, I noted a direct correlation between the time spent cleaning and the reduction in weld defects. I use a two-step process: first, a dedicated stainless steel wire brush that has never touched steel, and second, a wipe-down with pure acetone. You must brush in one direction only. Scrubbing back and forth can actually embed the oxides deeper into the soft aluminum.
The “clean zone” should extend at least one inch back from the weld joint. If you see black soot forming around your weld, it is often a sign that your cleaning wasn’t thorough enough or that you are pulling contaminants into the puddle. I always keep my dedicated brushes in a sealed bag to prevent cross-contamination from grinding dust in the shop.
The Preparation Checklist
- Wipe the metal with acetone to remove oils and shop grease.
- Use a dedicated stainless steel brush to break the oxide layer until the metal looks dull and “satin.”
- Wipe again with a clean, lint-free cloth.
- Weld within 15 to 30 minutes of cleaning to prevent the oxide layer from reforming.
Key Takeaway: Use a dedicated stainless brush and acetone; never use tools that have touched steel on your aluminum projects.
Establishing a Reliable Weld Travel Speed Pattern
Travel speed is the rate at which you move the torch along the joint, and it is the most difficult physical habit to master in aluminum fabrication. Because of the metal’s heat conductivity, the “heat soak” happens rapidly. You must move significantly faster than you do with steel to avoid blowing a hole through the workpiece.
When I train students, I use a metronome or a timer to help them visualize travel speed. For 1/8″ aluminum, you are often moving at 20 to 30 inches per minute. This feels like a “sprint” compared to the “crawl” of steel welding. If you see the puddle start to widen and sink, you are moving too slowly. If the bead looks like a series of disconnected balls, you are moving too fast or your voltage is too low.
I recommend practicing “dry runs” where you move the spool gun along the joint without pulling the trigger. Focus on keeping your hand-eye coordination steady as you accelerate. This builds the muscle memory needed to maintain a consistent 1/8″ arc gap. In my own training, I found that recording a video of my hands allowed me to see exactly where I was slowing down or twitching.
Travel Speed and Motion Progression
| Skill Level | Drill Description | Target Metric |
|---|---|---|
| Beginner | Stringer beads on 1/4″ plate | 15–20 IPM / 6″ consistent run |
| Intermediate | Lap joints on 1/8″ sheet | 25–30 IPM / No burn-through |
| Advanced | T-joints with vertical transitions | Consistent leg length / 100% tie-in |
Key Takeaway: Practice fast, steady movements and use dry runs to build the muscle memory required for high-heat travel speeds.
Troubleshooting Common Defects in Budget Spool Gun Operations
Defect correction is the process of identifying why a weld failed and adjusting your technique or machine settings to fix it. With budget equipment, the most common issues are “bird-nesting” (wire tangling) and “soot” (black deposits).
Bird-nesting usually happens because the tension on the spool is too tight or the contact tip is too small. I always use a “U-groove” drive roll if possible, and I keep the tension just tight enough to feed the wire. If the wire hits an obstruction and the rolls keep turning, it will tangle. Another tip from my logs: use a contact tip one size larger than your wire (e.g., use a 0.045″ tip for 0.035″ wire) because aluminum wire expands significantly when it gets hot.
Black soot, or “smut,” is often caused by a long arc length or an improper torch angle. If you pull the gun away from the work, the gas coverage thins out, and the magnesium in the wire oxidizes, leaving a black film. To fix this, tighten your arc gap to about 1/2″ and ensure you are using a crisp push angle. If the soot is inside the weld, it’s a cleaning issue; if it’s on the surface, it’s a gas or technique issue.
Troubleshooting Guide
- Symptom: Burn-through at the end of the weld.
- Fix: Increase travel speed as you reach the edge or “flick” the torch back into the puddle briefly before stopping.
- Symptom: Wire melting to the contact tip.
- Fix: Increase wire feed speed or increase the distance between the tip and the work.
- Symptom: Porosity (tiny holes in the bead).
- Fix: Check for gas leaks, increase CFH, or re-clean the metal with acetone.
- Symptom: Erratic arc or “sputtering.”
- Fix: Check the spool tension and ensure the ground clamp is on clean, shiny metal.
Key Takeaway: Adjust spool tension carefully and use slightly oversized contact tips to prevent feeding issues and arc instability.
A Structured Practice Log for Technical Skill Progression
A practice log is a systematic record of your welding sessions that helps you identify patterns in your progress. Without data, you are just guessing why one weld looked good and the next one didn’t. I have kept a log for over a decade, and it is the single most important tool for overcoming skill plateaus.
In your log, record the material thickness, the wire type, the voltage, and the wire speed. But more importantly, record your “physical feels.” Did the gun feel heavy? Were you shaking at the end of the bead? Did you notice the puddle getting too hot halfway through? By mapping these sensations to the visual quality of the weld, you can begin to make real-time adjustments.
I suggest a simple 10-weld drill. Run ten 6-inch beads on a flat plate. After each bead, wait for the plate to cool (or quench it), and then grade the bead on a scale of 1-10 for consistency, width, and cleanliness. By the tenth bead, you should see a measurable improvement in your ability to maintain a steady travel speed.
Sample Practice Log Template
- Date/Session: [Date] – Focus on 1/8″ Fillet Welds.
- Machine Settings: 20V / 380 IPM / 25 CFH Argon.
- Material Prep: Stainless brush + Acetone wipe.
- Visual Assessment: Bead 1-3 had heavy soot (angle was too flat). Bead 4-7 were cleaner (corrected to 15-degree push).
- Physical Notes: Need to move faster at the end of the joint to prevent the puddle from sagging.
- Goal for Next Session: Maintain a tighter arc gap (1/2″) for the entire length.
Key Takeaway: Document every session to turn “lucky” welds into a repeatable, professional-grade skill set.
Refining the Fillet Weld and T-Joint Technique
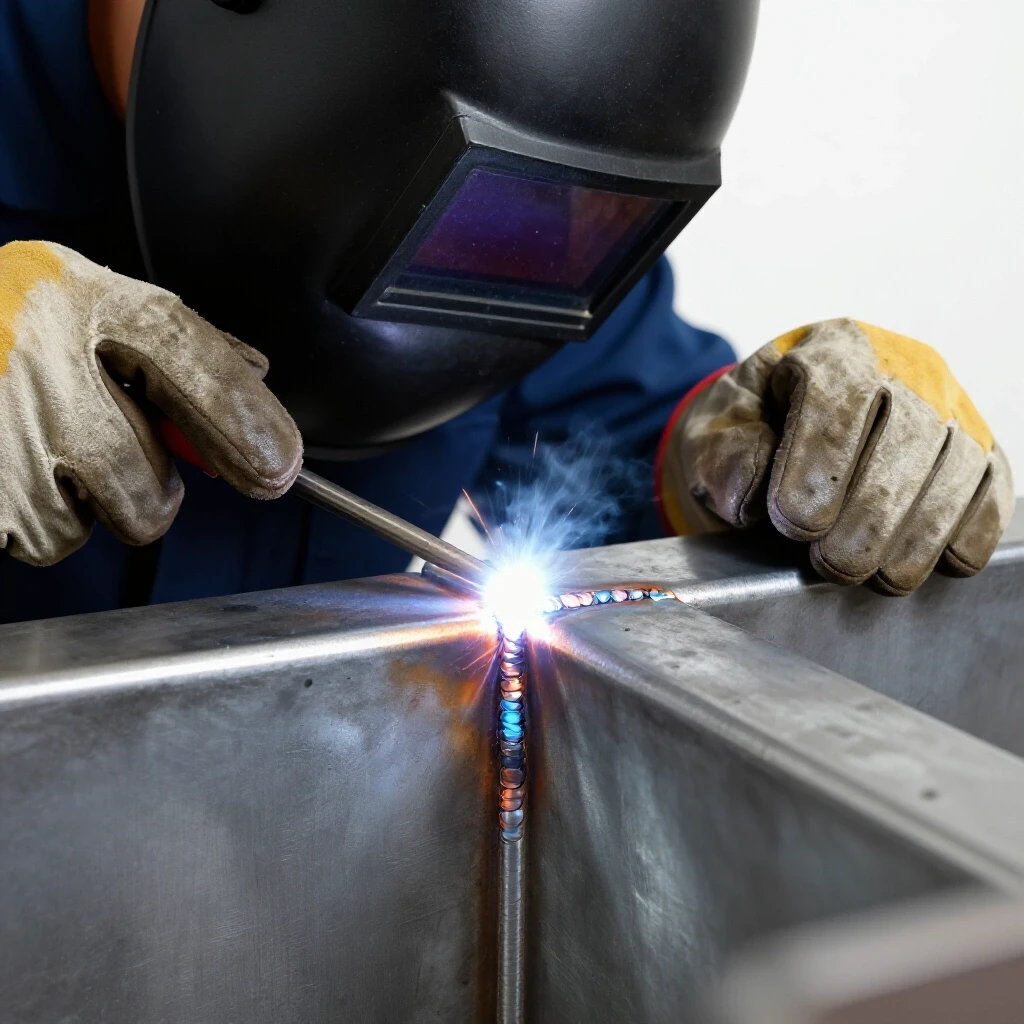
The fillet weld, or T-joint, is the bread and butter of metal fabrication. In aluminum, this joint is particularly challenging because the vertical piece acts as a heat sink, while the flat piece can easily melt away. Achieving a “tie-in”—where the weld fuses perfectly to both pieces—requires precise torch positioning.
When I tackle a T-joint, I aim the wire directly into the “crotch” of the joint but slightly favor the thicker or more stable piece of metal. You want to see the puddle “wet out” or flow into both sides equally. If the weld is only sticking to the bottom plate, you need to adjust your work angle upward. I’ve found that a 45-degree angle between the two plates is the best starting point, but you may need to oscillate the torch slightly to bridge the gap.
One technique I use for aluminum fillets is the “step-and-pause” motion, though very rapid. You aren’t doing a wide weave; you are just making tiny, rhythmic movements to ensure the toes of the weld are fused. This creates the “stack of dimes” look that many fabricators strive for. However, remember that consistency is more important than aesthetics. A straight, smooth stringer bead is always stronger than a pretty but cold-lapped weave.
Fillet Weld Success Metrics
- Leg Length: Should be equal to the thickness of the metal (e.g., 1/8″ legs for 1/8″ plate).
- Tie-in: No visible lines or gaps where the weld meets the base metal.
- Color: Bright silver or slightly dull grey; no heavy black soot.
- Contour: Flat to slightly convex; avoid deep “craters” or “valleys” in the center.
Key Takeaway: Aim for the center of the joint and move fast to ensure even fusion on both the vertical and horizontal plates.
Conclusion and Next Steps for Your Fabrication Journey
Mastering a budget-friendly spool gun setup is a marathon, not a sprint. It requires a transition from the slow, deliberate movements of steel work to a faster, more reactive style of welding. By focusing on your body mechanics, ensuring your material is chemically clean, and tracking your machine parameters in a log, you remove the guesswork from the process.
Your next step is to get under the hood and burn through a five-pound spool of wire. Don’t worry about building a project yet. Focus entirely on the “bead-on-plate” drills. Once you can run a six-inch bead that is consistent in width and free of soot, move on to lap joints and then T-joints. This structured progression ensures that when you finally start that boat repair or rack build, your muscle memory will be ready for the challenge.
Frequently Asked Questions
Why does my aluminum wire keep tangling inside the spool gun?
This is usually “bird-nesting,” caused by too much tension on the drive rolls or a blockage at the contact tip. Aluminum wire is soft; if it can’t exit the tip freely, it will fold up at the drive rolls. Loosen your tension until the wire just barely feeds, and ensure you are using a clean contact tip that is slightly oversized for the wire diameter.
What causes the black soot around my aluminum welds?
Black soot, or “smut,” is typically caused by a lack of shielding gas coverage or an improper torch angle. If you “pull” the gun instead of “pushing” it, or if your arc gap is too long, the gas cannot protect the molten puddle. Ensure you are using 100% Argon, pushing at a 10-15 degree angle, and keeping your tip close to the work.
Can I use the same gas I use for steel welding?
No. Steel welding usually uses a mix of Argon and CO2 (C25). Aluminum requires 100% pure Argon. The CO2 in steel gas will react violently with aluminum, causing massive amounts of soot, porosity, and a failed weld. Always swap your tank before switching metals.
How do I know if I am moving at the right travel speed?
If your bead is wide, flat, and the metal is sagging or melting through, you are moving too slowly. If the bead is tall, narrow, and hasn’t fused to the base metal (looking like “grapes”), you are moving too fast. Aluminum requires a speed that feels about twice as fast as steel welding.
Why is my weld full of tiny bubbles or holes?
This is called porosity. It is usually caused by moisture, oil, or the oxide layer on the aluminum. To prevent this, wipe your metal with acetone and use a dedicated stainless steel brush right before you weld. Also, check for any drafts in your shop that might be blowing away your shielding gas.
Do I need a special liner for my spool gun?
Most spool guns come with a nylon or Teflon liner specifically designed for aluminum. Unlike the steel liners in standard MIG guns, these low-friction liners prevent the soft aluminum wire from scraping and clogging the tube. Always ensure your liner is clean and specifically rated for non-ferrous wires.
Why does the weld look good at the start but melt through at the end?
Aluminum builds up heat as you move along the joint. By the time you reach the end of a plate, the metal is much hotter than when you started. To compensate, you must increase your travel speed as you progress or “taper off” the trigger if your machine allows it.
What is the best wire for a beginner using a spool gun?
4043 aluminum wire is generally the easiest for beginners because it has a lower melting point and flows better than 5356. However, 5356 is stronger and better for items that will be anodized. For practice and general repair, 4043 is the most forgiving choice for budget equipment.
How often should I change my contact tip?
With aluminum, you should change the tip as soon as you notice the wire “stuttering” or if you have a “burn-back” where the wire melts to the tip. Because aluminum expands when hot, tips wear out faster than they do with steel. Keeping a fresh tip is the easiest way to solve feeding issues.
Can I weld thin aluminum (like soda cans) with a spool gun?
Spool guns are generally best for material 1/16″ and thicker. For extremely thin gauges, the high heat and fast wire speed of a spool gun make it very difficult to avoid blowing holes. For hobbyists, focusing on 1/8″ to 1/4″ plate is the “sweet spot” for this equipment.
(This article was written by one of our staff writers, Thomas Langley. Visit our Meet the Team page to learn more about the author and their expertise.)