How to Weld Safely in a Cold Garage Workshop (DIY Guide)
When I first started out in my own unheated garage in Michigan, I quickly realized that sub-zero temperatures change the fundamental nature of shop safety. I remember one January morning when the thermometer hit ten degrees; I was so bundled up in a heavy parka that I could barely move my arms, and my breath was fogging my hood so badly I couldn’t see the workpiece. It was a recipe for a dangerous mistake. Over the last twelve years, I have tracked how cold environments impact not just the equipment, but our physical ability to operate it safely. Mastering the environment is the first step in any trade school practice drill. If you cannot maintain your own body heat and keep your gear dry, your focus shifts from safety to survival, and that is when accidents happen.
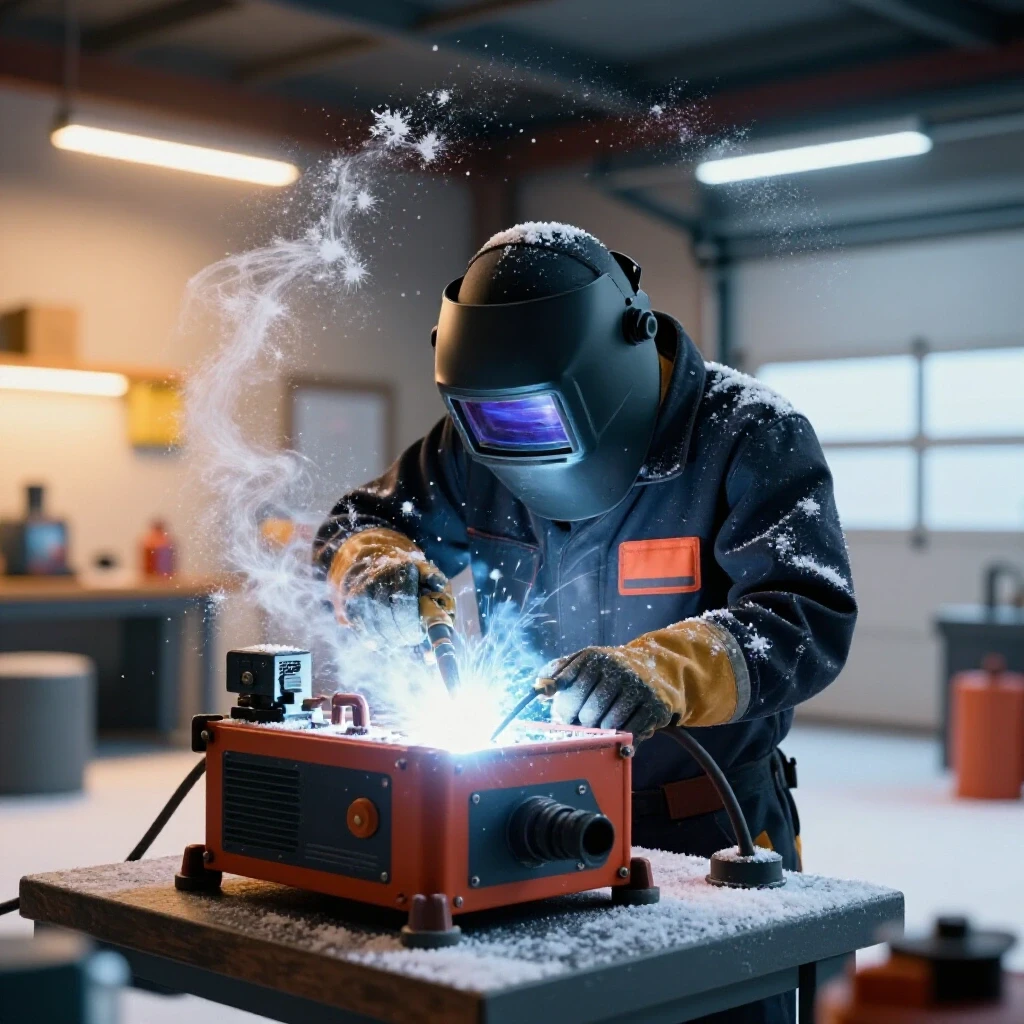
Managing Airflow and Fume Extraction in Sub-Zero Workspaces
Ventilation management involves balancing the need for fresh air to remove welding fumes with the necessity of maintaining a safe working temperature. In a cold garage, this requires strategic airflow patterns that protect the lungs without causing the operator to lose the manual dexterity needed for safe tool handling.
Proper air exchange is non-negotiable, even when the air outside is freezing. Many beginners make the mistake of sealing every crack in the garage to keep the heat in, but this allows toxic shielding gases and metal fumes to build up to dangerous levels. I use a “low-and-high” approach. I crack the bottom of the garage door about two inches and open a small window on the opposite side of the shop. This creates a natural draft that pulls fresh air across the floor and pushes fumes out through the higher opening.
Building on this, you must be aware of how cold air affects fume extractors. In very low temperatures, the flexible ducting on some extraction units can become brittle and crack. I always check my hoses for flexibility before turning on the fan. If you are using a portable fan to move air, ensure it is not pointed directly at your work area, as a cold gust can disrupt your shielding gas. Instead, aim the fan to pull air away from your face and toward the exhaust point.
- Minimum Door Gap: 2 inches for every 500 square feet of space.
- Airflow Direction: Away from the breathing zone, toward the highest exit point.
- Fume Extraction Check: Inspect flexible hoses for frost-cracking every session.
- Monitoring: Use a carbon monoxide detector if you are using any fuel-based heaters.
Thermal Layering for Maintaining Manual Dexterity
Thermal layering is the practice of wearing multiple thin, fire-resistant garments to retain body heat while ensuring the hands and arms remain mobile. This approach prevents the bulkiness of heavy coats from interfering with the physical movements required to operate machinery safely. In a cold shop, maintaining a steady hand is a safety requirement.
When I started tracking my practice metrics, I noticed my physical control dropped significantly when my core temperature dipped. Shivering is the enemy of safety. I recommend a base layer of moisture-wicking wool, followed by a fire-resistant (FR) cotton shirt, and finally a leather welding jacket. Avoid synthetic materials like polyester or nylon at all costs. These can melt to your skin if a spark lands on them, even if they are tucked under other layers.
For your hands, the challenge is staying warm without losing the “feel” of your equipment. I use thin silk or wool glove liners inside my standard leather welding gloves. This provides an extra layer of insulation without adding the bulk that makes it hard to grip a torch or a fire extinguisher. Interestingly, keeping your neck and head warm with a flame-resistant balaclava can improve blood flow to your fingers, helping you maintain the steady grip needed for safe operation.
| Layer Type | Material Recommendation | Purpose |
|---|---|---|
| Base Layer | Merino Wool (FR rated) | Moisture wicking and heat retention |
| Mid Layer | Heavy FR Cotton | Primary insulation and spark barrier |
| Outer Layer | Top-grain Leather | Maximum spark and heat protection |
| Extremities | Wool liners + Leather gloves | Dexterity and thermal protection |
Electrical Safety and Moisture Mitigation on Cables
Moisture mitigation refers to the systematic removal of frost or condensation from electrical cables and metal surfaces before beginning any work. In cold environments, rapid temperature shifts can cause water to form on cold equipment, which poses a significant electrical shock risk and can damage sensitive internal components.
One of the most overlooked hazards in a cold garage is condensation. When you turn on a heater or even just start working, the air warms up faster than the heavy steel of your welding machine or your worktable. This leads to “sweating,” where moisture beads up on everything. I make it a strict rule to wipe down my primary power leads and my work leads with a dry cloth before plugging anything in. Water on a high-voltage cable is a direct path for a ground fault.
Building on this, you must inspect your cable jackets for “cold-set” or cracking. In sub-freezing temperatures, the rubber or plastic insulation on welding leads can become stiff. If you try to uncoil a frozen cable too quickly, the insulation can snap, exposing the copper wire inside. I always bring my leads into a warmer area or use a heat lamp to gently soften them before I move them across the shop floor.
- Inspect Cables: Look for any visible copper or hairline cracks in the insulation.
- Wipe Down: Remove all frost or “sweat” from the machine’s exterior and the leads.
- Grounding Check: Ensure the work clamp is making metal-to-metal contact on a dry surface.
- Dry Floor: Never stand on a floor that has melted snow or ice while the machine is live.
Pre-Operation Equipment Conditioning Protocols
An equipment conditioning protocol is a series of steps taken to bring internal electrical components and mechanical drive systems up to a safe operating temperature. Cold electronics and stiff lubricants can lead to erratic machine behavior, which increases the risk of unexpected arc starts or wire-feed jams.
I have found that jumping straight into work at fifteen degrees is hard on the machine. Most welding power sources have internal fans and capacitors that perform better once they have reached a stable temperature. I start my sessions by turning the machine on and letting the fan run for at least ten minutes before I strike an arc. This circulates the air inside the cabinet and helps move any lingering moisture out of the internal circuits.
Furthermore, if you are using a wire-fed system, the drive rolls and the liner inside the torch cable can become sluggish in the cold. The grease in the motor can thicken, causing the wire to feed unevenly. I recommend running a few feet of wire through the system (without an arc) to ensure everything is moving smoothly. This prevents the frustration of a “bird’s nest” or a sudden jam that might cause you to jerk your hand and lose control of the torch.
- Warm-up Time: 10 to 15 minutes of idle “on” time.
- Mechanical Check: Cycle the wire feeder to ensure smooth movement.
- Gas Regulator: Check for “freezing” on the CO2 regulator; use a specialized heater if necessary.
- Visual Inspection: Ensure no ice has formed inside the wire spool compartment.
Fire Prevention and Post-Weld Monitoring Requirements
Fire prevention in cold workshops involves managing the unique risks of portable heaters and establishing a dedicated observation period after work is finished. In unheated garages, the presence of space heaters near flammable materials creates a high-risk environment that requires constant vigilance and a structured fire-watch.
Space heaters are a necessity in a cold garage, but they are also a major fire hazard. I never place a heater within five feet of my welding area. Sparks can travel surprisingly far, and a stray globule of molten metal landing on a heater’s intake can ignite instantly. I also ensure that my heater is plugged directly into a wall outlet, never an extension cord, to prevent overheating the shop’s electrical circuit.
The most critical part of my safety routine is the thirty-minute fire-watch. When you finish for the day, the garage is often dark and quiet. In the cold, you might be tempted to rush inside to the warmth, but that is exactly when a smoldering ember in a pile of sawdust or a greasy rag will take hold. I stay in the shop for a full half-hour after the last spark, literally watching for any sign of smoke or heat. I use this time to organize my tools and log my practice metrics, ensuring the space is safe before I lock up.
- Heater Clearance: Maintain a 5-foot radius of clear space around all heaters.
- Fuel Storage: Move all gas cans or aerosol sprays to a separate, unheated cabinet.
- Fire-Watch: Stay in the shop for 30 minutes after the machine is turned off.
- Extinguisher Access: Keep a 10lb ABC dry chemical extinguisher within reach of the exit.
Physical Mechanics and Body Temperature Management
Body temperature management is the intentional regulation of your physical state to ensure that cold-induced stress does not compromise your safety or reaction time. This includes monitoring for signs of numbness or fatigue that can lead to poor tool handling and increased accident risk.
Working in the cold is physically taxing. Your body uses a lot of energy just to stay warm, which means you will tire faster than you would in a climate-controlled shop. I have learned to recognize the “cold-brain” fog that sets in after an hour of sub-freezing work. When your fingers start to feel numb, your ability to quickly let go of a trigger or adjust a setting is compromised. I set a timer on my phone for every 45 minutes to do a “body check.” If I can’t feel my toes or my grip feels weak, I take a break.
As a result of my years of tracking, I have found that taking a five-minute warm-up break every hour actually increases my total safe working time. It allows my blood to recirculate and prevents the stiffening of joints that leads to clumsy movements. Remember, safety in the garage is about consistency and control. If the cold is making you move erratically, you are no longer in control of the process.
- Hydration: Drink water; dehydration happens fast in dry, cold air and increases fatigue.
- Body Check: Every 45 minutes, check for numbness in fingers and toes.
- Movement: Do light stretching during breaks to keep joints fluid and responsive.
- Know When to Quit: If you are shivering uncontrollably, stop the session immediately.
Safety Verification Checklist for Cold Garage Sessions
To help you stay on track, I have developed this checklist based on my own garage logs. Use this before every session to ensure you are not overlooking the unique hazards of a winter workshop.
- Ventilation: Are the door and window cracked to allow a cross-breeze?
- Apparel: Are all layers fire-resistant and free of synthetic fibers?
- Cables: Have the leads been wiped dry and checked for cracks?
- Machine: Has the power source had at least 10 minutes to warm up?
- Work Surface: Is the metal dry and free of frost or ice?
- Fire Safety: Is the space heater at a safe distance from the work zone?
- Personal: Are you hydrated and feeling physically steady?
By following these structured protocols, you can turn a freezing garage into a productive and safe learning environment. The cold adds an extra layer of complexity, but it also teaches you a high level of discipline. When you respect the environment and your equipment, you build the foundation for a lifetime of successful fabrication.
Frequently Asked Questions
Can I weld in a completely closed garage if it is very cold outside? No, you should never weld in a completely closed space. Welding produces gases like argon or CO2 and fumes from the metal that can displace oxygen or cause toxic buildup. Even in sub-freezing weather, you must maintain a small gap in the door and a window to ensure a constant supply of fresh air. Use a fire-resistant jacket to stay warm instead of sealing the room.
Is it safe to use a propane “torpedo” heater while welding? Propane heaters can be used to pre-heat the shop, but they should be used with caution while welding. They consume large amounts of oxygen and release moisture and carbon monoxide into the air. If you use one, you must have excellent ventilation and a carbon monoxide detector. Always keep the heater far away from your welding area to prevent sparks from hitting the fuel source.
Why does my welding machine act differently when it is cold? Electronics and mechanical parts are sensitive to temperature. Capacitors in the power source may not reach their full efficiency until they warm up, and the grease in wire-feed motors can thicken, causing erratic wire delivery. Letting the machine idle for 10-15 minutes allows internal components to reach a stable operating temperature, which leads to more predictable and safer performance.
How do I prevent my welding hood from fogging up in the cold? Fogging is caused by your warm breath hitting the cold lens of the hood. You can reduce this by wearing a flame-resistant neck gaiter or balaclava that directs your breath downward. Some fabricators also use anti-fog sprays designed for safety glasses on the inside of their welding lens. Ensuring there is a slight breeze in the shop also helps clear the moisture.
Can cold weather cause my welding cables to break? Yes, the insulation on welding leads, especially those made of cheaper plastics, can become very brittle in sub-zero temperatures. If you try to uncoil them while they are frozen, the jacket can crack, exposing live wires. It is best to store cables in a warmer area or warm them up slowly before unrolling them for a session.
Is there an increased risk of electric shock when welding in the cold? The risk of shock increases if there is snow, ice, or condensation on your equipment or the floor. When warm air hits cold metal, moisture forms. This “sweat” can create a path for electricity. Always wipe down your machine, leads, and worktable with a dry cloth, and ensure you are standing on a dry, non-conductive surface like a rubber mat.
What should I do if my gas regulator freezes up? When CO2 gas expands rapidly through a regulator, it drops in temperature. In an already cold garage, this can cause the regulator to freeze internally, stopping the gas flow. You should never use a flame to thaw it. Instead, use a specialized electric regulator heater or a heat lamp aimed at the regulator to keep it functioning safely.
How long should my fire-watch be in a residential garage? In a residential garage, a 30-minute fire-watch is the standard recommendation. Sparks can hide in cracks in the floor or inside wall cavities and smolder for a long time before erupting into a flame. Staying in the shop to clean up and organize for 30 minutes after you finish welding ensures that you catch any potential fires before they become uncontrollable.
(This article was written by one of our staff writers, Thomas Langley. Visit our Meet the Team page to learn more about the author and their expertise.)