Is Renting Heavy Machinery Cheaper Than Buying? (Comparison)
I remember standing in my first 600-square-foot shop, staring at a project that required a 50-ton hydraulic press. At the time, I was transitioning from a hobbyist to a side-hustle fabricator, trying to figure out if I should spend $2,500 on a used press or find a way to access one for a few days. That decision taught me my first real lesson in workshop economics: owning a tool is often more about ego than it is about the bottom line.
Many small shop owners struggle with the same dilemma when scaling up their operations. You want the capability to take on bigger jobs, but you also need to keep your overhead low enough to actually make a profit. Over my 16 years in the metalworking industry, I have learned that the math behind equipment acquisition is the single most important factor in whether a side business survives its first three years.
Establishing a Baseline for Workshop Equipment Costs
Calculating the true cost of bringing a new machine into your shop involves looking far beyond the initial price tag. It requires an honest assessment of how much that machine will cost you every month in floor space, electricity, and routine maintenance, regardless of whether it is making you money.
This section focuses on identifying the fixed and variable costs associated with permanent equipment. We will look at how to measure the “burden” a machine places on your shop’s monthly budget. This allows you to compare the long-term expense of ownership against the short-term cost of temporary access for specific projects.
Identifying the True Cost of Machine Ownership
Ownership costs include the purchase price, the cost of the square footage the machine occupies, and the estimated annual maintenance required to keep it operational. When you own a tool, you are responsible for its upkeep and the “opportunity cost” of the space it takes up in your workshop.
To understand this, I use a simple formula for machine burden. First, determine the footprint of the machine. If your shop rent or mortgage costs you $1.50 per square foot and the machine takes up 20 square feet, that machine costs you $30 every month just to sit there. Next, estimate your annual maintenance. For a CNC mill, this might include coolant, filters, and way oil, which can easily total $400 per year.
| Expense Category | Annual Ownership Cost (Example: 5-Ton Press) | Monthly Impact |
|---|---|---|
| Space Allocation (20 sq ft @ $1.50/ft) | $360 | $30 |
| Routine Maintenance & Parts | $250 | $21 |
| Consumables (Oil, Seals, Greases) | $150 | $12.50 |
| Total Fixed Burden | $760 | $63.50 |
Building on this, you must also consider the machine’s depreciation. If you buy a welding positioner for $4,000 and expect it to last 10 years with a resale value of $1,000, it loses $300 in value every year. When you add that to your fixed burden, you start to see the real “rent” you are paying to yourself for owning that equipment.
Calculating Your Shop Hourly Rate and Overhead
Your shop hourly rate is the foundation of every quote you send to a customer. It must cover your labor, your fixed overhead, and a margin for profit, ensuring that every hour spent under the hood is actually contributing to the growth of your business.
Many side-hustlers make the mistake of only charging for their time, but your shop rate needs to account for the “hidden” costs of running a business. This includes utilities, shop rags, small tool replacement, and the time you spend on admin work. I typically recommend a shop rate between $65 and $120 per hour for small fabrication shops, depending on your local market and specialization.
The Components of a Realistic Shop Rate
A realistic shop rate is divided into three main buckets: labor, overhead, and profit margin. Labor is what you pay yourself, overhead covers the cost of keeping the lights on, and the profit margin is the money the business keeps to reinvest in new tools or expansion.
To calculate this, add up all your monthly shop expenses (rent, power, heat, software) and divide that by the number of billable hours you work each month. If your expenses are $800 and you work 40 billable hours on your side hustle, your overhead burden is $20 per hour. If you want to earn $40 per hour for your labor, your base rate is $60. Adding a 20% profit margin brings your final shop rate to $72 per hour.
- Direct Labor: $40.00/hr
- Overhead Burden: $20.00/hr
- Profit Margin (20%): $12.00/hr
- Total Shop Rate: $72.00/hr
Interestingly, when you use specialized machinery, your rate should increase. If a job requires a high-precision CNC mill, you should add a “machine surcharge” to cover the higher maintenance and consumable costs of that specific tool. This ensures that the machine pays for itself over its operational life.
The Financial Logic of Short-Term Tool Access
Choosing to use a machine on a per-project basis can often be the smarter financial move for a growing shop. This approach turns a massive fixed cost into a predictable variable cost that can be passed directly to the client through your job estimate.
This strategy is particularly effective for specialized tools that you only need once or twice a year. Instead of tying up thousands of dollars in capital, you pay a daily or weekly fee only when the tool is generating revenue. This keeps your shop lean and reduces the risk of owning “trophy tools” that collect dust between rare projects.
When to Choose Periodic Access Over Purchase
Periodic access is best when the total cost of the rental for a specific project is less than the annual depreciation and maintenance of owning the same machine. It is a way to test the demand for a service before committing to a permanent equipment investment.
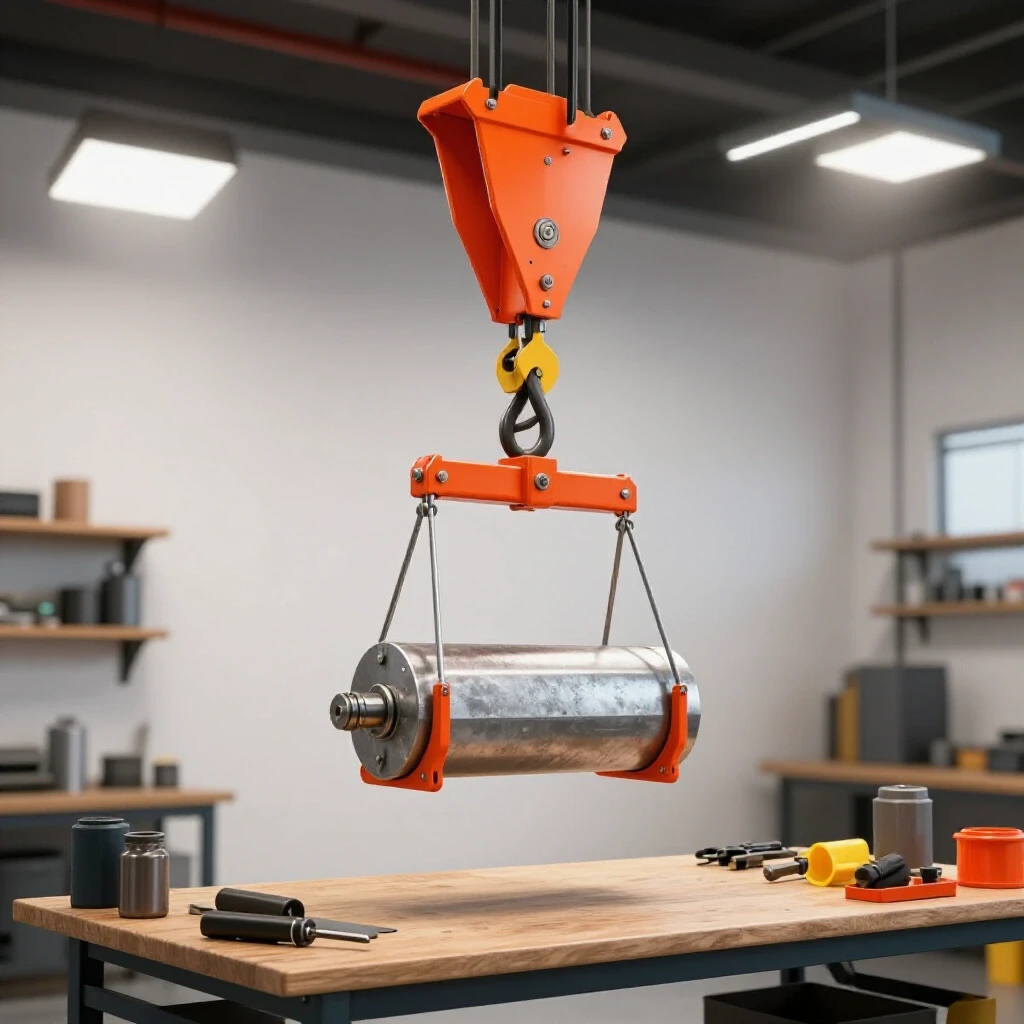
I once had a client request a series of heavy-duty base plates that required a large magnetic drill. A high-quality mag drill would have cost me $1,200. I could rent one for $75 a day. Since the job only took two days, the $150 expense was much easier to stomach than a $1,200 purchase. I simply added the $150 to the “equipment fee” section of my quote.
- Utilization Rate: If you will use the machine less than 15% of your total shop hours, renting is usually cheaper.
- Storage Constraints: Large machinery takes up valuable floor space that could be used for higher-turnover work.
- Project Specificity: If the machine is only required for one specific contract, let the contract pay for the rental.
As a result, you maintain a higher cash flow. You aren’t stuck with a machine that you have to sell at a loss later if your business direction changes. This flexibility is vital for side-hustlers who are still finding their niche in the market.
Tracking Consumables and Material Markups
Consumables are the silent killers of profit in a small metal shop. Items like welding gas, grinding wheels, drill bits, and plasma electrodes are often overlooked during the bidding process, leading to “margin bleed” where your actual profit is much lower than expected.
To combat this, you must develop a system for welding consumable tracking and material markups. Every piece of hardware, every ounce of shielding gas, and every inch of welding wire has a cost. If you don’t track these, you are essentially giving your profit away to the local supply house.
Why Hidden Consumables Bleed Small Shop Profits
A consumable burden factor is a percentage added to every job to cover the cost of items that are used up during fabrication. This ensures that you aren’t paying for the customer’s grinding discs and welding wire out of your own pocket.
In my experience, a standard consumable burden is between 5% and 10% of the total material cost. For example, if you are building a gate and the steel costs $500, you should add at least $25 to $50 to the bill just for consumables. If the job involves heavy grinding or high-amperage welding, that percentage should be even higher.
| Consumable Item | Estimated Cost per Shop Hour | Tracking Method |
|---|---|---|
| Welding Gas (75/25 Mix) | $3.50 – $5.00 | Flow meter time / Bottle refills |
| Grinding/Flap Discs | $2.00 – $4.00 | Unit count per project |
| Welding Wire/Rod | $1.50 – $3.00 | Weight used per project |
| Total Hourly Burden | $7.00 – $12.00 | Sum of all items |
Building on this, your material markup should be at least 20% to 30%. This covers the time you spend ordering, picking up, and moving the metal around your shop. If a local supplier delivers a $1,000 order, your price to the customer should be at least $1,250. This is not “price gouging”; it is a necessary charge for the logistics and storage you provide.
ROI Analysis for Major Workshop Upgrades
A metal business ROI calculator is a mental or digital tool used to determine how long it will take for a piece of equipment to pay for itself through increased efficiency or new capabilities. This is the ultimate test for any potential equipment purchase.
Before buying a CNC plasma table or a heavy-duty press brake, you need to know your payback period. This is the number of months or projects it will take for the machine’s extra income to cover its initial cost. If the payback period is longer than two years, you should seriously consider continuing to use temporary equipment access instead.
Calculating Realistic Payback Periods
The payback period is calculated by dividing the total investment cost by the estimated monthly profit generated specifically by that machine. This helps you avoid the “low-margin trap” where you buy a machine but don’t have enough work to justify it.
For example, if you buy a $5,000 CNC plasma table and you expect it to save you 10 hours of manual cutting time per month (valued at your $70/hr shop rate), the machine “earns” $700 a month in labor savings. $5,000 / $700 = 7.14 months. In this scenario, the purchase makes perfect sense because the payback period is well under a year. However, if you only have one project every three months that requires the table, the payback period could stretch to several years, making the investment much riskier.
- Step 1: Identify the total cost (Price + Delivery + Setup).
- Step 2: Estimate monthly revenue or labor savings from the tool.
- Step 3: Subtract monthly ownership costs (space, power, maintenance).
- Step 4: Divide Step 1 by the result of Step 3.
By following this process, you remove the emotion from the purchase. You stop seeing a new tool as a “toy” and start seeing it as a financial asset. This shift in mindset is what separates a hobbyist from a professional shop owner.
Building a Reliable Project Quote
Fabrication job costing is the process of estimating the total expense of a project before you start. A reliable quote includes materials, labor, overhead, consumables, and a specific allocation for equipment usage, whether owned or rented.
One of the most common rookie mistakes is providing a “flat rate” quote based on a gut feeling. This almost always leads to underpricing. Instead, you should use a structured template that accounts for every variable. This protects your margins and provides transparency for your customers, who are often willing to pay more for a professional, detailed estimate.
The Anatomy of a Profitable Metalworking Quote
A professional quote should be broken down into clear line items: Material Costs (with markup), Labor Hours, Consumable Fees, and Equipment/Shop Fees. This structure allows you to adjust individual parts of the bid without losing track of your total profit.
When I quote a job, I always include a “Job Cost Variance” buffer of 5% to 10%. This covers unexpected issues, such as a broken tap or a slight increase in material prices between the quote and the purchase. If you don’t use the buffer, it becomes extra profit. If you do use it, it saves you from losing money on the job.
- Material Total: (Raw Steel + Hardware) x 1.25 Markup
- Labor Total: Estimated Hours x Shop Hourly Rate
- Consumable Fee: (Labor Hours x Hourly Consumable Rate)
- Equipment Surcharge: (Specific machine use or rental cost)
- Subtotal + 10% Variance Buffer: Final Quote Price
Interestingly, using this method helps you identify which jobs are actually profitable. If you find that your equipment surcharges are consistently high because you are renting a specific tool, it might be time to use your ROI calculator to see if buying that machine has finally become the cheaper option.
Analyzing Post-Job Profits
The work isn’t finished when the project leaves the shop; it’s finished when you reconcile the actual costs against your original estimate. This post-job analysis is the only way to improve your small metal shop pricing over time.
I suggest keeping a simple log for every project. Record how many grinding discs you actually used, how many hours you really spent at the welding bench, and any unexpected material waste. Compare these numbers to your quote. If you estimated 10 hours but it took 15, you need to figure out why. Was the machine slower than expected? Did you spend too much time on setup?
- Review actual vs. estimated labor.
- Check material waste percentages.
- Verify if the equipment fee covered the actual cost.
- Adjust future quotes based on these findings.
This feedback loop is what allowed me to refine my shop rate and eventually grow my business. It turns every mistake into a data point, ensuring that you never make the same pricing error twice.
Practical Tools for Shop Management
Managing the finances of a side-hustle requires the right digital tools to stay organized without spending hours on paperwork. These resources help you track expenses and generate professional invoices on the go.
- QuickBooks or FreshBooks: Excellent for tracking shop overhead and generating professional invoices that include material markups.
- Excel or Google Sheets: The best way to build a custom fabrication job costing calculator tailored to your specific shop rate.
- Evernote or Keep: Useful for snapping photos of material receipts and consumable purchases immediately so they don’t get lost.
- CutList Optimizer: A digital tool to reduce material waste by planning your cuts more efficiently, which directly impacts your material profit.
Conclusion
Optimizing the financial efficiency of your workshop is a continuous process of balancing equipment costs against project revenue. Whether you choose to own your machinery or access it on a per-job basis, the decision must always be driven by data rather than desire. By mastering your shop math, tracking every consumable, and using realistic ROI timelines, you can build a fabrication business that is both sustainable and profitable.
FAQ
How do I know if I am ready to stop renting and buy a machine? The transition point is usually when the annual cost of rentals exceeds the annual cost of ownership (depreciation, maintenance, and space). If you find yourself renting a machine more than four or five times a year for multi-day projects, the math often shifts in favor of buying.
What is a standard markup for steel and hardware? Most small shops use a markup between 20% and 50%. A 25% markup is a safe baseline for side-hustlers. This covers your time for sourcing, transporting, and storing the material. For very small orders, a higher percentage is often necessary to cover the “hassle factor.”
How do I factor in the cost of electricity for heavy machinery? For most small shops, electricity is a minor part of the overhead compared to rent and labor. However, for high-draw machines like large welders or plasma cutters, you can estimate the cost by looking at the machine’s KVA rating and your local utility’s price per kilowatt-hour. Usually, adding $1 to $3 per hour to the machine’s surcharge is sufficient.
Should I charge the same shop rate for manual work and CNC work? No. CNC machinery usually has higher maintenance costs, requires more expensive consumables, and involves a larger initial investment. You should have a “base” shop rate for manual labor and a “machine rate” for specialized equipment that is 20% to 50% higher.
What if a customer wants to provide their own materials? If a customer provides materials, you lose your 25% material markup profit. To compensate, many shops add a “handling fee” or slightly increase their hourly labor rate for that specific job. This ensures the project remains profitable despite the lost markup.
How often should I update my shop hourly rate? You should review your shop rate at least once a year. If your utility bills, rent, or consumable costs have gone up, your rate must follow. Even a small $2 increase in your hourly rate can result in thousands of dollars in additional profit over a year of side-hustle work.
Is it better to buy used machinery or new? For side-hustlers, high-quality used machinery often provides a better ROI because the initial depreciation has already occurred. However, you must factor in the potential for higher maintenance costs and the lack of a warranty. Always calculate the “rebuild cost” into your purchase price for used gear.
How do I track welding gas usage accurately? The most practical way is to track how many projects you complete per bottle refill. If a $100 tank of 75/25 gas lasts for 20 hours of arc time, your gas cost is $5 per hour. Add this to your consumable burden for every welding job.
What is the “low-margin trap”? The low-margin trap occurs when a shop owner takes on high-volume work at a low rate, thinking the volume will make up for the thin margins. In reality, the increased wear on tools and higher overhead often result in the shop losing money on every hour worked.
Should I include the time I spend quoting in my bill? You don’t usually list “quoting time” as a line item, but it must be covered by your shop hourly rate. Your rate for billable hours must be high enough to pay for the non-billable hours you spend on estimating, cleaning, and admin work.
(This article was written by one of our staff writers, Michael Hargrove. Visit our Meet the Team page to learn more about the author and their expertise.)