Key Differences Between Welding Stainless vs Mild Steel (Tips)
I have spent 17 years in industrial maintenance bays and private shops, often knee-deep in the guts of broken machinery. I have seen high-end welders fail because of a single cheap capacitor, and I have seen budget machines outperform their price tags because the manufacturer spent money on the drive motor instead of the marketing. When you are deciding how to approach a project, the choice between low-carbon steel and high-alloy stainless steel is one of the most critical decisions you will make. It changes everything from the gas you buy to the way you physically move your hands during a bead.
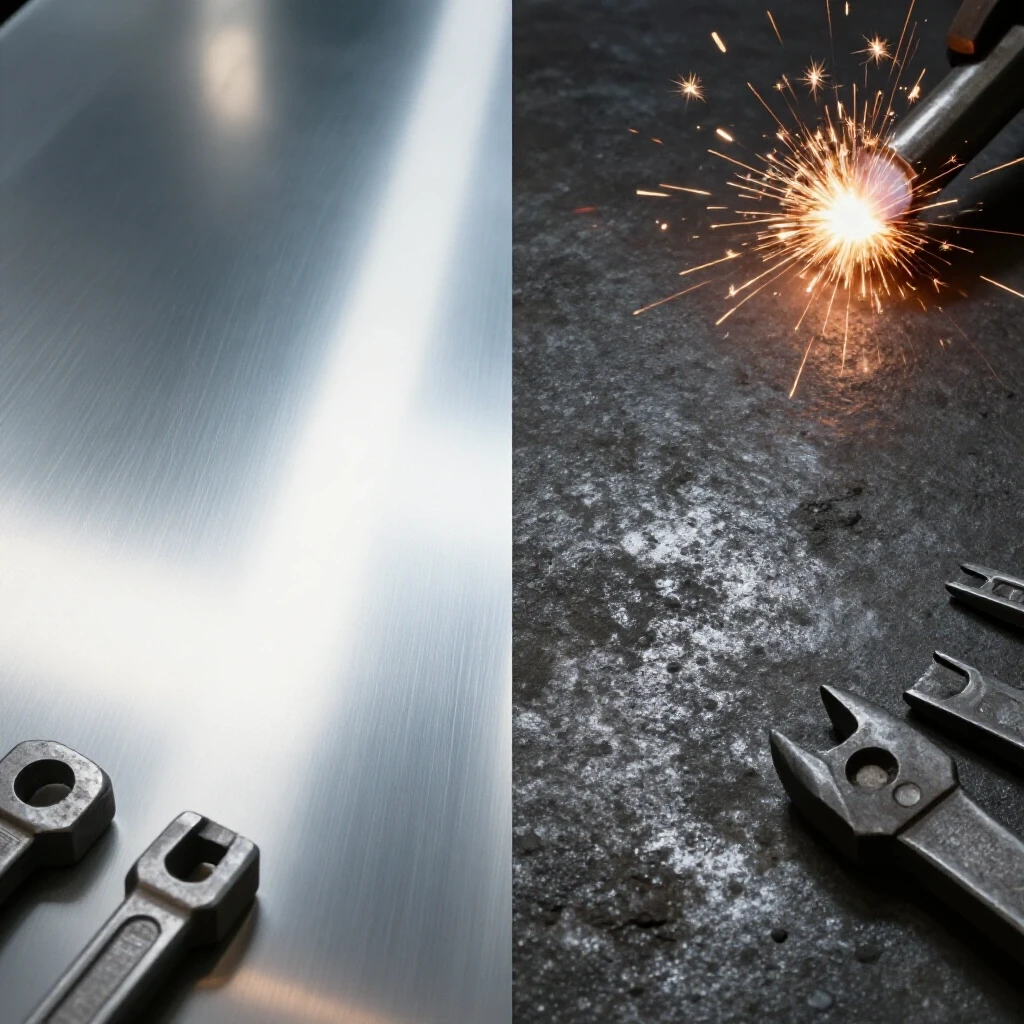
In my experience, many fabricators get caught up in brand loyalty. They think a certain color of machine will solve their problems. The reality is that the metal does not care about the brand name on your power source. It only cares about heat, chemistry, and atmospheric protection. If you understand how stainless steel behaves differently than mild steel under the arc, you can choose the right tools and settings without falling for the hype.
Understanding Chemical Composition and Weld Pool Behavior
This section explains how the high chromium content in stainless steel creates a sluggish, viscous weld pool compared to the more fluid, predictable nature of carbon-based mild steel during the fusion process. Understanding these chemical differences is the first step in mastering the arc.
Mild steel is essentially iron with a small amount of carbon, usually less than 0.30 percent. It is the “old reliable” of the shop. When you melt it, the puddle is fluid and easy to read. It flows where you point it. Stainless steel is a different beast entirely. To be called “stainless,” the alloy must contain at least 10.5 percent chromium. Most of what we use in the shop, like 304 or 316, has much more than that, plus nickel.
That chromium changes the viscosity of the molten metal. In my teardowns of failed structural welds, I often see “cold lap” on stainless because the welder expected it to flow like mild steel. It does not. The puddle is “sluggish.” It feels thicker and does not “wet out” or soak into the base metal as easily. You have to be more deliberate with your torch or gun movements to ensure the edges of the weld fuse properly.
- Mild Steel: Fluid puddle, high surface tension, easy to manipulate.
- Stainless Steel: Viscous puddle, “sticky” feel, requires active manipulation to flow.
- Chromium Content: 0% in mild steel vs. 10-30% in stainless.
- Carbon Content: Higher in mild steel, which can lead to sparks; lower in “L” grade stainless to prevent corrosion.
Thermal Conductivity and the Challenge of Heat Input
Thermal conductivity refers to how quickly a metal moves heat away from the weld zone. Stainless steel retains heat significantly longer than mild steel, which directly impacts how you must set up your machine’s amperage and travel speed.
One of the most common mistakes I see in the shop is treating the heat settings for both metals the same. Mild steel is a great conductor of heat. When you hit it with an arc, the heat spreads out through the rest of the plate. This is why you often need more “juice” to get a weld started on a thick piece of mild steel. Stainless steel, however, is a poor conductor. It holds the heat right where you put it.
Because the heat stays localized, the weld area gets hot very fast. If you use the same settings you use for mild steel, you will likely “cook” the stainless. This leads to a phenomenon called carbide precipitation, or “weld decay.” If the metal stays between 800 and 1,500 degrees Fahrenheit for too long, the chromium and carbon bond together. This robs the steel of its rust resistance. I have seen stainless handrails rust at the seams within a month because the fabricator used too much heat and did not move fast enough.
| Property | Mild Steel (Carbon Steel) | Stainless Steel (304/316) |
|---|---|---|
| Thermal Conductivity | High (Approx. 50 W/m·K) | Low (Approx. 15 W/m·K) |
| Thermal Expansion | Standard | 50% Higher than Mild Steel |
| Melting Point | Approx. 2,600°F – 2,800°F | Approx. 2,550°F – 2,650°F |
| Heat Retention | Dissipates quickly | Holds heat in the weld zone |
Shielding Gas Requirements for Atmospheric Protection
Shielding gas protects the molten metal from oxygen and nitrogen in the air. While mild steel is forgiving with various carbon dioxide mixes, stainless steel requires specific inert gas blends to prevent the loss of its protective properties.
When I evaluate a shop’s setup, I always look at their gas bottles first. For mild steel, the industry standard is “C25,” which is 75 percent Argon and 25 percent Carbon Dioxide. The CO2 helps with penetration and keeps the arc stable on dirty metal. However, you should never use C25 on stainless steel for a high-quality project. The high CO2 content will cause carbon pickup in the weld, which leads to rusting.
For stainless steel, you generally want a “Tri-mix” (Argon, Helium, and a tiny bit of CO2) or a high-argon blend (98 percent Argon and 2 percent CO2 or Oxygen). If you are TIG welding, you use 100 percent pure Argon for both, but the flow rates might change. Interestingly, stainless also requires “back-purging” for full-penetration welds. This means filling the inside of a pipe or the back of a joint with argon to prevent “sugaring”—a nasty, porous oxidation that happens when the hot back side of the weld hits the air.
- Mild Steel MIG: 75% Argon / 25% CO2 (Versatile and cheap).
- Stainless Steel MIG: 90% Helium / 7.5% Argon / 2.5% CO2 (Hotter, cleaner).
- TIG (Both): 100% Pure Argon (Standard for precision).
- Back-Purging: Essential for stainless; rarely used for mild steel.
Selecting Filler Metals for Structural Integrity
Filler metal selection involves matching the chemical properties of the wire or rod to the base material. Using the wrong alloy can lead to cracking or corrosion, which can cause the joint to fail under stress.
In my years of maintenance, I have seen plenty of “mystery welds” fail because someone used a mild steel rod on a stainless plate. The weld might look okay for an hour, but as it cools, the different expansion rates and chemical imbalances cause it to crack right down the middle. When welding mild steel, you typically use an E70S-6 wire. It has deoxidizers that handle the mill scale and light rust often found on carbon steel.
For stainless, you must match the alloy. If you are welding 304 stainless, you use 308L filler. The “L” stands for low carbon, which is vital for preventing the rust issues I mentioned earlier. If you are joining stainless to mild steel—a common task in machinery repair—you should reach for 309L. This filler is specifically designed to handle the dilution between the two different metals without cracking.
- Mild Steel Filler: E70S-6 (MIG) or E7018 (Stick).
- Stainless Steel Filler (304): ER308L (Matches base chemistry).
- Stainless Steel Filler (316): ER316L (For marine or chemical use).
- Dissimilar Metal Filler: ER309L (The “bridge” alloy).
Managing Distortion and Mechanical Warpage
Distortion is the physical movement or “pulling” of metal as it cools. Because stainless steel expands and contracts more than mild steel, fabricators must use specific clamping techniques and sequence their welds differently to maintain dimensional accuracy.
I have measured the “pull” on large frames many times, and stainless steel always wins the warpage battle. Because it has a higher coefficient of thermal expansion and lower thermal conductivity, the side you are welding gets much hotter and expands more than the rest of the piece. When it cools, it shrinks with a force that can bow a heavy plate.
To combat this, I recommend a much tighter tack-welding schedule. On a mild steel joint, I might place a tack every three inches. On stainless, I would place them every inch or even closer. You also need to use “heat sinks.” These are heavy blocks of copper or aluminum clamped near the weld joint. They soak up the excess heat that the stainless steel is trying to hold onto. In my experience, skipping the heat sinks on thin stainless sheet metal is a recipe for a “potato chip” shaped part.
- Tack Spacing: 3-4 inches for mild steel; 1-2 inches for stainless steel.
- Clamping: Heavy-duty fixtures are mandatory for stainless to prevent warping.
- Weld Sequencing: Always skip around the project to distribute heat evenly.
- Heat Sinks: Use copper chill bars behind the joint whenever possible.
Post-Weld Maintenance and Surface Finishing
After the arc is extinguished, stainless steel requires chemical or mechanical cleaning to restore its protective oxide layer. Mild steel usually only needs slag removal and paint, but stainless needs passivation to stay “stainless.”
When you finish a weld on mild steel, you hit it with a wire brush, maybe a grinder, and then you paint or powder coat it. The coating is what stops the rust. Stainless steel is different. It relies on a thin, invisible layer of chromium oxide to protect itself. During welding, the high heat destroys this layer and leaves behind “heat tint”—those pretty blue and purple colors. While they look cool, those colors are actually areas where the steel is now vulnerable to rust.
To fix this, you must “passivate” the steel. This involves cleaning the weld with a dedicated stainless steel wire brush (never use one that has touched mild steel, or you will embed carbon and cause rust) and then using a pickling paste or an electrochemical cleaner. These acids remove the iron from the surface and allow the chromium to reform its protective skin. If you leave the heat tint on, the “stainless” steel will rust just like mild steel.
- Mild Steel Cleanup: Wire wheel, flap disc, and primer/paint.
- Stainless Steel Cleanup: Dedicated stainless brush only.
- Passivation: Nitric or citric acid treatment to restore the oxide layer.
- Avoid Contamination: Never use the same grinding discs for both metals.
Evaluating Machine Internals for High-Alloy Performance
A welder’s ability to handle stainless versus mild steel often comes down to its wire feed motor and arc stability. High-quality drive rolls and consistent voltage output are critical for the sensitive requirements of high-alloy welding.
When you are looking at a new machine, do not just look at the maximum amperage. For stainless steel, the low-end stability is much more important. Because stainless is sensitive to heat, you often weld at lower amperages than you would for mild steel of the same thickness. A machine with a cheap transformer or a low-quality inverter board will have a “stuttery” arc at low settings. I always look for a machine with a high “Total Indicated Runout” (TIR) rating on the drive rolls and a motor with high torque at low speeds.
If the wire feed speed fluctuates even a little bit, it will cause “arc outages” or “burn-back.” On mild steel, this is an annoyance. On stainless, it can ruin a part by creating a huge heat spike in one spot. Look for all-metal drive assemblies. Plastic drive housings tend to flex under tension, which leads to inconsistent wire delivery. In my teardowns, the difference between a “hobby” machine and a “pro” machine is almost always in the weight of the wire feed motor and the quality of the drive roll bearings.
| Component | Budget/Entry Level | Professional/Industrial |
|---|---|---|
| Drive Roll Housing | Plastic / Composite | Cast Aluminum / Machined Steel |
| Motor Style | Small DC Brushed | Large Brushless or High-Torque DC |
| Wire Feed Consistency | +/- 5% Variance | +/- 1% Variance |
| Arc Control | Basic Voltage Taps | Digital Inverter / Pulse Control |
| Duty Cycle (at 100A) | 20% – 30% | 60% – 100% |
Practical Tips for the Workshop Floor
Over the last 17 years, I have developed a few “rules of thumb” that help me transition between these two materials. These are not always in the manual, but they are born from making mistakes and fixing them.
First, always keep your materials separated. I have seen “cross-contamination” ruin expensive projects. If you grind mild steel near a stainless project, the tiny carbon sparks will land on the stainless and start rusting. I keep a separate set of tools—brushes, pliers, and even table covers—specifically for stainless work.
Second, pay attention to your “stick-out” or “electrode extension.” On mild steel, you can be a bit lazy with your distance. On stainless, keeping a tight, consistent arc is the only way to manage the heat. If your arc gets too long, the voltage climbs, the heat goes up, and you risk burning through the material or losing your gas coverage.
- Tip 1: Use “Pulse” settings if your machine has them. It allows for deep penetration with much less total heat input, which is perfect for stainless.
- Tip 2: If the weld looks like a “gray grape,” you are moving too slow or your heat is too high. A good stainless weld should be straw-colored or slightly purple.
- Tip 3: Clean your metal with acetone before you start. Stainless is very sensitive to oils from your skin or cutting fluids.
- Tip 4: Invest in a good auto-darkening helmet with a high-quality “True Color” lens. Being able to see the subtle color changes in the stainless puddle is a game-changer.
FAQ
Can I weld stainless steel with a standard MIG welder? Yes, you can. However, you must change the wire to a stainless alloy (like 308L) and change your shielding gas to a Tri-mix or a high-argon blend. You should also swap your drive rolls to a “U-groove” style if you are using soft stainless wire to avoid crushing it.
Why does my stainless steel weld look like it is “sugaring” or turning into black crust? This is called oxidation. It happens when the hot metal is exposed to oxygen. On the front of the weld, it means you have poor gas coverage. On the back of the weld, it means you need to “back-purge” the joint with argon to protect the side you aren’t actively welding.
Is stainless steel harder to weld than mild steel? It is not necessarily harder, but it is less forgiving. Mild steel can handle a bit of dirt, incorrect gas, or fluctuating heat. Stainless steel requires cleanliness, precise heat management, and the correct gas to maintain its properties.
Can I use a standard steel wire brush to clean stainless welds? No. Never do this. A carbon steel brush will leave behind tiny particles of iron. These particles will embed in the stainless and cause it to rust. Always use a dedicated stainless steel brush that has never touched mild steel.
Do I need a special machine to weld stainless? Most modern DC welders (TIG or MIG) can handle both. The key is the machine’s ability to provide a stable arc at lower amperages and the quality of its wire delivery system. High-end inverter machines often have “pulse” modes that make stainless welding much easier.
What happens if I use 100% CO2 gas on stainless steel? The weld will be very messy, with lots of spatter. More importantly, the carbon from the CO2 will migrate into the weld pool, reducing the corrosion resistance of the stainless steel and making the weld brittle.
Why did my stainless steel part warp so much more than my mild steel part? Stainless steel expands more when heated and does not move heat away from the weld zone quickly. This creates a large temperature difference between the weld and the rest of the part, leading to significant mechanical pulling as it cools.
What is the best filler rod for joining stainless to mild steel? The industry standard is 309L. It is designed with higher alloy content to account for the “dilution” that happens when the two different metals melt together, preventing cracks in the transition zone.
Does stainless steel require more or less amperage than mild steel? Generally, stainless steel requires about 10 to 20 percent less amperage than mild steel for the same thickness because it retains heat so efficiently.
How do I know if I “cooked” my stainless weld? If the weld is a dull, dark gray or black color and has a rough texture, you have used too much heat. This has likely caused carbide precipitation, and the weld will be prone to rusting and cracking. A good weld should be shiny and have a metallic tint.
In conclusion, choosing between these materials is not just about the cost of the metal. It is about understanding the mechanical and chemical realities of how they react to heat. If you invest in a machine with a solid wire drive system, use the correct gas, and manage your heat input, you can produce professional-grade results on both. Don’t let the marketing hype dictate your shop’s capabilities—rely on the data and the physics of the metal instead.
(This article was written by one of our staff writers, Steven Brooks. Visit our Meet the Team page to learn more about the author and their expertise.)