Practical Solutions to Common Metalworking Problems (Guide)
I have spent the last fifteen years in a shop surrounded by the hum of cooling fans and the scent of ozone. My workbench is covered in journals where I track every hour of runtime, every broken blade, and every unexpected thermal shutdown. When I first started, I bought tools based on the glossy photos and the bold numbers on the box. I quickly learned that a “200-amp” welder that hits its thermal limit after three minutes of work is not a 200-amp welder in any practical sense. It is a paperweight with a fancy paint job.
My background in small-scale manufacturing taught me that the real cost of a tool is rarely the price you pay at the register. The true cost includes the downtime when a plastic gear shears, the frustration of a warped workpiece, and the hours spent hunting for replacement parts that the manufacturer stopped making three years ago. I write this because I want to share the data from my maintenance logs to help you see through the marketing noise. We are going to look at how to keep your equipment running and your projects straight by focusing on the metrics that actually matter.
Decoding Equipment Specifications and Duty Cycle Realities
Duty cycle represents the percentage of a ten-minute period that a machine can operate at a specific output before it must cool down. It is a critical metric for understanding how much work a tool can actually perform without internal components reaching temperatures that trigger a safety shutdown or cause permanent damage.
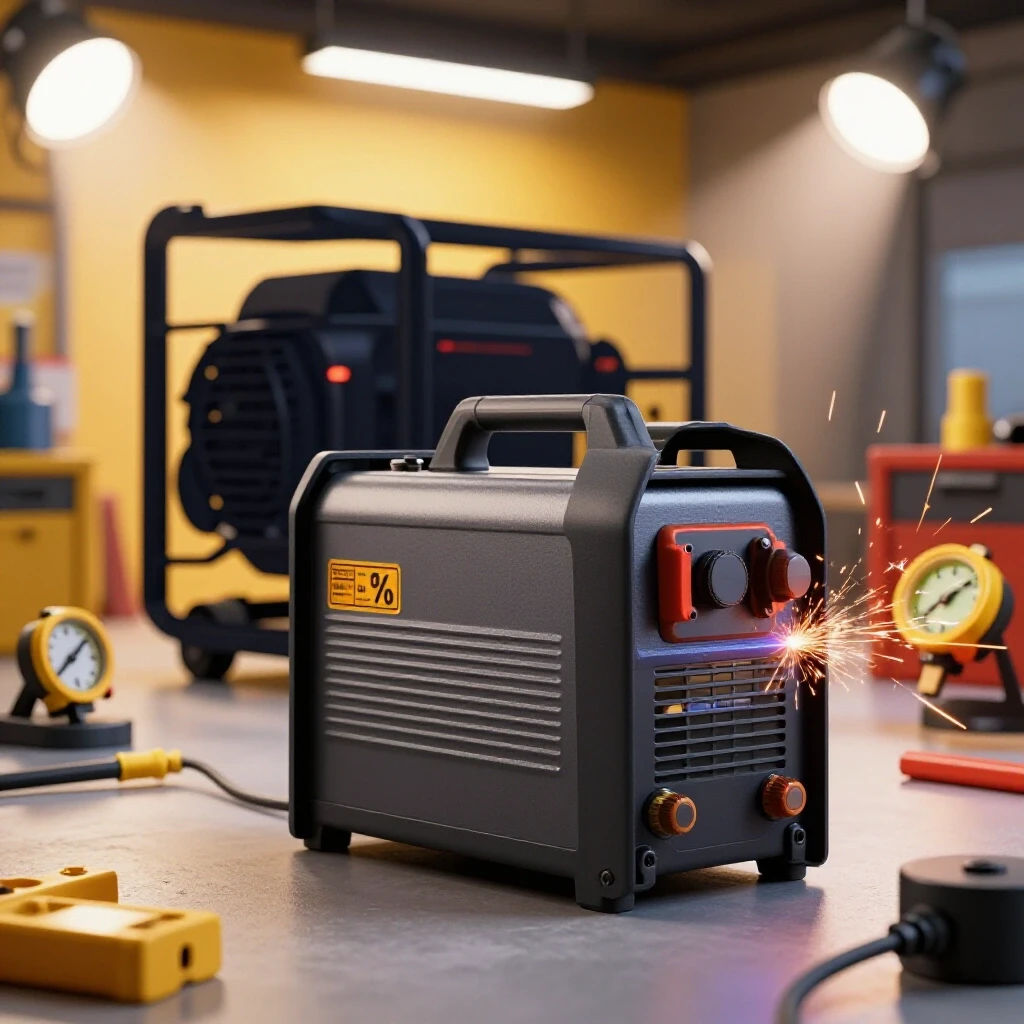
Many people see a “60% duty cycle” and assume they can work all day. In reality, that means six minutes of work followed by four minutes of idling. If you are welding a long seam on a trailer frame, those four minutes feel like an eternity. In my shop, I have found that budget-grade inverters often claim high duty cycles that they can only achieve in a cold room. Once the ambient temperature in my garage hits 85 degrees, that 60% rating often drops to 30%.
When you are researching your next purchase, look for the duty cycle at the maximum output. A machine rated for 20% at 200 amps might be rated for 100% at 100 amps. If most of your work involves 1/8-inch steel, you can run that machine all day. But if you are trying to push the limits on 3/8-inch plate, you will spend more time waiting than working. I always suggest buying a machine with a duty cycle that exceeds your heaviest expected use by at least 20%.
Understanding Motor Insulation Classes
Motor insulation classes designate the maximum temperature a motor winding can handle before the insulation begins to degrade and eventually fail. These ratings, established by NEMA, determine how hard you can push a tool like a drill press or a bandsaw before the motor burns out.
Most hobby-grade tools use Class B insulation, which is rated for 130 degrees Celsius. This sounds high, but internal temperatures spike quickly under heavy loads. I prefer tools with Class F (155°C) or Class H (180°C) insulation. In my experience, a Class F motor can survive a long afternoon of heavy drilling that would have a Class B motor smoking within an hour. When you look at a spec sheet, if the insulation class is not listed, it is almost certainly the cheapest option available.
| Tool Category | Typical Price Range | Expected Duty Cycle (Max Output) | Recommended Insulation Class |
|---|---|---|---|
| Entry-Level DIY | $300 – $600 | 20% – 30% | Class B |
| Prosumer / Light Shop | $700 – $1,500 | 40% – 60% | Class F |
| Industrial / Production | $2,000+ | 60% – 100% | Class H |
Managing Thermal Distortion in Workshop Projects
Thermal distortion is the unwanted movement or warping of metal caused by uneven heating and cooling during processes like welding or heavy grinding. As metal heats, it expands; as it cools, it contracts, often pulling the surrounding material out of alignment if not properly managed.
I once spent four hours carefully squaring a tabletop frame only to have it pull nearly half an inch out of square after my final weld beads cooled. It was a humbling lesson in the physics of heat. To solve this, I now use a combination of skip welding and heat sinks. Skip welding involves making short beads in different areas of the project rather than one long continuous pass. This distributes the heat more evenly across the entire structure.
Heat sinks are another vital tool. I keep several thick blocks of aluminum and copper in my shop. By clamping these near the weld zone, the heat is pulled away from the steel and into the block. Aluminum is particularly effective because it transfers heat much faster than steel. This keeps the “heat-affected zone” small and prevents the metal from reaching the plastic state where it begins to deform permanently.
Strategies for Maintaining Dimensional Accuracy
- Tack Welding: Use heavy tacks every few inches to lock the pieces in place before committing to a full bead.
- Backstepping: Start your weld a few inches ahead of the previous bead and weld back toward it to balance the cooling stresses.
- Clamping: Leave your work clamped to a heavy table until it is cool to the touch. Removing clamps while the metal is still “moving” is a recipe for a warped frame.
Maximizing the Life of Cutting Consumables
Consumable longevity refers to the operational lifespan of drill bits, saw blades, and grinding discs before they lose their effectiveness. Proper management involves controlling friction, heat, and speed to ensure the lowest possible cost per cut or hole.
I used to go through bandsaw blades like they were disposable. My logs showed I was spending $40 every two weeks on new blades. I realized I was running the blade too fast and using the wrong tooth pitch for the material thickness. For mild steel, a slower blade speed with a drop of cutting fluid can triple the life of the edge. If you see blue chips coming off your drill bit, you are moving too fast and generating too much heat.
The “Tooth Per Inch” (TPI) rating is the most overlooked spec in the shop. If you use a coarse blade (low TPI) on thin tubing, the teeth will catch and strip off. If you use a fine blade (high TPI) on thick plate, the gullets between the teeth will clog with chips, causing the blade to overheat and wander. A good rule of thumb is to have at least three teeth in contact with the material at all times.
| Material Thickness | Recommended TPI (Bandsaw) | Recommended TPI (Reciprocating) |
|---|---|---|
| 1/16″ (16 gauge) | 24 – 32 | 18 – 24 |
| 1/8″ to 1/4″ | 10 – 14 | 10 – 14 |
| 1/2″ and Thicker | 4 – 6 | 6 – 8 |
Evaluating Power Requirements and Inverter Efficiency
Power delivery analysis involves calculating the electrical demand of a tool and comparing it to the available shop circuitry to prevent tripped breakers and ensure stable performance. Modern inverters use Power Factor Correction (PFC) to maximize the work done per amp of input current.
Many modern welders are “dual voltage,” meaning they run on both 120V and 240V. In my experience, running a high-draw tool on 120V is a compromise. While it works for thin sheet metal, the machine will struggle to maintain a stable arc on thicker material. I recommend installing a 240V circuit for any tool that draws more than 15 amps. This reduces the current load on your wiring and allows the machine to run cooler and more efficiently.
Inverters have largely replaced old transformer-style machines because they are lighter and more efficient. However, they are also more sensitive to “dirty” power. If you are running your shop off a generator, you need an inverter with a high tolerance for voltage fluctuations. I look for machines that specify a +/- 15% voltage tolerance. This protects the sensitive circuit boards inside the machine from frying during a power surge.
The Role of Power Factor Correction (PFC)
Power Factor Correction is an electronic feature that aligns the current and voltage waves to ensure the machine uses power as efficiently as possible. A machine with PFC can often produce 20% more output on the same 20-amp breaker than a machine without it. If you have limited power in your garage, PFC is a feature that is worth the extra investment. It reduces the “apparent power” drawn from the grid, which prevents your lights from flickering every time you strike an arc.
Establishing a Proactive Maintenance Schedule
A maintenance schedule is a systematic plan for inspecting, lubricating, and cleaning shop machinery at set intervals. Following these benchmarks prevents minor wear from turning into catastrophic equipment failure.
I keep a simple whiteboard in my shop with the “Last Service” date for every major tool. It is easy to forget that a bandsaw needs its gearbox oil changed or that a welder’s internal dust filters need vacuuming. In my logs, I found that 80% of my tool breakdowns were caused by neglected maintenance. For example, a buildup of metal dust inside a plasma cutter can cause a high-voltage arc to jump where it shouldn’t, destroying the main board.
Standard Maintenance Intervals for Fabrication Tools
- Daily (Before Use): Check fluid levels, inspect power cords for frays, and verify that safety guards move freely.
- Monthly (or every 50 hours): Blow out internal dust with compressed air, check belt tension on drill presses, and lubricate lead screws.
- Bi-Annually (or every 200 hours): Change gearbox oil, inspect motor brushes for wear, and check all electrical connections for tightness.
- Annually: Perform a deep clean, recalibrate squares and fences, and update your tool inventory and warranty logs.
Navigating Brand Reliability and Warranty Recovery
Warranty recovery is the process of documenting tool failures and navigating the manufacturer’s repair system to minimize out-of-pocket costs. Reliability ratings are based on long-term data regarding parts availability and the frequency of “out-of-box” defects.
There is a big difference between a “five-year warranty” and a “five-year limited warranty.” I once had a grinder fail after six months. When I tried to claim the warranty, I found out it only covered the motor, not the switch or the bearings—the parts that actually broke. Now, I read the fine print before I buy. I look for brands that have local service centers. Shipping a 100-pound welder back to a factory across the country can cost more than the repair itself.
Brand Tier Comparison for Long-Term Ownership
- Tier 1 (Industrial Leaders): These brands offer the best parts availability. Even for a 20-year-old machine, you can usually find a parts diagram and order a replacement gear. You pay a premium upfront, but the tool can last a lifetime.
- Tier 2 (Prosumer Brands): These offer a balance of performance and price. They usually have solid 3-year warranties. However, they often use proprietary parts that can be hard to find once the model is discontinued.
- Tier 3 (Budget Imports): These are great for occasional use. However, my logs show they have a higher failure rate under consistent load. Warranty support is often handled by replacing the entire unit rather than repairing it, which is wasteful and leaves you without a tool for weeks.
Practical Steps for Evaluating a New Tool Purchase
When I am looking at a major purchase, I follow a specific checklist. I don’t just look at the price tag; I look at the “total cost of ownership” over five years. This includes consumables, expected repairs, and the potential resale value.
- Check the Weight: In the world of stationary tools like drill presses and bandsaws, weight is usually a sign of quality. Cast iron dampens vibration much better than stamped steel or aluminum.
- Test the Ergonomics: If you are going to hold a grinder for three hours a day, the weight and vibration matter. I once bought a powerful grinder that was so heavy it gave me wrist pain after twenty minutes. I sold it a month later at a loss.
- Research Parts Diagrams: Before buying, I go to the manufacturer’s website and see if the parts list is available. If I can’t find a replacement brush or a switch online, I don’t buy the tool.
- Verify Input Requirements: Ensure your shop’s electrical panel can handle the “Inrush Current.” Some high-power motors draw a massive spike of electricity the moment they turn on, which can trip sensitive breakers.
Case Study: The Hidden Cost of a Budget Bandsaw
A few years ago, I bought a budget horizontal bandsaw for $400. On paper, it had the same capacity as a $1,200 name-brand saw. Within the first 100 hours of use, I had to replace the blade guides, the coolant pump failed, and the motor started smelling like burnt toast.
My maintenance log showed I spent $250 on parts and roughly 15 hours of my own time fixing it. When I factored in my shop rate of $50 an hour, that “cheap” saw actually cost me $1,400. I eventually sold it for $150 and bought the professional model. The professional model has now run for 800 hours with nothing but blade changes and one oil swap. The lesson is simple: if you plan to use a tool daily, the budget option is often the most expensive choice you can make.
Conclusion
Building a reliable shop is a marathon, not a sprint. By focusing on metrics like duty cycle, insulation class, and power efficiency, you can avoid the traps of marketing hype. Use your maintenance logs to track what works and what doesn’t. Remember that managing heat distortion and protecting your consumables are just as important as the initial power of the machine. When you buy your next tool, look past the shiny exterior and check the parts diagram. Your future self, standing at the workbench with a deadline looming, will thank you for the extra research.
Frequently Asked Questions
What does “Duty Cycle” actually mean for my daily work?
Duty cycle is a measure of how long a machine can run at a specific output within a 10-minute window. For example, a 40% duty cycle means you can work for 4 minutes and must let the machine cool for 6 minutes. Exceeding this can trigger thermal protection or damage internal components.
Why does my metal warp even when I use clamps?
Metal expands when heated and shrinks when cooled. Even if clamped, the internal stresses of the cooling weld will pull the metal. To minimize this, use tack welds, skip welding techniques, and heat sinks to manage the temperature distribution.
How do I know if a tool’s motor is high quality?
Look for the NEMA Insulation Class on the motor nameplate or spec sheet. Class F or Class H motors are designed to handle higher temperatures and are more durable for heavy-duty shop use than the standard Class B motors found in budget tools.
Is it worth upgrading my shop to 240V for welding?
Yes. Running high-draw equipment on 240V is more efficient, reduces the amperage draw on your wiring, and generally results in a more stable arc and better penetration on thicker materials. It also helps the machine run cooler, extending its lifespan.
How can I make my drill bits and saw blades last longer?
The two biggest killers of cutting tools are heat and friction. Use the correct speed (RPM) for the material, apply cutting fluid or wax to lubricate the cut, and ensure you are using the correct tooth pitch (TPI) for the thickness of the metal.
What is the advantage of an inverter welder over a transformer welder?
Inverters are lighter, more portable, and more energy-efficient. They also offer better arc control and features like “hot start” or “arc force.” However, they contain sensitive electronics that require a clean, stable power source to avoid damage.
How often should I perform maintenance on my shop tools?
Basic checks should happen before every use. A deeper cleaning and lubrication should occur every 50 hours of runtime. Major service, such as changing gearbox oils or inspecting motor brushes, should be done every 200 hours or at least once a year.
Why is cast iron preferred for stationary tools like drill presses?
Cast iron is heavy and dense, which makes it excellent at absorbing vibrations. This leads to cleaner cuts, more accurate holes, and a quieter shop environment compared to tools made from lightweight aluminum or thin stamped steel.
What should I look for in a tool warranty?
Look for a warranty that covers both parts and labor, and check if there is a local authorized service center. A “limited” warranty often excludes common wear items, and shipping costs for repairs can be high if you have to send the tool back to the manufacturer.
Does Power Factor Correction (PFC) really matter for a home shop?
Yes, especially if you have limited power. PFC makes the machine more efficient, allowing you to get more welding power out of a standard breaker without tripping it. It also helps the machine handle voltage fluctuations from long extension cords or generators.
(This article was written by one of our staff writers, David Reynolds. Visit our Meet the Team page to learn more about the author and their expertise.)