Which Machine Shop Tools You Should Buy First (Checklist)
Transitioning from a hobbyist metalworker to a side-hustle owner is a significant shift in mindset. When I started my first manufacturing business sixteen years ago, I thought my skills at the lathe were my most valuable asset. I quickly learned that while craftsmanship matters, the ability to track costs and manage equipment returns is what keeps the lights on. Many fabricators struggle with pricing their work accurately because they fail to account for the true cost of their machinery and the time spent on non-billable tasks.
The anxiety of quoting a job often stems from not knowing your numbers. If you are guessing at your hourly rate, you are likely undercutting yourself or leaving money on the table. My goal is to help you move away from “guesstimating” and toward a data-driven approach to tool acquisition and job costing. We will focus on the essential manual equipment that forms the backbone of a profitable small shop and the financial metrics needed to ensure those tools pay for themselves.
Establishing the Financial Foundation of a Manual Machine Shop
The shop hourly rate is the total amount you must charge per hour of labor to cover all expenses and generate a desired profit.
Before you buy your first piece of equipment, you must understand what it costs to exist as a business. This is your overhead. It includes rent, utilities, insurance, and software subscriptions. Even if you work out of a home garage, allocating a portion of your housing costs to the shop is vital for realistic pricing. If you don’t account for these “hidden” costs, your side-hustle will never have the capital to grow into a full-time operation.
Calculating your shop rate involves more than just picking a number that sounds fair. I recommend a range of $65 to $120 per hour for most small-scale fabrication shops, depending on your local market and specialized skills. This rate must cover your “burdened” labor cost, which includes the time you spend cleaning, quoting, and sourcing materials. Building on this, you must also factor in the depreciation of your tools. Every hour a machine runs, it moves one step closer to needing maintenance or replacement.
- Shop Rate Calculation: (Annual Overhead + Desired Annual Profit + Annual Labor Cost) / Total Billable Hours.
- Billable Hours: Usually only 50-70% of your total shop time is actually billable to a client.
- Overhead Burden: The percentage of your rate that goes strictly to keeping the doors open.
Prioritizing Core Material Removal Equipment
A manual lathe is a machine tool that rotates a workpiece against a cutting tool to perform operations like turning, facing, and threading.
When deciding which equipment to bring into a small shop first, the manual lathe is almost always the top priority. In my experience, the ability to create cylindrical parts, spacers, and custom fasteners provides the fastest path to revenue. A lathe allows you to take on repair work that other shops might turn down. Interestingly, a well-maintained manual lathe holds its value remarkably well, making it a low-risk investment from a capital depreciation standpoint.
Following the lathe, a vertical milling machine is the next logical step. The mill handles flat surfaces, slots, and hole patterns with high precision. For a side-hustle, a manual mill with a digital readout (DRO) is a game-changer. It reduces the chance of manual errors and speeds up the layout process. When evaluating these machines, I look for “swing” and “center distance” on the lathe, and “table travel” on the mill. These specs determine the size of the jobs you can accept.
| Tool Type | Primary Function | Business Value | ROI Priority |
|---|---|---|---|
| Manual Lathe | Cylindrical turning/threading | High (Repair & Prototyping) | 1 |
| Vertical Mill | Flat surfaces/drilling/slotting | High (Complex Parts) | 2 |
| Drill Press | Basic hole making | Medium (Secondary Ops) | 3 |
| Cold Saw | Material sizing | Medium (Efficiency) | 4 |
Precision Measurement and Layout Essentials
Precision measurement tools are instruments used to verify that a part meets the required dimensional tolerances specified in a drawing.
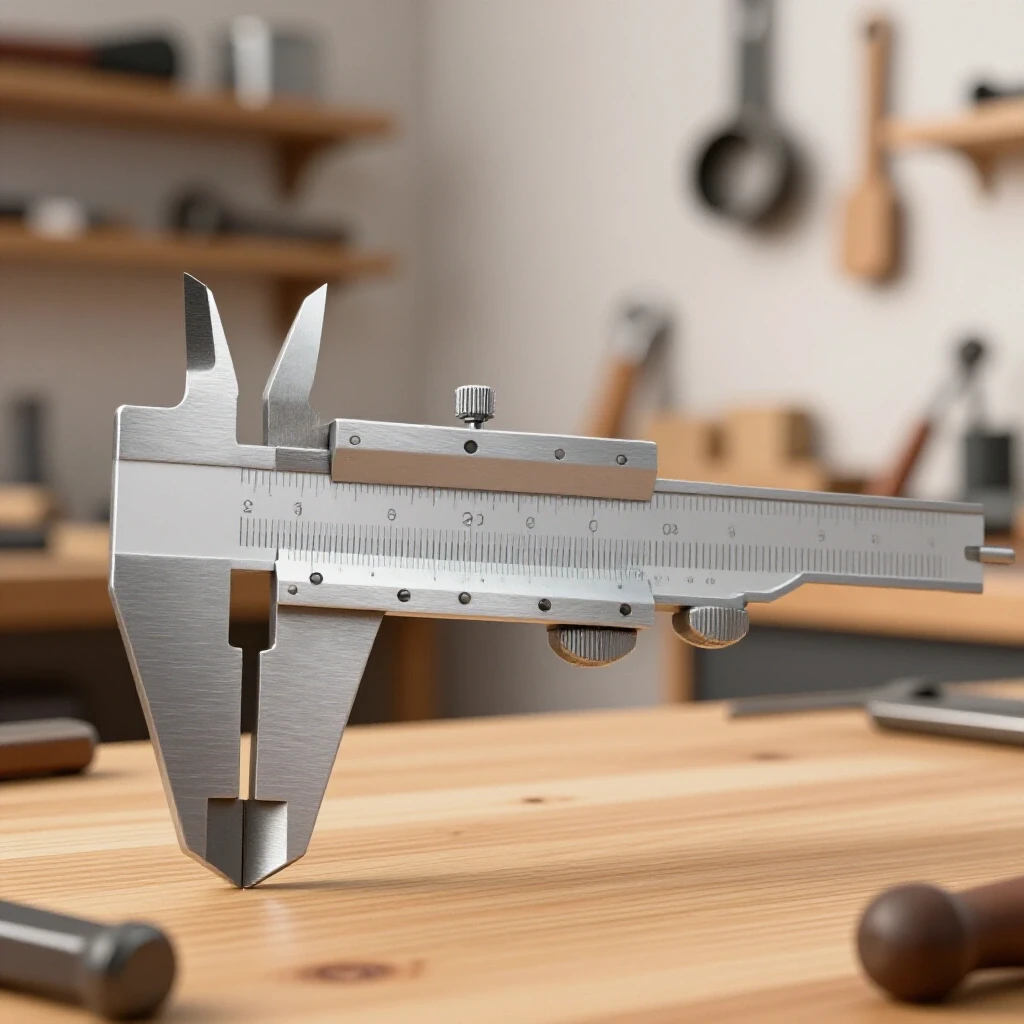
You cannot sell what you cannot measure. One of the biggest mistakes I see new shop owners make is skimping on measurement tools. If a customer asks for a part with a tolerance of plus or minus one-thousandth of an inch, and you only have a tape measure, you cannot confidently fulfill that contract. Investing in a quality set of 6-inch calipers and a 0-1 inch micrometer is non-negotiable. These tools are the “referees” of your shop; they tell you when a part is good and when it is scrap.
Scrap is the silent killer of shop profits. When you ruin a part, you lose the material cost, the consumable cost, and the labor hours already invested. By using high-quality dial indicators and bore gauges, you can catch errors before they become expensive mistakes. As a result, your “first-pass yield”—the percentage of parts made correctly the first time—will increase, directly impacting your bottom line.
- Calipers: Used for quick, general measurements of outside, inside, and depth dimensions.
- Micrometers: Necessary for high-precision thickness and diameter measurements.
- Dial Indicators: Vital for squaring up your machines and checking part runout.
- Surface Plate: A flat reference plane used for accurate layout and inspection.
Workholding and Tooling for Initial Operations
Workholding refers to the devices used to securely grip a workpiece while it is being machined, ensuring safety and accuracy.
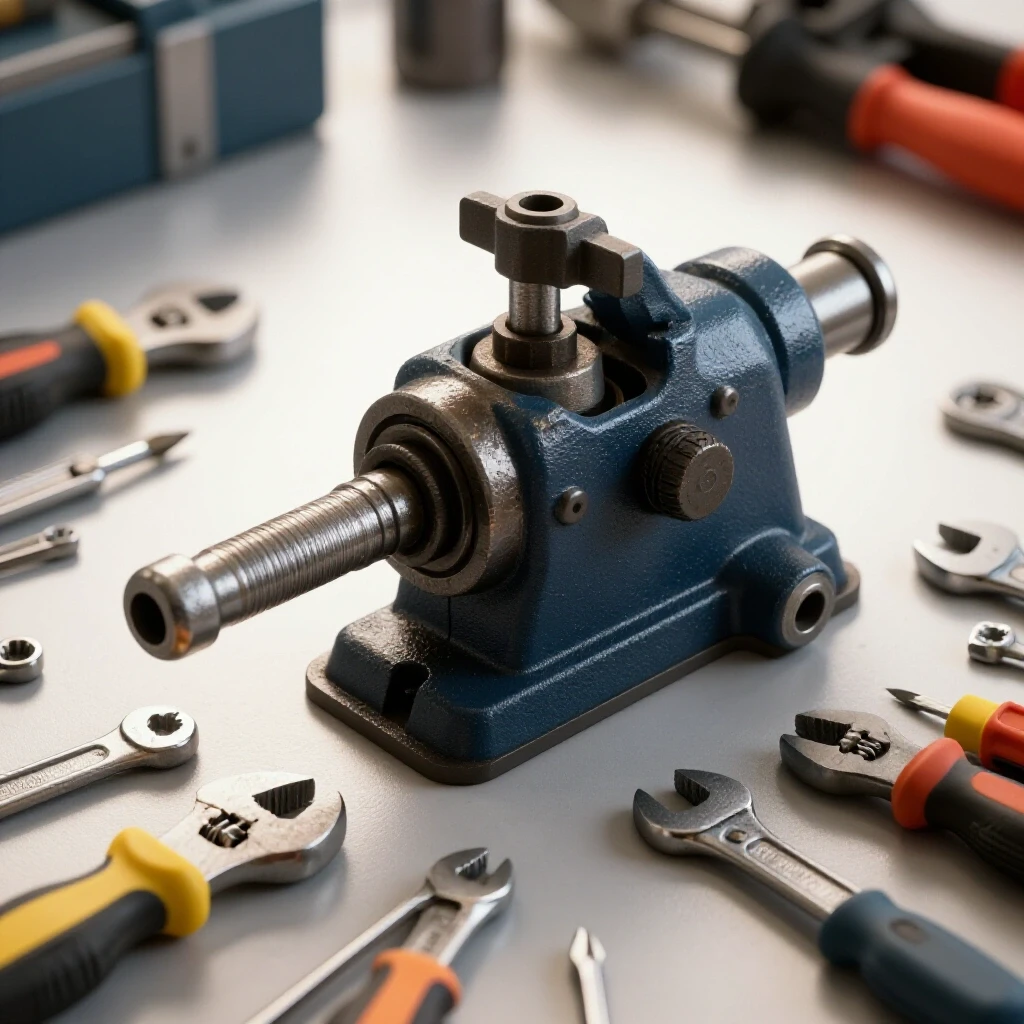
Buying the machine is only half the battle; you also need a way to hold the part and a way to cut it. For the mill, a high-quality milling vise is the most frequent workholding tool you will use. Do not settle for a cheap, unground vise. A vise that “lifts” the part when tightened will lead to inaccurate dimensions and frustrated clients. On the lathe, a three-jaw chuck is standard for quick setups, but a four-jaw independent chuck is necessary for precision centering and non-round parts.
Tooling includes the actual cutting edges, such as end mills, lathe bits, and drills. For a side-hustle, I often recommend starting with High-Speed Steel (HSS) tooling for the lathe because it is inexpensive and can be resharpened. However, for the mill, carbide end mills are often worth the extra cost because they allow for faster material removal rates. Faster removal means shorter job times, which increases your effective hourly rate.
- Milling Vise: Look for a 6-inch “Anglock” style vise to prevent part lifting.
- Lathe Chucks: Ensure you have both a self-centering 3-jaw and an independent 4-jaw chuck.
- Collet Set: An R8 or ER collet system for the mill provides better grip and less runout than a drill chuck.
- Clamping Kit: A set of T-nuts, studs, and clamps for securing large or odd-shaped parts directly to the mill table.
Calculating ROI on Manual Machinery Investments
Amortization is the process of spreading the cost of an expensive tool over its useful life to understand its impact on monthly expenses.
When I consider a new tool, I don’t just look at the purchase price. I look at the payback period. If a manual mill costs a certain amount, how many hours of billable work must it perform to pay for itself? This is why tracking your machine hours is critical. If you find that a tool sits idle 90% of the time, it might be a “vanity” purchase rather than a business investment. A healthy side-hustle focuses on tools that have a high utilization rate.
To calculate the return on investment (ROI), subtract the cost of the tool from the total profit generated by that tool, then divide by the cost of the tool. For example, if a lathe helps you earn $5,000 in profit over a year and it cost you $2,500, your ROI is 100%. In the world of manual machining, look for tools that can pay for themselves within 12 to 18 months of part-time use.
- Payback Period Formula: Tool Cost / (Monthly Revenue from Tool – Monthly Operating Cost).
- Utilization Rate: The percentage of shop hours the machine is actually cutting metal.
- Depreciation Schedule: Most manual tools can be depreciated over 5 to 7 years for tax purposes.
Tracking Consumables and Hidden Operational Costs
Consumables are items that are used up or worn out during the fabrication process, such as drill bits, sandpaper, and cutting fluids.
One of the most common ways small shops lose money is by failing to track consumables. It is easy to remember the cost of a large piece of steel, but it is easy to forget the $15 end mill you broke or the $40 worth of coolant you used. These costs add up. I suggest adding a “consumable burden” to every quote. This is usually a flat percentage—often 5% to 10%—added to the material or labor cost to cover these disappearing expenses.
Building a simple spreadsheet to track your usage of items like inserts, bandsaw blades, and lubricants will reveal your true costs. If you notice you are going through drill bits faster than expected, you might need to adjust your speeds and feeds or start charging more for jobs involving hardened materials. Interestingly, buying these items in bulk can significantly lower your per-unit cost, but only if you have the cash flow to support it.
| Consumable Item | Tracking Metric | Suggested Markup |
|---|---|---|
| Cutting Fluid | Gallons per month | 2% of Job Total |
| Lathe Inserts | Edges per job | 10% of Material Cost |
| End Mills | Hours of use | Variable (per job) |
| Abrasives | Units used | 5% of Labor Cost |
Why Hidden Consumables Bleed Small Shop Profits
Failing to account for the “small stuff” can turn a profitable job into a loss. I once took on a project involving 100 small aluminum pins. I priced the material and the labor, but I didn’t account for the fact that the specific grade of aluminum was “gummy” and kept clogging my small diameter drills. I went through ten times the number of drill bits I expected. Because I hadn’t factored in a consumable burden, I ended up paying the client to do the work.
To avoid this, create a “Material Markup” strategy. Never sell material at your cost. If a piece of steel costs you $100, you should be charging the client at least $125 to $150. This 25-50% markup covers your time spent ordering, picking up, and handling the material. It also provides a buffer for when things go wrong.
- Material Handling Fee: Charge for the time spent sourcing and transporting raw stock.
- Scrap Allowance: Always buy 10% more material than the job requires to account for mistakes.
- Tooling Charge: For specialized jobs requiring unique cutters, charge the customer for the full cost of that tool.
Building an Accurate Job Estimating Model for Side-Hustlers
Fabrication job costing is the process of determining the total expense of a project, including labor, materials, overhead, and profit.
Accurate bidding is a skill that takes time to master. I use a “bottom-up” approach for my estimates. I start with the raw material cost, add the material markup, then estimate the labor hours for every step: setup, machining, deburring, and inspection. Finally, I add the consumable burden and my profit margin. If you are just starting out, it is helpful to time yourself on basic tasks to create a “baseline” for your estimates.
Many side-hustlers under-price because they feel guilty charging professional rates. Remember, your client is paying for your expertise and the fact that you own the equipment so they don’t have to. If you price too low, you attract “bottom-feeder” clients who often demand the most work for the least pay. A professional quote, delivered on time, justifies a professional rate.
- Define the Scope: Get a clear drawing or sample part from the client.
- Estimate Labor: Break the job into steps (e.g., 30 mins setup, 2 hours turning).
- Calculate Materials: Include the cost of the metal plus your markup.
- Add Shop Fees: This includes the consumable burden and any shipping/handling.
- Apply Profit Margin: Typically 15-25% on top of all other costs.
Analyzing Post-Job Profits to Refine Future Bids
Job cost variance is the difference between what you estimated a job would cost and what it actually cost you to complete.
After you finish a project, the work isn’t done until you look at the numbers. Did the job take as long as you thought? Did you use more consumables than planned? This “post-mortem” analysis is how you get better at pricing. If you estimated 5 hours and it took 8, you need to know why. Was it a machine setup issue, or did you underestimate the complexity of the part?
I keep a simple logbook next to my machines. I write down the start and end times for every job. Over time, this data becomes your most powerful tool for future bidding. You will start to see patterns, like how stainless steel always takes 50% longer than mild steel. Using this historical data allows you to quote with confidence and ensures that your side-hustle remains a profitable venture rather than an expensive hobby.
- Review Labor: Compare actual hours vs. estimated hours.
- Review Materials: Did you stay within the scrap allowance?
- Adjust Baselines: Update your internal “price list” based on these findings.
- Client Profitability: Identify which customers are the most (and least) profitable.
Digital Tools for Shop Management and Invoicing
Managing the paperwork is often the part of the business that side-hustlers hate the most. However, modern software has made this much easier. You don’t need a complex ERP system, but you do need a way to send professional invoices and track your expenses for tax time. Using digital tools also makes you look more professional to your clients, which can justify higher rates.
- Invoicing Software: Tools like QuickBooks or Wave allow you to send invoices and accept digital payments easily.
- Estimation Spreadsheets: Create a template in Excel or Google Sheets that automatically calculates markups and burdens.
- Time Tracking Apps: Use a simple app on your phone to clock in and out of specific jobs.
- Inventory Trackers: Keep a digital list of your common material stock and consumable levels.
By staying organized, you reduce the mental load of running a business. This allows you to focus on the actual metalworking, which is likely why you started this journey in the first place. Consistency in your bookkeeping leads to consistency in your bank account.
FAQ
What is the single most important tool to buy first for a manual shop? The manual lathe is generally considered the most versatile and essential tool. It allows for a wide range of repair and fabrication work that is difficult to perform on other machines. From a business perspective, it offers a high return on investment because it enables you to create custom components that have high market value.
How do I determine my shop rate if I’m just starting out? Start by calculating your total monthly overhead (rent, power, insurance) and dividing it by the number of hours you can realistically work. Add a fair hourly wage for yourself and a 20% profit margin. In most regions, a starting rate of $65-$75 per hour for a side-hustle is a safe baseline that ensures you aren’t losing money.
Should I buy new or used manual machinery? Used machinery often provides a better ROI because the initial depreciation has already occurred. However, used tools require a careful inspection to ensure they aren’t worn out. A used mill that is “clapped out” will cost you more in scrap and frustration than a new, mid-range machine.
Why should I charge a markup on materials? Material markup covers the “hidden” labor of your business: researching suppliers, driving to pick up metal, unloading the truck, and storing the material. It also protects you against price fluctuations. If you don’t mark up materials, you are essentially providing a free delivery and procurement service to your client.
What is a “consumable burden” and why does it matter? It is a small percentage added to a job’s price to cover items that are used up, like drill bits, coolant, and rags. Because it is difficult to track exactly how much “coolant” was used on one part, applying a flat 5-10% burden ensures these costs are covered across all your jobs.
How do I handle a job that takes longer than I quoted? If it’s your mistake in estimating, you generally have to eat the cost and learn for next time. However, if the scope of the job changed or the material provided by the client was faulty, you should communicate this immediately and discuss an “overage” charge. This is why clear contracts or quote descriptions are vital.
Do I really need a Digital Readout (DRO) on my manual machines? While not strictly necessary for making parts, a DRO significantly increases your productivity and reduces errors. For a side-hustle where “time is money,” a DRO often pays for itself within a few months by speeding up setups and layout work.
How often should I re-evaluate my shop rate? I recommend reviewing your numbers every six months. As you gain experience and add more efficient tools, your value to the customer increases. Additionally, rising costs for electricity and supplies need to be passed along to maintain your profit margins.
What are the most common “hidden” costs in a machine shop? Electricity (especially for phase converters), waste disposal (used coolant and scrap), and the cost of tooling for specific jobs are the most common surprises. Insurance is another major one; ensure your homeowner’s policy allows for a home-based business.
How do I know when it’s time to upgrade a tool? The time to upgrade is when a tool becomes a bottleneck. If you are turning down work because your lathe is too small, or if you are spending more time fixing a machine than using it, the ROI on a new tool becomes clear. Always let the work dictate the equipment purchases.
Is it better to specialize in one type of work or be a generalist? In the beginning, being a generalist helps you find where the local demand is. However, specialization often leads to higher profit margins because you become more efficient at a specific type of task and can justify higher rates for your specialized expertise.
How do I account for my own labor if I’m doing this as a side-hustle? You should pay yourself a set hourly wage that is separate from the shop’s profit. If the shop makes $100 in an hour, $40 might be your wage, $30 covers overhead/consumables, and $30 is the shop’s profit. This distinction is crucial for understanding if the business is actually successful or if you just have a high-paying hobby.
(This article was written by one of our staff writers, Michael Hargrove. Visit our Meet the Team page to learn more about the author and their expertise.)