How to Build sorting Bins for Pipe and Tube Fittings (Fix)
I have spent thirteen years in fabrication shops, and if there is one thing that can break a person’s spirit, it is watching a meticulously measured frame pull itself out of square during the final welding pass. I remember building a heavy-duty rack for my shop early in my career. I had every piece of angle iron cut to the exact sixteenth of an inch. I tacked it up, it looked perfect, and then I ran full beads across every joint. By the time the metal cooled, the entire structure had a three-degree twist that made it wobble like a broken table.
That failure taught me that fabrication is not just about cutting and joining; it is about managing the physical behavior of metal under heat. When you are building a custom storage system for heavy items like iron elbows, brass couplings, and steel tees, you are dealing with significant weight and the need for repetitive accuracy. A bin that is an eighth of an inch out of square might not seem like a problem until you try to slide it into a modular rack. This guide focuses on the technical reality of building durable, straight, and functional metal organizers while controlling the forces that try to ruin your hard work.
Planning the Modular Framework for Heavy Fittings
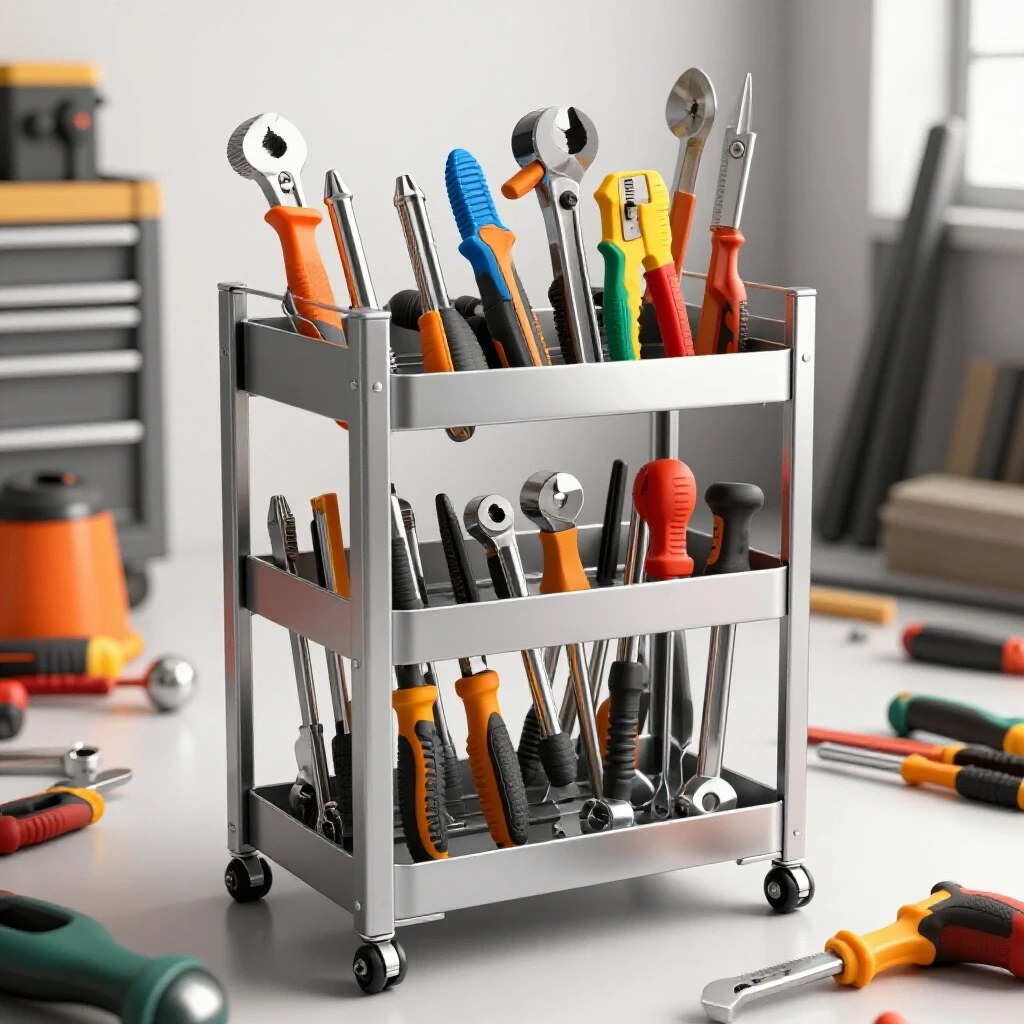
Designing a storage system requires calculating the weight of bulk components like cast iron elbows and brass valves. This stage involves creating a detailed cut list that accounts for material thickness and the specific dimensions needed to fit your existing workshop shelving or wall space. You must decide on the volume each bin needs to hold based on the diameter of the parts you are sorting.
When I plan these projects, I start with the largest items first. A two-inch malleable iron tee takes up significantly more room than a half-inch coupling. I typically use 16-gauge sheet steel for the bin bodies and 1/8-inch angle iron for the structural shelving. 16-gauge is thick enough to handle the impact of heavy parts being tossed in but thin enough to be manageable with standard shop tools.
I always recommend a “bottom-up” weight distribution strategy. The heavier, larger-diameter fittings should sit in the largest bins at the base of your rack to keep the center of gravity low. This prevents the entire unit from becoming top-heavy and dangerous.
Material Selection and Load Considerations
Choosing the right gauge of steel is a balance between durability and weight. For bins intended to hold high volumes of steel or iron components, 14-gauge or 16-gauge cold-rolled steel provides excellent rigidity. If you are building the outer frame to hold these bins, 1-inch by 1-inch angle iron with a 1/8-inch thickness is a standard, reliable choice.
- 14-Gauge Steel: 0.0747 inches thick. Best for bins holding 2-inch or larger iron fittings.
- 16-Gauge Steel: 0.0598 inches thick. Ideal for general sorting of 1/2-inch to 1-1/2-inch parts.
- 18-Gauge Steel: 0.0478 inches thick. Suitable for small brass or plastic components, but may dent under heavy iron.
Calculating Cutting Allowances and Kerf in Sheet Metal
Kerf is the width of material removed by a cutting tool, such as a saw blade or plasma arc. Ignoring this 1/16th or 1/8th of an inch results in bins that are too small to fit their intended frames, causing assembly headaches and wasted stock. Accurate layouts require you to “save the line” by cutting on the waste side of your mark.
In my shop, I use a variety of tools, and each has a different kerf. If I am using an abrasive chop saw, I have to account for nearly 1/8 of an inch of lost material. If I am using a cold saw or a high-quality bandsaw, that drops to about 0.040 inches. When you are cutting ten dividers for a sorting unit, a 1/16-inch error on each cut adds up to more than half an inch of missing material by the end of the run.
To stay accurate, I create a master cut list that includes “actual” dimensions and “cut-to” dimensions. This ensures that the final outer dimensions of the bin remain consistent, allowing them to slide into a rack with a predictable 1/16-inch clearance on either side.
Metal Kerf Allowances by Cutter Type
| Cutting Tool | Typical Kerf Width | Dimensional Tolerance |
|---|---|---|
| Abrasive Chop Saw | 0.125″ (1/8″) | +/- 0.0625″ |
| Metal Bandsaw | 0.035″ – 0.045″ | +/- 0.020″ |
| Plasma Cutter | 0.040″ – 0.060″ | +/- 0.040″ |
| Oxy-Acetylene Torch | 0.100″ – 0.150″ | +/- 0.080″ |
| Cold Saw | 0.080″ – 0.100″ | +/- 0.010″ |
Building Workshop Jigs for Repeatable Bin Fabrication
A jig is a custom-made guide that holds workpieces in a fixed position during assembly. For building multiple storage units, a dedicated fixture ensures every bin has identical dimensions, which is critical for modular stacking and smooth integration into a rack system. Without a jig, you will find yourself fighting each individual corner.
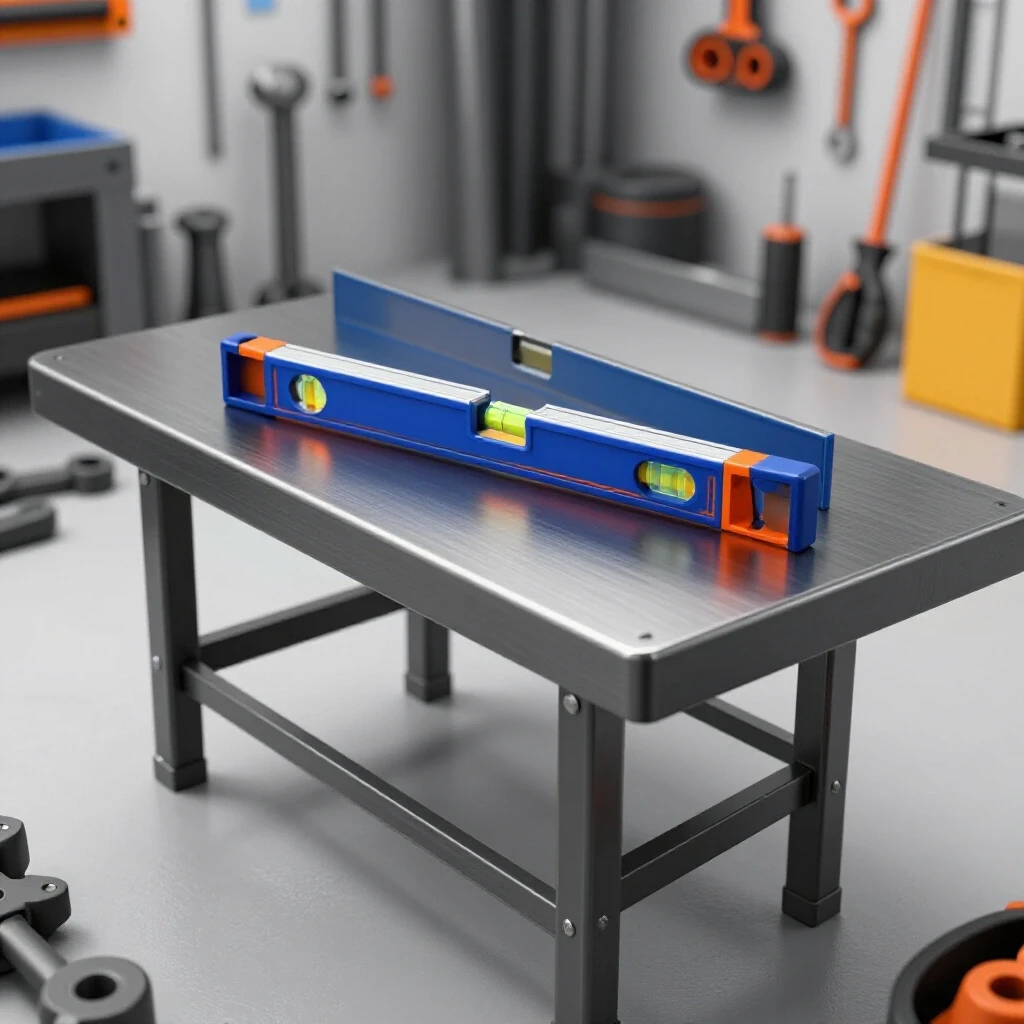
I usually build a simple “L-fixture” on my welding table using scrap 2×2 square tubing. I verify that the fixture is perfectly square using the 3-4-5 triangle method. Once the fixture is clamped down, I can drop my sheet metal pieces into the corner, clamp them tight, and know that every bin will start off square.
Interestingly, the time you spend building a fixture is usually recovered within the first three bins you assemble. It eliminates the need to measure and check for square on every single joint. For a sorting system with twenty or thirty compartments, a fixture is not a luxury; it is a necessity for maintaining sanity.
Steps for Creating a Simple Layout Fixture
- Clean a flat section of your welding table.
- Cut two pieces of heavy square tubing (at least 12 inches long).
- Clamp one piece down and use a precision square to align the second piece at 90 degrees.
- Tack weld the pieces to the table or a sacrificial base plate.
- Verify the squareness by measuring the diagonals (they must be identical).
Controlling Heat Warp with Strategic Weld Sequencing
Weld sequencing is the planned order of laying beads to balance the internal stresses caused by heating and cooling metal. By alternating sides and using short tacks, you can counteract the natural tendency of steel to pull toward the weld, keeping the bins square. Metal always pulls toward the heat.
When you weld a joint, the molten steel expands. As it cools, it contracts and exerts a tremendous amount of force on the surrounding metal. This is known as “angular distortion.” If you weld the entire inside corner of a bin in one pass, the sides will pull inward, resulting in a bin that looks like a funnel rather than a box.
To prevent this, I use a technique called “back-stepping” or simply alternating my weld locations. I will place a small tack at each corner, then move to the opposite side of the bin for the next tack. Once the structure is secured, I lay short one-inch beads, skipping around the project to keep the overall heat input low and evenly distributed.
Weld Sequencing and Distortion Control
| Technique | How it Works | Result |
|---|---|---|
| Tacking | Small 1/4″ welds at corners. | Holds parts in place for final checks. |
| Back-Stepping | Welding in short sections toward the start. | Reduces longitudinal shrinkage. |
| Alternating Sides | Welding opposite corners in sequence. | Balances the “pull” of the metal. |
| Heat Sinks | Placing heavy copper or steel blocks near the weld. | Draws heat away from the thin sheet metal. |
Assembling the Storage Rack and Bin Dividers
The final assembly involves joining the individual bins into a cohesive unit or building a frame to hold them. This step focuses on structural integrity, ensuring the rack can support hundreds of pounds of metal fittings without sagging or twisting over time. This is where your layout and sequencing either pay off or reveal their flaws.
When I assemble the main rack, I focus on the “ladder” frames first. These are the vertical uprights and the horizontal supports that the bins sit on. I use 1/8-inch thick angle iron for these because it provides a “lip” that prevents the bins from sliding off. I always leave a 1/8-inch gap between the bin width and the rack width to account for weld beads or slight variations in the metal.
If you are building fixed dividers within a larger tray, I recommend welding the dividers to the bottom plate first. This creates a “ribbed” structure that is incredibly strong. Once the dividers are in, you can wrap the outer walls around them. This sequence prevents the outer walls from bowing inward when you attach the internal plates.
Essential Tools for Assembly and Alignment
- Magnetic Squares: Excellent for holding sheet metal at 90 degrees before tacking.
- C-Clamps and Locking Pliers: Necessary for pulling warped stock back into alignment against your jig.
- Digital Protractor: Used to verify the angle of slanted bin fronts for easier access to fittings.
- Speed Square: A quick reference for checking squareness after every few tacks.
Managing Material Behavior During Construction
One of the biggest obstacles in custom fabrication is the “memory” of the metal. Steel plate often has internal stresses from the rolling process at the mill. When you cut into a sheet of steel, those stresses are released, and the metal may bow or “oil-can.” You must be prepared to mechanically force the metal back into position during the layout phase.
I often use a heavy hammer and a flat anvil block to “dress” my edges after cutting. If a sheet metal side has a slight curve, I will clamp the center first and work my way out to the corners. This forces the bow out of the material before I set my tacks.
Another tip is to avoid over-welding. For storage bins, you rarely need a continuous airtight bead. A series of one-inch “stitch” welds every three inches is often more than enough strength and significantly reduces the amount of heat distortion you have to manage.
Finishing and Labeling for Long-Term Utility
Once the fabrication is complete, the focus shifts to safety and organization. Raw metal edges are razor-sharp, especially after being cut with a shear or plasma cutter. I spend a significant amount of time with a flap disc on an angle grinder to radius all corners and smooth out any burrs.
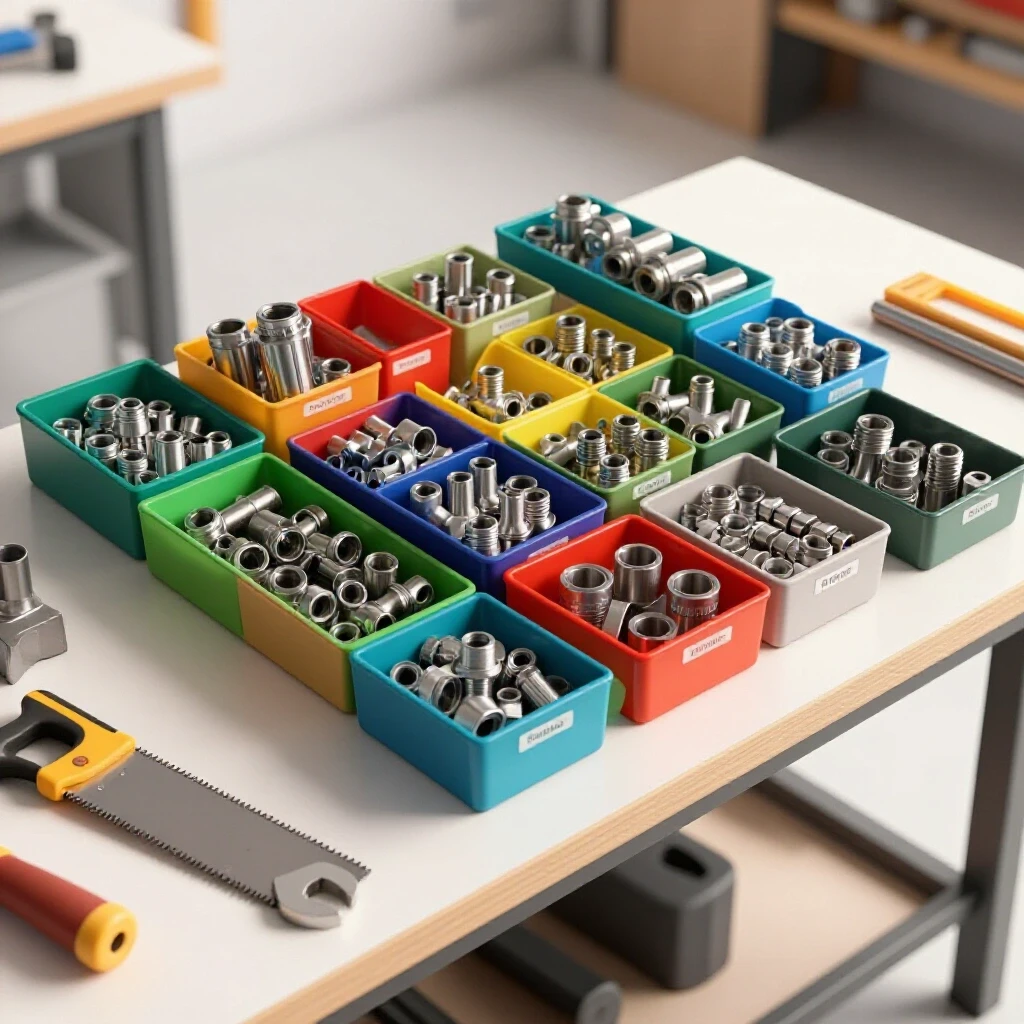
Sorting fittings by diameter and thread type is the final goal. I prefer to weld small 22-gauge steel tabs to the front of each bin. These tabs can hold magnetic labels or be painted with high-contrast markers. Since fitting storage often gets oily, a permanent metal tab is much more durable than a stick-on paper label.
I also recommend a “drain hole” in the bottom of each bin. If you ever have to wash oily fittings or if the shop gets humid, a small 1/4-inch hole in the corner prevents moisture from pooling and rusting your inventory.
Final Checklist for Quality Control
- Check for Square: Measure the top and bottom diagonals of each bin.
- Deburr Edges: Run a file or grinder over every exposed edge.
- Verify Fit: Ensure each bin slides freely into the rack with its intended clearance.
- Weight Test: Place a heavy load (e.g., 20 lbs) in a single bin to check for floor or shelf deflection.
- Labeling: Mark bins by material (Black Iron, Galvanized, Brass) and size (1/2″, 3/4″, 1″).
Lessons from the Field: Avoiding Common Pitfalls
In my years of building shop fixtures, I have learned that the most common mistake is rushing the tack-welding stage. A tack weld is not just a temporary holder; it is a structural anchor. If your tacks are too small, they will crack as the metal cools and pulls. If they are too large, they are difficult to grind out if you realize a part is misaligned.
I aim for a tack that is about twice the thickness of the material. For 16-gauge steel, a 1/8-inch diameter tack is usually sufficient. I also learned to never trust my eyes. Even if a corner looks square, I always put the square on it. Metal has a way of tricking your perspective, especially when you are looking through a welding helmet.
Lastly, keep a log of your material costs. Steel prices fluctuate, and you might find that building a massive 50-bin unit is more expensive than you initially thought. By tracking your off-cuts and maximizing your sheet layout, you can keep the project within a reasonable budget while still achieving a professional-grade result.
Frequently Asked Questions
How do I prevent the bottom of the bin from bowing when I weld the sides? This is caused by the weld pulling the side plates inward, which forces the bottom plate to arch. To fix this, tack the center of each side first, then the corners. You can also clamp the bottom plate down to a heavy welding table to act as a heat sink and physical restraint.
What is the best way to cut multiple identical dividers quickly? Create a “stop block” on your bandsaw or chop saw. Clamp a piece of scrap metal to your saw table at the desired length. This allows you to slide your stock up to the block and cut repeatedly without re-measuring every piece.
Should I paint the bins or leave them raw steel? Raw steel will eventually rust, especially in humid garages. A quick coat of industrial primer and a “hammered” finish spray paint works well. It hides small weld imperfections and provides a durable surface that resists scratches from metal fittings.
How much clearance should I leave between the bin and the rack? I recommend a minimum of 1/8 inch (3mm) of total clearance (1/16 inch on each side). This accounts for the thickness of your paint, slight weld protrusions, and any minor heat warping that might have occurred during the build.
Can I use a MIG welder for 16-gauge steel bins? Yes, MIG is excellent for this. Use a 0.023 or 0.030-inch wire and a shielding gas like C25 (75% Argon/25% CO2). This keeps the heat localized and reduces the risk of burning through the thin metal.
How do I handle sharp corners on the bin fronts? Use a flap disc to “radius” or round off the corners. A 1/4-inch radius is usually enough to prevent the bin from catching on your clothes or scratching your hands when you reach for a fitting.
Is it better to weld the bins or use rivets? Welding is superior for heavy fittings because it creates a monolithic structure that won’t vibrate loose over time. Rivets can shear if the bin is dropped or overloaded with heavy cast iron parts.
What is the best way to label the bins for oily pipe parts? Weld a small steel “card holder” or a flat tab to the front. You can then use a paint pen or stamped metal tags. Avoid adhesive labels, as the oil from the fittings will cause them to peel off within weeks.
How do I stop the rack from tipping over? Always bolt the rack to the wall studs or the floor. A rack full of iron pipe fittings can weigh several hundred pounds, making it a serious tipping hazard if it is free-standing.
What should I do if a bin is slightly twisted after welding? You can often “cold-straighten” the bin by placing it in a large bench vise and gently applying pressure to the high corners. If the twist is severe, you may need to cut the welds with a thin zip-disc and re-tack it.
Why are my welds on the 16-gauge steel blowing through? Your voltage is likely too high or your wire speed is too slow. Try increasing your travel speed and using “stitch” welds (short bursts) rather than a continuous bead to keep the base metal from overheating.
Can I use expanded metal for the bin bottoms? Yes, expanded metal is great for allowing dust and debris to fall through. However, ensure the “diamonds” in the mesh are smaller than your smallest fittings so parts don’t get stuck or fall out.
(This article was written by one of our staff writers, Robert Kline. Visit our Meet the Team page to learn more about the author and their expertise.)