How to Weld Custom Tool Wall Pegboard Hooks for Shops (Tips)
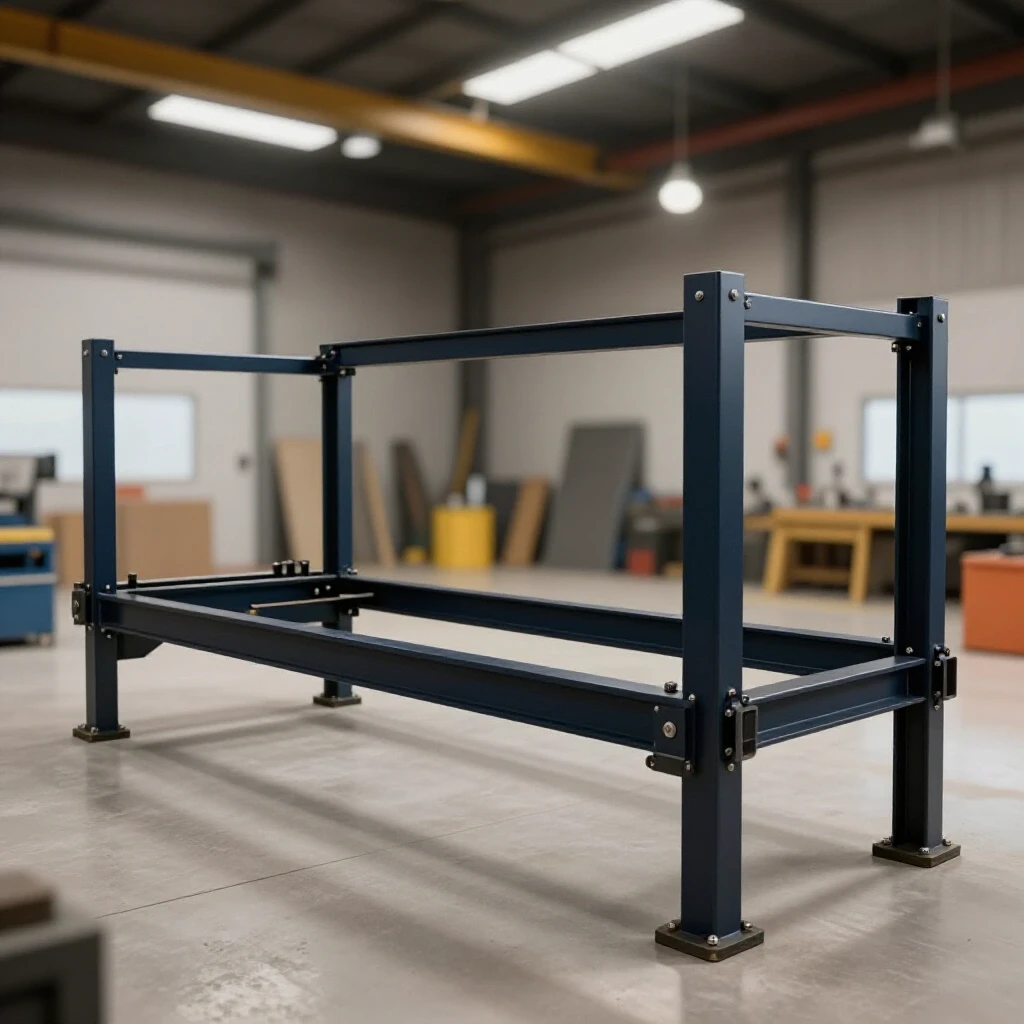
I remember the first time I built a heavy-duty workbench. I had every measurement down to the sixteenth of an inch. I spent hours cutting the square tubing and cleaning the mill scale. But as soon as I started laying down long beads on the corner joints, the heat took over. By the time I was done, the frame had pulled out of square by nearly half an inch. It was a humbling lesson in how metal behaves under the torch.
Fabricating your own shop organization hardware, like heavy-duty hooks for a steel pegboard, presents a similar challenge on a smaller scale. These small components get hot fast. Without a solid plan for layout and heat control, you end up with a pile of crooked hooks that don’t sit flush against the wall. In my 13 years as a prototype technician, I’ve learned that the secret to a professional result isn’t a fancier welder; it’s the preparation, the fixtures, and the sequence of the welds.
Designing Custom Tool Support Hardware for 1/4-Inch Pegboards
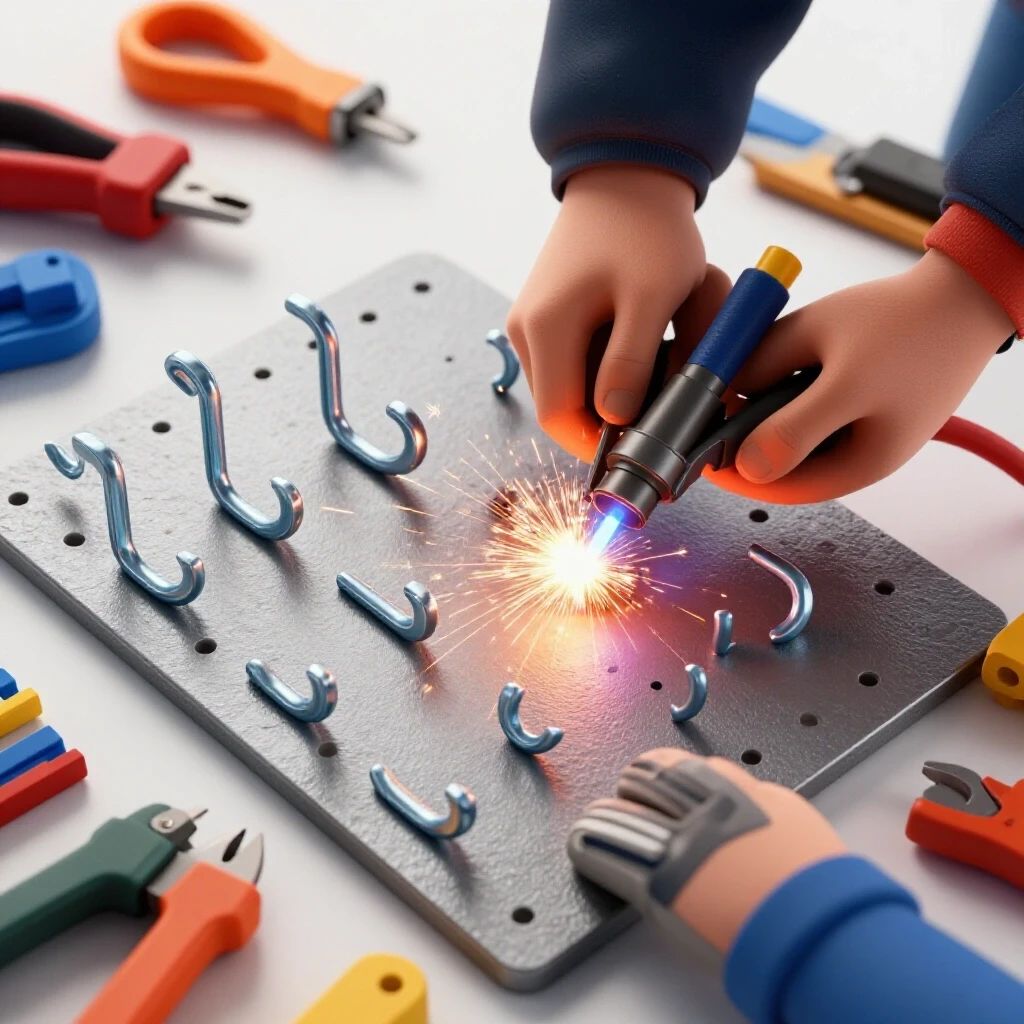
Custom tool supports are welded metal fixtures designed to fit into standard 1/4-inch hole patterns on shop pegboards. These projects allow you to create specific lengths, angles, and weight capacities that commercial hooks cannot match. By using mild steel rod or flat stock, you can tailor your shop storage to fit heavy power tools or specific hand tools.
Designing these components requires a solid understanding of the hole spacing, which is typically one inch on center. If you are building a hook that spans multiple holes, your layout must be exact. I usually stick to 3/16-inch or 1/4-inch mild steel round bar for the main hooks. The 3/16-inch rod fits easily into 1/4-inch holes with a bit of “wiggle room,” while 1/4-inch rod provides a much tighter fit but requires very precise alignment to seat properly.
- Material Selection: Use cold-rolled steel if you want cleaner welds and less prep work. Hot-rolled steel is cheaper but requires grinding off the mill scale at every weld point.
- Load Considerations: For heavy items like framing nailers or sledgehammers, a double-prong design is necessary to distribute the weight across multiple pegboard holes.
- Angle of Attack: I recommend a slight upward tilt of 5 to 10 degrees on the hook arm. This prevents tools from sliding off due to vibration or accidental bumps.
Calculating Material Cuts and Kerf Allowances
A cutting list is a detailed inventory of every piece of metal needed for a project, including its length and shape. Kerf refers to the width of the material removed by the cutting tool, such as a saw blade or a grinding disc. Accounting for kerf ensures that your final assembly matches your intended dimensions without being short.
When I’m planning a batch of twenty hooks, I can’t just guess the lengths. If I’m using a chop saw with a 1/8-inch thick abrasive blade, every cut “eats” 1/8 inch of my rod. If I make ten cuts, I’ve lost over an inch of material. I always mark my lines and then cut on the “waste side” of the line. This keeps the actual part at the exact length I need for the jig.
| Cutter Type | Typical Kerf Width | Accuracy Level | Best Use Case |
|---|---|---|---|
| Portaband (Bandsaw) | 0.025″ – 0.035″ | High | Precision rod lengths |
| Angle Grinder (Thin Disc) | 0.040″ – 0.060″ | Medium | Quick rough cuts |
| Abrasive Chop Saw | 0.125″ | Low | Bulk material breakdown |
| Cold Saw | 0.080″ | Very High | Square, burr-free ends |
Building a Repeatable Fabrication Jig for Small Parts
A fabrication jig is a custom-built fixture that holds metal components in a fixed position during the welding process. Jigs are essential for maintaining consistency across multiple parts and preventing the heat of the weld from pulling the metal out of alignment. For small hooks, a jig ensures every piece is identical.
I don’t like fighting with magnets or hand-holding small pieces while trying to tack them. Instead, I take a thick piece of scrap steel plate (at least 1/4-inch thick) and weld “stops” or “pins” onto it. These pins act as a guide. I can drop my pre-cut rods into the jig, and they are held perfectly square. This is especially helpful when you are welding the “mounting pins” to the “hook arm.”
- Base Plate: Start with a flat, heavy steel plate that won’t warp easily.
- Layout: Mark your pegboard hole spacing (1 inch on center) directly onto the plate with a scribe.
- Stops: Weld small blocks or bolts onto the plate to hold your rods at the correct angle.
- Heat Sink: The heavy plate acts as a heat sink, drawing heat away from the small rods and reducing the risk of melting the tips.
Managing Heat and Weld Sequencing to Prevent Warping
Weld sequencing is the specific order in which you apply welds to a joint to balance out the forces of thermal expansion and contraction. As a weld cools, it shrinks and pulls the metal toward the bead. Controlling this “pull” is the difference between a straight hook and one that points sideways.
On small parts like these, the pull is aggressive. If you weld only one side of a joint, the hook will lean toward that weld. I use a “tack and flip” method. I place a small tack weld on one side, then immediately flip the part and tack the opposite side. This balances the tension. For the final bead, I keep the passes short. You don’t need a massive fillet weld for a tool hook; a clean, deep-penetrating bead on two sides is usually plenty.
- Tack Size: Keep tacks small—about the size of a matchhead. Large tacks can interfere with your final bead and add unnecessary heat.
- Cooling Time: Allow the parts to cool in the jig for a minute before removing them. If you pull them out while they are glowing red, the internal stresses can still cause them to warp.
- Heat Sinks: If you find the 3/16-inch rod is melting too fast, clamp a copper block behind the joint. Copper won’t stick to the steel weld but will soak up the excess heat.
Step-by-Step Construction Log: The Heavy-Duty Hammer Rack
This section details the actual build process for a multi-tool hammer rack designed for a steel tool wall. This specific project uses a 1/4-inch base plate and 5/16-inch round bar for the supports. The goal is to create a rack that can hold five hammers without sagging or bending the pegboard.
1. Preparation and Cutting
I started by cutting a 12-inch strip of 1-inch wide by 1/8-inch thick flat bar. This serves as the “backbone” that sits against the pegboard. I then cut ten pieces of 5/16-inch round bar, each 4 inches long. Using my bandsaw, I ensured all ends were square. I allowed for a 0.035-inch kerf, so my initial 48-inch rod yielded exactly 11 pieces with a small amount of scrap.
2. Layout and Drilling
I marked the flat bar at 1-inch intervals. To make the mounting pins that go into the pegboard, I used 1/4-inch rod cut into 1-inch lengths. I drilled 1/4-inch holes through the flat bar at the 2-inch and 10-inch marks. This allows the mounting pins to pass through the bar and weld on the front side for maximum strength.
3. The Welding Sequence
I placed the flat bar in my jig. First, I inserted the mounting pins. I tacked them from the back, checked for a 90-degree angle using a small square, and then finished the welds. Next, I laid out the hammer support rods. I welded these to the front of the flat bar using a staggered sequence. I welded the two outermost rods first, then the center rod, and then filled in the gaps. This “outside-in” approach prevented the flat bar from bowing in the middle.
4. Quality Check and Adjustments
After the piece cooled, I checked the alignment. One of the support rods had pulled slightly to the left. I used a piece of pipe over the rod to provide leverage and gently bent it back into alignment. Because I used mild steel, it had enough ductility to allow for this minor correction without cracking the weld.
| Feature | Specification | Result |
|---|---|---|
| Total Length | 12.0 Inches | +/- 1/32″ |
| Rod Spacing | 2.0 Inches | Consistent |
| Mounting Pin Angle | 90 Degrees | Checked with square |
| Weld Type | MIG (75/25 Gas) | Clean, minimal splatter |
| Material | Mild Steel | Sanded to 120 grit |
Advanced Fixturing for High-Volume Hook Fabrication
Advanced fixturing involves using specialized tools like modular welding tables or 3D-printed templates to speed up the assembly of multiple identical parts. These methods reduce the time spent on layout and ensure that every part in a batch is interchangeable.
If I’m making fifty hooks for a whole wall, I don’t want to measure each one. I’ve started using 3D-printed “alignment blocks” to hold the rods while I tack them. While the plastic would melt during a full weld, it works great for holding parts during the initial tacking phase. Once tacked, I move the part to a steel table for the final pass. For those without a 3D printer, a simple wooden block with holes drilled at the correct angles can serve the same purpose for temporary alignment.
- Modular Tables: If you have a welding table with 16mm or 5/8-inch holes, you can use “stops” and “clamps” to build a temporary jig in minutes.
- Angle Templates: Cut a 10-degree wedge out of a scrap piece of 2×4 wood. Use this to prop up your hook arms at a consistent angle before tacking.
- Batch Processing: Cut all your material at once, grind all your ends at once, and then weld in one session. This keeps your “rhythm” consistent and leads to better welds.
Correcting Common Fabrication Errors
Fabrication errors like “arc blow,” “undercut,” or “angular distortion” are common when working on small, intricate projects. Understanding how to identify and fix these issues is a key skill for any builder working in a home shop.
One of the biggest issues I see is “undercut,” where the weld eats into the thin rod, making it weak at the joint. This usually happens because the voltage is too high or the wire speed is too slow. If you see a “groove” at the edge of your weld, stop and turn your heat down. If a part is already welded and it’s crooked, don’t grind the weld off immediately. Often, a quick “heat shrink” (heating the opposite side of the warp with a torch) can pull the part back into place.
- Crooked Pins: If the mounting pins don’t line up with the pegboard holes, use a hammer to gently tap them into position. 1/4-inch rod is forgiving.
- Brittle Welds: If you are using flux-core wire, make sure you chip all the slag off between passes. Trapped slag creates weak spots.
- Spatter on Threads: If you are welding near a threaded bolt, wrap the threads in aluminum foil or heavy tape to prevent weld spatter from ruining the threads.
Final Finishing and Rust Prevention
The final stage of any fabrication project is cleaning and coating. Because these hooks will be in a shop environment, they are prone to rust from humidity or oily fingerprints. Proper surface preparation ensures your paint or clear coat stays put.
I use a flap disc (80 grit) on an angle grinder to smooth out any rough weld tacks. Then, I hit the whole part with a wire wheel to remove any remaining mill scale or heat tint. For a professional look, I prefer a “dry film” lubricant or a simple coat of engine enamel paint. Avoid thick rubber coatings if you want the tools to slide on and off easily; a smooth, hard finish is usually better for shop organization.
- Degreasing: Always wipe the metal down with acetone or brake cleaner before painting. This removes the oils used during the manufacturing of the steel.
- Priming: Use a self-etching primer on bare steel. It “bites” into the metal and provides a much better bond than standard primer.
- Color Coding: Consider painting your hooks different colors based on the tool type (e.g., red for pneumatic tools, blue for hand tools). This makes it easier to keep the shop organized.
FAQ
What is the best rod size for a standard 1/4-inch pegboard? I recommend using 3/16-inch round bar for most hooks. It fits into 1/4-inch holes easily, even if your welding alignment is slightly off. If you need maximum strength, 1/4-inch rod works, but your spacing must be exactly one inch on center, or it won’t fit the board.
Can I weld these hooks using a 110V flux-core welder? Yes, a 110V welder is perfect for this. Since the materials are generally 1/8-inch to 1/4-inch thick, you don’t need a high-amperage machine. Just be sure to clean the slag thoroughly and watch your heat to avoid burning through the thinner rods.
How do I prevent the mounting pins from falling out of the pegboard? The “standard” pegboard hook has a small “return” or “kick” at the top of the pin. You can replicate this by bending the top 1/2-inch of your mounting pin at a 90-degree angle before welding it to the base plate. This “hook” locks behind the pegboard.
Why does my metal pull to one side after welding? This is caused by thermal contraction. As the molten weld pool cools, it shrinks and pulls the two pieces of metal together. To combat this, use strong tacks on both sides of the joint and use a jig to physically restrain the parts during the cooling process.
What is the “kerf” and why does it matter for small hooks? Kerf is the thickness of the cut made by your saw. If you need a 4-inch rod and you cut on your line with a 1/8-inch blade, your rod will end up being 3-7/8 inches long. Over many parts, these small errors add up and can ruin your layout.
Do I need to remove the “mill scale” before welding? Yes. Mill scale is the dark grey coating on hot-rolled steel. It is an insulator and will cause a “cold” or “stuttering” arc. Use a flap disc or wire wheel to grind the areas you plan to weld until the steel is shiny.
How can I make many hooks that are all identical? The only way to achieve true consistency is to build a jig. By welding “stops” onto a steel plate, you create a template. You simply drop your pre-cut pieces into the stops, tack them, and move on to the next one.
Is MIG or TIG better for this kind of small fabrication? MIG is faster and easier for bulk projects. However, TIG offers much better heat control and produces “cleaner” welds that require less grinding. If you are a beginner, MIG with a shielding gas (75% Argon / 25% CO2) is the best balance of ease and quality.
How do I calculate the bend allowance for the hooks? When you bend a rod, the outside stretches and the inside compresses. For a 90-degree bend in 1/4-inch rod, I usually add about 1/8-inch to my total length to account for the material used in the “radius” of the bend.
What should I do if the pegboard holes are slightly too small? If you used 1/4-inch rod and it’s a tight fit, you can slightly taper the ends of the pins using a bench grinder. Creating a “pointed” or “beveled” tip makes it much easier to guide the pins into the pegboard holes.
Can I use stainless steel for my tool hooks? You can, but remember that stainless steel warps much more than mild steel. It also requires different welding wire and gas. For most shop environments, painted mild steel is more cost-effective and easier to work with.
How long should the mounting pins be? I find that 1 inch is the “sweet spot.” It is long enough to provide a secure hold behind the pegboard but short enough that it doesn’t hit the wall behind the board (assuming you have 1×2 furring strips behind your pegboard).
(This article was written by one of our staff writers, Robert Kline. Visit our Meet the Team page to learn more about the author and their expertise.)