How to Design a Steel Frame for High Heat Structures (Tips)
I remember the first time I built a heavy-duty roasting pit frame. I had spent three days meticulously measuring, cutting, and squaring the tube steel. It looked perfect on the bench. But as soon as I finished the final weld beads and the metal began to cool, I heard a sickening “ping.” I grabbed my framing square and realized the entire rectangular base had pulled into a trapezoid, off by nearly half an inch. The heat from my welder had done what a sledgehammer couldn’t: it had physically moved the steel.
In my 13 years as a prototype technician and DIY fabricator, I have learned that steel is a living thing when heat is involved. Whether you are building a custom forge stand, a high-heat smoker, or a kiln frame, you aren’t just fighting the weight of the material; you are fighting physics. When steel surpasses 500°C (932°F), its internal structure changes, and its tendency to expand and contract becomes your biggest obstacle. If you don’t account for these thermal forces during the design and assembly phases, your project will warp, crack, or bind.
This guide focuses on the practical steps I use in my shop to maintain dimensional accuracy and structural integrity when building frames destined for high-temperature environments. We will cover material selection, the math of thermal expansion, and the specific weld sequences required to keep your project straight.
Selecting Steel Alloys for Thermal Stability
Choosing the right material is the foundation of any project that will face repeated heating and cooling cycles. For most workshop-scale projects, we rely on carbon steel, but the thickness and shape of that steel dictate how it handles the stress.
Mild steel, such as A36, is the standard for backyard fabrication because it is affordable and easy to weld. However, it has a specific coefficient of linear thermal expansion—roughly 12 to 15 × 10⁻⁶ per degree Celsius. This means that for every degree the temperature rises, the steel grows. In a high-heat frame, a four-foot section of tubing can expand by more than an eighth of an inch when it reaches operating temperature.
- Square Tubing: Offers great torsional rigidity but can trap hot air if not vented, leading to internal pressure.
- Angle Iron: Excellent for high-heat frames because it allows for more surface area exposure and less internal stress than closed tubing.
- Plate Steel: Useful for gussets and mounting points, but prone to “oil-canning” (bowing in the center) if it is too thin for the heat load.
I generally recommend a minimum wall thickness of 1/8 inch (11 gauge) for any frame exposed to direct heat. Thinner materials lack the cross-sectional mass to resist the warping forces generated during the welding process and subsequent heat cycles.
Calculating Thermal Expansion in Metal Layouts
Before you strike an arc, you must understand how much your frame will move once it’s in use. If you build a frame to a “perfect” fit while it is cold, it will likely buckle or seize once it hits 500°C.
Thermal expansion is the tendency of matter to change its shape, area, and volume in response to a change in temperature. In steel fabrication, we primarily focus on linear expansion—how much a beam or tube gets longer. To calculate this, I use the formula: Change in Length = (Original Length) × (Coefficient of Expansion) × (Change in Temperature).
| Temperature Increase (°C) | Expansion per Foot (Inches) | Total Expansion for 4ft Section |
|---|---|---|
| 100°C | 0.014″ | 0.056″ (approx. 1/16″) |
| 300°C | 0.043″ | 0.172″ (approx. 11/64″) |
| 500°C | 0.072″ | 0.288″ (approx. 9/32″) |
As the table shows, at 500°C, a four-foot frame rail wants to grow by nearly 5/16 of an inch. If that rail is trapped between two rigid uprights with no room to move, the force of that expansion will bow the steel outward. I always design “floating” mounts or oversized bolt holes for any components that will experience the highest heat, allowing the metal to grow and shrink without stressing the primary frame welds.
Precision Cutting and Kerf Allowances
Accuracy starts at the saw. If your cuts are off by even a fraction of a degree, the gap in your joint will vary. When you fill a wide gap with weld metal, that weld shrinks as it cools, pulling the joint toward the side with the most filler. This is a primary cause of angular distortion.
The “kerf” is the width of the material removed by the cutting tool. When I plan my cut list, I don’t just mark the total length; I account for the thickness of the blade. A standard chop saw blade might have a 1/8-inch kerf, while a cold saw or bandsaw might only be 0.040 inches.
- Abrasive Chop Saw: High heat, wide kerf (1/8″), often leaves a burr that requires grinding.
- Bandsaw: Cool cutting, narrow kerf (0.035″-0.045″), very accurate for 90 and 45-degree cuts.
- Cold Saw: The gold standard for accuracy; produces minimal heat and perfectly square faces.
I aim for a dimensional tolerance of +/- 1/32 of an inch on all cut lengths. By ensuring every piece is identical, I spend less time fighting the fit-up and more time focused on the weld sequence. If I have a 1/16-inch gap on one side of a joint and a tight fit on the other, the frame will pull toward the tight fit every single time.
Building Workshop Jigs and Layout Fixtures
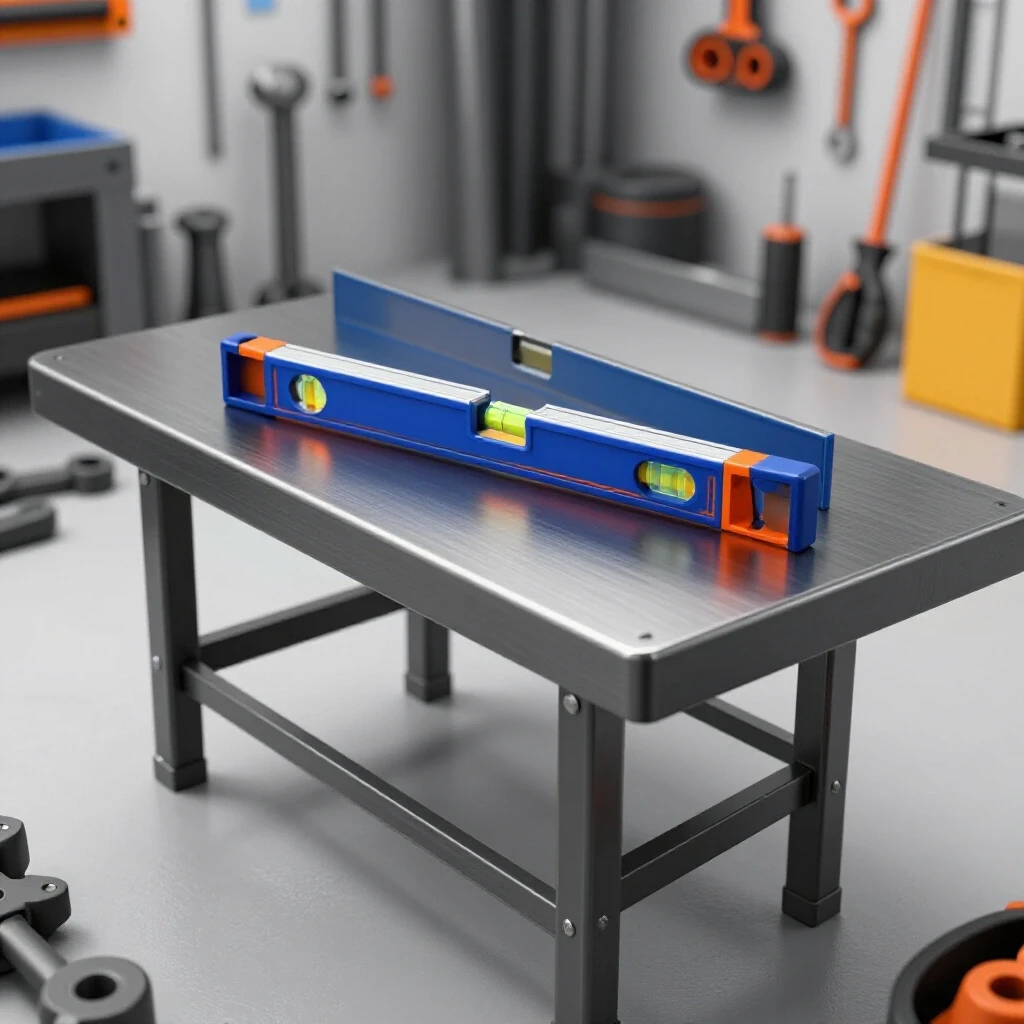
A jig is a custom-made tool used to hold parts in the exact position required for assembly. In my shop, I never weld a frame “in the air.” I use a heavy steel table as a reference plane. If you don’t have a dedicated welding table, you can build a temporary fixture using straight channels or heavy angle iron clamped to a flat surface.
Fixturing is the process of securing your workpieces so they cannot move during the tacking and welding phases. For high-heat structures, your jig must be robust enough to resist the initial pull of the cooling welds. I use heavy-duty F-clamps and Bessey-style clamps every 12 to 18 inches along a long span to keep the material flush against the table.
- Clean the layout surface: Any slag or debris will throw off your vertical alignment.
- Square the primary rails: Use a large framing square or the 3-4-5 triangle method to ensure the base is true.
- Tack the corners: Do not fully weld yet. Use small, strong tacks on the “outside” of the corners first.
- Check for “wind”: Wind (pronounced like “find”) is a twist in the frame. I use winding sticks or a digital level to ensure both ends of the frame are in the same plane.
By using a fixture, you are forcing the steel to stay where you want it while the welds are at their most volatile. However, remember that as soon as you release the clamps, the internal stresses will try to move the metal. This is why the next step—sequencing—is so critical.
Strategic Weld Sequencing and Distortion Control
Weld sequencing is the specific order in which you apply welds to a structure to balance the heat and the resulting shrinkage forces. Every weld you make acts like a tiny, powerful winch. As the molten puddle solidifies and cools, it shrinks in volume, pulling the surrounding metal toward the center of the weld.
If you weld all the joints on the top of a frame first, the entire structure will “smile,” or bow upward at the ends. To combat this, I use a “balanced” approach. If I weld two inches on the front-left corner, my next weld will be two inches on the back-right corner.
- Tack Welding: I use tacks that are roughly 1/4 inch long. For a standard 2-inch square tube, I place one tack in the center of each of the four sides.
- The Back-Step Method: Instead of one long continuous bead, I weld in short segments (2-3 inches) moving in the opposite direction of the overall travel. This spreads the heat more evenly.
- Opposing Beads: Always weld the side opposite your last bead to “pull” the metal back into alignment.
| Weld Type | Heat Input | Potential Distortion | Mitigation Strategy |
|---|---|---|---|
| Continuous Bead | High | Severe | Use intermittent “stitch” welds instead. |
| Large Fillet | High | Angular Pull | Use multiple small passes rather than one large one. |
| Tack Welds | Low | Minimal | Increase tack frequency to 1 every 3-4 inches. |
I also pay close attention to “angular distortion.” This happens when a fillet weld pulls a vertical member toward the horizontal member. To prevent this, I sometimes “preset” the joint by propping the vertical piece a few degrees in the opposite direction of the weld. When the weld cools, it pulls the piece into a perfect 90-degree angle.
Managing Heat in High-Temperature Frames
When designing frames that will regularly exceed 500°C, you have to think about how the heat travels through the structure. Concentrated heat in one corner of a frame while the rest remains cold is a recipe for cracking. This is known as a thermal gradient.
To help the frame survive these cycles, I incorporate reinforcement patterns that allow for expansion. Instead of welding a solid plate across a frame, I might use expanded metal or a series of smaller slats. This reduces the total “pull” on the main frame rails.
- Gusseting: I use triangular gussets in the corners, but I don’t weld them solid. I leave the very tip of the corner unwelded (a “snipe”) to allow for stress relief.
- Vent Holes: If using closed tubing, I drill 1/8-inch weep holes. This prevents air pressure build-up and allows any internal moisture to escape, preventing internal corrosion.
- Heat Sinks: During the build, I often clamp large blocks of copper or thick aluminum near the weld zone. These materials pull heat away from the steel, narrowing the “Heat Affected Zone” (HAZ) and reducing warping.
A common mistake is over-welding. You don’t need a continuous bead around every single joint for structural integrity in a utility frame. Often, 2-inch stitch welds with 2-inch gaps are stronger because they leave the material more flexible and less prone to stress-induced cracking during thermal cycles.
Post-Weld Corrections and Straightening
Even with the best sequencing, some movement is inevitable. Once the frame is fully welded and has cooled naturally (never quench a high-heat frame with water, as this can embrittle the steel), it’s time for the final alignment check.
If I find a bow in a long rail, I use “flame straightening.” This is a technique where you use an oxy-acetylene torch to heat a small, wedge-shaped area on the side you want to shrink. As the spot heats up, it expands but is constrained by the cold metal around it. When it cools, it shrinks more than it expanded, pulling the rail straight.
- Identify the high spot: Use a straightedge to find the peak of the bow.
- Heat a “V” shape: The wide part of the V should be on the side that needs to shrink.
- Watch the color: You only need a dull cherry red (about 600°C). Do not melt the steel.
- Cool slowly: Let the air do the work.
Mechanical straightening is also an option for smaller frames. Using a heavy-duty hydraulic press or even a well-placed bottle jack and some chains can pull a frame back into square. However, I prefer to get it right during the tacking and sequencing phase, as mechanical force can sometimes put unwanted stress on the weld throats.
Actionable Build Log: The High-Heat Utility Frame
When I start a project, I keep a log to track my progress and ensure I don’t skip critical alignment checks. Here is the framework I use for every high-heat steel structure.
- Phase 1: Design & Cut List
- Calculate linear expansion for max operating temp.
- Add 1/16″ clearance for all “floating” components.
- Verify saw squareness with a test cut.
- Phase 2: Fixturing
- Clamp main rails to the reference table.
- Verify diagonals are equal within 1/16″.
- Set up heat sinks (copper blocks) if using thin-wall tubing.
- Phase 3: Tacking & Checking
- Place 4 tacks per joint.
- Re-measure diagonals after tacking.
- Adjust tacks with a copper mallet if the frame moved.
- Phase 4: Final Welding
- Follow the balanced sequence (cross-pattern).
- Monitor inter-pass temperature; if the steel is too hot to touch 6 inches away, let it cool.
- Check squareness after every 4 joints.
This structured approach takes more time upfront, but it saves hours of frustration later. There is nothing worse than finishing a beautiful build only to realize your doors won’t close or your grates won’t fit because the frame twisted during the final pass.
Final Evaluation of the Finished Structure
Once the frame is complete and straightened, I perform a final “stress test.” For a high-heat frame, this involves a controlled “burn-in.” I heat the frame slowly to its expected operating temperature and watch how it moves.
Interestingly, you may see the frame bow slightly when hot and return to straight when cold. This is normal linear expansion. What you are looking for is “permanent set”—if the frame stays warped after it cools. If it does, it means your design didn’t allow enough room for expansion, and the metal was forced to plastically deform.
Building for high-heat environments is a masterclass in patience and precision. By respecting the physics of thermal expansion and using disciplined weld sequencing, you can build utility projects that stay straight and last for years, even under the most demanding conditions.
FAQ: Fabricating Steel Frames for High-Heat Environments
What is the best steel for a high-heat frame?
For most DIY projects, A36 mild steel is the best balance of cost and weldability. If the frame will be constantly above 600°C, you might consider stainless steel (like 304 or 316), but be aware that stainless expands roughly 50% more than mild steel, making distortion control even more difficult.
How do I prevent my frame from “walking” while I weld?
“Walking” or shifting occurs due to weld shrinkage. Always use a heavy fixture or clamp the project to a flat table. Additionally, ensure your tack welds are large enough to resist the pull of the final bead—usually about 1/8″ to 1/4″ in length.
Why did my frame warp even though I clamped it down?
Clamping prevents the metal from moving while it is clamped. However, the internal stresses are still there. When you release the clamps, those stresses equalize, causing the metal to move. The key is to use a balanced weld sequence to minimize those internal stresses in the first place.
Should I use MIG or TIG for high-heat structures?
MIG is faster and generally puts more heat into the part overall, which can lead to more warping. TIG allows for more precise heat control but is much slower. For frames 1/8″ and thicker, MIG is usually preferred for its penetration, provided you use a smart weld sequence to manage the heat.
How much gap should I leave for thermal expansion?
A good rule of thumb for a 4-foot frame is to leave at least 1/8″ to 3/16″ of “play” in any sliding or bolted connections. If the frame is a rigid welded structure, you don’t leave gaps in the joints, but you must design the internal components (like grates or liners) to be smaller than the frame.
Is it better to miter corners or use butt joints?
Mitered corners (45 degrees) look cleaner but can be harder to keep square because they have more weld surface area on the outside of the corner. Butt joints are easier to square and generally result in less angular distortion, making them a better choice for beginners or large utility frames.
How do I know if I’ve “over-welded” a joint?
If your weld bead is significantly wider than the thickness of the metal you are joining, you are over-welding. A 1/4″ fillet weld on 1/8″ tubing adds unnecessary heat and stress without adding meaningful strength to the structure.
Can I use water to cool the welds faster?
Never use water to cool your welds on a structural frame. Rapid cooling (quenching) can make the steel brittle and cause it to crack under the thermal stress of its first real use. Always let the project air-cool to room temperature.
What are “winding sticks” and how do they help?
Winding sticks are two perfectly straight, identical bars. You place one at each end of your frame and sight across the top of them. If the sticks aren’t parallel, your frame has a “twist” or “wind” that needs to be corrected before you finish welding.
Why do my welds crack after a few uses in high heat?
Cracking is usually caused by lack of penetration or by “hydrogen embrittlement.” In high-heat projects, it is often due to the frame being too rigid—it has no room to expand, so the stress concentrates on the welds until they fail. Ensure you are allowing for thermal expansion in your design.
(This article was written by one of our staff writers, Robert Kline. Visit our Meet the Team page to learn more about the author and their expertise.)