Build a Precision Aluminum Router Table Plate (DIY Plan)
I remember sitting at my scarred wooden desk late one Tuesday night, staring at a stack of invoices and a half-empty bank account. At the time, I had been running my small fabrication shop for three years. I was busy, my hands were always stained with cutting fluid, and my neighbors were tired of the sound of my mill. Yet, the numbers did not add up. I was making parts, but I was not making a living.
The problem was not my skill with a drill press or a fly cutter. The problem was my inability to see the hidden costs of doing business. I was treating my shop like a hobby that paid, rather than a business that produced. When I started fabricating custom mounting plates for local woodworkers, I thought I was winning. I would buy a piece of aluminum, spend an hour drilling and surfacing it, and charge fifty dollars. I felt rich until I realized that after paying for the metal, the electricity, the drill bits, and the shop rent, I was essentially paying the customer to let me work.
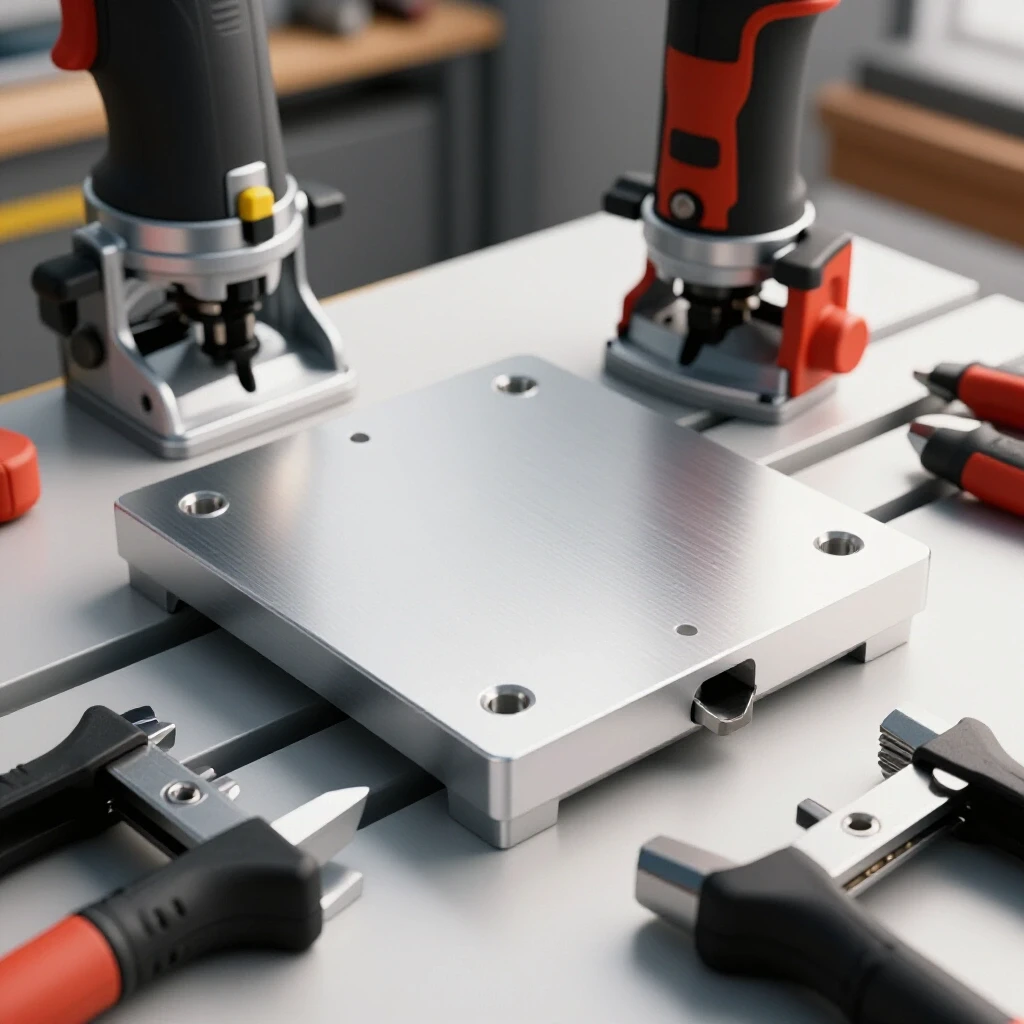
Transitioning from a hobbyist to a side-hustle metalworker requires a mental shift. You have to stop thinking about the price of a single piece of 6061 aluminum and start thinking about the cost of every second your lights are on. This guide is built on the sixteen years of trial and error I spent in the trenches of small-scale manufacturing. We are going to break down how to price your work, track your spending, and ensure that every custom aluminum insert you produce contributes to a healthy bottom line.
Establishing a Baseline Shop Rate for Precision Fabrication
A shop rate is the total dollar amount you must charge per hour to cover every single expense in your business while still earning a profit. It is the most critical number in your workshop because it dictates whether a project is a success or a financial drain.
Many new shop owners pick a number out of thin air, like $40 or $50 an hour. They usually base this on what they think is “fair” or what they earned at a previous job. However, a shop rate is not just your wage. It must cover your “burdened labor,” which includes taxes, insurance, and the non-billable time you spend cleaning the shop or talking to customers. In a small metalworking business, a realistic shop rate typically falls between $65 and $120 per hour, depending on your location and equipment overhead.
To calculate your true rate, you must list every monthly expense: rent, power, heat, software subscriptions, and even the rags you use to wipe down your machines. Divide this total by the number of hours you actually spend on billable work each month. If your overhead is $1,000 a month and you work 20 hours on the side, your overhead cost is $50 per hour before you even pay yourself a dime.
Understanding the Burdened Labor Rate
The burdened labor rate is the actual cost of your time, including the hidden taxes and benefits that an employer would normally pay. For a side-hustler, this also includes the “opportunity cost” of your time away from your family or your primary career.
When I started, I ignored my own time. I figured if I made $20 profit on a plate, that was $20 I didn’t have before. But when I factored in the 15.3% self-employment tax and the cost of health insurance, that $20 shrunk to $12. If the job took two hours of setup and cleanup, I was making $6 an hour. You must value your labor at a professional level if you want to run a professional shop.
The Role of Profit Margin in Sustainability
Profit is not your salary; profit is the money left over after all bills and wages are paid, which stays in the business for future growth. A healthy profit margin for small-batch fabrication is usually 10% to 20%.
This margin acts as a safety net. If you break a specialized tap while threading a mounting hole, the profit margin covers the replacement. Without this buffer, every mistake comes directly out of your grocery money. When pricing a job, I always add a 15% profit kicker on top of my calculated labor and material costs.
Calculating the Payback Period for Milling and Drilling Equipment
Machinery amortization is the process of spreading the cost of a large equipment purchase over its expected lifespan to understand its impact on your hourly costs. This helps you determine if a new tool will actually pay for itself or just take up space.
If you spend $2,000 on a manual mill to ensure your aluminum plates are flat within 0.005 inches, you cannot expect the first customer to pay for that machine. Instead, you estimate how many hours that mill will run over five years. If you plan to use it 500 hours a year, that is 2,500 hours total. Your “machine cost” is then $0.80 per hour ($2,000 divided by 2,500). Adding this to your shop rate ensures the machine pays for its own eventual replacement.
| Equipment Item | Purchase Price | Expected Life (Years) | Annual Use (Hours) | Hourly Amortization Cost |
|---|---|---|---|---|
| Manual Mill | $3,500 | 10 | 300 | $1.16 |
| Heavy Duty Drill Press | $800 | 8 | 200 | $0.50 |
| Precision Straightedge | $150 | 5 | 100 | $0.30 |
| Bench Grinder | $250 | 10 | 50 | $0.50 |
Determining ROI for Precision Tools
Return on Investment (ROI) tells you how long it takes for a tool to “earn” its keep through increased efficiency or new capabilities. If a new fly cutter allows you to surface an aluminum plate in 10 minutes instead of 30, you have saved 20 minutes of labor.
If your shop rate is $75/hour, those 20 minutes are worth $25. If the fly cutter cost $100, it pays for itself in just four jobs. This is the math that should drive every purchase in your shop. I never buy a tool because it looks cool; I buy it because the math proves it will shorten my payback period.
Factoring in Depreciation and Resale Value
Depreciation is the loss in value of your equipment over time due to wear and tear or obsolescence. While high-quality manual machines hold their value well, you should still account for their decline.
In the eyes of the IRS, most shop equipment depreciates over five to seven years. Even if the machine still works perfectly, its book value drops. Tracking this helps with tax deductions and informs you when it might be time to sell an older machine to upgrade to a more efficient model.
Sourcing 6061-Grade Aluminum and Managing Scrap Loss
Material sourcing is the strategic process of purchasing raw stock at the lowest possible cost while minimizing “drops,” which are the unusable leftover pieces of metal. For high-quality workshop inserts, 6061-T6 aluminum is the industry standard due to its balance of strength and machinability.
When you buy a 4×8 foot sheet of aluminum, you get a better price per square inch than buying small pre-cut pieces. However, as a side-hustler, you may not have $600 to drop on a full sheet. I often visit local “metal supermarkets” to look for remnants. If I can find a “drop” that is close to my required dimensions, I save on the cutting fee and the premium price of virgin stock.
Why Material Markup is Non-Negotiable
You should never sell material to a customer at the same price you paid for it. You spent time researching suppliers, driving to pick up the metal, and storing it in your shop. This is a service that deserves a markup.
Standard material markups in small shops range from 20% to 50%. If a piece of aluminum costs me $20, I charge the customer $30. This covers the “hidden” costs like the fuel for my truck and the floor space the metal occupied. It also protects me if I make a mistake and ruin the part, as the markup on previous successful jobs helps cover the cost of the wasted material.
Managing the “Drop” and Scrap Revenue
In a precision shop, every ounce of aluminum has value. Even the chips from your mill can be sold to a local recycler. While scrap prices are low, a dedicated bin for clean 6061 aluminum can eventually pay for a few boxes of end mills.
More importantly, manage your “drops” by nesting your parts efficiently. If you are fabricating a 9×12 inch plate, don’t cut it from the center of a larger sheet. Cut from the corner to leave the largest possible usable remnant for the next job. I keep a labeled rack of remnants so I don’t buy new metal when I already have a perfectly good piece in stock.
Tracking Hidden Costs in Drilling and Surface Finishing
Consumables are the “invisible” expenses that eat your profits if you don’t track them. This includes everything from the electricity used by your mill to the WD-40 or cutting fluid used during drilling.
For a project like an aluminum tool plate, your consumables include drill bits, countersinks, sandpaper, and deburring tools. A single 1/4-inch cobalt drill bit might cost $10. If it only lasts for 20 plates before needing a professional sharpen or replacement, that is $0.50 per plate. If you forget to track ten different items like this, you are losing $5 to $10 on every order.
- Cutting Fluids: Calculate the cost per ounce and estimate usage.
- Abrasives: Sanding belts and pads wear out quickly on aluminum.
- Tooling Wear: Factor in the cost of resharpening or replacing end mills.
- Cleaning Supplies: Rags, degreasers, and floor dry.
The Consumable Burden Factor
To simplify job costing, many shops use a “consumable burden factor.” This is a percentage added to the labor or material cost to cover all small items.
I typically use a 5% to 10% burden factor. If a job has $100 in labor, I add $10 to cover the electricity, the wear on my drill bits, and the squirt of oil I used. This prevents me from having to count every drop of coolant while still ensuring those costs are covered by the customer.
Energy Consumption and Utility Tracking
Most side-hustlers overlook their energy bill. A 2-horsepower motor on a mill doesn’t seem like much, but when combined with lights, a compressor, and shop heating, it adds up.
I suggest checking your local kilowatt-hour (kWh) rate. If you run a 1,500-watt machine for an hour, you’ve used 1.5 kWh. At $0.15 per kWh, that’s about $0.23. It seems small, but over a month of evening work, your shop’s power bill can jump by $50 or more. If you aren’t charging for it, you’re paying for the customer’s project out of your own pocket.
Developing a Realistic Quote for Custom Plate Fabrication
A professional quote is a breakdown of every cost associated with a job, providing clarity for both you and the customer. When someone asks for a custom-milled aluminum insert, they aren’t just paying for a piece of metal; they are paying for your expertise and the use of your facility.
To build an accurate quote, I break the process into “work centers.” First is material prep (cutting the stock to size). Second is machining (squiring the edges and fly cutting for flatness). Third is layout and drilling (placing mounting holes and countersinks). Finally, there is finishing (deburring and surface conditioning). By estimating the time for each step, you avoid the “guesstimate” trap that leads to underpricing.
- Material Cost: Raw 6061 aluminum + 30% markup.
- Setup Time: 30 minutes at your shop rate (don’t forget this!).
- Machining Time: Actual time the spindles are turning.
- Consumable Burden: 7% of labor cost.
- Profit Buffer: 15% of the total subtotal.
The Importance of Flatness and Precision Metrics
In the world of router table inserts, flatness is everything. If a plate is bowed by 0.010 inches, it is useless for precision woodworking. Achieving a flatness of 0.005 inches or better requires careful technique and sharp tooling.
This level of precision takes time. You cannot rush a fly cutting pass if you want a mirror finish and a dead-flat surface. When I quote these jobs, I factor in a “precision premium.” If the customer requires a tolerance tighter than standard, the price goes up because the risk of a “scrap” part increases.
Handling Design and Communication Time
One of the biggest time-wasters is the “back and forth” with a customer. If you spend two hours emailing a client about the hole pattern for their specific router, you have spent two hours of billable time.
I include a “Design and Admin” fee in my quotes. For a standard mounting plate, I might charge a flat $25 to cover the time spent verifying dimensions and processing the invoice. This ensures that even if the customer is “high maintenance,” I am still being compensated for my professional time.
Analyzing Actual vs. Estimated Costs for Small-Batch Runs
Post-job reconciliation is the practice of looking back at a completed project to see if you actually made the profit you intended. This is where the real learning happens in a side-hustle business.
After I finish a batch of aluminum inserts, I look at my timer. If I quoted three hours but it took five, I need to know why. Did the aluminum gum up my end mill? Did I spend too much time looking for a specific drill bit? By identifying these bottlenecks, I can either raise my prices for the next job or find a way to work more efficiently.
| Task Category | Estimated Time | Actual Time | Variance | Reason for Delay |
|---|---|---|---|---|
| Material Prep | 15 min | 30 min | +15 min | Dull bandsaw blade |
| Surface Milling | 45 min | 50 min | +5 min | Extra pass for finish |
| Drilling Holes | 30 min | 60 min | +30 min | Clearing chips manually |
| Deburring/Finish | 20 min | 15 min | -5 min | New deburring tool |
Identifying Profit Leaks in the Workshop
A profit leak is any recurring issue that costs you money without adding value. Common leaks include disorganized tooling, poor lighting that leads to layout errors, or using the wrong grade of aluminum for the job.
In my shop, I realized I was losing twenty minutes a day just looking for my 1/2-inch collet. I bought a dedicated organizer for $30. That organizer paid for itself in two days by reclaiming that lost time. In a small shop, efficiency is your greatest tool for increasing your effective hourly rate.
Adjusting Your Pricing Model Over Time
Your shop rate should not be static. As you gain experience and your equipment improves, your value to the customer increases. If you find that you are consistently booked out three months in advance, your prices are likely too low.
I review my shop rate every six months. I look at inflation, my current utility costs, and the market rate for local machine shops. Don’t be afraid to raise your prices. The customers who only care about the lowest price are often the most difficult to work with. The customers who value precision and reliability will understand that quality costs money.
Resources for Managing Workshop Economics
To run a profitable side business, you need more than just a mill and a lathe. You need a digital “toolbox” to help you track the numbers.
- QuickBooks or FreshBooks: Essential for professional invoicing and tracking expenses for tax season.
- Excel or Google Sheets: I use custom spreadsheets to calculate my shop rate and job estimates.
- Toggl Track: A simple, free app to track exactly how much time you spend on each part of a fabrication job.
- Online Metal Weight Calculators: These help you estimate the shipping weight and material cost of aluminum plate before you buy.
- Evernote or Keep: Use this to photograph your material receipts immediately so they don’t get lost in the shop.
Building a precision-focused side hustle is a marathon, not a sprint. By applying these manufacturing metrics to your work, you move away from being a “guy with a shop” and toward being a “shop owner.” The difference is found in the data. When you know exactly what it costs to produce a flat, accurate aluminum insert, you can bid with confidence and grow your business with a clear conscience.
Frequently Asked Questions
Why is 6061-T6 aluminum preferred for workshop inserts?
6061-T6 is the “workhorse” of aluminum alloys. It offers an excellent strength-to-weight ratio and is much easier to machine than softer alloys like 3003. It doesn’t “gum up” your tools as easily, which allows for cleaner threads and a flatter finished surface, which is vital for mounting plates.
How do I ensure my plate is flat if I don’t have a surface grinder?
You can achieve high levels of flatness on a manual mill using a fly cutter. The key is to take light “finishing” passes—usually around 0.002 to 0.005 inches deep—with a very sharp tool. Always ensure your mill head is “trammed” (perfectly perpendicular to the table) to avoid a “scalloped” surface.
What is a realistic tolerance for a DIY aluminum tool plate?
For most workshop applications, a flatness tolerance of 0.005 inches across the entire surface is considered professional grade. Most woodworkers cannot detect a dip smaller than that. If you can hold 0.002 inches, you are producing top-tier work that commands a premium price.
How much should I markup the cost of the aluminum?
A standard markup is 30% to 50%. This covers the time you spent sourcing the material, the cost of gas to pick it up, and the risk of a “mis-cut.” If the material cost you $30, you should charge the customer at least $40 to $45 for the metal alone.
How do I track the cost of drill bits and end mills for a single job?
Use a “Consumable Burden” percentage. Instead of trying to figure out how much “wear” one hole put on a bit, add 5% to 10% to your total labor cost. This pool of money eventually pays for new tooling when the old stuff gets dull.
Should I charge for the time I spend talking to the customer?
Yes. Administrative time is still work. If a customer spends 45 minutes asking questions and changing the design, that is time you aren’t machining. Include a “Setup or Admin Fee” in your quote to cover this communication.
Is it better to buy aluminum online or locally?
Locally is almost always better for small shops because of shipping costs. Aluminum is heavy. A local supplier might also have a “remnant bin” where you can find high-quality 6061 plate for a fraction of the retail price.
What is the biggest mistake side-hustlers make when pricing?
Underestimating “Setup and Cleanup” time. It might take 15 minutes to drill the holes, but it takes another 30 minutes to square the stock, tram the mill, and sweep the floor afterward. If you don’t charge for the “unseen” work, you aren’t making a profit.
How do I calculate the electricity cost for my shop?
Look at your power bill for the “Price per kWh.” Multiply the horsepower of your motor by 0.746 to get kilowatts. If you have a 2HP mill, it uses about 1.5 kilowatts per hour. At $0.15/kWh, it costs about 23 cents per hour to run.
Why should I use a “Profit Buffer” in my quotes?
A profit buffer (usually 10-15%) protects you against the unknown. If you break a tap, hit a hard spot in the metal, or the customer changes their mind, the buffer ensures the mistake doesn’t turn the job into a net loss. It also provides the capital needed to grow your shop.
(This article was written by one of our staff writers, Michael Hargrove. Visit our Meet the Team page to learn more about the author and their expertise.)