Critical Lessons for Setting Up a Metal Shop Safely (Guide)
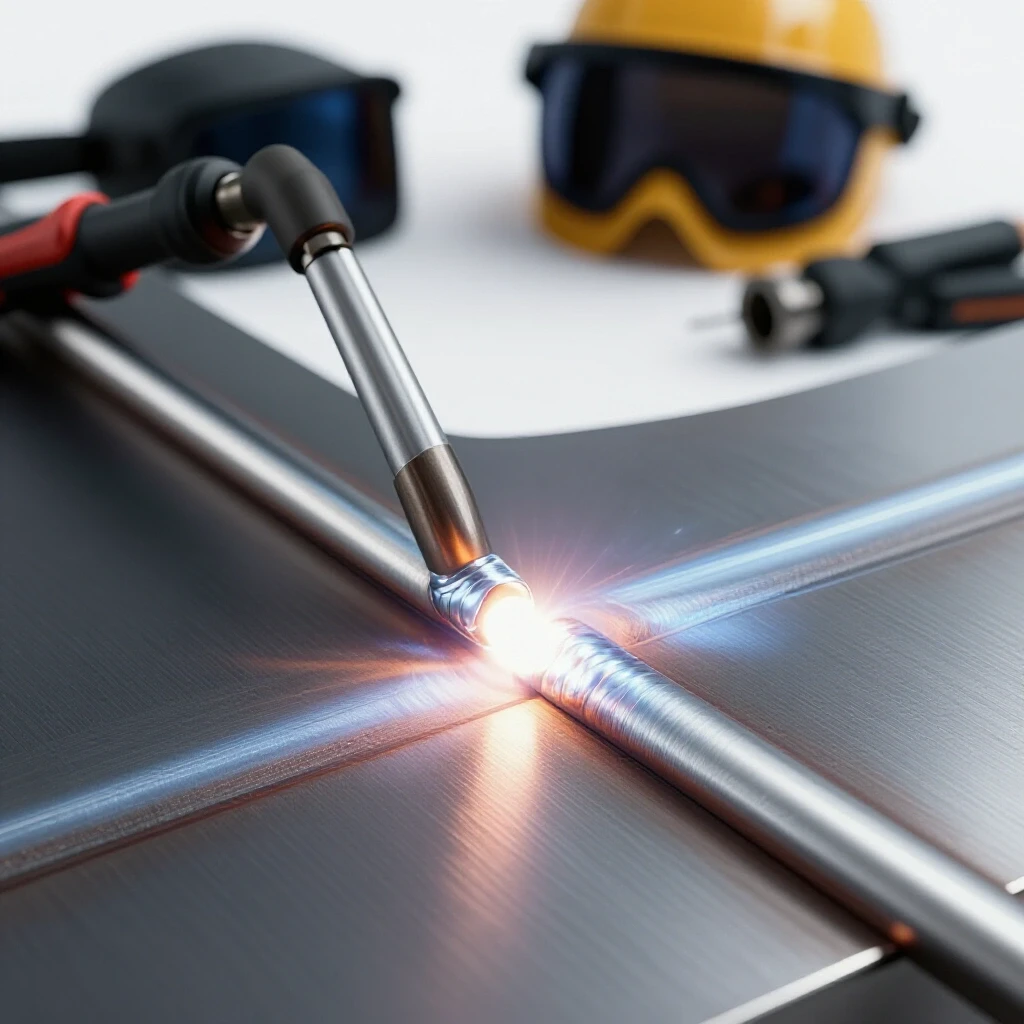
When I first struck an arc twelve years ago, I was overwhelmed by the sheer number of variables I had to control. My hands shook, my travel speed was erratic, and my workshop was a disorganized mess of extension cords and flammable scraps. It took me years of recording my mistakes in a tattered notebook to realize that professional results are not born from talent, but from a controlled environment and repeatable physical habits.
The journey from a frustrated beginner to a competent fabricator requires a systematic approach to your workspace and your body. Many learners focus only on the machine settings, but the real breakthrough happens when you treat your shop as a laboratory for muscle memory. By organizing your space for safety and efficiency, you remove the mental clutter that prevents you from “reading” the molten metal puddle.
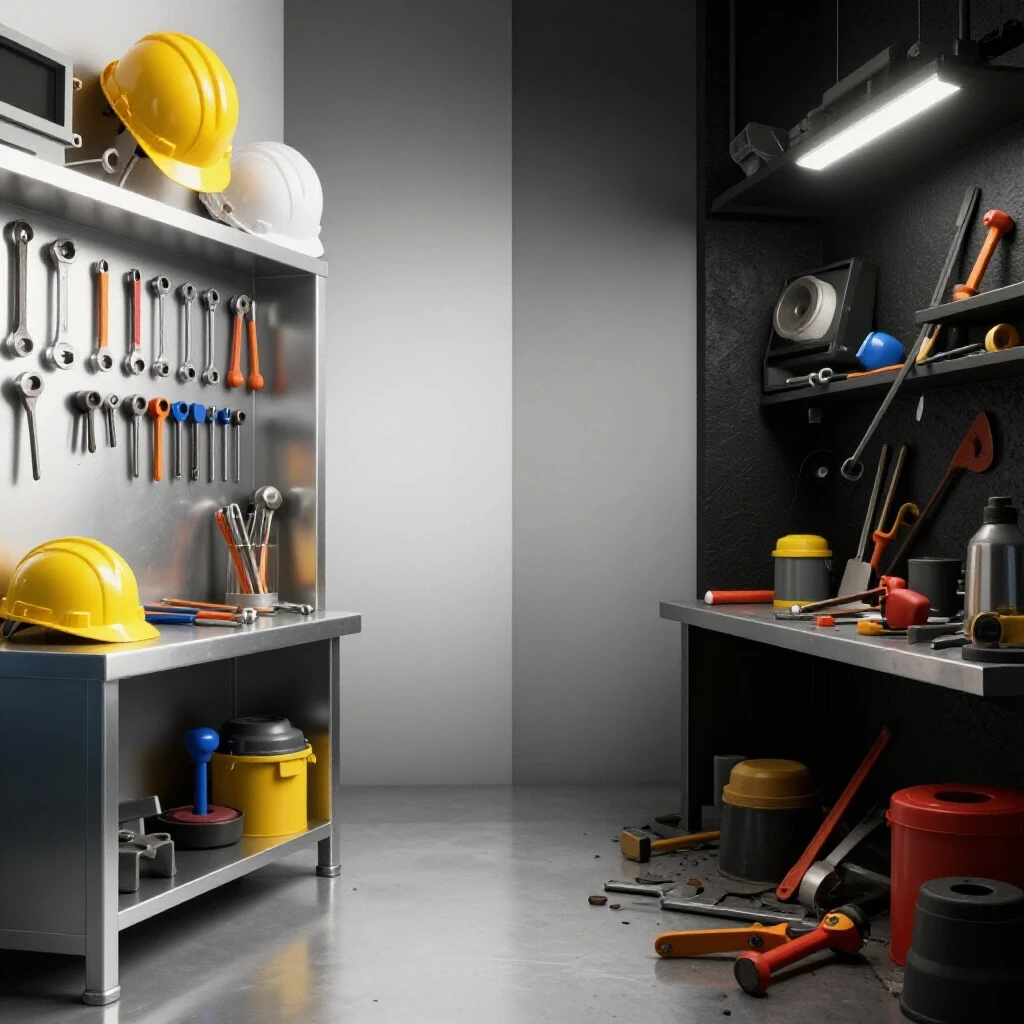
Establishing a Secure and Functional Workspace Foundation
A well-organized shop is the first step in mastering torch control and ensuring your practice sessions are productive. You cannot focus on your weld bead if you are worried about tripping over a cord or breathing in toxic fumes.
Designing for Fume Extraction and Air Quality
Proper ventilation is the process of removing hazardous gases and particulates generated during welding and grinding to protect your respiratory health. In a small shop, natural airflow is rarely enough to keep the “breathing zone” clear of manganese and hexavalent chromium.
I learned this the hard way after spending a week coughing because I thought an open garage door was sufficient. Now, I use a dedicated source-capture fume extractor that sits within 12 inches of my arc. If you cannot afford a high-end extractor, a high-volume exhaust fan positioned to pull air away from your face is a mandatory baseline.
Electrical Infrastructure and Circuit Reliability
Electrical load planning involves calculating the total amperage your tools draw to ensure your shop’s wiring can handle the demand without overheating. Most entry-level welders require a dedicated 20-amp or 50-amp circuit depending on the process (MIG, TIG, or Stick).
Running a welder on a shared household circuit often leads to voltage drops. These drops cause the arc to stutter, which ruins your bead consistency and frustrates your attempts to learn metal fabrication. I recommend having a licensed electrician install grounded, dedicated outlets specifically for your high-draw machinery.
Mastering Body Mechanics and Ergonomic Positioning
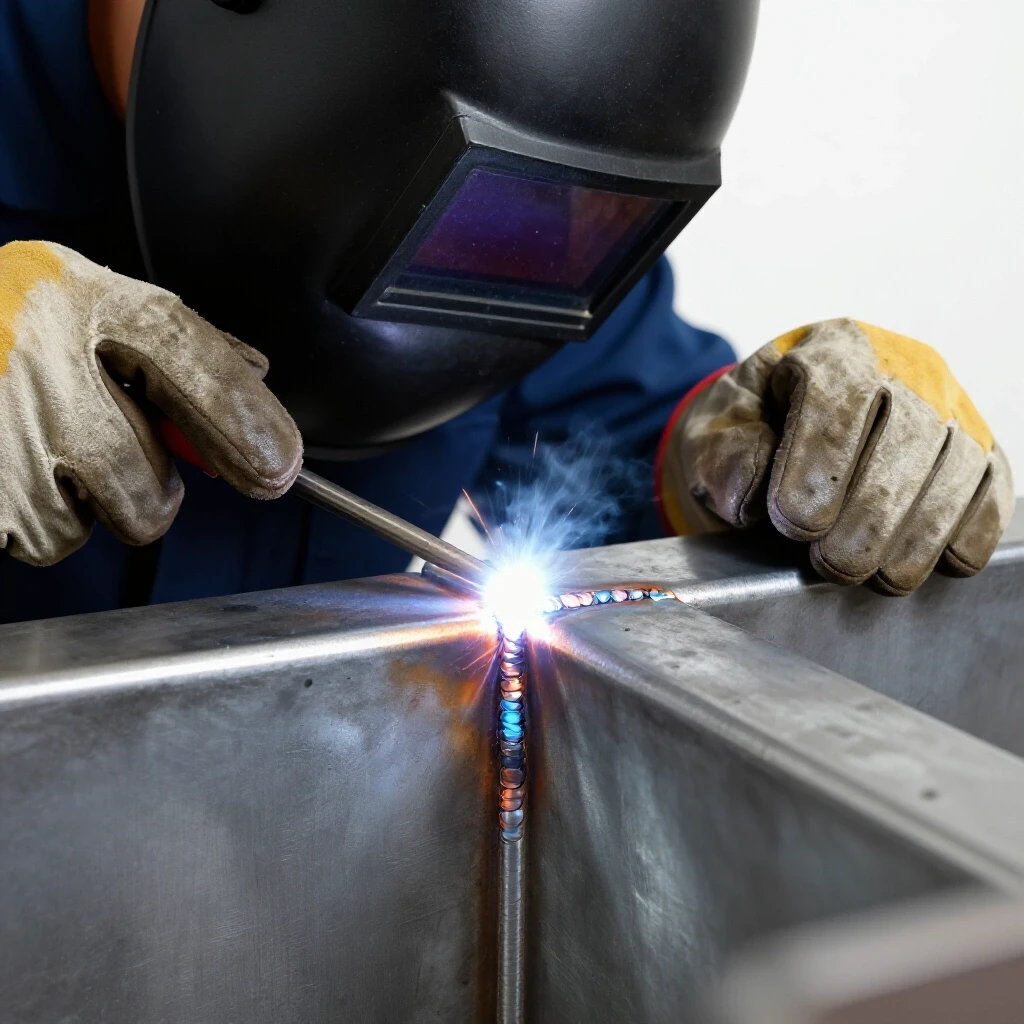
Consistency in welding is largely a matter of geometry and stability. If your body is tense or poorly positioned, your torch movement will be jerky, leading to inconsistent penetration and “lumpy” beads.
The Three-Point Contact Rule for Stability
Body mechanics in fabrication refers to the way you align your limbs and torso to minimize fatigue and maximize fine motor control. The “Three-Point Contact” rule is a physical cue where you ensure three parts of your body are braced against a stable surface.
For example, when I weld at a bench, I keep both feet flat on the floor and my non-dominant elbow braced against the table. This creates a tripod effect. By stabilizing my torso, my hand is free to make the tiny, 1/16-inch adjustments needed to maintain a steady arc gap.
Developing a Lead Foot and Pivot Point
When practicing long weld runs, you must plan your movement before you strike the arc. I always perform a “dry run” where I move the cold torch across the joint to see if my clothing catches or if I run out of reach.
I position my “lead foot” in the direction of the weld travel. This allows me to shift my weight smoothly from one leg to the other. If you try to weld using only your wrist, you will hit a physical limit after three inches, causing the torch angle to shift and the weld to fail.
| Movement Element | Beginner Habit | Professional Standard |
|---|---|---|
| Hand Stability | Floating in the air | Braced on the table or work |
| Body Motion | Moving only the wrist | Shifting weight at the hips |
| Vision | Looking at the bright light | Focusing on the leading edge of the puddle |
| Breathing | Holding breath | Slow, rhythmic exhales |
Fire Mitigation and Hazard Management in the Fabrication Zone
A safe shop environment allows you to focus entirely on trade school practice drills without the fear of an accidental fire. Metalworking produces sparks that can travel over 20 feet and smolder in hidden corners for hours.
Flooring and Workspace Clear Zones
Fire-resistant flooring, such as polished concrete, is essential because it does not catch fire and is easy to sweep. You must establish a “clean zone” of at least 10 feet around your welding table, free of sawdust, oily rags, or cardboard.
In my early years, I nearly started a fire when a stray spark landed in a bucket of wood scraps. Now, I use metal bins for all waste and keep a fire extinguisher (Type ABC) within arm’s reach of the exit. This allows me to practice my welding technique progression with total peace of mind.
Managing Flammables and Egress Paths
Egress paths are the clear, unobstructed routes you take to exit the shop in an emergency. You should never store gas cylinders or fuel cans near your exit door.
I keep my shielding gas tanks (Argon or C25) chained to a wall rack or a sturdy cart. If a tank falls and the valve shears off, it becomes a dangerous projectile. Proper storage is not just about organization; it is about preventing catastrophic failures in your workspace.
Developing Precision through Structured Practice Drills
To overcome technique plateaus, you must move away from “just sticking metal together” and toward measurable practice. This involves tracking specific metrics like travel speed and arc length.
Tracking Weld Travel Speed and Arc Gap Consistency
Weld travel speed is the rate at which you move the torch along the joint, usually measured in Inches Per Minute (IPM). If you move too fast, the bead will be thin and weak; too slow, and you risk burning through the metal.
I suggest a “Bead-on-Plate” drill. Take a 6-inch piece of 1/8-inch mild steel and try to weld from one end to the other in exactly 45 seconds. This targets a travel speed of 8 IPM. By timing your runs, you turn a “feeling” into a hard data point you can improve.
- Arc Gap: The distance between the electrode and the metal. For most processes, aim for 3/32″ to 1/8″.
- Travel Angle: The tilt of the torch in the direction of travel. Aim for a 10-15 degree “drag” for MIG and Stick.
- Work Angle: The angle of the torch relative to the joint surfaces. For a T-joint, this is usually 45 degrees.
Reading the Puddle and Heat Input
The “puddle” is the small pool of molten metal created by the arc. Learning to “read” the puddle means watching its width and shape to determine if you need to speed up or slow down.
Heat input is a formula (Amps x Volts x 60 / Travel Speed) that tells you how much energy you are putting into the metal. If your puddle starts to sag or get too wide, your heat input is too high. You can fix this by increasing your travel speed or lowering your machine’s amperage.
Tool Guarding and Personal Protective Equipment Integration
Safety gear is not an obstacle to skill; it is a prerequisite. You cannot maintain a steady hand if you are flinching from sparks or struggling to see through a dirty lens.
PPE Stations and Machine Guarding
A PPE station is a dedicated area where you store your helmet, gloves, and ear protection. I keep mine right at the entrance of the shop. This ensures that I never “skip” safety gear because I’m in a hurry.
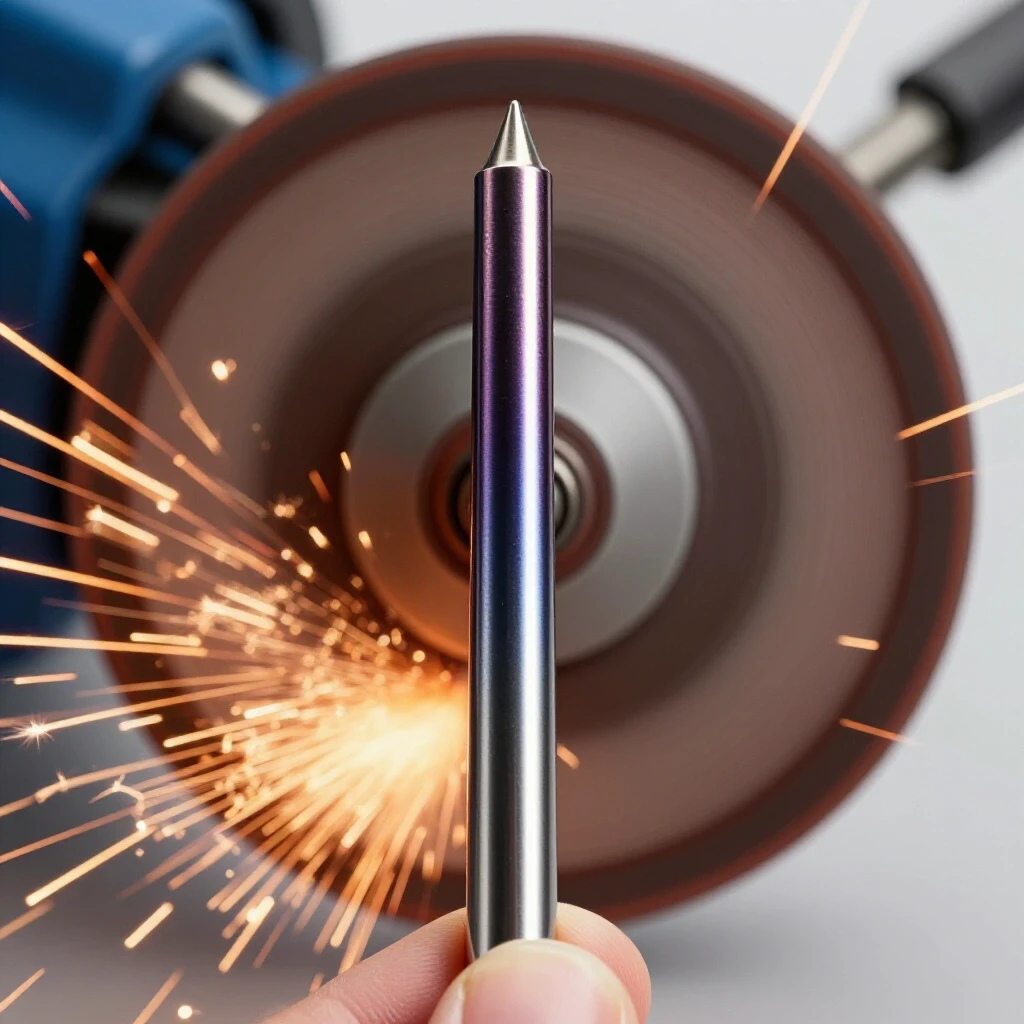
Machine guarding refers to the physical shields on tools like angle grinders and bench presses. Never remove the guard on a grinder to fit a larger wheel. I have seen many intermediate fabricators get injured because they thought they were “experienced enough” to bypass these safety features.
Visual Defect Evaluation and Self-Correction
Part of a metal welding practice guide is learning to critique your own work. Use a magnifying glass and a bright light to inspect your practice beads for common defects.
- Undercut: A groove melted into the base metal next to the weld. Usually caused by too much heat or a poor torch angle.
- Porosity: Small holes in the weld, like a sponge. Often caused by poor metal cleaning or a lack of shielding gas.
- Overlap: When the weld metal rolls over the surface without fusing. This is a sign of travel speed that is too slow or insufficient heat.
Measuring Progress: The Fabrication Skill Log
The most effective way to beat a plateau is to keep a detailed log of your sessions. This turns subjective frustration into objective improvement.
| Date | Process | Material | Amps/Volts | Travel Speed | Result/Notes |
|---|---|---|---|---|---|
| Oct 12 | MIG | 1/8″ Steel | 18V / 210 WFS | 10 IPM | Good height, slight undercut at end. |
| Oct 14 | MIG | 1/8″ Steel | 17.5V / 200 WFS | 9 IPM | Better fusion, travel speed more consistent. |
Using Video Analysis for Technique Refinement
One of the best modern tools for learning is the smartphone in your pocket. I often set up a tripod to record my hands while I weld. When I watch the footage in slow motion, I can see exactly where my hand starts to shake or where my torch angle deviates.
This “digital coach” approach allows you to see the gap between what you think you are doing and what you are actually doing. It is a powerful way to refine your mastering torch control skills without needing an expensive instructor.
Practical Steps for Your Next Shop Session
To start building professional-grade habits today, follow this structured routine. It focuses on the physical mechanics and environmental safety discussed throughout this guide.
- Clear the Zone: Spend 10 minutes clearing all flammables from your 10-foot welding radius.
- Check Ventilation: Ensure your fan or extractor is positioned to pull fumes away from your face.
- Set Your Brace: Practice your “Three-Point Contact” positioning on the table before turning on the machine.
- Perform Dry Runs: Move the torch across your workpiece three times to ensure your body can move freely.
- Log Your Parameters: Write down your voltage, wire speed, and target travel speed before you strike the arc.
- Review and Adjust: After the weld cools, compare it to a visual defect chart and note one specific change for the next run.
Mastering these foundational elements takes time. I spent hundreds of hours making “ugly” welds before the muscle memory finally clicked. By focusing on a safe setup and structured practice, you are building the discipline necessary for a lifetime of high-quality fabrication.
Frequently Asked Questions
How do I know if my shop ventilation is actually working? A simple way to check is the “smoke test.” Use a small incense stick or a smoke pen near your welding area. If the smoke is immediately drawn into the extractor or toward the exhaust fan and away from where your head would be, your system is effective. If the smoke lingers or swirls around your face, you need to reposition your fans or increase the airflow.
What is the most common reason for inconsistent weld beads? In my experience, the culprit is usually a lack of physical bracing. Most beginners try to “air-hand” their welds, which magnifies every tiny muscle twitch. By using the “Three-Point Contact” rule and bracing your arm or hand against the table, you provide a mechanical pivot point that smooths out your motion.
How often should I clean my welding area to stay safe? You should perform a “hot work” sweep at the end of every single session. This involves looking for smoldering sparks and clearing metal dust. A deep clean, including wiping down surfaces and organizing tools, should happen weekly to prevent the buildup of flammable oils and grinding dust.
Can I use a standard household fan for fume extraction? While a household fan is better than nothing, it is not a true extraction system. These fans often just blow the fumes around the room rather than removing them. For real safety, you need an exhaust fan that pulls air out of the building or a filtered extractor designed for welding particulates.
What is the “Clean Zone” for metal preparation? The clean zone refers to the 1-2 inches of bare, shiny metal on either side of a weld joint. You must use a grinder or wire brush to remove all mill scale, rust, paint, and oil. Welding over these contaminants causes porosity and weak joints, making it impossible to judge your actual skill level.
Why does my arm get tired so quickly when I practice? Fatigue is usually caused by “death-gripping” the torch. If you are squeezing the handle too hard, your muscles will tire and start to shake. Practice holding the torch with just enough pressure to keep it stable—like holding a heavy pen. Also, ensure your welding lead is draped over your shoulder or the table so you aren’t fighting the weight of the cable.
How do I calculate my travel speed without a special tool? Mark a 6-inch line on a scrap piece of metal. Use a stopwatch or a phone timer. If you want to hit 8 Inches Per Minute (IPM), it should take you exactly 45 seconds to weld that 6-inch line. If you finish in 30 seconds, you are moving too fast (12 IPM).
What should I do if I hit a skill plateau? When progress stops, go back to the data. Change only one variable at a time. For example, keep your settings the same but focus exclusively on your arc gap for five runs. Often, we try to fix everything at once and end up fixing nothing. Isolate the physical movement that is failing you.
Is it safe to weld on a wooden workbench if I use a metal sheet? It is much safer to use an all-metal welding table. While a metal sheet provides a non-flammable surface, heat can still transfer through the metal and char the wood underneath, potentially starting a fire hours after you leave the shop. If you must use wood, ensure there is a significant air gap or thick fire-rated insulation between the metal top and the wood frame.
What is the best way to store my angle grinder? Always store grinders with the disc facing away from other tools and never resting on the disc itself. I prefer using wall-mounted “cradles” that hold the grinder by the body. This protects the guard and prevents the trigger from being accidentally bumped if something falls on it. Always unplug the grinder when changing discs.
(This article was written by one of our staff writers, Thomas Langley. Visit our Meet the Team page to learn more about the author and their expertise.)