Crucial Safety Guidelines for Daily Metal Shop Work (Tips)
I’ve spent the last 15 years in a 1,200-square-foot shop, surrounded by the hum of cooling fans and the smell of hot steel. My journey didn’t start with high-end industrial gear; it started with budget-tier grinders and entry-level welders that often promised more than they could deliver. Over time, I learned that a tool’s real value isn’t found in a glossy brochure or a “peak horsepower” rating. It’s found in the maintenance logs I keep, which track every hour of runtime, every bearing replacement, and every time a thermal overload switch saved a motor from a meltdown.
When you are looking to upgrade your workshop, the marketing hype usually focuses on speed and power. However, after thousands of hours under a hood, I’ve realized that the most important metric is how a tool behaves when things go wrong. Reliability and shop floor security are two sides of the same coin. If a tool is built poorly, it becomes a liability to your hands and your lungs. This guide is built on my personal journals and mechanical data to help you navigate the complex world of equipment ownership without falling for the traps that lead to expensive failures or preventable injuries.
Decoding Spec Sheets for Long-Term Operational Integrity
Understanding the technical specifications of a tool is the first step in ensuring a stable and secure work environment. Manufacturers often use confusing terminology to mask the limitations of their equipment, which can lead to overheating or mechanical failure during heavy use.
Motor Insulation Classes and Thermal Protection
Motor insulation classes define the maximum temperature a motor’s internal windings can handle before the insulation breaks down and causes a short circuit. This rating is critical for any tool that runs for extended periods, such as a belt grinder or a stationary air compressor.
In my shop, I prioritize tools with Class F or Class H insulation. Most budget-friendly tools use Class B insulation, which is rated for 130°C (266°F). While that sounds high, a busy afternoon of grinding can push a small motor to that limit surprisingly fast. Class F is rated for 155°C (311°F), and Class H goes up to 180°C (356°F). Choosing a tool with a higher insulation class provides a safety buffer. It means the tool can handle the heat of a long project without the risk of an internal fire or a sudden electrical short that could energize the tool’s casing.
Understanding Duty Cycle Realities
The duty cycle is a measurement of how long a machine can operate within a ten-minute window at a specific output before it needs to cool down. This is most commonly seen in welder specifications and is a direct indicator of the machine’s cooling efficiency.
If a welder is rated at a 40% duty cycle at 200 Amps, it can weld for four minutes but must then idle for six minutes. I’ve seen many fabricators ignore this, pushing their machines until the thermal cutout kicks in. Doing this repeatedly degrades the internal components and increases the risk of a catastrophic board failure. When comparing machines, always look for the duty cycle at the amperage you plan to use most often. A machine that struggles to stay cool is a machine that is more likely to fail unpredictably, potentially leading to electrical hazards in your workspace.
| Tool Type | Entry-Level Duty Cycle | Professional Duty Cycle | Impact on Shop Safety |
|---|---|---|---|
| MIG Welder | 20% @ Max Output | 60% @ Max Output | High heat leads to wire feed stutters and arc instability. |
| Plasma Cutter | 35% @ 40A | 50% @ 60A | Overheating causes erratic pilot arcs and torch damage. |
| Air Compressor | 50% (Intermittent) | 100% (Continuous) | Low duty cycles lead to moisture buildup and tank corrosion. |
Electrical Infrastructure and Workshop Power Requirements
A secure shop starts with the wires in the walls. Many equipment failures and workshop fires are traced back to inadequate power supplies or improper grounding, rather than the tools themselves.
Input Power and Voltage Drop
Input power refers to the electricity your tool draws from the outlet, usually measured in Amps and Volts. Voltage drop occurs when the electrical flow is restricted, often by long or thin extension cords, causing the tool’s motor to work harder and run hotter.
I never run high-draw tools like a 240V welder or a large cold saw on a standard 14-gauge extension cord. I’ve logged instances where a voltage drop of just 10% caused a significant increase in motor temperature. For a 240V circuit, I ensure my shop is wired with 6-gauge or 8-gauge wire depending on the run length. This prevents the “brownout” effect where lights dim when you strike an arc. Stable power keeps your tools running within their designed parameters, which significantly reduces the risk of electrical fires and extends the lifespan of your expensive inverters.
Power Factor Correction (PFC) in Modern Inverters
Power Factor Correction is a technology in modern welding inverters that allows the machine to use input power more efficiently, often allowing it to run at higher outputs on lower-amperage breakers.
When I upgraded to a welder with PFC, I noticed an immediate difference in how the machine handled fluctuations in our local power grid. Machines without PFC draw power in “gulps,” which can stress your circuit breakers and cause nuisance tripping. A machine with PFC draws a smoother, more consistent current. This is not just a performance feature; it’s a reliability feature. It reduces the load on your shop’s electrical panel and minimizes the heat generated in your wiring, making your daily operations much more stable.
Mechanical Guarding and Tool Ergonomics
Mechanical guarding involves the physical barriers on a tool that protect the operator from moving parts, sparks, and debris. Ergonomics refers to how the tool fits the human body, which impacts fatigue and long-term joint health.
The Danger of Removing Factory Guards
Factory guards are designed to contain a wheel burst or prevent accidental contact with a spinning blade. Many users remove them to get a “better view” of the work, but my maintenance logs show that most close calls happen when a guard was absent or modified.
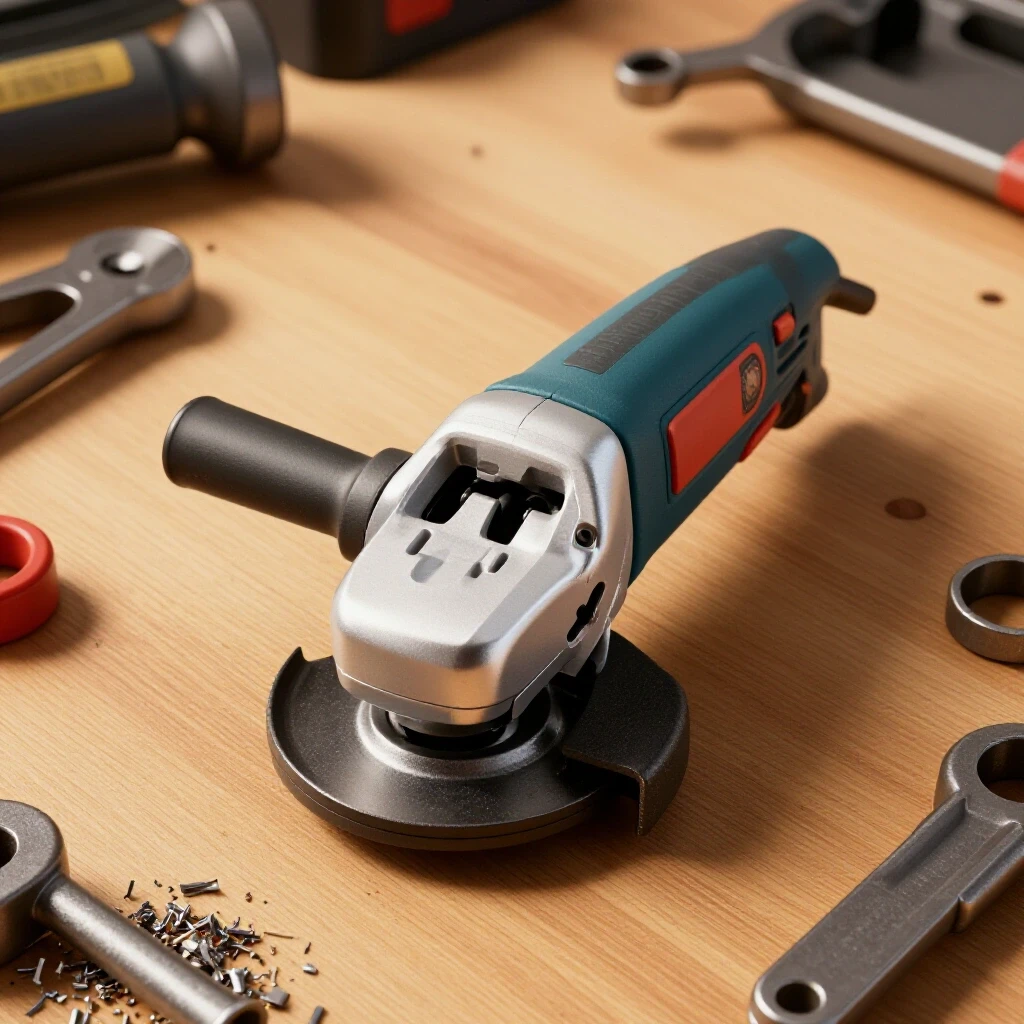
I’ve seen high-speed abrasive discs shatter. Without a guard, those fragments travel at over 100 miles per hour. When purchasing a new angle grinder, I look for “tool-less” guard adjustments. If a guard is easy to move, you are more likely to keep it in the right position. I also check the burst-rating of the guard material. A thin, stamped-steel guard is better than nothing, but a heavy-duty, reinforced guard is what you want if you’re working with 7-inch or 9-inch grinders daily.
Ergonomics as an Injury Prevention Strategy
Ergonomics is often overlooked in tool buying, but it is a critical factor in preventing repetitive strain injuries. A tool that is poorly balanced or vibrates excessively will cause hand-arm vibration syndrome (HAVS) over time.
When I test a new tool, I look for vibration-dampening handles and balanced weight distribution. For example, a heavy mag-drill that is difficult to position increases the risk of back strain or an accidental drop. I track my “trigger time” in my journals; if I notice my hands are tingling after only 30 minutes of use, that tool is flagged for replacement. Investing in tools with high-quality dampening systems is a long-term investment in your ability to stay in the shop as you age.
Atmospheric Management and Respiratory Protection
Metalworking creates a variety of airborne hazards, from fine grinding dust to toxic welding fumes. Managing the air in your shop is just as important as guarding the blades on your saws.
Ventilation and Fume Extraction Systems
Fume extraction involves capturing contaminants at the source before they enter the operator’s breathing zone. This is essential when welding galvanized steel, stainless steel, or using certain types of flux-cored wire.
In my shop, I use a combination of local exhaust ventilation (a “fume arm”) and general shop air filtration. I’ve measured the particulate matter in the air during a heavy day of TIG welding versus a day of grinding. Grinding is actually more dangerous for the lungs over time because the dust is so fine it stays suspended for hours. When buying a shop vacuum or an air filtration unit, I look for HEPA-rated filters. Standard shop vac filters often just blow the finest, most dangerous dust back into the air.
Personal Protective Equipment (PPE) as a Tool System
PPE should be viewed as a system of components—eyes, ears, lungs, and skin—that work together to protect you from the specific hazards of metal fabrication.
I treat my welding helmet and respirators as high-priority tool investments. A cheap auto-darkening helmet with a slow reaction time will cause “arc eye” over several years of use. I look for helmets with a 1/1/1/1 optical clarity rating and a reaction speed of 1/25,000th of a second. Similarly, I use a P100-rated pancake filter under my hood. My maintenance logs include a schedule for changing these filters; if I can smell the ozone or the metal, the filter is already past its prime.
Preventative Maintenance as a Safety Protocol
Preventative maintenance is the practice of regularly inspecting and servicing tools to prevent unexpected failures. A well-maintained tool is a predictable tool, and predictability is the foundation of a secure workshop.
Monitoring Bearings, Belts, and Blades
Rotating parts are the most common failure points in metalworking machinery. Worn bearings can seize, causing a belt to snap or a motor to burn out, often with little warning.
I keep a strict schedule for checking the tension on my bandsaw blades and the condition of the drive belts on my drill press. Every 50 hours of use, I do a “shake test” on my grinder spindles to check for play in the bearings. If I hear a high-pitched whine or feel an unusual vibration, the tool is pulled from service immediately. A blade that snaps because of a worn guide or a poorly tensioned wheel can whip out of the machine, creating a major hazard.
Creating a Maintenance Logging System
A maintenance log is a simple but powerful tool for tracking the health of your shop. It allows you to see patterns of wear that you might otherwise miss.
- Date and Runtime: Record how long the tool was used.
- Consumables Used: Track how many blades or discs you go through. High consumption can indicate a mechanical alignment issue.
- Inspections: Note when you checked the brushes, cords, and guards.
- Repairs: Document what broke and what it cost to fix.
- Next Service Date: Set a reminder for the next oil change or filter replacement.
Strategic Tool Evaluation and Purchasing
When it’s time to add a new machine to the shop, I use a data-driven approach to ensure the investment is sound. I look past the marketing claims and focus on the “repairability” and “predictability” of the tool.
Brand-to-Brand Reliability Ratings
Not all brands are created equal, even if their specs look identical on paper. Some companies prioritize “planned obsolescence,” while others build tools that are meant to be rebuilt.
I categorize brands based on the availability of replacement parts. If I can’t find a parts breakdown (schematic) for a tool online, I won’t buy it. A tool you can’t fix is a disposable tool, and disposable tools are rarely built with high safety margins. I’ve found that mid-tier “prosumer” brands often offer the best balance of safety features and repairability for a serious home shop. They use standard bearings and switches that can be sourced easily if the manufacturer stops supporting the model.
The Lifetime Cost Calculator
The purchase price of a tool is only about 40% of its total lifetime cost. The rest is made up of consumables, electricity, maintenance, and the potential cost of downtime.
Before I buy a large piece of equipment, like a horizontal bandsaw, I calculate the cost of blades and coolant over five years. I also look at the warranty terms. A “limited lifetime warranty” often has so many loopholes it’s effectively useless. I prefer a solid 3-year or 5-year “bumper-to-bumper” warranty from a company with a local service center. If I have to ship a 200-pound welder across the country for a simple repair, the warranty isn’t actually saving me money.
| Maintenance Task | Interval (Hours) | Why It Matters |
|---|---|---|
| Inspect Grinder Cords | Every 10 Hours | Prevents shocks from “nicked” insulation. |
| Clean Welder Internals | Every 50 Hours | Dust buildup causes short circuits on PCB boards. |
| Lubricate Saw Guides | Every 20 Hours | Prevents blade binding and unexpected snaps. |
| Check Compressor Tank | Weekly | Draining water prevents internal rust and tank failure. |
Housekeeping and Workshop Layout
A cluttered shop is a dangerous shop. The way you organize your space directly impacts your ability to respond to emergencies and move safely while handling heavy materials.
Managing Sparks and Fire Hazards
Fire is the single greatest threat to a metal shop. Grinding sparks can smolder in a pile of sawdust or oily rags for hours before erupting into a flame.
I follow a “35-foot rule” for hot work. Any flammable materials must be moved at least 35 feet away from the sparks, or shielded with fire-resistant blankets. I also have a dedicated “fire watch” period. After I finish grinding or welding for the day, I stay in the shop for at least 30 minutes to ensure nothing is smoldering. My shop layout places the welding table far from the wood storage area and the chemical cabinet, creating a natural fire break.
Trip Hazards and Cord Management
In a small shop, it’s easy to end up with a “spaghetti” of power cords and air hoses on the floor. This is a recipe for a fall, especially when you are carrying a piece of heavy stock.
I use overhead cord reels and wall-mounted air lines to keep the floor clear. If a cord must cross a walkway, I use a heavy-duty cord bridge. I also make sure my shop has adequate lighting. I’ve logged that my “near misses” dropped significantly after I upgraded to high-output LED shop lights. If you can’t see the small off-cut on the floor, you’re going to trip on it.
Actionable Benchmarks for Shop Upgrades
If you are currently planning to purchase new equipment, use this checklist to evaluate whether the tool meets the standards for a secure and productive environment.
- Check the Duty Cycle: Is it rated for the work you actually do, or will you be pushing it to its thermal limits?
- Verify the Guarding: Are the guards robust, easy to adjust, and made of high-quality materials?
- Review the Parts List: Can you buy replacement brushes, bearings, and switches easily?
- Evaluate the Ergonomics: Does the tool have vibration dampening? Is the weight balanced?
- Assess the Power Needs: Does your shop have the circuit capacity to run this tool without a voltage drop?
- Plan the Ventilation: Do you have a way to capture the fumes or dust this tool will create?
- Calculate the Total Cost: Include the cost of PPE and consumables required to run the tool safely.
Moving Forward in Your Shop
Building a secure and efficient metal shop is a marathon, not a sprint. It’s about making one or two smart decisions every time you buy a tool or organize a shelf. By focusing on the data—insulation classes, duty cycles, and maintenance intervals—you move away from the “hope for the best” strategy and toward a professional, predictable workflow.
Start by looking at your most-used tool today. Check its cord for nicks, listen to its bearings, and make sure its guard is in place. If you don’t have a maintenance log, start one in a simple notebook. These small, daily habits are what separate the master fabricators from those who are constantly fighting their equipment.
Frequently Asked Questions
How do I know if my welder’s duty cycle is sufficient for my projects? To determine if a duty cycle is sufficient, look at the thickness of the material you work with most often. If you are welding 1/4-inch steel, you likely need a machine that can output 140-180 Amps. If the machine’s duty cycle at that amperage is only 20%, you will spend 80% of your time waiting for it to cool. Aim for a machine that offers at least a 40-60% duty cycle at your most common working amperage to ensure the internal components aren’t constantly stressed.
What is the most common cause of motor failure in metalworking tools? The most common cause is heat, often caused by “over-working” the tool or by dust buildup. Fine metal dust is conductive; if it gets sucked into the motor housing, it can create a bridge between electrical components, leading to a short circuit. Regularly blowing out your tools with clean, dry compressed air is the best way to prevent this.
Why should I care about NEMA motor insulation classes? NEMA classes tell you how much heat the motor can take before it dies. If you are buying a tool for a business or a high-output hobby shop, choosing a Class F or H motor ensures that the tool can handle long runtimes without the internal insulation melting. It’s a “safety factor” that protects your investment from accidental overheating.
Are “tool-less” guards actually safe, or are they just a gimmick? They are a significant safety feature. In my experience, if a guard requires a wrench to adjust, many fabricators will simply remove it when it gets in the way. A tool-less guard allows you to reposition the shield in seconds as you change your body position, ensuring you are always protected from sparks and debris.
How can I tell if my shop’s wiring is inadequate for a new tool? If your lights flicker or dim when you start a tool, or if the tool sounds like it’s “bogging down” under a light load, you likely have a voltage drop issue. You can test this with a multimeter at the outlet; if the voltage drops more than 3-5% when the tool is running, your wiring or extension cord is too thin for the load.
What is the difference between a fume extractor and a shop air filter? A fume extractor is a “source capture” device. It sucks up the smoke right at the weld puddle before it reaches your face. A shop air filter cleans the air in the entire room over time. For maximum safety, you need both: the extractor to protect your lungs immediately, and the filter to remove the fine dust that settles on surfaces and gets kicked back up later.
Why is vibration dampening considered a safety feature? Excessive vibration causes “white finger” or HAVS, which is permanent nerve and blood vessel damage in the hands. Tools with dampening systems allow you to work longer with less fatigue. Fatigue is a major contributor to accidents; a tired fabricator is a fabricator who makes mistakes with sharp blades or hot metal.
How do I start a maintenance log if I’ve never used one? Keep a small notebook and a pen near your main workbench. Every time you finish a project or a long day of work, jot down which tools you used and for roughly how long. Note any “funny noises” or parts that felt loose. Once a month, review the notes and perform basic maintenance like oiling, cleaning filters, or tightening bolts on those specific tools.
Is it safe to use a 120V welder for structural projects? Most 120V welders lack the “punch” to get deep penetration on steel thicker than 1/8-inch in a single pass. For structural work, a 240V machine is generally safer because it provides the heat necessary to ensure the weld is fused to the base metal, rather than just sitting on top. Always check the manufacturer’s recommended thickness limits.
What should I look for in a tool warranty? Look for a warranty that covers the “inverter” or the “motor” for at least 3 years. Be wary of warranties that require you to pay for shipping both ways, as shipping a heavy tool can cost half the price of the tool itself. A great warranty is one backed by a local service center where you can drop the tool off in person.
(This article was written by one of our staff writers, David Reynolds. Visit our Meet the Team page to learn more about the author and their expertise.)