Cutting Oil vs Water-Soluble Coolant for Drilling (Review)
I have spent the last 15 years in workshops where the difference between a successful day and a total loss often comes down to a few drops of fluid. I remember a specific job involving a series of one-inch holes in thick A36 structural steel. We were burning through high-speed steel bits every three holes, and the chatter was so loud it rattled the windows in the office. The operator kept increasing the feed pressure, thinking more force would solve it, but the heat buildup was actually causing the material to work-harden. This is the reality of metalworking; when a process fails, it is rarely one big thing, but rather a series of small variables that have fallen out of alignment.
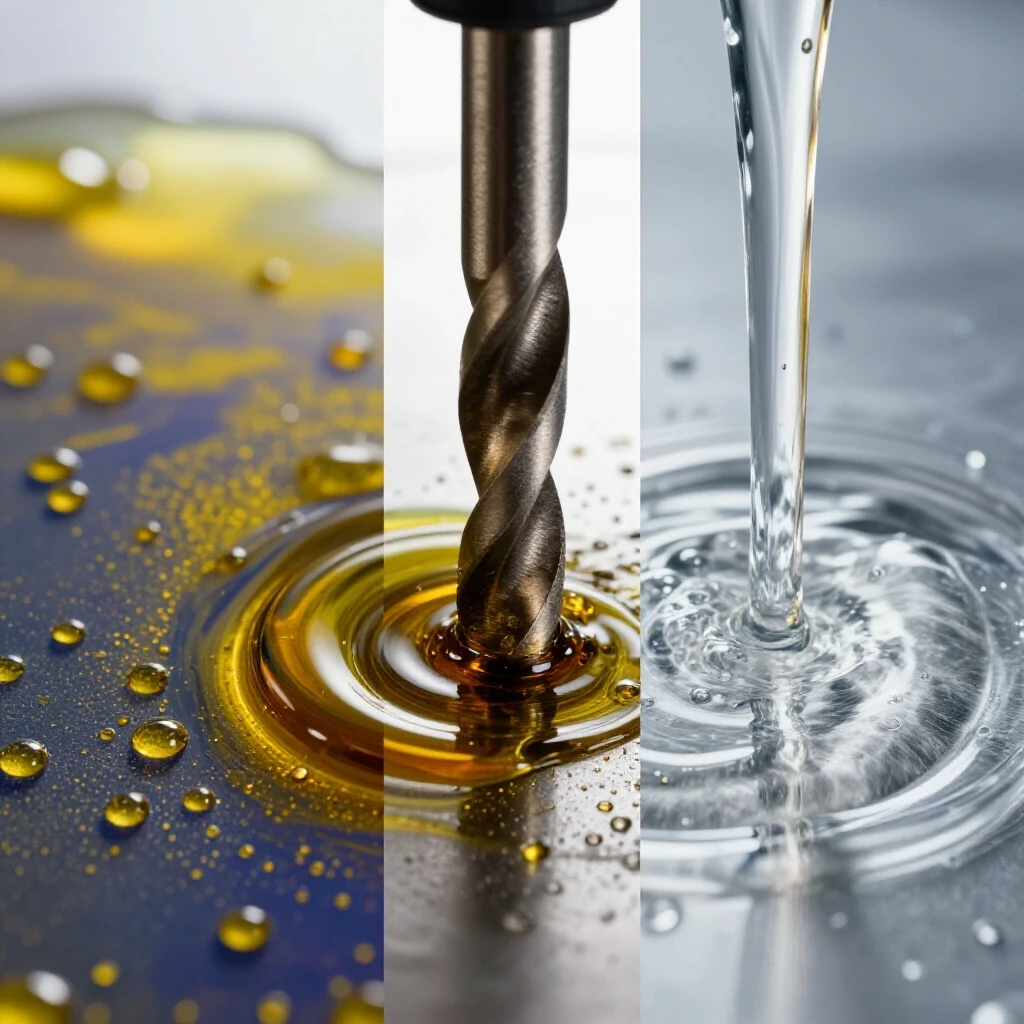
My approach to troubleshooting is built on the idea that every symptom tells a story. If your drill bit is glowing, you have a heat dissipation problem. If the hole looks like it was chewed out by a serrated knife, you have a lubrication or rigidity problem. In this metalworking diagnostic guide, we will look at how the choice between straight oils and water-based emulsified fluids dictates the success of your drilling operations and how to systematically isolate the root causes of failure.
Understanding the Diagnostic Framework for Drilling Fluids
The choice between a high-viscosity oil and a water-based emulsion represents a fundamental trade-off between reducing friction and removing heat. Lubricity prevents the tool from rubbing and generating heat in the first place, while thermal conductivity carries away the heat that inevitably occurs during heavy chip removal.
In my experience, most shop issues stem from a misunderstanding of these two properties. If you are drilling deep holes in tough alloys, you need the extreme pressure additives found in straight oils to prevent the drill margins from welding to the workpiece. However, if you are running at high speeds in thinner stock, the cooling capacity of water is your best friend. Mastering this balance is the first step in any systematic troubleshooting process.
Identifying the Primary Failure Mode: Heat vs. Friction
This diagnostic step involves observing the tool and the chip to determine if the fluid is failing to lubricate the interface or failing to cool the tool. Friction-related failures usually manifest as “built-up edge,” where the metal actually fuses to the drill tip, while thermal failures show up as bluing or softening of the tool steel.
When I see a drill bit losing its temper—turning that tell-tale straw or blue color—I know the fluid’s heat capacity is being exceeded. This often happens when using straight oils at high RPMs. Conversely, if the tool is sharp but the hole finish is rough, the lubrication is likely insufficient. We solve these issues by isolating the fluid type and adjusting the delivery method to ensure it reaches the actual cutting zone at the bottom of the hole.
Why Tool Chatter Ruins Holes and How to Isolate Harmonic Vibrations
Tool chatter is a resonant vibration that occurs when the cutting forces fluctuate rapidly, causing the drill to bounce against the material. This often leaves a “multi-lobed” hole pattern and can lead to catastrophic tool failure if the vibration hits the natural frequency of the machine spindle.
To fix chatter, I always start with the mechanical basics. Check your spindle backlash; if you have more than 0.002 to 0.004 inches of play, no fluid in the world will save your finish. Once the machine is tight, the fluid acts as a dampener. High-viscosity straight oils provide a “cushioning” effect that can sometimes suppress minor harmonics that thinner, water-based coolants cannot touch.
Table: Machining Chatter Factors and Fixes
| Symptom | Probable Mechanical Cause | Fluid-Based Solution |
|---|---|---|
| High-pitched squeal | Excessive RPM for the diameter | Increase lubricity with straight oil |
| Low-frequency thumping | Loose spindle bearings or quill | Check for backlash; use higher viscosity |
| Spiral patterns in hole | Insufficient feed rate (rubbing) | Increase feed-per-tooth to 0.005 IPT |
| Rapid tool dulling | Work-hardening of material | Switch to water-emulsion for better cooling |
Troubleshooting Weld Porosity and Post-Drilling Residue
Weld porosity is often a hidden consequence of the fluids used in the drilling stage. When we drill holes for plug welds or structural bolted connections that will later be tacked, any fluid left behind can gassify under the heat of the welding arc, leading to internal voids and weak joints.
I have seen entire batches of parts rejected because an operator used a sulfur-based cutting oil that wasn’t properly cleaned off before welding. Sulfur and phosphorus are “poisons” to a clean weld pool. When troubleshooting weld porosity, we must look backward at the drilling process. If you are moving straight from the drill press to the welding bench, an aqueous solution that evaporates cleanly is often a safer bet than a heavy oil.
Welding Porosity Diagnosis Pathways
- Observation: Bubbling in the weld pool during the root pass.
- Isolation: Clean the drilled hole with a solvent. If the porosity stops, the drilling fluid was the contaminant.
- Variable Control: Switch to a “vanished” or low-residue water-soluble fluid for parts requiring immediate welding.
- Measurement: Use a white cloth wipe test. Any discoloration indicates residue that will compromise the weld.
Mechanical Baselines and Spindle Alignment Checks
Before blaming your fluid, you must ensure your machine is physically capable of a clean cut. A drill press or mill with a misaligned head will create “bell-mouthed” holes, where the top of the hole is wider than the bottom. This isn’t a fluid issue; it is a structural alignment fault.
I use a dial indicator to check the “tram” of the spindle. I aim for a tolerance of less than 0.001 inches over a six-inch sweep. If the spindle is out of square, the drill bit will lead off-center, creating excessive friction on one side of the tool. This localized heat can cause the drilling fluid to smoke excessively, leading many to think they just need a better oil, when in fact they need a shim or an adjustment.
Machine Re-alignment Checklist
- Clean the Table: Remove all burrs and chips with a fine stone.
- Check Spindle Runout: Place a dial indicator on the internal taper; should be < 0.0005 inches.
- Verify Quill Squareness: Extend the quill fully and check for lateral movement.
- Square the Vice: Use a ground parallel and indicator to ensure the work is perpendicular to the spindle.
The Role of Straight Oils in High-Torque Drilling
Straight oils are undiluted petroleum or synthetic products that excel in low-speed, high-pressure scenarios. They contain additives like chlorine or sulfur that react at high temperatures to create a solid lubricant film. This film prevents the “cold welding” of the chip to the tool face, which is the primary cause of tool breakage in deep-hole drilling.
In my workshop, I reach for straight oil when I am drilling holes larger than 1/2 inch in stainless steel or high-carbon plate. The high viscosity ensures the oil stays on the tool even as it enters the hole. However, the downside is the smoke. If you see heavy white smoke, the oil is reaching its flash point, and you should either slow down your RPM or improve the flow of fluid to the tip.
Systematic Testing of Water-Soluble Emulsions
Water-soluble coolants, or emulsions, are a mix of oil concentrates and water. They provide the “best of both worlds” by using water’s incredible heat-carrying capacity and the oil’s lubrication. When troubleshooting a setup that uses these fluids, the first thing I check is the concentration ratio.
Most emulsions should be mixed at a 5% to 10% ratio. If the mix is too lean (too much water), you will see rust on your machine tables and poor tool life. If it is too rich, you are wasting money and might deal with sticky residue. I use a refractometer to measure the Brix scale of the mix. This is a simple optical tool that tells you exactly how much oil is in your water, removing the guesswork from the process.
Fluid Performance Benchmarks
- Cooling Capacity: Water-based fluids can dissipate heat up to 4 times faster than straight oils.
- Lubricity: Straight oils provide a 30-50% reduction in friction at the cutting edge compared to lean emulsions.
- Residue: Water-based fluids typically leave a film that is 0.0001 inches thick, whereas oils can leave a film ten times thicker.
- RPM Limits: Use water-based fluids when surface speeds exceed 100 feet per minute (SFM) in mild steel.
Case Study: Solving a Resonant Vibration Issue on a Radial Drill
I once consulted for a shop that was drilling three-inch diameter holes in heavy cast iron. They were using a water-based spray, but the vibration was so intense it was backing out the bolts on the machine’s base. The noise was a low-frequency hum that pulsed every few seconds.
We began our systematic isolation by checking the tool. The drill was sharp, but the chips were coming out as fine powder rather than distinct curls. This told me the tool was rubbing. We switched from the water-based spray to a heavy-duty, high-sulfur straight oil applied with a brush. The change was immediate. The oil provided enough “viscous damping” to break the harmonic cycle, and the chips began to curl properly. The extra lubricity allowed the cutting edge to bite into the cast iron instead of bouncing off it.
Advanced Diagnostic Tools for Modern Fabricators
We no longer have to rely on “feel” and “sound” alone. Modern digital tools allow us to quantify the problems we face. For example, I use a smartphone vibration spectrum analyzer app to identify the exact frequency of tool chatter. If the frequency matches the spindle RPM, I know the problem is an unbalanced tool or a bent spindle.
Infrared heat tracking is another game-changer. By aiming a thermal camera at the drill bit as it exits the hole, I can see exactly how much heat is being retained in the tool versus the chip. Ideally, you want the chip to carry away about 80% of the heat. If the tool is hotter than the chip, your fluid is not doing its job, or your feed rate is too low.
Diagnostic Tool Checklist
- Refractometer: For checking emulsion concentration.
- Infrared Thermometer: To monitor tool and workpiece temperature.
- Digital Dial Indicator: For measuring spindle runout and backlash.
- Tachometer: To verify that the actual spindle RPM matches the machine’s dial.
- Vibration Meter: To isolate resonant frequencies during heavy cuts.
Troubleshooting Common Rookie Mistakes in Fluid Application
One of the most common errors I see is “intermittent cooling.” This happens when an operator applies fluid with a squirt bottle every few seconds. The tool heats up, then is suddenly shocked by cold fluid. This thermal cycling causes “micro-cracking” in carbide or high-speed steel, leading to premature chipping of the cutting edge.
Another mistake is neglecting the “chip evacuation” aspect of the fluid. In deep holes, the fluid’s job is to float the chips out. If the chips pack into the flutes, they will gall the sides of the hole and eventually snap the drill. In these cases, a thinner water-soluble fluid often performs better because it can flow into the tight spaces around the flutes more easily than a thick oil.
Closing the Loop: Permanent Fixes for Shop Productivity
Mastering the mechanics of hole-making requires a disciplined approach to variable control. When you encounter a problem, change only one thing at a time. If you change the RPM, the feed rate, and the fluid all at once, you will never know which one actually solved the problem.
Start with the mechanical integrity of your machine, move to the geometry of your cutting tool, and finally, optimize your fluid choice based on the heat-versus-friction needs of the material. This systematic methodology turns frustrating downtime into a predictable engineering challenge. By documenting your successes and failures in a shop log, you build a library of “known-good” configurations that will save you hundreds of hours over your career.
Frequently Asked Questions
Why does my drill bit keep “walking” even when I use plenty of oil? Walking is usually a mechanical or geometry issue rather than a fluid problem. Check if the drill point is centered or if the web is too thick. Also, ensure your spindle has less than 0.001 inches of runout. Fluid helps the cut, but it won’t fix a tool that isn’t starting straight.
Can I use motor oil as a substitute for dedicated cutting oil? Motor oil is designed for lubrication between smooth surfaces, not for the extreme pressures of metal cutting. It lacks the “Extreme Pressure” (EP) additives like sulfur or chlorine that allow a fluid to maintain a film under the intense heat of a drill tip. It will smoke excessively and provide poor tool life.
How do I know if my water-soluble mix has gone “sour”? Bacteria love to grow in water-based coolants. If you notice a “rotten egg” smell or if the fluid starts to separate and look like curdled milk, the pH has dropped and bacteria have taken over. This fluid will cause rust and can cause skin irritation; it must be drained and the system flushed.
What is the best way to apply fluid when using a handheld drill? For handheld operations, a high-tack straight oil or a specialized cutting paste is best. Because you cannot easily maintain a constant flow of liquid, you need a product that will cling to the drill flutes and the workpiece. Water-based fluids usually run off too quickly to be effective in handheld scenarios.
Does the material of the drill bit (Cobalt vs. HSS) change my fluid choice? Cobalt bits are designed to handle higher heat than standard High-Speed Steel (HSS). If you are using Cobalt, you can sometimes lean more toward a lubricating oil to take advantage of the tool’s heat resistance. With HSS, you must prioritize cooling (water-based) to prevent the tool from softening.
Why am I getting a “rifled” finish inside my drilled holes? A rifled or “threaded” appearance is a classic sign of tool chatter. The drill is vibrating at a frequency that matches its rotation. To fix this, increase your feed rate to ensure the tool is always “under load,” and consider switching to a thicker oil to help dampen the vibrations.
Is it necessary to clean off water-soluble coolant before welding? Yes. While water-soluble fluids are less likely to cause severe porosity than straight oils, the dried residue contains salts and oils that can still contaminate a weld. A quick wipe with denatured alcohol or a dedicated degreaser is always recommended for structural welds.
How much backlash is too much in a drill press quill? For precision work, anything over 0.005 inches of lateral play in the quill can cause the drill to chatter or lead off-center. If you can feel the quill “wobble” by hand, it is time to adjust the tensioning bolts or replace the wear bushings.
What should I do if my cutting oil starts to smoke heavily? Smoke is a sign that the oil is overheating. You should first reduce your spindle RPM. If that doesn’t work, increase the volume of oil being applied. If the smoke persists, the job may require a water-based coolant which has a much higher boiling point and better cooling properties.
Can I mix different brands of water-soluble coolants? It is generally a bad idea. Different brands use different chemical packages (emulsifiers, rust inhibitors, and biocides). Mixing them can cause the chemicals to react, leading to “splitting” where the oil and water separate, rendering the fluid useless and creating a mess in your shop.
(This article was written by one of our staff writers, Paul Whitaker. Visit our Meet the Team page to learn more about the author and their expertise.)