Essential Safety Gear for Welding and Fabrication (Review)
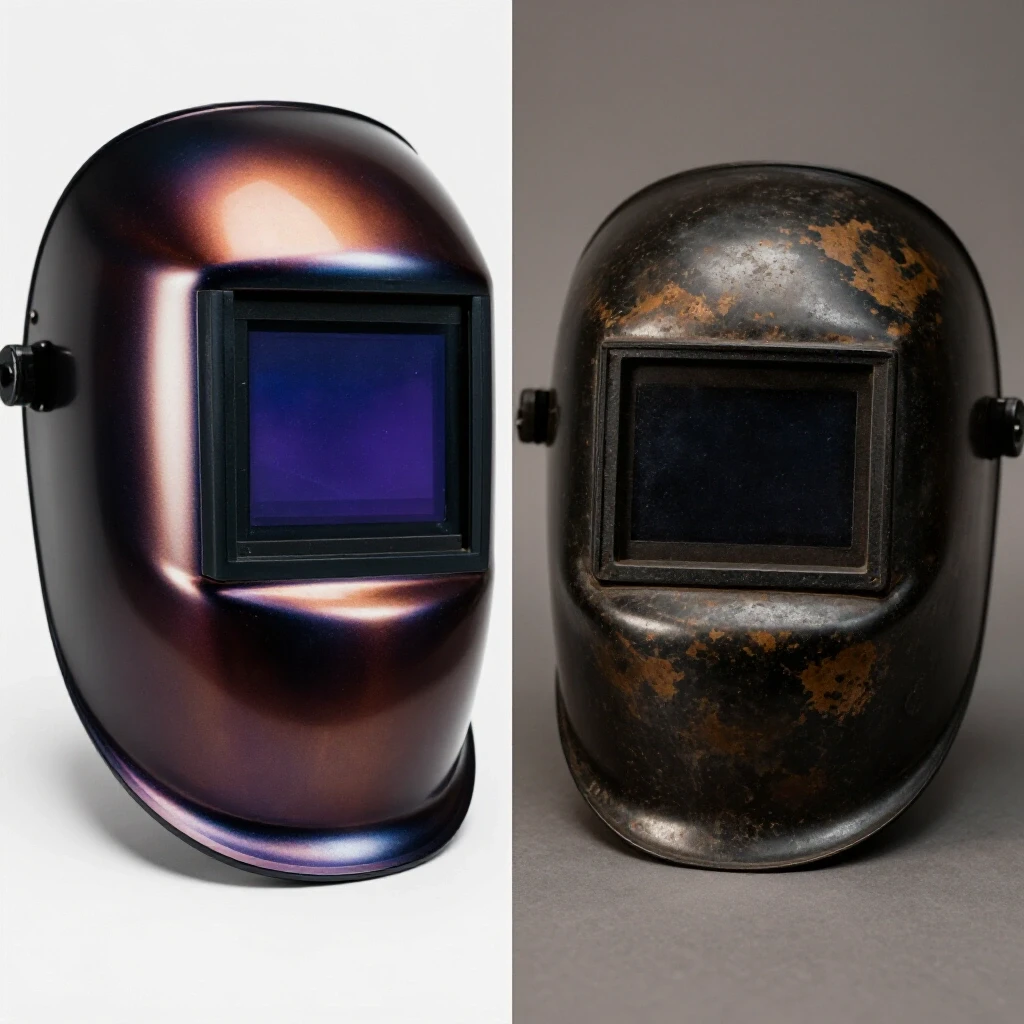
After 15 years of running a small-scale fabrication shop, I have learned that the most expensive piece of equipment is the one that fails when you are mid-bead. However, we often focus so much on the duty cycle of our power sources or the feed speed of our wire drives that we overlook the gear that actually keeps us in the booth. I have kept meticulous logs of every piece of equipment I’ve owned, from high-end auto-darkening helmets to heavy-duty leather aprons. What I found in my maintenance journals surprised me. Marketing claims about “indestructible” materials rarely hold up to the reality of 40-hour work weeks and high-amperage heat soak.
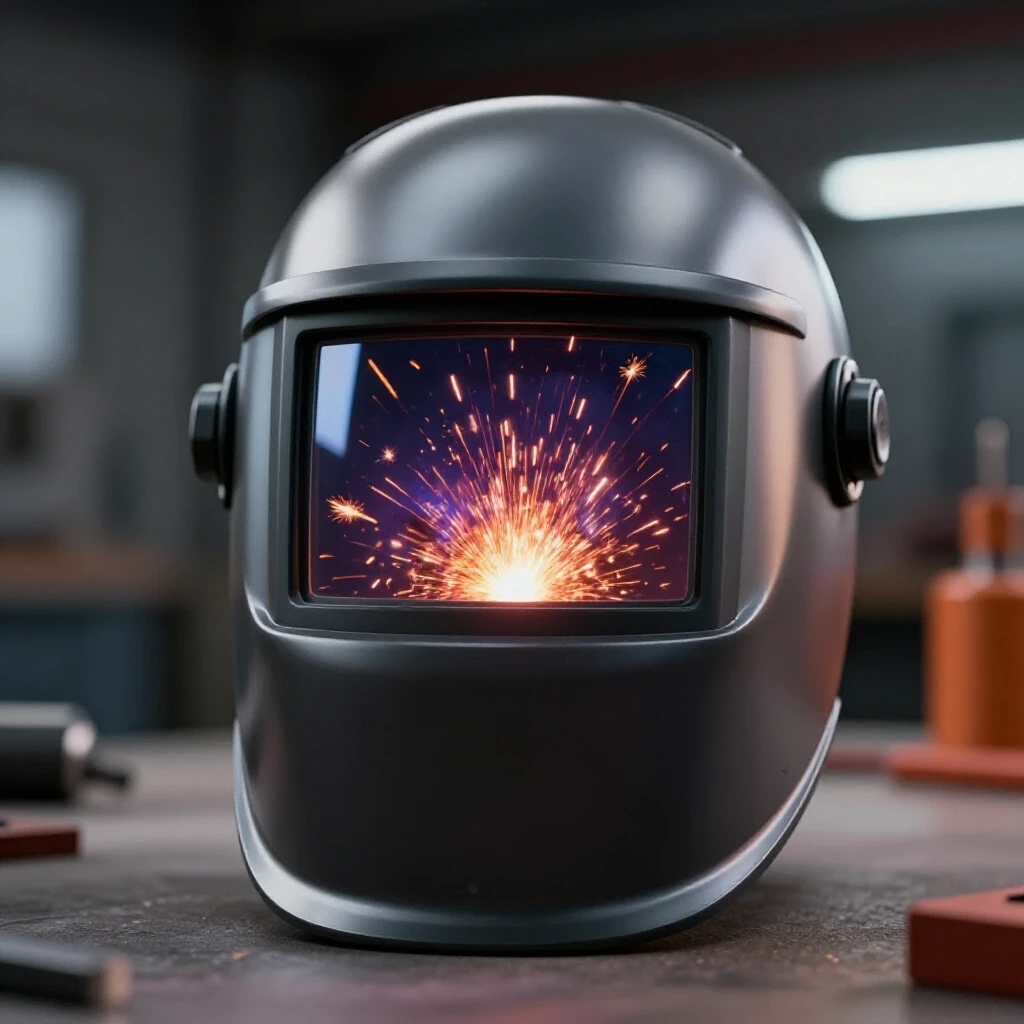
When I first started, I bought gear based on the coolest graphics or the lowest price. Within six months, the pivot points on my helmets were stripped, and the stitching on my “premium” gloves had literally evaporated under the UV radiation. Now, I evaluate my shop protection based on hard metrics: optical clarity ratings, material gram weights, and heat transfer coefficients. If you are looking to upgrade your shop capabilities, you need to look past the glossy brochures. This guide is built from my personal logs and real-world durability data to help you invest in gear that actually lasts.
Understanding Technical Standards for Workshop Protection
Technical standards provide a universal benchmark for evaluating how well a piece of equipment shields the user from specific hazards like impact, radiation, or heat. These ratings, such as ANSI Z87.1 or EN 175, are verified by third-party testing rather than manufacturer claims. Understanding these codes is the first step in avoiding overpriced gear that lacks actual certification.
In my shop, I treat these standards as the baseline. If a piece of equipment doesn’t clearly list its certification, it doesn’t enter my inventory. For example, the ANSI Z87.1 standard isn’t just a sticker; it dictates how much impact a lens can take before shattering. When I was working on a heavy structural frame last year, a grinding disk exploded. Because my face shield was Z87+ rated (the plus indicates high-velocity impact protection), I walked away with a scratch on the plastic instead of a trip to the emergency room.
When you are reviewing spec sheets, look for the following certifications:
- ANSI Z87.1: The American standard for eye and face protection.
- EN 175: The European standard for equipment used during welding and allied processes.
- ANSI/ISEA 105: This rating covers hand protection, specifically focusing on cut and abrasion resistance.
- ASTM F2413: This is the standard for protective footwear, essential for heavy fabrication environments.
The Importance of Optical Clarity Ratings
Optical clarity ratings measure how much a welding lens distorts your view, affects light transmission, and maintains consistent shading across the entire surface. These are typically rated on a scale of 1/1/1/1, with one being the highest possible score in four distinct categories. This rating system is the only objective way to compare visual performance between different brands.
I remember switching from a budget hood with a 1/2/1/2 rating to a high-end 1/1/1/1 lens. The difference wasn’t just “better”; it changed my weld quality. When you can see the puddle clearly without blurriness or color distortion, your hand-eye coordination improves. In my maintenance logs, I’ve noted that lenses with higher clarity ratings tend to reduce eye fatigue during eight-hour shifts, which directly correlates to fewer mistakes on critical joints.
The four numbers in a clarity rating represent:
- Optical Quality: How distorted is the image?
- Diffusion of Light: Does the lens have “cloudy” spots?
- Light Homogeneity: Is the shade consistent across the whole lens?
- Angular Dependence: Does the shade change when you look at an angle?
Switching Speeds and Sensor Sensitivity
Switching speed refers to the time it takes for an auto-darkening lens to transition from its light state to its dark state once an arc is struck. Sensor sensitivity determines how much light is required to trigger that change. Faster switching speeds, often measured in 1/20,000th of a second, are vital for preventing “arc flash” eye strain over long periods.
In my 12 years of testing, I have found that four sensors are the gold standard for fabrication. If you are welding in tight spots or around tubing, a two-sensor system can easily be blocked by your own arm or a workpiece. When that happens, the lens lightens while you are still welding, which is a recipe for a headache. I look for helmets that offer a sensitivity adjustment, allowing me to tune out the shop lights while still catching the low-amperage arc of a TIG torch.
Evaluating Durability in Body Protection Materials
Body protection materials are designed to resist thermal energy, sparks, and mechanical abrasion while remaining flexible enough for movement. Common materials include cowhide, pigskin, and flame-resistant (FR) cotton, each with different weight ratings usually measured in ounces per square yard. Selecting the right material involves balancing heat resistance against the weight and breathability of the garment.
I have gone through dozens of welding jackets. The biggest failure point is almost always the stitching. In my experience, if the gear isn’t sewn with Kevlar or another heat-resistant thread, the seams will fail long before the leather wears out. I once bought a cheap leather cape that looked great on paper, but after 50 hours of overhead MIG welding, the shoulder seams literally fell apart because the nylon thread melted.
Comparing Leather Types for Fabrication
Different leathers offer varying levels of protection and dexterity. Cowhide is the most durable and heat-resistant, making it ideal for heavy-duty Stick or MIG welding. Pigskin and goat skin are thinner and more pliable, which is necessary for the fine motor control required in TIG welding. Knowing which leather to use for which process can extend the life of your gear significantly.
In my shop, I keep a log of “cost per hour” for gloves. While a pair of heavy cowhide gloves costs more upfront, they often last three times longer than thinner alternatives when doing high-heat work. However, for TIG work, I accept the higher replacement rate of goatskin because the added feel allows me to produce higher-quality results.
| Leather Type | Durability Rating | Dexterity Level | Best Use Case |
|---|---|---|---|
| Top-Grain Cowhide | High | Moderate | General Fabrication / MIG |
| Split-Leg Cowhide | Very High | Low | Heavy Structural / Stick |
| Goatskin | Moderate | Very High | Precision TIG |
| Pigskin | Moderate | High | Multi-process / Wet conditions |
Gram Weight and Heat Transfer in FR Cotton
Flame-resistant (FR) cotton is treated with chemicals to prevent it from supporting a flame. The effectiveness of this protection is often tied to the weight of the fabric, measured in ounces. While lighter fabrics are more comfortable in the summer, they offer less protection against “burn-through” from heavy sparks and UV radiation.
I typically recommend at least a 9-ounce FR cotton for light fabrication. Anything less tends to develop “sunburn” holes after a few weeks of consistent UV exposure. In my maintenance logs, I’ve tracked that 12-ounce FR cotton lasts nearly twice as long as 7-ounce material under the same conditions. It’s a classic case of spending a little more upfront to avoid frequent replacements.
Respiratory Health and Fume Management
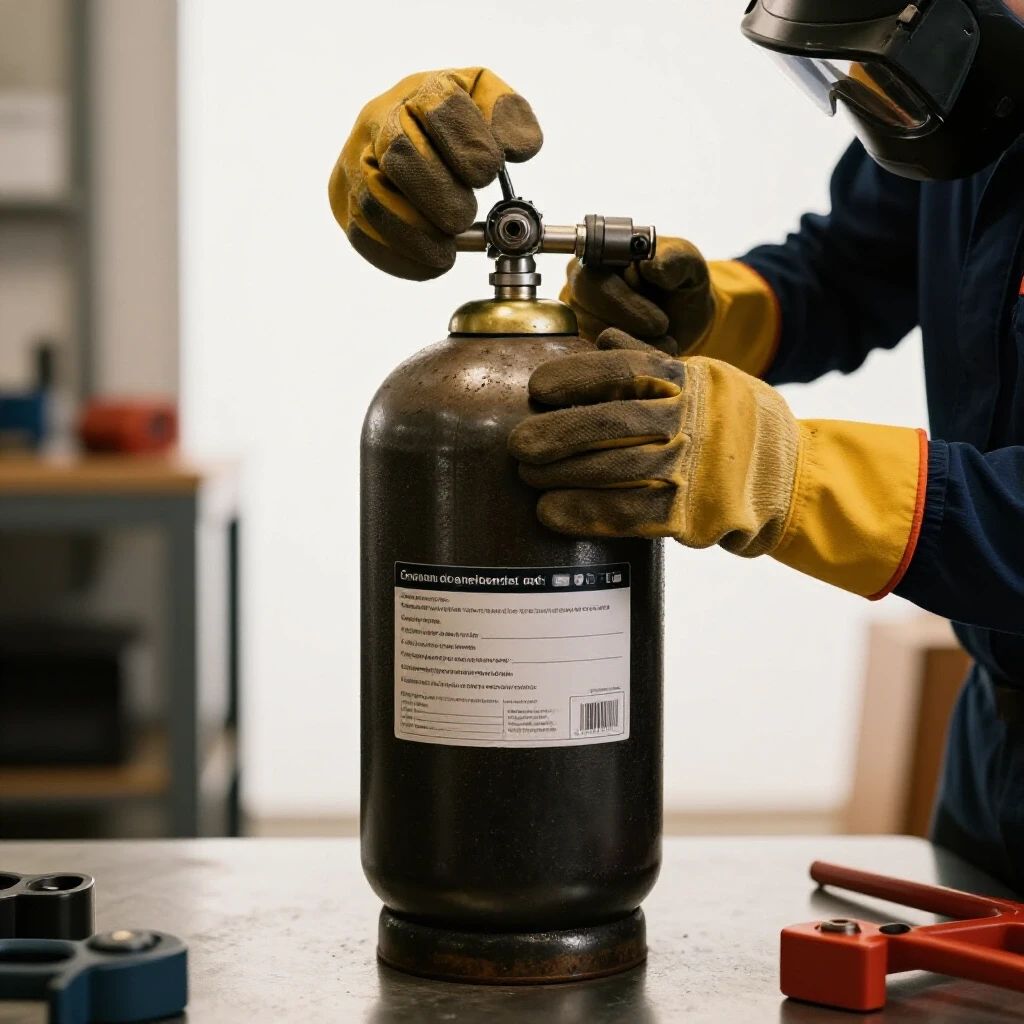
Respiratory protection equipment filters out harmful particulates and gases generated during the welding process, such as hexavalent chromium or manganese. These systems range from simple disposable masks to Half-Mask Respirators with P100 filters and Powered Air Purifying Respirators (PAPR). Effective respiratory management is critical for long-term health in confined or poorly ventilated spaces.
Many fabricators ignore respiratory health because you can’t see the damage immediately. I didn’t take it seriously until I started noticing a metallic taste in my mouth after long days of welding galvanized steel. Now, I use a dedicated maintenance log for my respirator filters. I track the “arc-on” hours and replace filters the moment I feel any increase in breathing resistance.
Understanding Filter Ratings (N95 vs. P100)
Filter ratings tell you exactly what percentage of airborne particles the mask can stop. An N95 filter stops 95% of non-oil-based particles, while a P100 filter stops 99.9% of all particles, including oil-based ones. For welding fumes, which are incredibly fine metallic particles, the P100 is the industry standard for small shops.
I prefer low-profile respirators that fit comfortably under a welding helmet. When evaluating these, check the seal. A respirator is only as good as its fit; if air is leaking around the edges, the filter rating doesn’t matter. I perform a “negative pressure test” every time I put mine on by covering the filters and inhaling to see if the mask collapses against my face.
The Role of Fume Extraction Systems
Fume extraction systems use vacuum pressure to pull smoke and gasses away from the weld zone before they reach the operator’s breathing zone. These can be large stationary units or portable “fume snorkels.” While more expensive than a respirator, they improve the overall air quality of the entire shop, which benefits everyone in the space.
In my shop, I’ve found that a portable extractor is a great investment if you do a lot of MIG welding on oily or mill-scale-heavy plate. It keeps the shop walls cleaner and reduces the load on your personal respirator filters. However, you have to be careful with the placement; if the vacuum is too strong or too close, it can actually pull away your shielding gas, leading to porosity in your welds.
Hand and Foot Protection Metrics
Protective gear for hands and feet must provide a barrier against extreme heat and heavy impacts while maintaining ergonomic comfort. For gloves, this involves welted seams and reinforced palms, while footwear requires steel or composite toes and heat-resistant outsoles. These items are the most frequently replaced consumables in a fabrication shop due to constant mechanical wear.
I track the wear patterns on my boots just as closely as the wear on my bandsaw blades. In a fabrication environment, the floor is often covered in hot “slugs” from a mag drill or sparks from a grinder. Standard work boots often have soles that melt or delaminate under these conditions. I look for boots with a high heat rating for the outsole, typically tested to withstand 572°F (300°C) without melting.
Glove Construction: Welted Seams and Linings
The way a glove is put together is often more important than the material itself. Welted seams involve an extra strip of leather sewn into the seam to protect the thread from sparks. Linings, such as wool or fleece, provide an air gap that slows down heat transfer to your hand, allowing for longer “arc-on” times before you have to let the glove cool.
I’ve found that for heavy MIG work, a “wing thumb” design lasts longer than a “straight thumb” because it follows the natural contour of the hand, reducing stress on the seams. In my logs, gloves with reinforced palms and welted seams consistently provide 20% more service life than basic versions. It’s a small detail that pays off when you’re halfway through a 20-foot trailer frame.
Safety Footwear for the Metal Shop
Safety footwear in a metal shop needs to do more than just protect your toes from falling objects. It needs to provide puncture resistance against sharp offcuts and electrical hazard (EH) protection. The standard for these features is ASTM F2413, which ensures the boot has been tested for impact, compression, and electrical conductivity.
- Steel Toe: Traditional and effective, but can get cold in winter shops.
- Composite Toe: Lighter and doesn’t conduct heat or cold as easily as steel.
- Metatarsal Guard: Essential if you frequently handle heavy plates or beams that could crush the top of your foot.
- Heat-Resistant Outsole: Look for rubber compounds specifically designed for high-temperature environments.
Establishing a Maintenance and Replacement Schedule
A maintenance schedule for shop gear is a systematic plan for inspecting, cleaning, and replacing protective equipment to ensure it remains effective. This includes daily visual checks, weekly deep cleans, and tracking the service life of consumables like lenses and filters. Keeping a log of these intervals helps predict future costs and prevents equipment failure during a project.
I use a simple spreadsheet to track my gear maintenance. It might seem like overkill, but when you are managing a shop, it’s easy to forget when you last changed your respirator filters or checked your helmet’s headgear for cracks. This proactive approach has saved me hundreds of dollars by catching small issues—like a loose lens seal—before they caused a larger problem.
Daily and Weekly Inspection Checklist
Before I strike the first arc of the day, I run through a 60-second checklist. It’s a habit that has saved my eyes and lungs more than once. Weekly, I do a more thorough cleaning of my gear to remove the fine metallic dust that accumulates in the nooks and crannies of the helmet and respirator.
- Check helmet lens for pits or cracks (Daily).
- Inspect respirator valves for debris (Daily).
- Check glove seams for “thread rot” (Daily).
- Clean auto-darkening sensors with a soft cloth (Weekly).
- Wash sweatbands and interior helmet padding (Weekly).
- Inspect boot laces for fraying or burn marks (Weekly).
Tracking Consumable Costs and Lifespans
Consumables like outer cover lenses and respirator filters are the “hidden” costs of fabrication. By tracking how long these items last, you can make better purchasing decisions. For example, I found that “hard-coated” cover lenses cost twice as much but last four times longer because they resist scratching from grit and slag.
| Item | Expected Lifespan (Hours) | Failure Sign | Maintenance Action |
|---|---|---|---|
| Outer Cover Lens | 20 – 40 | Pitting / Blurriness | Replace immediately |
| Inner Cover Lens | 100 – 200 | Yellowing / Scratches | Clean with microfiber |
| P100 Filters | 40 – 60 | Breathing resistance | Replace |
| Helmet Batteries | 1,000 – 2,000 | Slow switching | Replace annually |
| Sweatbands | 50 – 100 | Odor / Loss of grip | Wash or replace |
Making Informed Purchasing Decisions
When it comes time to buy new gear, you should approach it with the same scrutiny you would use for a new welder or a cold-cut saw. Don’t be swayed by marketing terms like “professional grade” or “extreme durability.” Instead, look for the technical specifications we’ve discussed: optical ratings, material weights, and safety certifications.
I always recommend looking at the availability of replacement parts before buying a piece of gear. A cheap helmet might work fine until the headgear snaps. If you can’t buy a replacement headgear, that $80 helmet just became a $0 paperweight. I prefer brands that have been in the industry for decades because I know I’ll be able to find cover lenses and parts five years down the road.
Avoiding “Feature Creep” and Unnecessary Costs
It’s easy to get sucked into buying gear with features you don’t need. Do you really need a Bluetooth-connected helmet that tracks your arc time? Probably not. Those extra electronics are just more points of failure. Focus your budget on the core performance metrics: clarity, weight, and protection.
In my experience, the best value is found in the “mid-tier” of established brands. You get the high-quality lenses and durable materials without the “luxury” markups of the flagship models. I’ve logged thousands of hours in mid-range gear that performs within 5% of the top-tier stuff but costs 40% less.
The Lifetime Cost Calculator Exercise
To truly understand the value of a piece of gear, calculate its “cost per hour.” Take the purchase price, add the estimated cost of consumables over its expected lifespan, and divide by the total hours of use.
- Initial Price: $300
- Consumables (Lenses/Batteries) over 3 years: $150
- Total Cost: $450
- Estimated Use: 1,500 hours (10 hours/week)
- Cost per Hour: $0.30
When you look at it this way, spending an extra $100 for a helmet that lasts twice as long and provides better clarity is an easy decision. It’s about investing in your shop’s long-term capability and your own physical well-being.
Summary of Practical Benchmarks
As you evaluate your current inventory or plan your next purchase, keep these benchmarks in mind. They are based on my 15 years of maintenance logs and represent the “sweet spot” for active fabricators who value reliability over hype.
- Optical Clarity: Aim for 1/1/1/1 or 1/1/1/2.
- Sensors: Four independent arc sensors are preferred.
- Switching Speed: 1/20,000th of a second or faster.
- Leather Weight: 9oz to 12oz for general fabrication.
- Respirator: P100 rating with a low-profile fit.
- Footwear: ASTM F2413 rated with heat-resistant soles.
By focusing on these data-driven metrics, you can build a workshop environment that is not only safer but also more efficient and cost-effective. The right gear allows you to focus on the craft of fabrication rather than worrying about equipment failure or physical fatigue.
Frequently Asked Questions
Why does my auto-darkening helmet flicker when I’m welding outside? This is often caused by sunlight interference or low sensor sensitivity. Many auto-darkening filters (ADF) use infrared sensors that can be confused by the sun. Look for a helmet with an “outdoor” or “grind” mode, or adjust the sensitivity settings to better distinguish the arc from ambient light.
How often should I really change my respirator filters? The industry standard is to change them when you feel “breathing resistance” or can smell/taste the fumes. However, in my shop, I replace them every 40 to 60 hours of arc time as a preventative measure. If you are welding on stainless steel or galvanized metal, you should change them even more frequently due to the toxicity of the fumes.
Is FR cotton really as safe as leather? FR cotton is excellent for light sparks and UV protection, but it cannot match leather for heavy slag or prolonged heat contact. I typically use a “hybrid” approach: an FR cotton jacket with leather sleeves. This provides the breathability of cotton with the heavy-duty protection where it’s needed most.
What is the difference between a “passive” and an “auto-darkening” lens? A passive lens is a piece of tinted glass (usually shade 10 or 11) that is always dark. You have to “flip” the helmet down right as you start the arc. An auto-darkening lens uses liquid crystal technology to stay clear until the arc is struck, then it darkens in milliseconds. Auto-darkening is generally preferred for modern fabrication as it allows for better precision and reduces neck strain.
Do I need a PAPR system for a home shop? A Powered Air Purifying Respirator (PAPR) is a significant investment. While it provides the best protection and comfort, it may be overkill for a hobbyist. However, if you spend more than 20 hours a week welding in a space with limited ventilation, or if you have pre-existing respiratory issues, the long-term health benefits often outweigh the high initial cost.
How can I tell if my welding gloves are worn out? Look for “stiffening” of the leather, which indicates it has been heat-damaged and lost its protective oils. Also, check the seams; if the thread is disappearing or the leather is thinning in the fingertips, it’s time to replace them. Never use gloves with holes, as UV radiation can cause “welder’s sunburn” on your skin very quickly.
Does the color of the lens (Green vs. True Color) matter? Traditional lenses have a heavy green tint. “True Color” or “Natural Color” technology allows more of the light spectrum through, making the puddle look blue or white. In my experience, True Color significantly improves the ability to see the difference between the molten metal and the slag, leading to cleaner welds.
What should I look for in a grinding shield? A grinding shield must have a Z87+ rating for high-impact protection. It should also offer a wide field of view and a comfortable headgear system. I prefer shields that have replaceable clear visors, as they will inevitably get pitted and scratched over time in a busy shop.
Can I wash my flame-resistant (FR) clothing? Yes, but you must follow the manufacturer’s instructions. Avoid using bleach or fabric softeners, as these can strip the flame-resistant chemicals from the fabric. Most FR gear is rated for a specific number of washes (e.g., 50 washes) before the protection begins to degrade.
Why is my helmet headgear always breaking? Headgear is the most common mechanical failure point. It is usually made of plastic that becomes brittle over time due to UV exposure and heat. Look for helmets with “multi-point” headgear that distributes weight across your head rather than just a single band. This reduces the tension needed to keep the helmet in place, extending the life of the plastic components.
(This article was written by one of our staff writers, David Reynolds. Visit our Meet the Team page to learn more about the author and their expertise.)