Essential Tools for Starting a Home Metal Workshop (Review)
After fifteen years of keeping detailed maintenance logs in my workshop, I’ve learned that the most expensive tool isn’t the one with the highest price tag—it’s the one that breaks in the middle of a critical project. I started my first logbook in 2009 after a budget-friendly MIG welder’s transformer failed just fourteen months into its life. Since then, I have tracked every hour of runtime, every bearing replacement, and every thermal shutdown across dozens of machines.
Most reviews you find online are written after twenty minutes of use. They focus on the fresh paint and the “unboxing experience.” My perspective is different. I look for the failure points that only appear after 200 hours of arc time or 1,000 cuts through square tubing. For active fabricators, the goal is to build a shop based on data and durability, not marketing brochures.
In this guide, I will share the metrics I use to evaluate machinery before I spend a dime. We will look at how to read spec sheets for what they hide, how to calculate the true cost of ownership, and which core machines provide the most reliable service in a residential setting.
Decoding Manufacturer Spec Sheets for Workshop Equipment
A spec sheet is a legal document that often uses technical truths to mask practical limitations. Understanding the relationship between electrical input, heat dissipation, and mechanical output is the first step in avoiding a purchase that will underperform in a real-world garage environment.
Understanding Duty Cycle Ratings in Residential Environments
Duty cycle is a measurement of how long a machine can operate within a ten-minute window at a specific output before it must cool down. For example, a 30% duty cycle at 90 amps means you can weld for three minutes and must let the fan run for seven minutes.
In my experience, many entry-level machines are rated at room temperature (20°C/68°F). However, if your garage is 35°C (95°F) in the summer, that 30% rating can drop to 15% or lower. When researching welder buying guides, always look for ratings tested at 40°C (104°F). This higher standard ensures the machine won’t trip its thermal overload protection every time the weather gets warm.
Power Phase and Input Requirements for Home Shops
Most residential workshops are limited to 120V or 240V single-phase power. While many modern tools are “dual voltage,” their performance metrics change drastically depending on the plug. A machine might claim 200 amps of output, but it can only achieve that on a 240V circuit with a 50-amp breaker.
I have found that running tools on 120V often leads to higher internal heat because the machine has to work harder to maintain the arc or motor speed. If you are planning a long-term setup, prioritizing 240V capability is the single best way to extend the life of your equipment’s internal electronics.
| Tool Category | Recommended Input | Minimum Circuit Amperage | Expected Lifespan (Hours) |
|---|---|---|---|
| MIG/TIG Welder | 240V | 50A | 2,000+ |
| Metal Band Saw | 120V | 15A | 1,500+ |
| Bench Grinder | 120V | 10A | 3,000+ |
| Plasma Cutter | 240V | 40A | 1,200+ |
Selecting Primary Cutting Tools for Metal Fabrication
Cutting metal is a violent process that generates heat and friction. The tools you choose for this task will determine the accuracy of your fit-ups and the amount of time you spend grinding away mistakes.
Performance Metrics for Benchtop Band Saws
A benchtop band saw is the workhorse of a small shop because it provides cool, quiet, and accurate cuts compared to abrasive “chop” saws. When evaluating these, I look at the motor’s horsepower and the blade speed settings, usually measured in feet per minute (FPM).
In my shop logs, I’ve noted that saws with variable speed controls (ranging from 80 to 230 FPM) allow for much longer blade life. Cutting stainless steel at high speeds will dull a blade in minutes, whereas dropping the speed preserves the teeth. Look for a saw with a cast-iron base rather than stamped steel; the extra mass absorbs vibration, which prevents the blade from “walking” during a cut.
Abrasive Saws vs. Cold Saws in Small Spaces
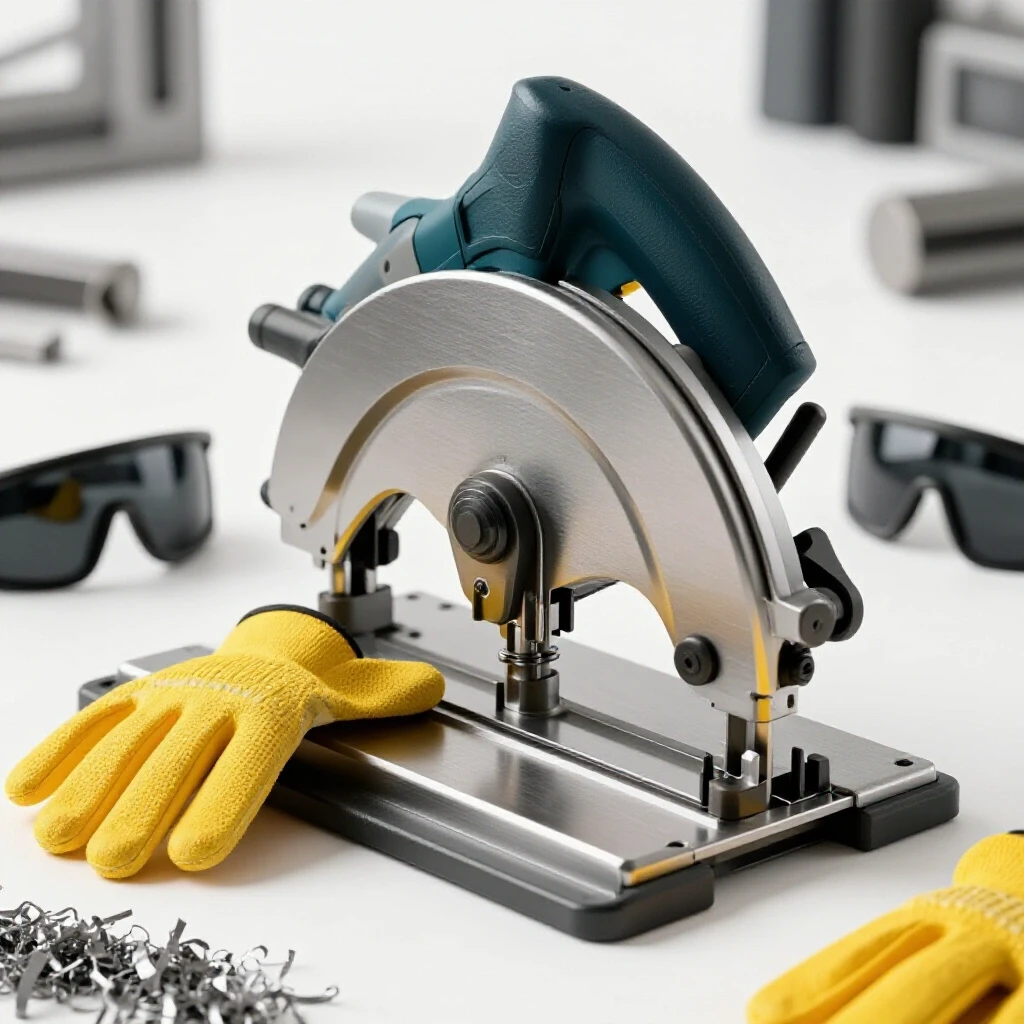
Abrasive saws are inexpensive but produce significant dust and sparks, which can be a fire hazard in a crowded garage. Cold saws or “dry cut” saws use carbide-tipped blades that spin at much lower RPMs (around 1,300 to 1,500 RPM) to produce a clean, burr-free edge.
While the initial cost of a dry-cut saw is higher, the tooling investment guides I maintain show that the cost per cut is often lower over time. A single $100 carbide blade can outlast fifty $5 abrasive discs if handled correctly. However, these blades are sensitive; one loose clamp or a sudden jolt can shatter the teeth, making them a high-risk, high-reward investment.
Evaluating Welding Power Sources for Longevity
The welder is the heart of the fabrication shop. Modern technology has shifted from heavy transformer-based machines to lightweight electronic inverters, but this shift comes with a new set of reliability concerns.
Inverter vs. Transformer Reliability
Transformer welders are simple, heavy, and often last thirty years because they have few moving parts. Inverters use high-speed switching transistors to create a smooth arc in a much smaller package. While inverters are more energy-efficient and offer better arc control, they are more susceptible to dust and moisture.
According to my power tool reliability ratings, inverter failures are almost always related to the circuit board. To protect an inverter in a home shop, ensure it has a “fan-on-demand” system. This means the fan only runs when the machine is hot, which significantly reduces the amount of metallic grinding dust pulled into the sensitive electronics.
Modern Features: Pulse and Synergic Controls
Many new machines offer synergic controls, where you select the material thickness and the machine sets the voltage and wire speed for you. This is excellent for beginners, but I always check if the machine allows for full manual override.
As you gain experience, you will find that the “auto” settings often run too cold or too hot for specific joint geometries. A machine that locks you into its presets will eventually limit your growth as a fabricator. Pulse welding is another feature becoming common in mid-tier machines; it helps manage heat on thin materials, reducing the risk of warping or burn-through.
Precision and Finishing Equipment Maintenance
Once the metal is cut and joined, the finishing tools take over. These tools often run at the highest RPMs in the shop, meaning their bearings and motors are under constant stress.
Managing Bearing Wear in High-RPM Tools
Angle grinders are the most abused tools in any workshop. They operate at 10,000 to 12,000 RPM while being showered in grit. In my maintenance journals, I’ve found that the first sign of failure is usually an increase in vibration or a change in the “whine” of the motor.
To extend the life of these tools, I perform a “blow-out” with compressed air every five hours of trigger time. This removes the conductive dust that builds up around the motor brushes. Brushless motors are a significant upgrade here; they are sealed better and lack the friction-heavy brushes that eventually wear out and cause arcing.
Bench Grinder Accuracy and Wheel Dressing
A bench grinder is essential for sharpening tungsten, cleaning bolts, or shaping small parts. However, most consumer-grade grinders come with wheels that are out of balance. This vibration doesn’t just make the tool walk across the bench; it destroys the motor bearings over time.
Investing in a diamond wheel dresser is a mandatory step for garage machinery maintenance. By “truing” the wheel—making it perfectly round and flat—you reduce vibration and improve the finish on your workpieces. I recommend checking the “runout” (wobble) of the arbor shaft before the warranty expires. If the shaft itself is bent, no amount of wheel dressing will fix it.
Long-Term Ownership and Maintenance Frameworks
Reliability is not an accident; it is the result of a consistent inspection routine. If you treat your tools like disposable items, they will fail when you need them most. If you treat them like precision machinery, they will serve you for decades.
Creating a 50-Hour Inspection Checklist
I use a simple numbered list to track the health of my core machinery. Every 50 hours of use, I perform the following:
- Visual Inspection: Look for frayed power cords, cracked housings, or loose fasteners.
- Electrical Check: Ensure all ground connections are tight and there is no smell of ozone during operation.
- Lubrication: Apply high-temperature grease to gears in the band saw and drops of oil to any moving pivot points.
- Filter Cleaning: Wash or replace foam filters on welders or plasma cutters.
- Calibration: Use a machinist’s square to ensure the band saw blade and the grinder tool rests are still at 90 degrees.
Managing Tool Warranties and Repair Logs
When a tool fails, the “marketing hype” disappears, and you are left with the warranty department. I keep a digital folder for every major purchase containing a PDF of the manual, a photo of the receipt, and a log of any issues.
Many manufacturers offer a 3-year warranty but require you to register the tool within 30 days of purchase. If you miss that window, you might be stuck with a 1-year or 90-day warranty. My tooling investment guides suggest that a 3-year warranty on a welder is worth roughly $150 in “insurance value” compared to a 1-year warranty on a cheaper machine.
Analyzing Lifetime Cost of Ownership
To truly understand if a tool is a good value, you have to look past the sticker price. You must calculate the cost of consumables, electricity, and potential repair parts.
The Consumable Cost Trap
Some tools are inexpensive to buy but ruinous to run. For example, a cheap plasma cutter might use proprietary “drag tips” that cost $5 each and only last for ten minutes of cutting. Over a year, you might spend more on tips than you did on the machine.
Always research the availability of “non-proprietary” consumables. If you can buy contact tips, nozzles, and blades from multiple suppliers, the competition keeps prices low and ensures you won’t be stranded if one company goes out of business.
Electricity and Utility Impact
While not a major factor for occasional hobbyists, active fabricators should consider “Power Factor Correction” (PFC). This is a feature in high-end inverters that allows the machine to use electricity more efficiently.
In my logs, machines with PFC pull fewer amps from the wall to achieve the same welding output. This means less heat in your house wiring and fewer tripped breakers. It also allows the tool to run better on long extension cords, which is often a necessity in a home garage.
Actionable Benchmarks for New Shop Owners
If you are just starting to build your inventory, it is easy to get overwhelmed by the options. I recommend a “buy once, cry once” approach for core machinery while being more frugal with secondary accessories.
Tool-Buying Decision Pathway
When I am considering a new piece of equipment, I follow this logic:
- Frequency of Use: Will I use this tool every week? If yes, I buy the highest-rated mid-tier brand I can afford.
- Precision Requirement: Does this tool need to be accurate to 0.001 inches? If yes, I avoid the budget “house brands.”
- Parts Availability: Can I find a replacement motor or switch on a Saturday afternoon? If the parts only come from overseas with a 4-week lead time, I pass.
- Ergonomics: After two hours of use, will my hands be numb from vibration? This is why I prefer high-end grinders with vibration-dampening handles.
Diagnostic Checklist for Used Machinery
Sometimes, the best value is found in the used market. When inspecting a used machine, I look for these red flags:
- Discoloration on the motor housing: Indicates the tool was severely overheated.
- Excessive “play” in the spindle: Indicates worn-out bearings.
- Modified wiring: Avoid tools where the previous owner has bypassed safety switches or replaced the plug with something non-standard.
- Grinding dust inside the vents: Shows the tool was used in a heavy production environment rather than a hobby shop.
Conclusion and Next Steps
Building a reliable workshop is a marathon, not a sprint. The goal is to create a space where the tools are an extension of your hands, not a source of frustration. By focusing on duty cycle explanations and power tool reliability ratings, you move away from being a consumer and toward being a technician.
My final advice is to start small but start high-quality. A single, reliable MIG welder and a solid 4.5-inch angle grinder will allow you to complete 80% of common fabrication projects. As you grow, use your maintenance logs to identify where your current gear is failing you. This data-driven approach ensures that every dollar you spend is an investment in your craft, not just another piece of equipment taking up space on your bench.
Frequently Asked Questions
What is the most common cause of early failure in home workshop welders? The most common cause is overheating due to exceeding the duty cycle, followed closely by internal contamination. Grinding dust is metallic and conductive; when an inverter’s fan pulls this dust onto the circuit boards, it can cause a “short” that destroys the machine. Keeping your welding area separate from your grinding area and blowing out the machine with air regularly are the best preventative measures.
Why does my 120V welder keep tripping the circuit breaker? Most 120V welders require a 20-amp circuit to run at their maximum settings. Standard household outlets are often on 15-amp circuits, which also share power with lights or other appliances. When the welder draws its peak current, it exceeds the breaker’s limit. To fix this, you usually need a dedicated 20-amp circuit or, preferably, an upgrade to a 240V outlet.
Is a brushless motor really worth the extra cost for an angle grinder? For an active fabricator, yes. Brushless motors are more efficient, meaning they stay cooler during long grinding sessions. They also lack carbon brushes that wear out and need replacement. Because they are electronically controlled, they often include safety features like “kickback brake” and “restart protection” that are absent on cheaper, brushed models.
How do I know if a band saw’s motor is powerful enough for my projects? Look at the horsepower (HP) rating and the “continuous” vs. “peak” labels. A true 1/2 HP motor is sufficient for most benchtop work. However, the more important metric is the gear reduction system. A well-geared 1/3 HP motor will cut better than a poorly geared 1 HP motor. Check user logs for reports of the motor “stalling” or slowing down under moderate pressure.
What should I look for in a tool warranty? Look for “repair vs. replace” policies. Some companies require you to ship a 50-pound machine at your own expense for repair, which can cost $100 or more. Others have local authorized service centers. A “bumper-to-bumper” 3-year warranty that covers both parts and labor is the gold standard for residential fabrication equipment.
Can I run a plasma cutter on a standard extension cord? It is not recommended. If you must use one, it needs to be a heavy-duty 10-gauge or 12-gauge cord and as short as possible. Using a thin, long extension cord causes a “voltage drop,” which forces the machine’s internal components to work harder, generating excessive heat and potentially leading to premature failure of the inverter.
How often should I change the oil in a metal-cutting band saw gearbox? Most small benchtop saws have “sealed-for-life” gearboxes that use grease rather than oil. However, if your saw has an oil-filled gearbox, I recommend the first change after the “break-in” period (about 20 hours of cutting) to remove any metal shavings from the manufacturing process. After that, once every two years is usually sufficient for home use.
What is “thermal overload protection,” and how does it work? This is a safety switch (usually a thermistor) inside the motor or transformer. When the internal temperature reaches a dangerous level that could melt the wire insulation, the switch opens and cuts power to the output. If your machine trips this frequently, you are pushing it beyond its designed capacity, and you should consider upgrading to a machine with a higher duty cycle.
(This article was written by one of our staff writers, David Reynolds. Visit our Meet the Team page to learn more about the author and their expertise.)