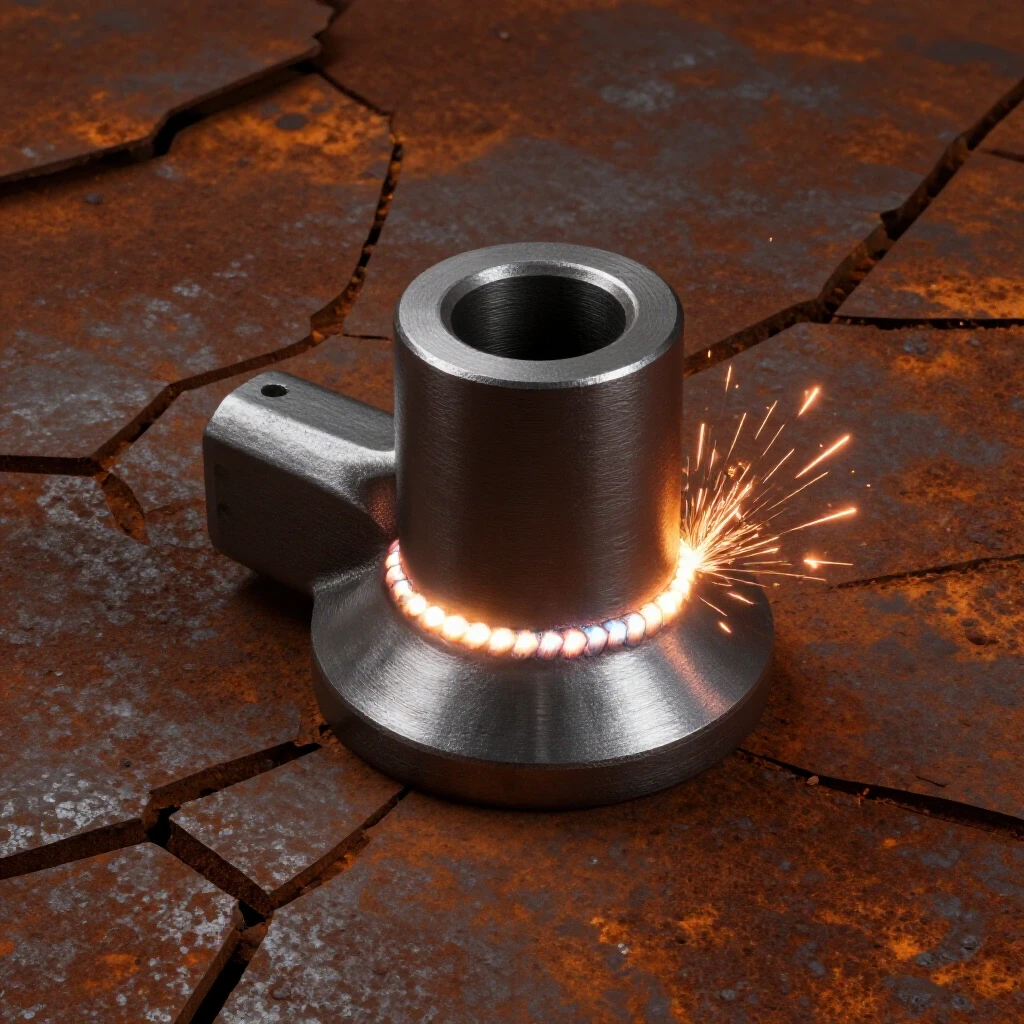
How to Batch Fabricate Identical Steel Brackets (DIY Plan)
When I first started working with steel twelve years ago, I thought my biggest challenge would be the machine settings. I spent hours obsessing over voltage charts and wire speed dials. However, I quickly realized that the real hurdle wasn’t the machine; it was my own body. I remember trying to create a set of simple right-angle supports for a workbench. The first one was decent, but by the fifth one, my hand was shaky, my angles were off, and the parts didn’t match. This frustration is common for anyone learning metal fabrication, but it can be overcome through a systematic approach to physical practice and muscle memory.
Building consistency in your shop isn’t about luck. It is about transforming manual tasks into repeatable movements. Whether you are a hobbyist or an aspiring pro, the goal is to reach a point where your hands know exactly what to do before the arc even starts. By focusing on the mechanics of the process—how you stand, how you breathe, and how you move your torch—you can produce a series of identical steel components that look and perform like they came from a professional shop.
Mastering Body Mechanics for Manual Consistency
Body mechanics refers to the way you position and move your body to maintain stability and control during a physical task. In fabrication, proper mechanics reduce fatigue and allow for the smooth, steady movements required for high-quality welds and precise cuts.
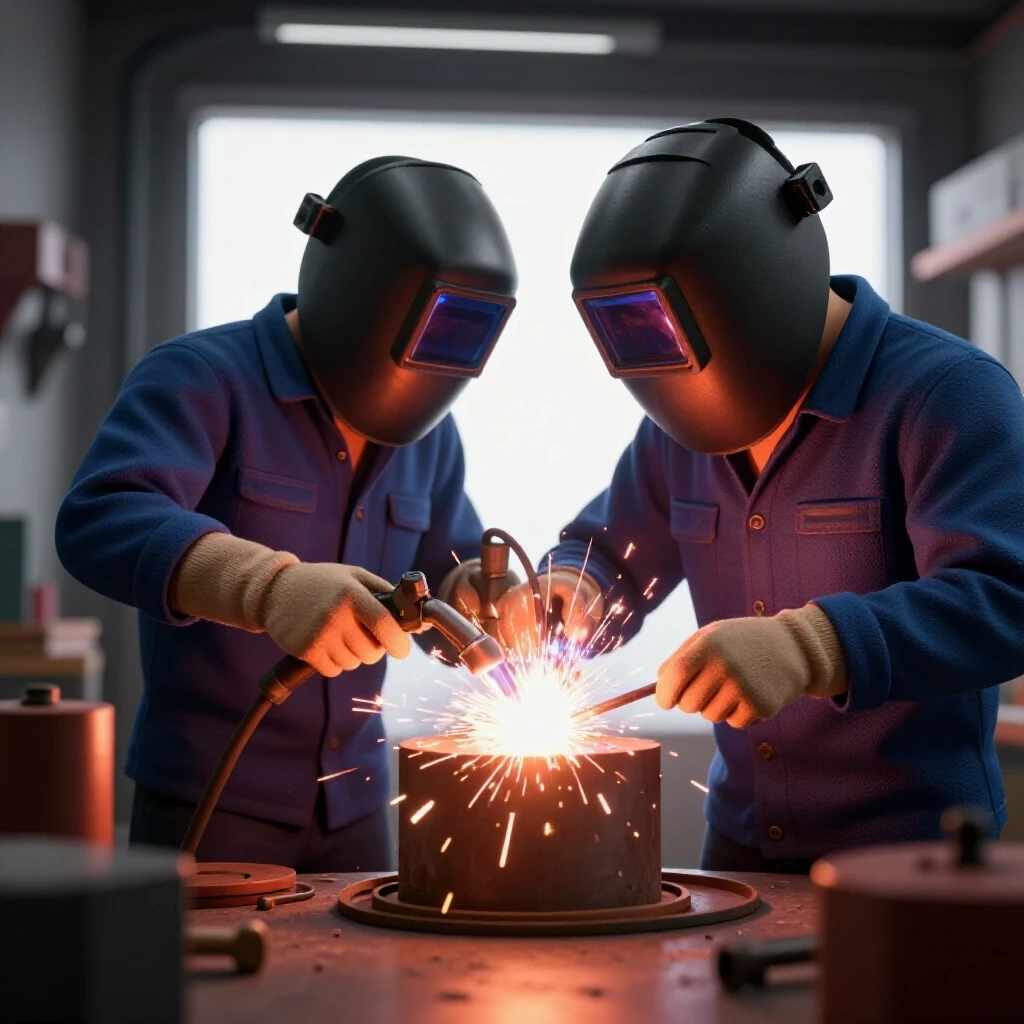
When you are working through a metal welding practice guide, your stance is your foundation. I often tell my students to think of themselves as a tripod. If you are standing upright with no support, your torch hand will naturally wobble. To fix this, I always look for three points of contact. This might mean leaning your hip against the welding table, resting your elbow on a fire brick, or using your non-dominant hand to steady your wrist.
Before you pull the trigger, perform a “dry run.” Move your torch along the entire length of the joint without the power on. If your arm hits your ribcage or you have to shift your feet halfway through, you need to reposition. A smooth, uninterrupted motion is the only way to achieve a consistent bead shape across multiple parts.
- Foot Placement: Keep your feet shoulder-width apart to maintain a low center of gravity.
- Bracing: Use a “sliding hand” technique where your pinky finger or the side of your hand glides along the workpiece.
- Breathing: Take a breath, let half of it out, and hold a steady rhythm. Avoid holding your breath, which leads to muscle tension.
Mastering Torch Control and Fluid Dynamics
Torch control is the ability to maintain a consistent distance, angle, and speed while manipulating the welding arc. It requires a deep understanding of how the molten metal puddle reacts to heat and movement.
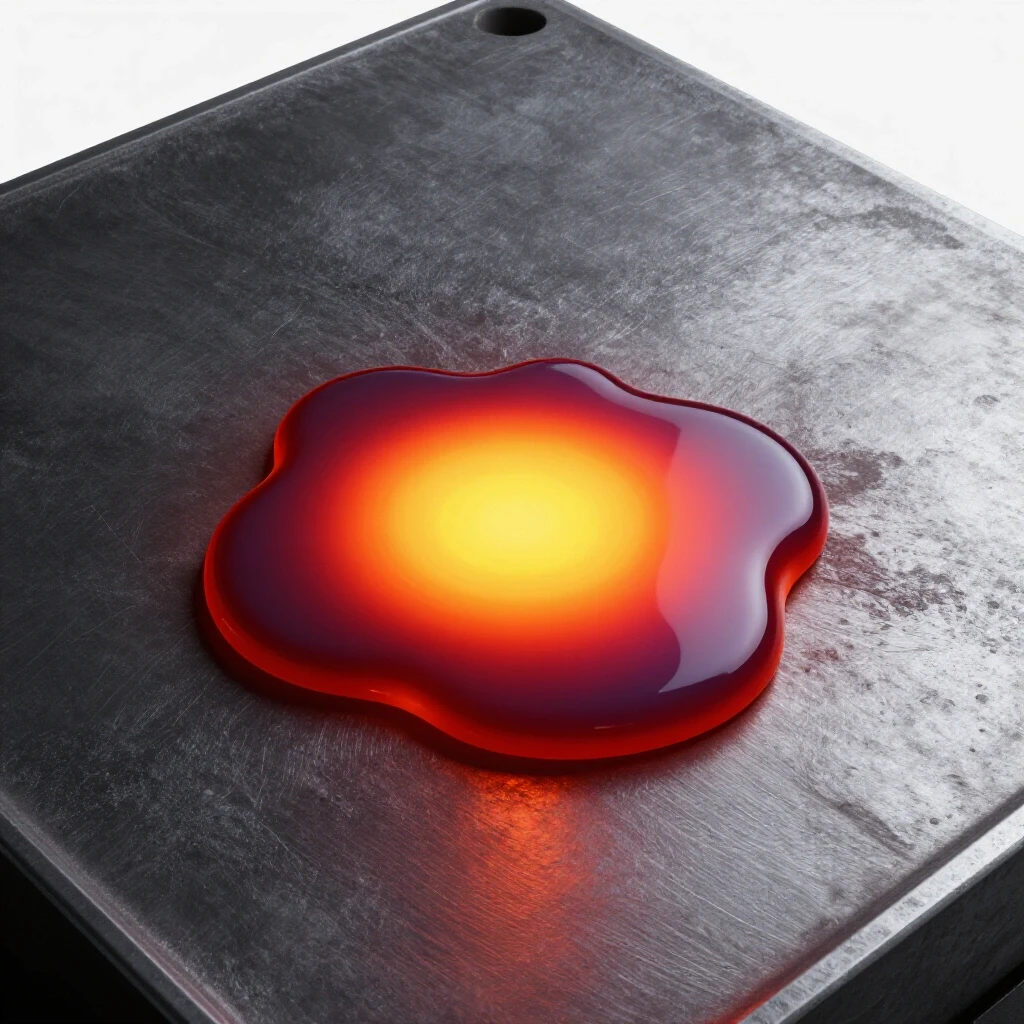
One of the most important aspects of learning metal fabrication is “reading the puddle.” The puddle is the small pool of molten steel created by the arc. If you move too fast, the puddle stays thin and won’t penetrate the metal. If you move too slow, it becomes too wide and may burn through. For most 1/8-inch steel projects, you want to maintain a travel speed of roughly 8 to 12 inches per minute (IPM).
The angle of your torch also dictates the shape of the weld. For a standard flat joint, a 10 to 15-degree drag angle (leaning the torch away from the direction of travel) is usually best. This pushes the heat into the joint and helps the slag stay behind the puddle. Consistent torch manipulation habits are built through hundreds of short practice runs, focusing on keeping the arc gap—the distance between the electrode and the metal—at a steady 1/8 inch.
Weld Travel Speed Parameters
| Travel Speed | Visual Result | Structural Impact |
|---|---|---|
| Too Fast (>15 IPM) | Narrow, “ropey” bead | Poor penetration, potential cold lap |
| Ideal (8-12 IPM) | Uniform width, distinct ripples | Good fusion and consistent throat depth |
| Too Slow (<6 IPM) | Wide, flat, or sagging bead | Excessive heat-affected zone, potential burn-through |
Setting Baseline Machine Power for Repeatability
Machine parameters are the specific settings on your welder, such as voltage, amperage, and wire feed speed, that determine how much heat is delivered to the metal. Setting these correctly ensures that every part in your batch receives the same amount of energy.
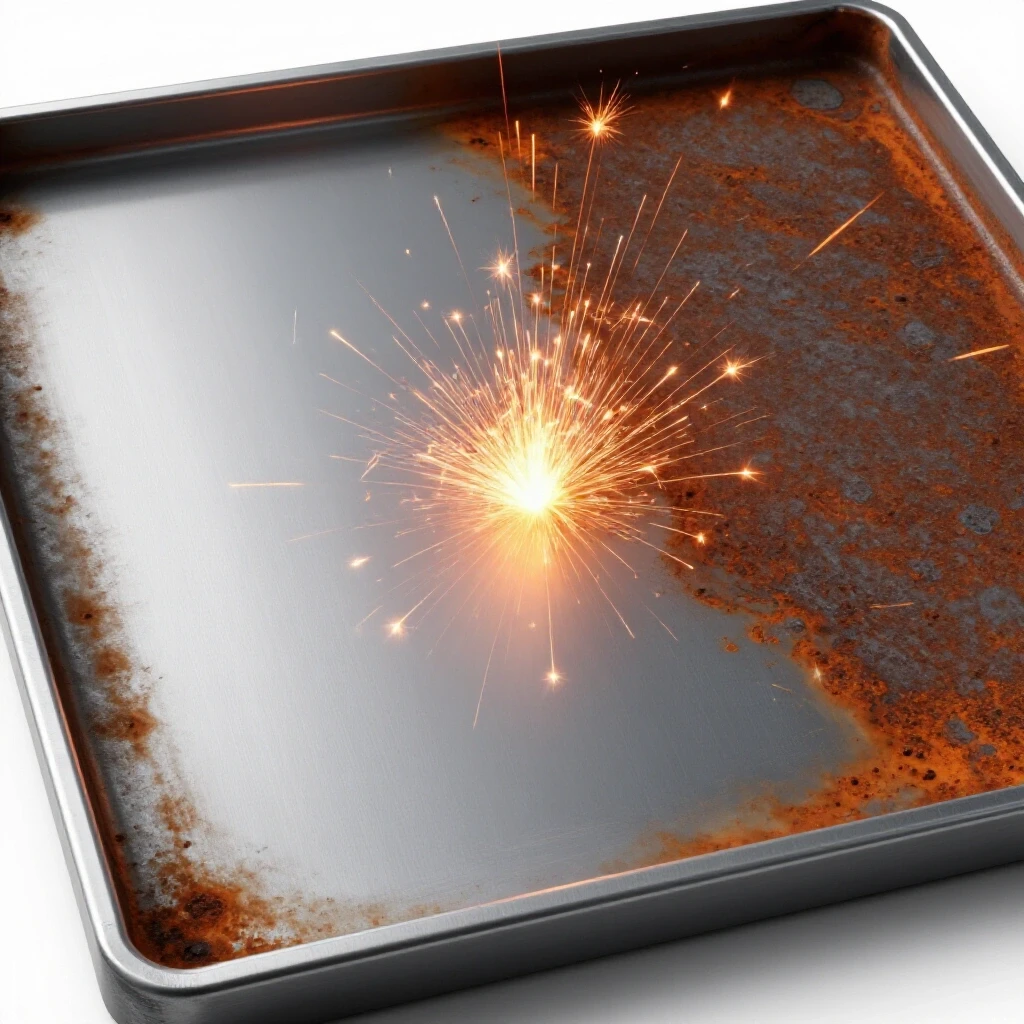
Consistency starts with a clean environment. I always tell my students that if the metal isn’t shiny, it isn’t ready. Use a flap disc to create a “clean zone” at least one inch wide around every joint. This removes mill scale, which is the dark flaky layer on hot-rolled steel that acts as an insulator and causes arc instability.
Once the metal is clean, set your parameters based on your material thickness. For 3/16-inch steel, you might start at 18.5 volts and a wire feed speed of 220 IPM. However, these numbers are just a starting point. You must listen to the arc. A steady, “sizzling bacon” sound usually indicates that your voltage and wire speed are in harmony. If the wire is stubbing into the metal, your speed is too high or your voltage is too low.
- Clean Zone: Always grind to bare, shiny metal to prevent porosity.
- Grounding: Ensure your ground clamp is on clean metal as close to the weld as possible.
- Consistency: Once you find the “sweet spot,” write it down in your practice log.
Creating Uniform Components through Templates and Jigs
A jig is a custom-made tool that holds your workpieces in a fixed position, while a template is a master pattern used to mark or cut multiple identical parts. Using these tools eliminates the variation caused by manual measuring.
When you need to produce ten or twenty identical brackets, measuring each one with a tape measure is a recipe for error. Instead, create a stop block on your saw. This is a simple piece of scrap metal clamped to your saw table that acts as a physical barrier. You slide your steel against the block, cut, and repeat. Every piece will be exactly the same length.
For drilling holes, a simple plywood or steel template ensures that every hole lines up perfectly when it comes time for assembly. If you are welding two pieces of steel at a 90-degree angle, use a magnetic square or a dedicated welding jig. This prevents the metal from pulling out of alignment as it cools. Metal expands when hot and contracts as it cools; a jig fights this “thermal pull” to keep your parts square.
Physical Practice Progression Steps
- Preparation Drill: Practice grinding 10 pieces of scrap to a mirror finish without rounding the edges.
- Cutting Drill: Set a stop block and cut 5 pieces of flat bar. Measure each with calipers to ensure they are within 1/32 of an inch.
- Tack Welding: Practice placing 1/8-inch tack welds on four corners of a joint to see how the metal moves.
- Full Run: Execute a 3-inch bead, focusing entirely on maintaining a 1/8-inch arc gap.
Executing Consistent Fillet Joints
A fillet weld joins two pieces of metal at an angle, typically forming a “T” or an “L” shape. This is the most common joint used when building structural supports and requires precise torch positioning.
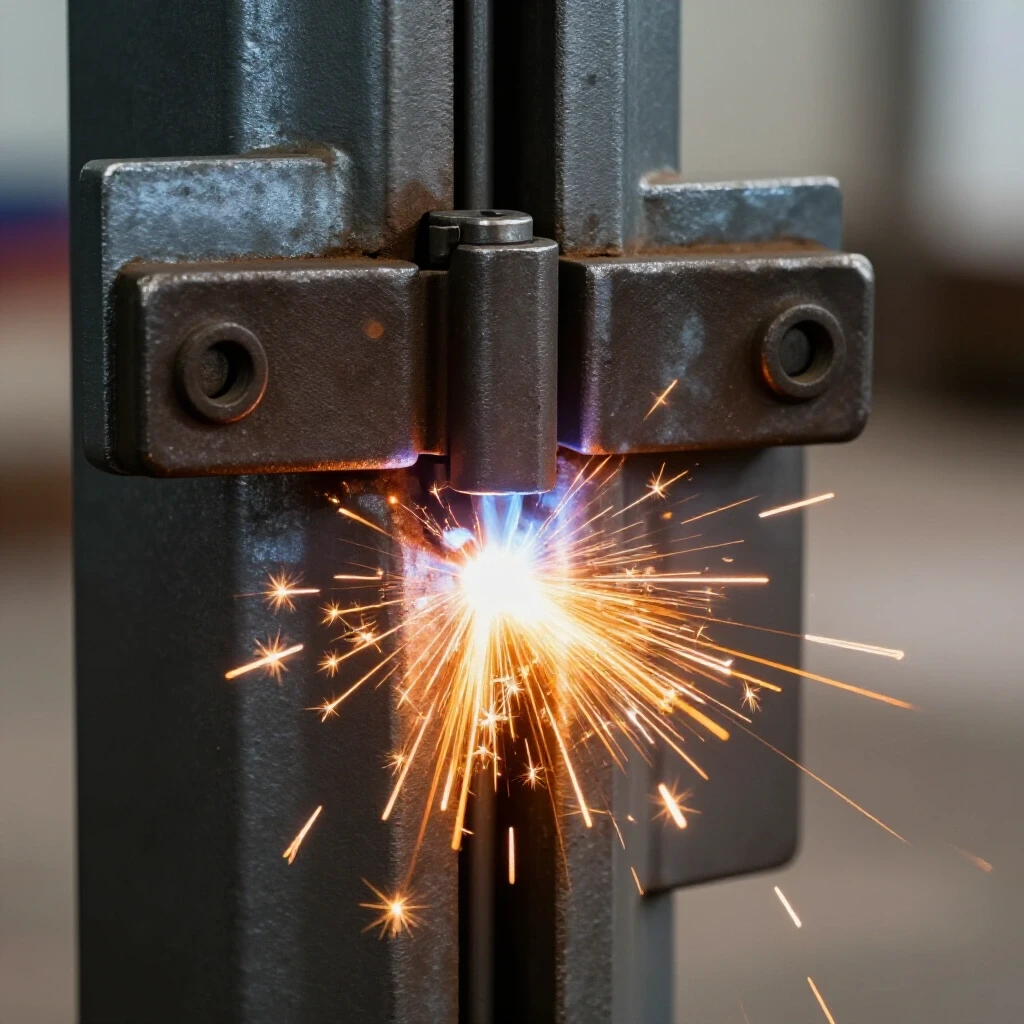
The key to a successful fillet weld is the “work angle.” This is the angle of the torch in relation to the two pieces of metal. For a 90-degree joint, you want to split the difference, holding the torch at a 45-degree angle. This ensures that the heat is distributed equally between the vertical and horizontal pieces.
I remember a project where I was building a set of heavy-duty shelf brackets. I didn’t account for the heat building up in the small parts. By the time I got to the third bracket, the metal was so hot that the weld started to sag. This is where “heat management” comes in. If you are making a batch, don’t weld one bracket completely. Instead, tack them all together first, then weld one side of each bracket in a sequence. This allows the heat to dissipate, keeping your weld travel speed tips effective and your beads uniform.
- Work Angle: 45 degrees for equal heat distribution.
- Travel Angle: 10-15 degrees drag for better puddle control.
- Tacking: Always use tacks to prevent the joint from opening up during the final pass.
Self-Evaluating Joint Quality and Progress
Self-evaluation is the process of critically inspecting your work against industry standards to identify areas for improvement. It is the only way to break through a technical plateau.
After you finish a batch of parts, line them up and look at the “toe” of the weld—the point where the weld meets the base metal. Is it smooth, or is there a notch? A notch is called “undercut,” and it’s usually caused by too much heat or holding the torch at the wrong angle. Also, look for “porosity,” which looks like tiny holes or bubbles in the metal. This is often caused by poor cleaning or a lack of shielding gas.
To measure your progress objectively, use a weld fillet gauge. This tool measures the “throat” and “leg” of the weld. If one bracket has a 1/4-inch leg and the next has a 1/2-inch leg, your travel speed was inconsistent. Tracking these metrics in a log allows you to see exactly where your muscle memory is failing you.
Visual Defect Evaluation Chart
| Defect | Appearance | Likely Cause | Fix |
|---|---|---|---|
| Undercut | A groove melted into the base metal | Too much heat or too fast travel | Lower voltage or slow down slightly |
| Porosity | Small holes/pits in the bead | Dirty metal or wind blowing gas away | Grind to shiny metal; block drafts |
| Overlap | Weld metal sits on top without fusing | Too little heat or too fast travel | Increase voltage or slow down |
| Spatter | Small blobs of metal around the weld | Voltage too high or wire speed too low | Adjust parameters to get the “sizzle” |
Building a Skill Progression Log
A skill progression log is a structured journal where you record your machine settings, the materials used, and the results of your practice sessions. It serves as a roadmap for your development as a fabricator.
I started keeping a log about five years into my journey, and I wish I had started on day one. When you have a “perfect” day in the shop where every weld looks like a row of fallen dominoes, write down exactly what you did. What was the voltage? How did you brace your arm? What was the temperature in the shop?
When you hit a plateau, your log will show you the patterns. Maybe your welds get worse after an hour of practice because of fatigue. Maybe you struggle with vertical joints but excel at flat ones. By documenting these details, you can tailor your trade school practice drills to focus on your weaknesses.
- Date and Material: Record the steel thickness and type (e.g., 1/8″ Hot Rolled Flat Bar).
- Machine Settings: Note the Volts, Amps, or Wire Feed Speed.
- Technique Focus: What were you practicing? (e.g., “Maintaining 15-degree drag angle”).
- Observations: What did the arc sound like? Was there a lot of spatter?
- Photo/Video: If possible, take a photo of the best and worst bead from the session.
Why Travel Speed Rules the Puddle
Travel speed is the rate at which you move the torch along the joint. It is perhaps the most difficult variable to master because it relies entirely on visual feedback and hand-eye coordination.
If you are struggling with inconsistent beads, try a “counting drill.” As you weld, count “one-thousand-one, one-thousand-two” in your head. Try to move the torch exactly one inch for every three seconds. This sounds simple, but maintaining that rhythm while a 3,000-degree arc is inches from your face takes significant mental effort.
As you gain experience, you will stop counting and start “feeling” the puddle. You will see the back of the puddle solidify and the front of it melt the base metal. This is the “flow state” of fabrication. When you can maintain this flow across ten identical parts, you have mastered the fundamental welding technique progression.
- Visual Cues: Watch the width of the puddle. It should remain constant.
- Rhythm: Use a metronome or internal count to stabilize your hand movement.
- Consistency: The goal is for the ripples in the bead to be spaced evenly.
Overcoming the Frustration of Technical Plateaus
A plateau is a period where, despite regular practice, you don’t seem to be getting any better. This is a natural part of any skill-based learning curve, especially in manual trades.
When I hit a plateau, I usually go back to the basics: bead-on-plate drills. I take a flat piece of scrap and just run straight lines. I don’t worry about joining pieces together; I just focus on my hand-eye coordination. I’ll change one variable at a time—maybe I’ll tilt the torch a bit more, or I’ll try to move just a hair slower.
Often, a plateau is actually a sign that your brain is processing new information. You might be noticing flaws in your work that you were blind to a month ago. That “frustration” is actually your eye getting better, even if your hand hasn’t caught up yet. Stay the course, keep your logs, and focus on the physical cues that lead to success.
Practical Steps for Your Next Shop Session
To see immediate improvement in your ability to produce uniform steel parts, follow this structured plan for your next practice session.
- Prepare your Stock: Cut five pairs of 3-inch long flat bar. Use a stop block to ensure every piece is identical.
- Clean the Metal: Spend 10 minutes grinding the ends to a bright finish. Do not skip this step.
- Set Your Baseline: Use a scrap piece of the same thickness to dial in your machine until the arc is stable.
- The “Dry Run”: Position yourself for the first joint. Practice the movement three times without turning on the welder.
- Execute and Log: Weld the first joint. Stop. Inspect it. Note the results in your log. Adjust one thing (speed, angle, or bracing) for the second joint.
- Review: At the end of the session, compare all five joints. Look for the one that is most consistent and try to replicate that feeling next time.
Fabrication is a journey of a thousand small adjustments. By treating every part as a chance to refine your physical mechanics, you move away from “guessing” and toward “knowing.” The goal isn’t just to make one good bracket; it’s to develop the skill to make a hundred of them, each one a testament to your discipline and practice.
Frequently Asked Questions
Why do my welds look different even though I’m using the same settings? Usually, this is due to changes in your body position or travel speed. As you move along a bench, your arm angle naturally changes. If you don’t reposition your feet or brace your arm, your torch angle will drift, changing the way the heat enters the metal.
How can I tell if I’m moving too fast without a stopwatch? Look at the shape of the ripples in the cooled weld. If they are pointed like a “V,” you are moving too fast. If they are rounded like a “U” or a crescent moon, your speed is likely in the correct range.
What is the best way to keep my parts from warping during welding? Heat causes metal to expand. To minimize warping, use plenty of tack welds to hold the parts in place. You can also weld in short bursts, moving from one part to another to allow the steel to cool down between passes.
Do I really need to grind the metal if it looks clean? Yes. Even if the steel looks clean, it likely has mill scale or a thin coat of oil from the factory. These contaminants can cause arc instability and internal defects that you can’t see from the surface.
How long does it take to build consistent muscle memory? For most people, it takes about 20 to 40 hours of focused, “hood-down” time to feel comfortable. To achieve professional-grade consistency, you are looking at 100+ hours of deliberate practice where you are actively tracking and correcting your mistakes.
Why is my wire sticking to the metal instead of melting? This is usually caused by a wire feed speed that is too high for the voltage you’ve selected. Try turning your voltage up slightly or backing off the wire speed until the arc “clears” and starts that consistent sizzle.
What should I do if I can’t see the puddle clearly? Check your helmet lens. A dirty or scratched cover lens is the most common reason for poor visibility. Also, make sure you have enough light in your workspace; sometimes an extra LED shop light pointed directly at the joint makes all the difference.
Is it better to “push” or “pull” the torch? For MIG welding on steel, “pulling” or “dragging” the torch (pointing it back toward the weld you just made) generally provides deeper penetration and a cleaner bead. “Pushing” is often used for thinner materials to prevent burn-through.
How do I stop my hand from shaking during long welds? Focus on your breathing and your bracing. If you are “white-knuckling” the torch, your muscles will fatigue quickly. Relax your grip and ensure you have a solid point of contact for your arm or hand to slide along.
What is the most important tool for a beginner to buy first? Beyond the welder and safety gear, a high-quality 4.5-inch angle grinder is essential. You will spend as much time (if not more) preparing and cleaning metal as you will welding it. A good grinder makes that process much less tedious.
(This article was written by one of our staff writers, Thomas Langley. Visit our Meet the Team page to learn more about the author and their expertise.)