How to Break In a Metal Cutting Bandsaw Blade (DIY Guide)
I have spent 17 years in industrial maintenance, and if there is one thing I have learned, it is that a tool is only as good as its first hour of work. I have seen high-end, five-figure saws struggle because an operator treated a fresh blade like a disposable commodity. In my shop, I do not look at shiny paint or fancy logos. I look at the grain of the cast iron, the quality of the motor bearings, and the way a cutting edge meets the material. When you bring a new band saw blade into your workflow, you are not just putting a part on a machine; you are performing a critical mechanical synchronization. If you skip the initial conditioning of those teeth, you are essentially throwing away 25% to 50% of the blade’s potential life before the first day is over.
Why Initial Cutting Edge Management Dictates Tool Longevity
Establishing a microscopic radius on the sharp tips of a new saw blade ensures the teeth can withstand the high pressure of heavy metal fabrication without fracturing.
When a blade comes off the factory floor, the teeth are incredibly sharp and pointed. While this sounds ideal, these “needle-sharp” points are actually quite fragile. Under full load, these points can easily snap off, leading to premature dulling or “stripping” of the teeth. By managing the first few cuts with reduced pressure, you allow the metal to wear down those sharp points into a tiny, rounded radius. This radius supports the tooth structure, allowing it to dive into hard alloys without breaking. Think of it like a new pair of work boots; if you go for a ten-mile hike on day one, you will ruin your feet. You have to let the materials settle into their working shape first.
Evaluating Machine Rigidity and Frame Dampening
The structural integrity of your saw frame determines how evenly the blade enters the cut, which is the foundation of a successful tool conditioning process.
Before you even tension a blade, you have to look at what is holding it. I always prefer heavy cast iron frames over thin, stamped sheet steel. Cast iron has a high carbon content that naturally dampens vibrations. In my experience, a saw that vibrates during the initial run-in will cause the blade teeth to “chatter” against the workpiece. This chatter creates micro-cracks in the carbide or high-speed steel (HSS) tips. If your machine lacks mass, you have to be even more careful during the first fifty square inches of cutting.
- Cast Iron Grade 25/30: Offers excellent vibration absorption for medium-duty shops.
- Sheet Steel Frames: Often found in budget saws; require slower speeds to compensate for lack of mass.
- Torsional Stiffness: The ability of the saw arm to resist twisting when the blade is under tension.
| Frame Material | Vibration Dampening | Structural Weight | Suitability for Heavy Alloys |
|---|---|---|---|
| Cast Iron (Heavy) | High | 400+ lbs | Excellent |
| Cast Iron (Light) | Medium | 150-300 lbs | Good |
| Reinforced Steel | Low-Medium | 100-200 lbs | Fair |
| Stamped Steel | Low | <100 lbs | Poor |
Understanding Drive Systems and Speed Control
The way your motor delivers power to the blade affects how gently you can introduce the new teeth to the metal surface.
Most modern saws use either a step-pulley system or an electronic variable speed (EVS) drive. I have torn down dozens of these, and the EVS drives with brushless motors are becoming my favorite for one reason: torque at low speeds. When you are seating a new blade, you often need to drop your surface feet per minute (SFM) by about 30% to 50%. A motor that bogs down or shudders at low RPM will ruin the break-in. If you are using a budget saw with a standard induction motor, ensure your belts are tight and aligned so the power delivery is smooth and consistent.
- Check Pulley Alignment: Use a straightedge to ensure the motor and gearbox pulleys are in the same plane.
- Verify RPM Accuracy: Use a handheld tachometer to confirm the blade speed matches the dial or chart.
- Inspect Gearbox Oil: Metal shavings in the gearbox from the factory can cause “surging” in the blade speed.
The Practical Sequence for Conditioning New Teeth
To properly seat the cutting edges, you must reduce both the blade speed and the feed pressure for a specific volume of material.
I generally recommend using a piece of mild steel (like A36) or an easy-machining aluminum for this process. Avoid jumping straight into stainless steel or hardened tool steel with a brand-new blade. Start by setting your blade speed to about 50% of the recommended setting for that material. Then, adjust your feed pressure—the downward force of the saw—to about half of what you would normally use. You want the blade to produce thin, curly chips. If you see fine powder, you aren’t feeding hard enough; if you see thick, blue-tinted chips, you are feeding too hard and generating too much heat.
- Initial Surface Area: Aim for 50 to 100 square inches of total cutting for a standard bimetal blade.
- Gradual Ramp-Up: After the first 25 square inches, increase speed and pressure by 10% every few cuts.
- Consistency: Keep the saw running continuously during the cut; stopping and starting mid-cut can shock the teeth.
Diagnostic Benchmarks for Blade Performance
Monitoring the physical signs of the cut allows you to adjust the conditioning process in real-time based on mechanical feedback.
I always tell my guys to “listen” to the saw. A well-seated blade has a consistent, low-frequency hum. If you hear a high-pitched “screaming” or a rhythmic “thumping,” something is wrong. The thumping usually means a tooth has already chipped or there is a weld bump in the blade. During the first few cuts, check the temperature of the blade and the workpiece. While some heat is normal, the blade should never be too hot to touch (carefully!) after a light cut in mild steel.
- Chip Inspection: Look for “6-shaped” chips. These indicate the tooth is shearing the metal correctly.
- Surface Finish: The cut face should be smooth. Deep vertical gouges suggest the blade is wandering or a tooth is damaged.
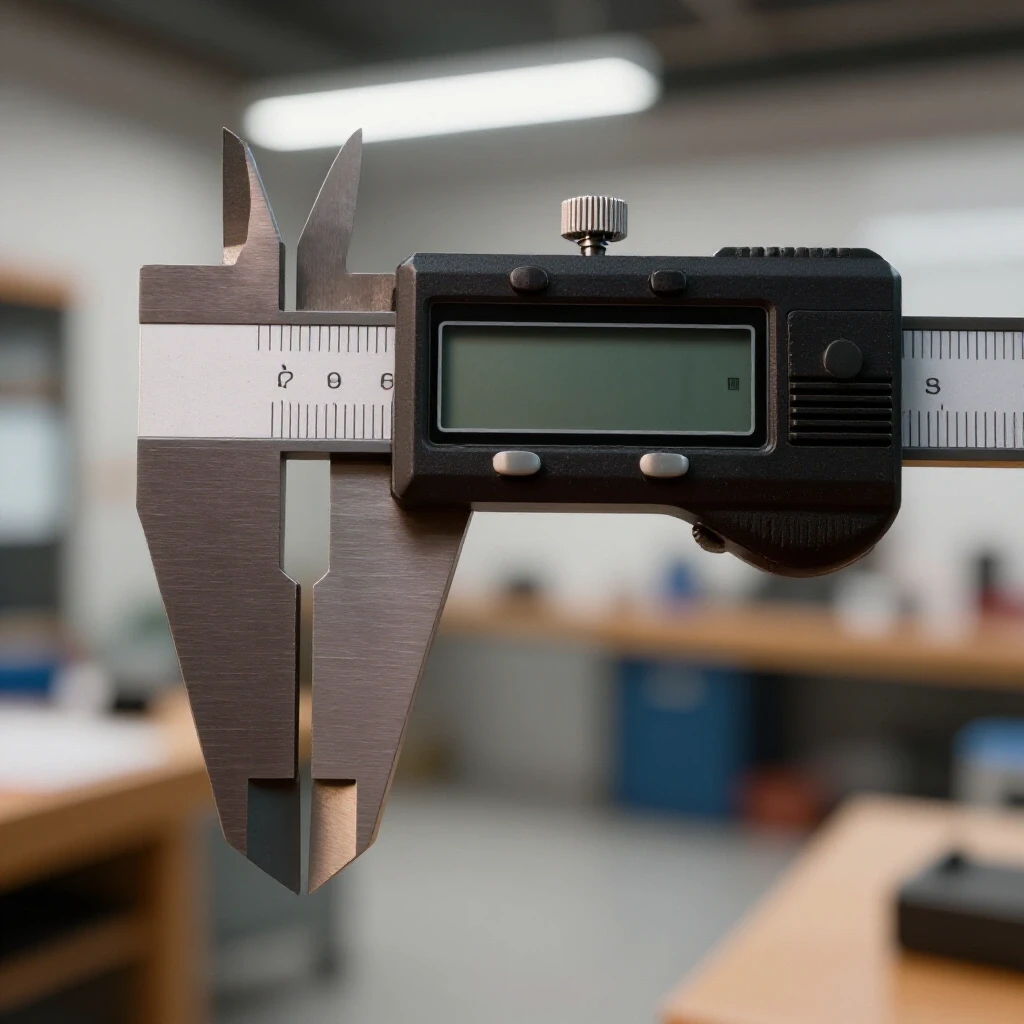
- Total Indicated Runout (TIR): Use a dial indicator on the side of the blade to ensure it isn’t wobbling more than 0.001 to 0.002 inches.
| Material Type | Initial Speed (SFM) | Initial Feed Pressure | Total Break-in Area |
|---|---|---|---|
| Mild Steel | 100-150 | 50% of normal | 50 sq. inches |
| Aluminum | 200-250 | 40% of normal | 75 sq. inches |
| Carbon Steel | 70-90 | 50% of normal | 60 sq. inches |
| Alloy Steel | 50-70 | 30% of normal | 100 sq. inches |
Troubleshooting Common Early-Life Failures
Even with a careful approach, mechanical issues can arise that threaten the integrity of your new cutting tool.
One of the most common mistakes I see is improper blade tension. If the blade is too loose, it will “snake” in the cut, causing the sides of the teeth to rub and overheat. If it is too tight, you risk snapping the blade at the weld or damaging the saw’s wheel bearings. Most mid-range saws have a tension gauge, but they are notoriously inaccurate. I prefer the “deflection test.” With the guides set 12 inches apart, a firm push with your finger should not move the blade more than 1/8th of an inch.
- Blade Wandering: Check the guide bearings. They should be just touching the blade without pinching it.
- Tooth Stripping: Usually caused by entering a sharp corner too fast or having too few teeth in the work. Ensure at least three teeth are always in contact with the metal.
- Vibration/Chatter: Often solved by changing the blade speed slightly to move away from the machine’s resonant frequency.
Maintenance Framework for Long-Term Precision
A successful break-in is only the beginning; maintaining the machine’s alignment ensures the blade stays healthy throughout its life.
Once you have completed the initial conditioning, do not just forget about the machine. I make it a habit to check the guide alignment every time I change a blade. Over time, the bearings that hold the blade upright can wear down or become clogged with metal dust. If these bearings stop spinning, they will create friction heat that tempers the back of your blade, making it brittle. I once worked on a saw where the owner complained of constant blade breakage. It turned out a $5 bearing had seized, and it was “scoring” the back of every new $60 blade he installed.
- Clean the Wheels: Brush off metal chips that get trapped between the blade and the drive wheels.
- Check Coolant Flow: Ensure the fluid is hitting the entry point of the cut to wash away chips.
- Monitor the Weld: Inspect the factory weld on the blade for any cracks or misalignment.
Selecting the Right Blade for the Job
Choosing the correct tooth pitch and material type is just as important as the break-in procedure itself.
In my shop, I stick to bimetal blades for 90% of our work. They have a flexible spring-steel back and high-speed steel teeth. This combination is very forgiving during the seating process. If you are buying a blade for a specific project, look at the Teeth Per Inch (TPI). A common rookie mistake is using a coarse blade (low TPI) on thin-walled tubing. This “catches” the teeth and rips them off instantly. Always match your TPI to the thickness of your material.
- Constant Pitch: Good for solid blocks of uniform material.
- Variable Pitch: Best for tubing, pipe, and structural shapes to reduce vibration.
- Carbide Tipped: Expensive and very brittle; requires an extremely rigid machine and a very disciplined break-in.
Summary Checklist for Tool Conditioning
Follow these steps every time you install a fresh band saw blade to maximize your investment.
- Clean the machine: Remove all old chips from the guides and wheels.
- Install and tension: Set tension and check for 1/8″ deflection.
- Align guides: Ensure bearings are close but not binding.
- Set speed: Reduce SFM by 50% for the initial cuts.
- Set feed: Manually control or adjust the hydraulic feed to 50% pressure.
- Monitor chips: Look for thin, silvery curls.
- Increase gradually: Raise speed and pressure every 10-15 square inches of cutting.
- Final check: After 100 square inches, return to standard production rates.
By taking the time to properly introduce a new blade to your machine, you are acting as a technician rather than just an operator. It requires patience, but the payoff is a saw that cuts straighter, runs quieter, and costs you less in consumables over the long haul. In the world of metalworking, the small details are what separate a hobbyist from a professional fabricator.
FAQ
What happens if I don’t break in my new blade? If you skip the break-in, the ultra-sharp tips of the teeth will likely fracture or “micro-chip” under the high pressure of a standard cut. This leads to a dull blade very quickly, often within the first few hours of use. You might also experience “tooth stripping,” where entire sections of teeth are ripped off the blade backing.
How many cuts does it take to properly seat the teeth? It is more about surface area than the number of cuts. For most shop-sized saws, aim for about 50 to 100 square inches of material. If you are cutting a 2-inch solid round bar, that is about 3 square inches per cut, so you would need roughly 15 to 30 cuts to complete the process.
Can I use any metal for the initial conditioning process? It is best to use mild steel or aluminum. Avoid stainless steel, cast iron, or high-carbon tool steels for the first few cuts. These materials are either too abrasive or too hard, which can damage the teeth before they have had a chance to develop a supportive radius.
Should I use coolant during the break-in period? Yes, if your saw is equipped with a coolant system, you should definitely use it. Coolant helps wash away chips and keeps the tooth tips from overheating. If you are using a dry-cutting saw, be even more conservative with your speed and feed rates to manage heat.
What if my saw only has one speed? If you cannot adjust the blade speed, you must be extremely careful with the feed pressure. Lighten the downward force significantly—more than 50%—to compensate for the higher speed. Watch the chips closely; they should be thin and should not show any signs of heat discoloration (blue or straw color).
Does this process apply to carbide-tipped blades? Yes, and it is even more critical for carbide. Carbide is much harder than high-speed steel but also much more brittle. A carbide blade that is not broken in properly can be ruined in a single cut if the teeth shatter upon impact with the workpiece.
How do I know when the break-in is finished? You will notice the saw sounds smoother and the “sharp” noise of the new blade has mellowed into a consistent hum. The chips will also look more uniform. At this point, you can gradually increase your settings to the manufacturer’s recommended production rates.
Why does my blade vibrate so much during the first cut? Vibration is often caused by the teeth being too sharp and “grabbing” the metal rather than shearing it. Reducing the speed and feed pressure usually solves this. If it persists, check your blade tension and the gap between your guide bearings.
Is there a difference in breaking in a cheap blade versus a premium one? The process is the same, but premium bimetal blades are often more tolerant of slight errors. However, because premium blades cost significantly more, the financial incentive to break them in correctly is much higher. A cheap blade will fail faster regardless, but a premium blade can last for months if treated right from the start.
Can I break in a blade on thin-walled tubing? It is not recommended. Tubing has a very small cross-section, which puts a lot of stress on individual teeth. It is much better to use a solid bar or a thick plate for the conditioning process so the load is distributed across more teeth.
(This article was written by one of our staff writers, Steven Brooks. Visit our Meet the Team page to learn more about the author and their expertise.)