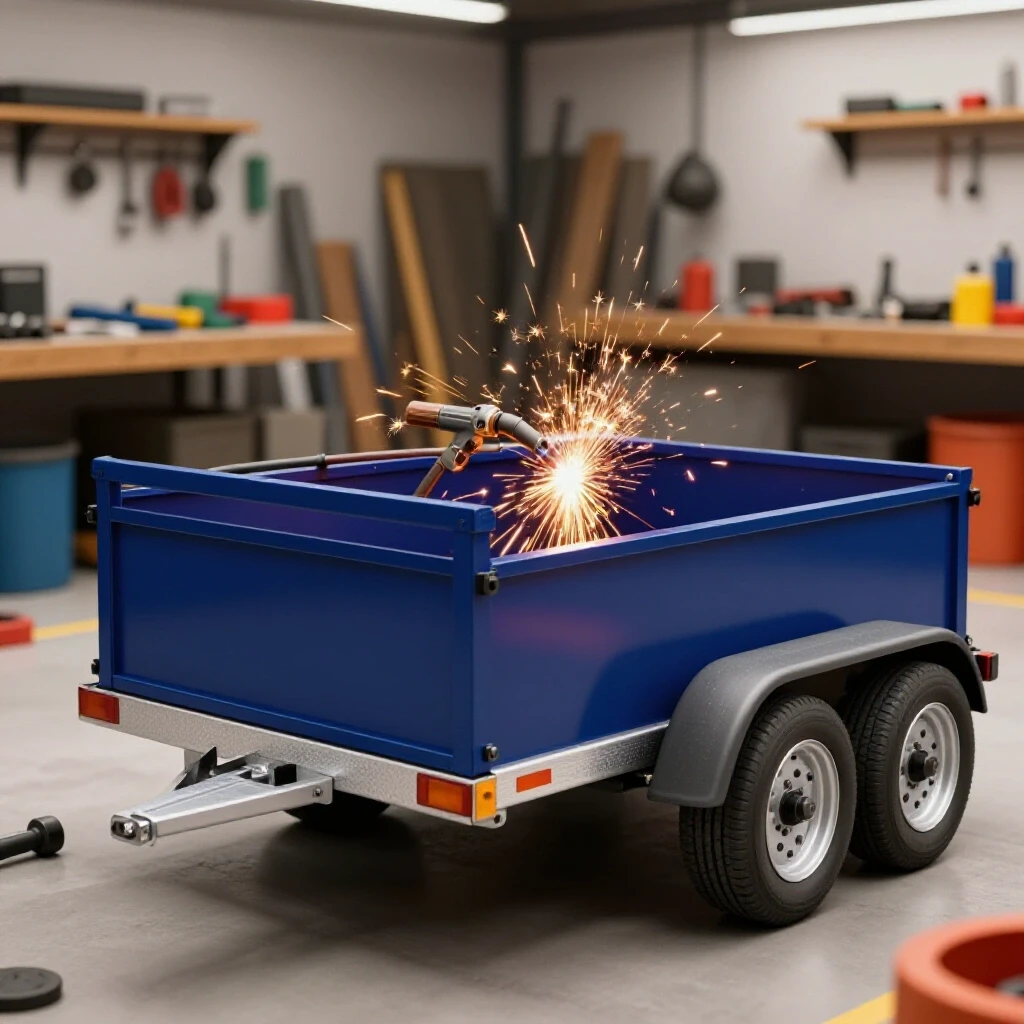
How to Build a Heavy Duty Trailer Support Frame (DIY Plan)
I remember the first time I tried to build a heavy-duty base for a shop project. I had spent hours measuring, used a brand-new square, and felt confident as I laid out my steel tubing on the garage floor. But as soon as I finished my final beads and let the metal cool, I realized something was wrong. One corner was lifted nearly half an inch off the ground. My “square” frame had turned into a giant steel potato chip.
That failure taught me a hard lesson that thirteen years in the prototype world have only reinforced: steel is a living, moving thing when you add heat. Whether you are building a reinforced undercarriage or a custom chassis, the secret isn’t just in the welding. It is in the planning, the layout, and the sequencing. I want to walk you through the process of building a robust steel support structure that stays straight and true.
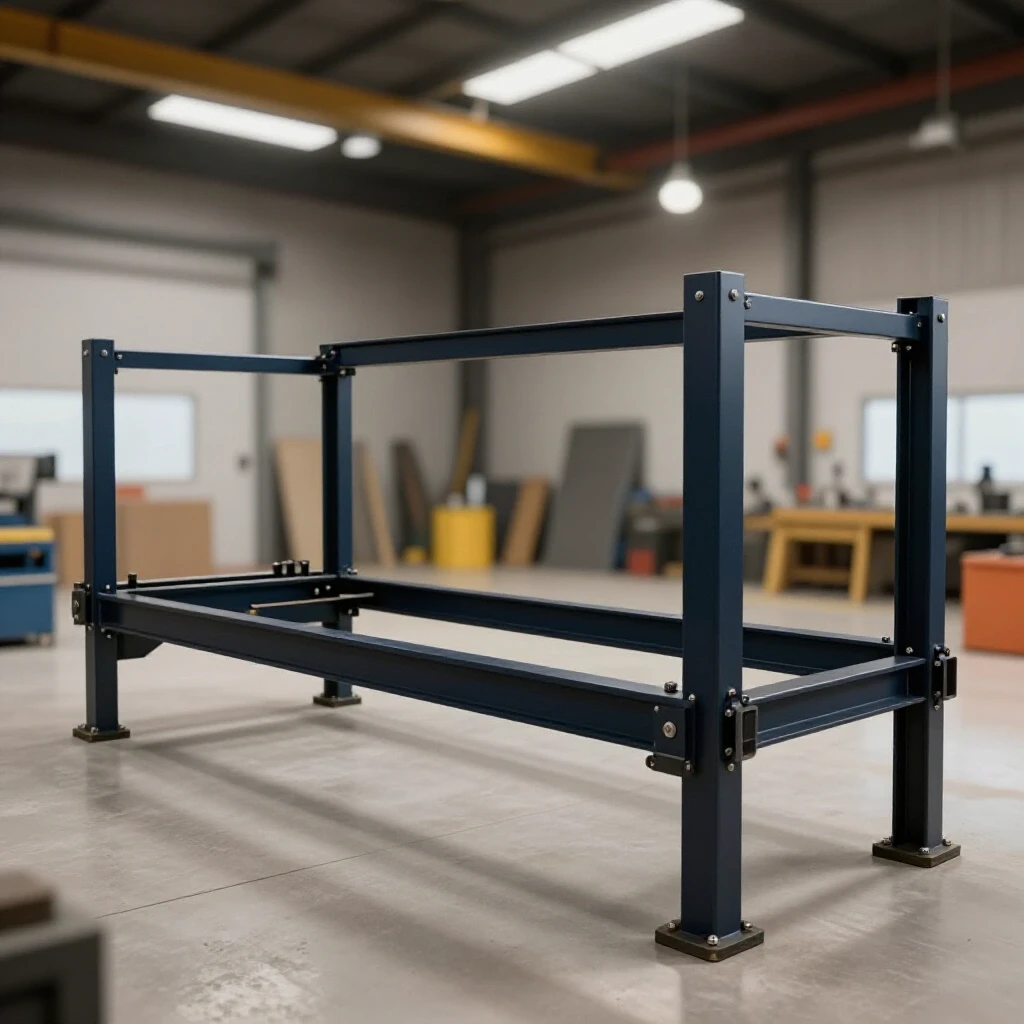
Designing the Foundation: Material Selection and Cutting Lists
Planning a structural assembly involves choosing the right steel shapes and calculating exact lengths while accounting for the material lost during the cutting process. This stage is where most errors begin, usually because a builder forgets to account for the thickness of their blade.
When I plan a heavy-duty project, I prefer square or rectangular structural tubing. It offers excellent torsional rigidity compared to flat bar or light angle iron. For a project intended to support significant weight, 2×3-inch or 2×4-inch tubing with a 3/16-inch wall thickness is often the sweet spot between weight and strength.
Before you touch a saw, you need a cut list. This is a document that accounts for every piece of steel, its length, and its miter angle. I also calculate the “kerf,” which is the width of the material turned into dust by your saw blade. If you make ten cuts with a 1/8-inch abrasive blade, you lose over an inch of material. If you don’t account for this, your last piece will always be too short.
Material Kerf Allowances by Cutter Type
| Cutter Type | Typical Kerf Width | Dimensional Impact per 10 Cuts | Recommended Use |
|---|---|---|---|
| Abrasive Chop Saw | 1/8 inch (0.125″) | 1.25 inches | Rough structural cuts |
| Portable Band Saw | 0.035 inch | 0.35 inches | Precision fit-ups |
| Cold Saw | 3/32 inch (0.093″) | 0.93 inches | High-precision machining |
| Plasma Cutter | 0.060 – 0.080 inch | 0.60 – 0.80 inches | Plate and gusset shapes |
- Always measure from the same end of the stock to prevent “stacking errors.”
- Mark your cut line with a scribe or a fine-point silver pencil for better accuracy than soapstone.
- Label every piece with its intended location in the frame using a paint marker.
Establishing a True Layout: Workshop Jigs and Fixtures
Creating a flat, square reference surface using clamps and temporary stops ensures the steel members stay aligned during assembly. Without a fixture, the heat from your first tack weld will pull your parts out of alignment before you even start your main beads.
I don’t always have a $5,000 professional welding table. In a home shop, I often build a “ladder jig.” This is a temporary frame made of straight, heavy C-channel or I-beam that I level on jack stands. I then clamp my project pieces to this jig. This provides a rigid spine that resists the pull of the cooling welds.
If you are working on a concrete floor, don’t assume it is flat. Use shims and a long straightedge to find the high spots. I use “dogs” and “wedges”—simple blocks of scrap steel welded to the table or jig—to lock my frame members into a perfect 90-degree angle. This physical restraint is your best defense against the natural movement of the metal.
Fixturing Span Recommendations
- Main Rails: Place a support or clamp every 24 to 30 inches to prevent sagging.
- Corner Joints: Use three-way clamps to hold the X, Y, and Z axes simultaneously.
- Cross Members: Use “spacer blocks” cut to the exact internal dimension to ensure consistent spacing without constant measuring.
The Art of the Structural Tack: Securing the Assembly
Placing small, strong welds at key points holds the frame together before final welding, allowing for minor adjustments and resisting initial heat pull. Tacks should be more than just “bird spit”; they need to be deep enough to hold the weight of the steel but small enough to be ground away if you make a mistake.
I never weld a joint fully until the entire frame is tacked and checked for squareness. I follow a specific tacking sequence. First, I tack the top of the joint, then the bottom. This prevents the joint from “closing up” like a book. If I only tack the top, the cooling weld will pull the two pieces of tubing toward each other, ruining my 90-degree angle.
For a heavy-duty frame, I use tacks that are roughly 1/2 inch long. I place them on the corners where they provide the most leverage against warping. Once the tacks are in place, I perform a “diagonal check.” I measure from the front-left corner to the back-right corner, then from the front-right to the back-left. If the two measurements are within 1/16th of an inch, I know the frame is square.
Tack Weld Spacing and Sizing
- Check Alignment: Verify the fit-up gap is less than 1/32nd of an inch.
- Corner Tacks: Place one tack on each of the four corners of a butt joint.
- Opposing Tacks: Always tack the side opposite your first tack immediately to balance the pull.
- Re-Measure: After every four tacks, re-check your diagonal measurements.
Managing Metal Warping: Strategic Weld Sequencing
Weld sequencing is the specific order and direction in which welds are applied to balance out the shrinkage forces that occur as molten metal cools. When steel transitions from a liquid to a solid, it shrinks by about 2% to 3% in volume. This shrinkage creates thousands of pounds of force.
If you start at one end of a long rail and weld all the way to the other, that rail will bow like a hunting bow. To prevent this, I use “back-stepping” or “staggered welding.” Instead of one long continuous bead, I weld in short segments on opposite sides of the frame. I might weld 3 inches on the front-left joint, then move to the back-right joint.
This distributes the heat evenly across the entire structure. Interestingly, the goal isn’t to stop the metal from moving—that’s impossible. The goal is to make the metal move in opposite directions so the forces cancel each other out. I call this “chasing the heat.”
Weld Sequencing and Distortion Control
| Sequence Type | Method | Best For | Distortion Risk |
|---|---|---|---|
| Continuous Bead | One long pass from start to finish | Small, non-critical parts | Very High |
| Back-Stepping | Welding in short sections toward the start | Long seams and plates | Low |
| Staggered/Symmetric | Alternating sides of the frame | Main structural joints | Medium |
| Wandering Sequence | Moving randomly across the project | Large, complex assemblies | Minimal |
- Rule of Thumbs: Never weld more than 4 inches at a time in one spot.
- Cooling Time: Let the joint become cool enough to touch with a gloved hand before doing the final pass.
- Direction: Always weld away from a fixed point or toward the center of a restrained member.
Why Heat Shrinkage Warps Square Structures
Understanding why your frame moves is the first step to controlling it. When you lay down a bead, the metal is at its maximum expansion. As it cools, it contracts. If you weld the outside of a corner, the shrinkage pulls the corner open. If you weld the inside, it pulls it shut.
This is called “angular distortion.” I’ve seen builders try to fight this with bigger clamps, but even the strongest C-clamp can be bent by the cooling force of a 1/4-inch weld. Instead of just clamping harder, I sometimes “pre-set” my joints. This means I purposely gap the joint 1 or 2 degrees in the opposite direction of the expected pull. As the weld cools, it pulls the joint into a perfect 90-degree angle.
Post-Weld Corrections and Structural Finishing
Even with the best sequencing, some movement is inevitable. Post-weld corrections involve using heat or mechanical force to bring a slightly bowed frame back into tolerance and preparing the surface for long-term use.
If I find a rail has bowed slightly, I use “flame straightening.” I apply a small amount of heat with an oxy-acetylene torch to the side of the tube that is too long (the convex side). When that spot cools, it shrinks and pulls the rail back into a straight line. It feels like magic, but it’s just physics. You are using the same shrinkage force that warped the frame to fix it.
Finally, I finish the frame by grinding the welds smooth only where necessary for fitment. For structural projects, I prefer to leave the “stack of dimes” visible. Over-grinding a weld can remove the throat thickness, which is where the strength lives. I then wipe the entire frame down with acetone to remove mill scale and oils before applying a high-quality primer.
Post-Weld Alignment Checklist
- Check Flatness: Place a straightedge across the top of the frame rails.
- Verify Square: Re-check diagonals one last time.
- Inspect Penetration: Look for any cold starts or craters that need filling.
- Stress Relief: Sometimes a light tap with a hammer around the weld area can help “settle” the internal stresses.
Building a Custom Chassis: A Practical Walkthrough
Let’s look at a real-world example. Last year, I built a support frame for a heavy-duty shop crane. I used 3-inch C-channel. I started by cutting my two main 8-foot rails. I clamped them back-to-back before welding anything. By clamping two identical pieces together, they act as heat sinks for each other and resist bowing.
I then welded my cross members starting from the center and working my way out to the ends. This “center-out” approach pushes the distortion toward the open ends of the frame where it is easier to manage. By the time I reached the corners, the center was already cool and stable.
The result was a frame that was within 1/32nd of an inch over 8 feet. That didn’t happen by accident. It happened because I respected the heat and followed a strict sequence.
Tool and Resource Checklist for Accuracy
- Measuring: A calibrated 25-foot tape measure and a 12-inch machinist square.
- Layout: A large 4-foot framing square (checked for accuracy).
- Clamping: At least eight heavy-duty F-clamps or C-clamps.
- Leveling: A digital protractor or a high-quality 4-foot level.
- Marking: Silver streaks or carbide-tipped scribes.
Conclusion: Mastering the Build
Fabricating a heavy-duty structure is a rewarding process, but it requires a shift in mindset. You aren’t just sticking pieces of metal together; you are managing thermal energy. By focusing on your cutting accuracy, building rigid fixtures, and using a disciplined weld sequence, you can produce work that rivals professional shops.
The next time you stand over a pile of raw steel, remember that the prep work is 80% of the job. Take the time to calculate your kerf, double-check your diagonals, and “chase the heat” across the frame. Your finished project will be straighter, stronger, and much easier to work with.
Frequently Asked Questions
How do I know if my framing square is actually square? Use the “3-4-5 rule.” Mark a point 3 inches from the corner on one leg and 4 inches on the other. The distance between those two points must be exactly 5 inches. For larger squares, use 3 feet, 4 feet, and 5 feet. If it’s off, your layout will never be right.
What is the best way to prevent the frame from “twisting” during welding? Always weld on a flat surface or a leveled jig. If you must weld on the floor, use metal shims to ensure all four corners of your frame are on the same plane. Clamping the frame down to a heavy table or “strongback” is the most effective way to prevent a twist.
Should I weld the inside or the outside of the corner first? I always tack the outside corners first to lock the dimensions. This helps maintain the vertical alignment of the tubing.
How much gap should I leave between pieces for a good weld? For structural tubing with a 3/16-inch wall, a “land” or gap of about 1/16th of an inch is ideal. This allows for full root penetration. If the pieces are tight against each other, you might only get a surface weld, which is much weaker.
How do I fix a frame that has already warped? If it’s a minor bow, you can use a hydraulic jack and some heavy weights to “cold bend” it back. If it’s a significant warp, you’ll need to use heat. Apply heat to the side that needs to shrink, then quench it with a damp rag to force a rapid contraction.
Why do my tack welds keep snapping? Your tacks are likely too small or you have too much tension in the metal. Ensure your fit-up is tight so the tack doesn’t have to bridge a large gap. Also, make sure you are getting good penetration into both pieces of steel.
Is it better to MIG or Stick weld a heavy frame? Both work well. MIG is faster and produces less heat overall if used correctly, which can help with distortion. Stick welding is often better for outdoor builds or thicker material where you need deep, reliable penetration regardless of surface mill scale.
How do I account for the thickness of the paint or powder coating? If you have parts that must slide together, like a telescoping hitch, leave at least 1/16th to 1/8th of an inch of “slop” in your measurements. A heavy coat of primer and paint can easily add 0.010 to 0.020 inches of thickness, which is enough to make a tight fit-up seize.
What is the most common mistake beginners make with layout? Measuring from different ends of the steel. Always pick one end of your stock as your “datum” or zero point and take all measurements from there. This prevents the small errors in each measurement from adding up to a large error at the end.
How many tacks are enough for a 2×4 tubing joint? I recommend at least four tacks—one in the center of each of the four sides. For extra security on heavy-duty projects, I place two tacks on each of the wider 4-inch faces and one on each 2-inch face.
(This article was written by one of our staff writers, Robert Kline. Visit our Meet the Team page to learn more about the author and their expertise.)