How to Build a Rigid Steel Top Router Table for Shop (Plan)
I have spent over a decade in fabrication shops, and if there is one thing I have learned, it is that steel has a memory. Every time you strike an arc, you are introducing heat that wants to pull your project out of alignment. I remember building my first heavy-duty shop fixture, a utility cart meant to hold a heavy engine block. I measured everything to the sixteenth of an inch, but by the time I finished welding the base, one corner was lifting nearly half an inch off the floor. It looked more like a rocking chair than a stable workbench. That failure taught me that custom fabrication projects are not just about where you put the metal, but how you manage the heat and the order of your assembly.
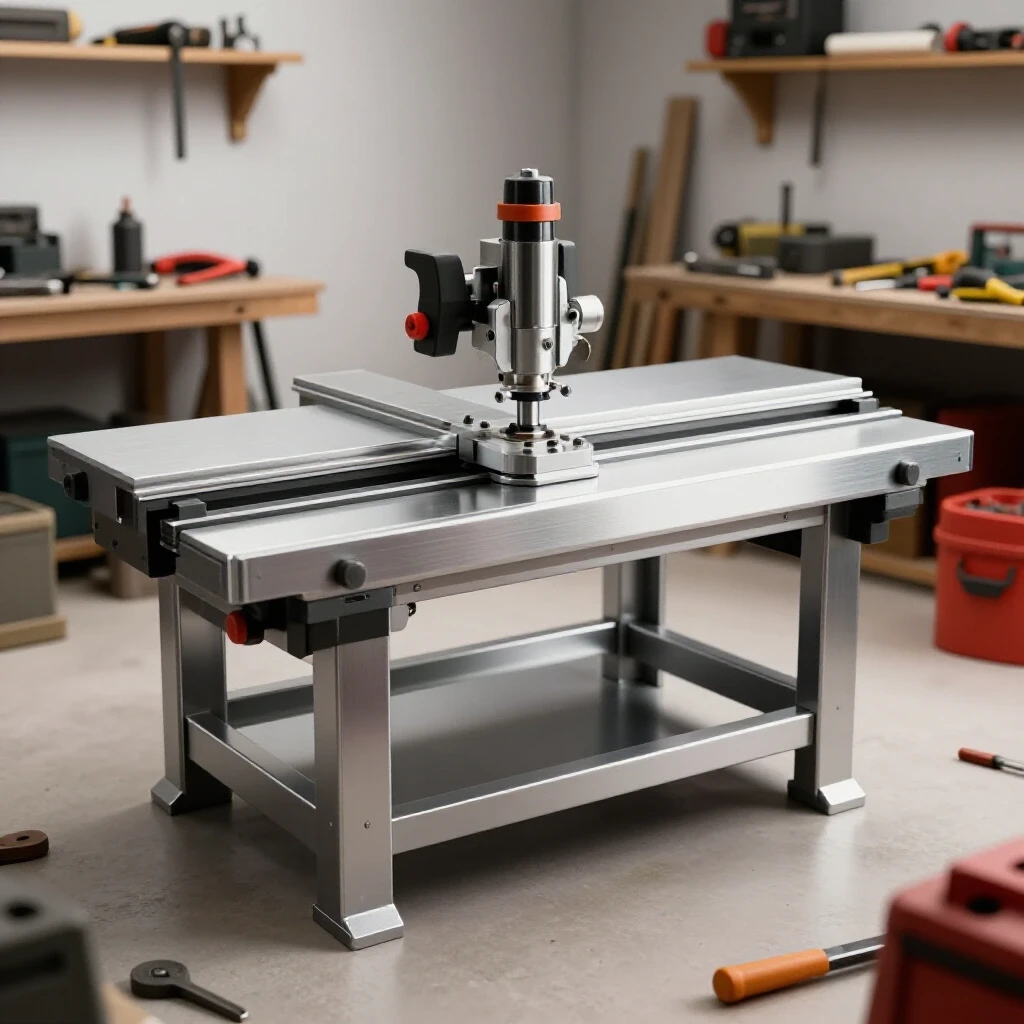
When you are planning a stationary workshop fixture with a thick metal surface, the stakes are even higher. You aren’t just building a table; you are building a precision tool. If the top isn’t flat, your woodwork will never be square. If the frame isn’t rigid, the vibration from a high-speed motor will chatter through your workpiece. This guide focuses on the technical reality of working with heavy plate and tubular steel to create a flat, durable, and vibration-resistant station for your shop. We will look at how to combat the physical forces of weld shrinkage and how to ensure your layout remains true from the first cut to the final bead.
Strategic Planning for Heavy-Duty Shop Fixtures
Effective fabrication begins long before you pick up a torch. It starts with a detailed material list and a clear understanding of how each component supports the overall structure. For a station that requires high mass and a flat surface, choosing the right thickness of steel plate and the correct gauge of square tubing is the most important decision you will make.
A thick steel plate, typically 3/8 inch or 1/2 inch, serves as the primary working surface. This mass is vital because it absorbs the high-frequency vibrations of a router motor, which can spin at over 20,000 RPM. I prefer using 3/8 inch hot-rolled steel for these projects. While cold-rolled steel is flatter out of the gate, it often contains internal stresses from the milling process. When you cut a large hole in the center of a cold-rolled plate for a tool insert, those stresses can release, causing the plate to bow. Hot-rolled steel is generally more stable for large-scale shop projects, provided you check for mill scale and surface pits.
The support frame should be constructed from square or rectangular structural tubing. I find that 2-inch square tubing with a 1/8-inch wall thickness (11 gauge) offers a great balance between weight and rigidity. Thinner walls are easier to blow through with a welder, while thicker walls add unnecessary cost and weight. When you design your frame, ensure that the spans between supports do not exceed 18 inches. This prevents the heavy steel top from sagging over time.
- Material Choice: 3/8-inch hot-rolled plate for the top; 2-inch 11-gauge square tubing for the legs and stretchers.
- Structural Grid: Design the frame with a center “ladder” to support the area where the motor will be mounted.
- Leveling Feet: Always plan for heavy-duty threaded levelers. No garage floor is perfectly flat, and you need a way to compensate for that.
The Science of Kerf and Accurate Square Cuts
Kerf is the width of the material that is turned into dust or chips during the cutting process. If you are using a standard abrasive chop saw, your kerf might be nearly 1/8 of an inch. If you ignore this and mark your lines exactly at your desired length, your final frame will be significantly shorter than planned, leading to gaps that are impossible to fill properly with a weld.
When I am preparing square tubing for a custom fabrication project, I always use a “stop” on my saw. This ensures that every leg is exactly the same length. Even a 1/32-inch difference between four legs can lead to a wobble that you will be fighting for the rest of the build. If you are using an angle grinder with a zip-cut blade, your kerf will be closer to 1/16 of an inch. Always measure from the same side of the line to maintain consistency.
| Cutting Tool | Typical Kerf Width | Accuracy Level | Best Use Case |
|---|---|---|---|
| Abrasive Chop Saw | 3/32″ – 1/8″ | Moderate | Rough framing and thick sections |
| Cold Saw | 1/16″ – 3/32″ | High | Precision shop fixtures and furniture |
| Angle Grinder (Zip Disc) | 1/16″ | Low to Moderate | Field repairs and small brackets |
| Band Saw | 0.035″ – 0.050″ | High | Repeatable, square production cuts |
To achieve accurate square cuts, I recommend using a speed square to mark all four sides of the tubing. This gives you a visual guide to ensure your blade isn’t “walking” or drifting as it moves through the metal. If your cut isn’t square, the joint will have a wedge-shaped gap. When you weld that gap, the cooling metal will pull the joint toward the wider side of the opening, throwing your entire frame out of square.
Building Workshop Jigs for Frame Alignment
A jig is any device used to hold parts in a fixed position during the assembly process. In a home shop, your jig might be as simple as a set of heavy-duty magnetic squares or as complex as a dedicated fixture table with holes for clamps. The goal is to provide physical resistance against the forces of thermal expansion.
When I start a frame for a heavy shop station, I lay out the perimeter on a flat surface. If you don’t have a welding table, a clean concrete floor is better than a warped wooden workbench. I use “F-style” clamps to lock the tubing down to the surface. By clamping the metal flat, you prevent it from lifting as you apply heat. Interestingly, even the strongest clamps cannot stop metal from moving entirely, but they can force the movement to happen in a way that doesn’t ruin your alignment.
- Corner Squares: Use machined aluminum or steel squares to check the 90-degree angles before tacking.
- Floor Layout: Draw your frame dimensions directly on your work surface with a soapstone or silver pencil.
- Tack Welding: A tack weld is a small, temporary bead about 1/4 inch long. It holds the parts together while you check for squareness. Never fully weld a joint until the entire frame is tacked and measured.
One trick I learned from building custom chassis is the “Rule of Three.” I measure the diagonals of the frame. If the distance from the front-left corner to the back-right corner is the same as the front-right to the back-left, the frame is square. If they differ by more than 1/16 of an inch, I use a ratcheting cargo strap to pull the long diagonal into place before finishing the tacks.
Why Weld Shrinkage Warps Square Structures
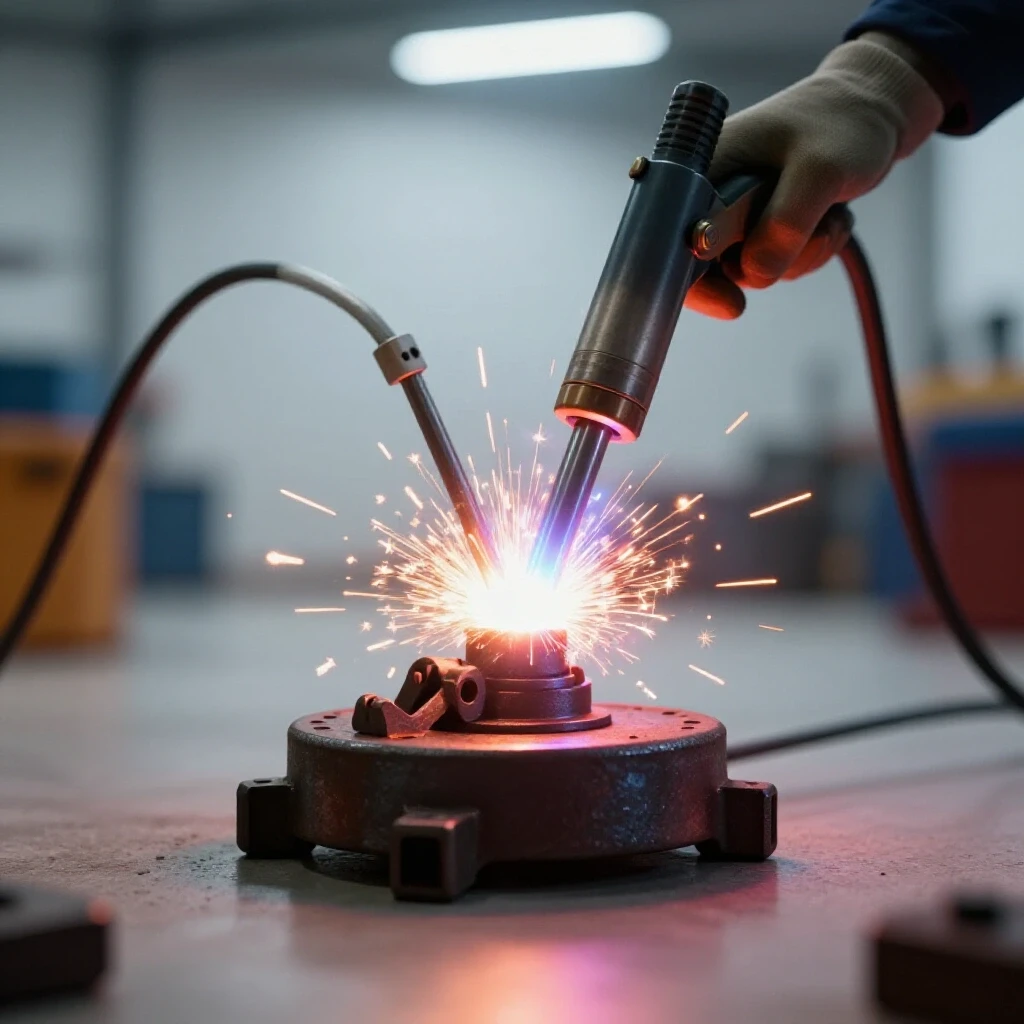
Weld shrinkage occurs because molten steel occupies more volume than solid steel. As the weld pool cools, it contracts. This contraction exerts thousands of pounds of force on the surrounding metal. If you weld only one side of a joint, the metal will “hinge” toward the weld. This is known as angular distortion, and it is the primary reason why many DIY projects end up twisted.
To manage this, you must understand the concept of weld sequencing layout. This is the practice of strategically choosing which welds to perform and in what order to balance the pulling forces. Think of it like tightening the lug nuts on a car tire. You don’t go in a circle; you go in a star pattern to distribute the pressure evenly.
When welding the tubular frame for your shop station, follow this sequence: 1. Tack all four corners on the “outside” faces. 2. Check the frame for squareness using diagonal measurements. 3. Tack the “inside” corners. 4. Weld the vertical seams first, alternating from one corner of the table to the opposite diagonal corner. 5. Weld the top horizontal seams, again using a cross-pattern. 6. Finish with the bottom seams.
By jumping from corner to corner, you allow the heat to dissipate in one area before you add more heat nearby. This prevents a massive build-up of thermal energy in one section of the frame, which is usually what causes a project to warp into a trapezoid shape.
Mastering Metal Layout Tips for the Steel Top
The top plate is the heart of this project. It needs to be perfectly integrated with the frame to ensure a flat working surface. Before you even think about mounting the plate, you need to prepare the surface. Hot-rolled steel comes with a layer of mill scale, which is a hard, flaky blue-grey coating. You must grind this off in the areas where you plan to weld or bolt, as mill scale is an insulator and will ruin your weld quality.
For a station that will house a router, you need a precise opening in the center of the plate. I recommend layout out your center point and using a large-diameter hole saw or a plasma cutter with a circle guide. If you use a plasma cutter, remember that the “dross” or slag on the underside will need to be ground flush. A 1/16-inch error here isn’t the end of the world, but the hole must be centered to ensure your fence has enough travel in both directions.
- Center Punching: Use a spring-loaded center punch to mark your drill locations. This prevents the drill bit from “walking” across the smooth steel.
- Scribe Lines: Use a carbide-tipped scribe for layout. Sharp lines are much more accurate than the thick marks made by a permanent marker.
- Deburring: Every hole you drill in the steel plate will have a sharp burr on the underside. Use a countersink bit or a large drill bit to remove these, or the plate will never sit flat on the frame.
Integrating the Heavy Plate Top with the Tubular Base
There are two main ways to attach a 3/8-inch plate to a steel frame: welding or bolting. While welding is faster, it introduces a massive amount of heat to the top surface, which can cause the plate to cup. If you choose to weld, use “plug welds.” This involves drilling 1/2-inch holes through the plate and welding through those holes into the frame below. This concentrates the heat in small, controlled areas.
However, for the highest level of flatness, I prefer bolting the top. I drill and tap the tubular frame for 3/8-inch bolts and use countersunk holes in the top plate. This allows the plate to “float” slightly on the frame. If the frame has a slight twist, you can use thin metal shims (like pieces of a soda can or dedicated shim stock) between the frame and the plate to dial in the flatness.
- Place the plate on the finished, cooled frame.
- Use a 4-foot machinist’s straightedge to check for gaps between the plate and the frame.
- Identify “low spots” where the straightedge shows light passing through.
- Place shims at these locations.
- Clamp the plate down and check for flatness again.
- Once flat, drill through the plate and frame simultaneously to ensure perfect hole alignment.
This method allows you to achieve a surface that is flat within 0.010 to 0.015 inches across the entire span, which is more than enough for high-quality woodworking.
Metal Warping Solutions and Heat Control
Even with the best planning, you might encounter some distortion. If you notice that your frame has bowed after welding, you can use “heat shrinking” to pull it back. This is an advanced technique where you heat a small spot on the “long” side of the bow with an oxy-acetylene torch until it is dull red, then quickly cool it with a wet rag. The rapid contraction of the heated spot pulls the metal back toward square.
However, the best solution is prevention. In my shop, I use “heat sinks” whenever possible. A heat sink is a large chunk of scrap copper or thick aluminum clamped near the weld zone. These materials pull heat away from the steel much faster than air does, reducing the size of the heat-affected zone (HAZ). A smaller HAZ means less total expansion and, therefore, less warping.
- Tack Size: Keep tacks small but deep. A tack that is too large acts like a full weld and starts the warping process early.
- Cooling Time: Never quench a weld with water unless you are performing a specific heat-shrink maneuver. Let the metal cool naturally in the air to avoid making the steel brittle.
- Clamping Pressure: Ensure your clamps are tight. If the metal can move even a hair during the tacking phase, it will be miles off by the time you finish the final bead.
Final Leveling and Alignment of the Utility Fixture
Once the top is secured and the frame is welded, the final step is ensuring the entire assembly is level and the fence is aligned. A metal-topped station allows you to use magnetic accessories, which is a huge advantage. You can build a fence from heavy-duty aluminum extrusion or even another piece of square steel tubing.
To align the fence, I use a dial indicator. I sweep the indicator across the face of the fence relative to the miter slot or the edge of the table. In custom fabrication projects, your goal is often “repeatable accuracy.” If your fence is perfectly parallel to the miter slot, every cut you make will be consistent. Because we used a steel top, you can also weld small tabs to the underside of the table to hold drawers or a cabinet for tool storage without worrying about the structure losing its integrity.
- Install Leveling Feet: Adjust each corner until the top is level in both directions.
- Surface Treatment: Wipe the steel plate with a coat of paste wax or a dedicated rust preventative. Raw steel will flash-rust overnight in a humid garage.
- Check for “Spring”: Loosen one bolt on the top plate. If the plate “springs” up, it means there is internal tension. You may need to add a shim to that location to keep the plate in a neutral, flat state.
Actionable Tracking Framework for Your Build
To help you stay on track, I have developed this checklist that I use for almost every heavy-duty shop build. Following these steps in order will help you avoid the most common pitfalls of metal fabrication.
- Layout Verification: Measure your raw stock and mark all cuts. Account for a 1/8″ kerf on every cut.
- Part Prep: Deburr all ends and grind mill scale 2 inches back from every joint.
- Jig Setup: Clamp the perimeter of the frame to a known flat surface.
- Initial Tacking: Place one tack on each corner. Measure diagonals.
- Secondary Tacking: Place tacks on the opposite sides of the first tacks. Re-measure.
- Weld Sequencing: Follow the cross-pattern (Star Pattern) for all final beads.
- Plate Integration: Level the frame, shim the plate for flatness, and bolt or plug-weld using low-heat settings.
- Finishing: Grind welds flush where necessary and apply a protective finish to prevent oxidation.
Building a heavy-duty shop station from steel is a rewarding project that provides a level of stability you simply cannot get from wood. By respecting the physics of heat and taking the time to create an accurate layout, you can build a tool that will last for decades. The key is to move slowly, measure often, and never underestimate the power of a cooling weld to move your metal.
FAQ: Common Challenges in Metal Shop Fixture Construction
How do I know if my steel plate is flat enough for a shop table? Use a high-quality straightedge and a set of feeler gauges. Lay the straightedge across the plate in several directions. If you can’t slide a 0.010-inch gauge under the straightedge anywhere, the plate is excellent for most shop tasks. If the gap is larger, you may need to use shims when mounting it to the frame.
Why did my frame warp even though I clamped it down? Clamps can only hold the metal in place while it is cold. Once you weld, the internal forces of the shrinking metal are often stronger than the clamps. This is why weld sequencing is so important; you need to balance the “pull” of one weld with the “pull” of another on the opposite side.
Can I use a MIG welder for this project, or do I need TIG? MIG is perfectly fine and often preferred for frame construction because it is faster. However, MIG introduces a lot of heat quickly. For the top plate, TIG can be better because it allows for more precise heat control, but a well-managed MIG with short “stitch” welds will also work.
What is the best way to cut the center hole for the tool insert? The most accurate DIY method is using a bi-metal hole saw on a drill press with plenty of cutting fluid at a low RPM. If you must use a plasma cutter, use a circular template to keep the cut clean, but expect to do some significant grinding to clean up the edge.
How do I prevent the steel top from rusting? In a non-climate-controlled garage, raw steel will rust. The best solution is a high-quality paste wax. Apply it thick, let it dry, and buff it out. It provides a slick surface for your workpieces and a barrier against moisture. Reapply every few months.
Should I weld the legs to the top or the sides of the frame? Always weld the legs to the underside of the frame perimeter. This allows the weight of the table to be transferred directly through the tubing to the floor, rather than relying entirely on the shear strength of the weld beads.
What thickness of tubing is too thin for a heavy station? Avoid anything thinner than 14 gauge (0.075 inches). For a heavy steel top, 14 gauge can easily crush or deform under the clamping pressure or the weight of the plate. Stick to 11 gauge (1/8 inch) for a professional-feeling build.
How do I fix a “rocking” table if the frame twisted? The easiest fix is to use adjustable leveling feet. If the twist is severe (more than 1/4 inch), you may need to cut one of the weld joints, use a jack or clamp to pull the frame into square, and re-weld it.
Is it necessary to grind my welds flush? Only on the top surface where the plate will sit. Leaving the “fillet” or the hump of the weld on the corners actually provides more strength. Only grind welds flush if they interfere with the fitment of another part.
How do I account for the thickness of the weld bead in my layout? When fitting parts, leave a tiny gap (about the thickness of a nickel) between the pieces of tubing. This “root gap” allows for full weld penetration. If you jam the pieces tight together, the weld will sit on the surface and be much weaker.
(This article was written by one of our staff writers, Robert Kline. Visit our Meet the Team page to learn more about the author and their expertise.)