How to Build a Spill-Proof Chemical Storage Shop Cart (Plan)
I remember the first time I tried to build a heavy-duty mobile base for my shop. I had spent hours measuring and cutting every piece of square tubing to the exact fraction of an inch. I clamped it down, felt confident, and started laying beads. By the time I finished the last corner, the frame looked more like a trapezoid than a rectangle. One corner had pulled up nearly a quarter of an inch, and the whole thing rocked like a broken chair. It was a humbling lesson in the raw power of thermal expansion and contraction.
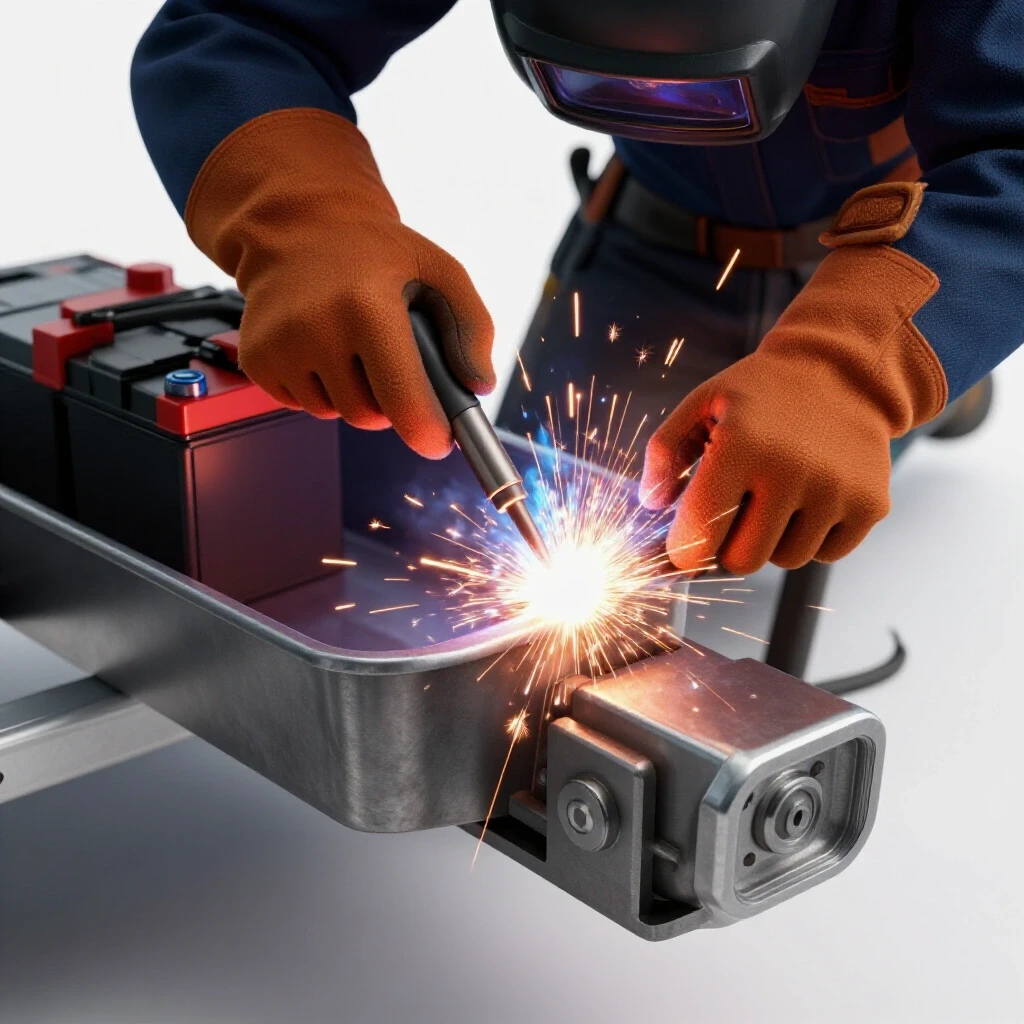
In my thirteen years as a prototype technician, I have learned that metal is a living thing. When you hit it with an arc, it moves. If you are building a mobile unit designed to carry heavy containers of oil, coolant, or cleaning solvents, that movement is your biggest enemy. You need a frame that stays square so the secondary containment pans slide in perfectly and the casters track straight. This guide focuses on the technical precision required to build a liquid-secure workshop trolley while managing the inevitable forces of weld shrinkage and material distortion.
Designing the Frame Geometry and Material Allowances
Designing a custom fabrication project requires accounting for the thickness of the metal and the material lost during cutting. This ensures the final dimensions match the intended footprint for secondary containment pans and shelving. Proper planning prevents the “stacking error” where small mistakes in each cut lead to a frame that is significantly off-size.
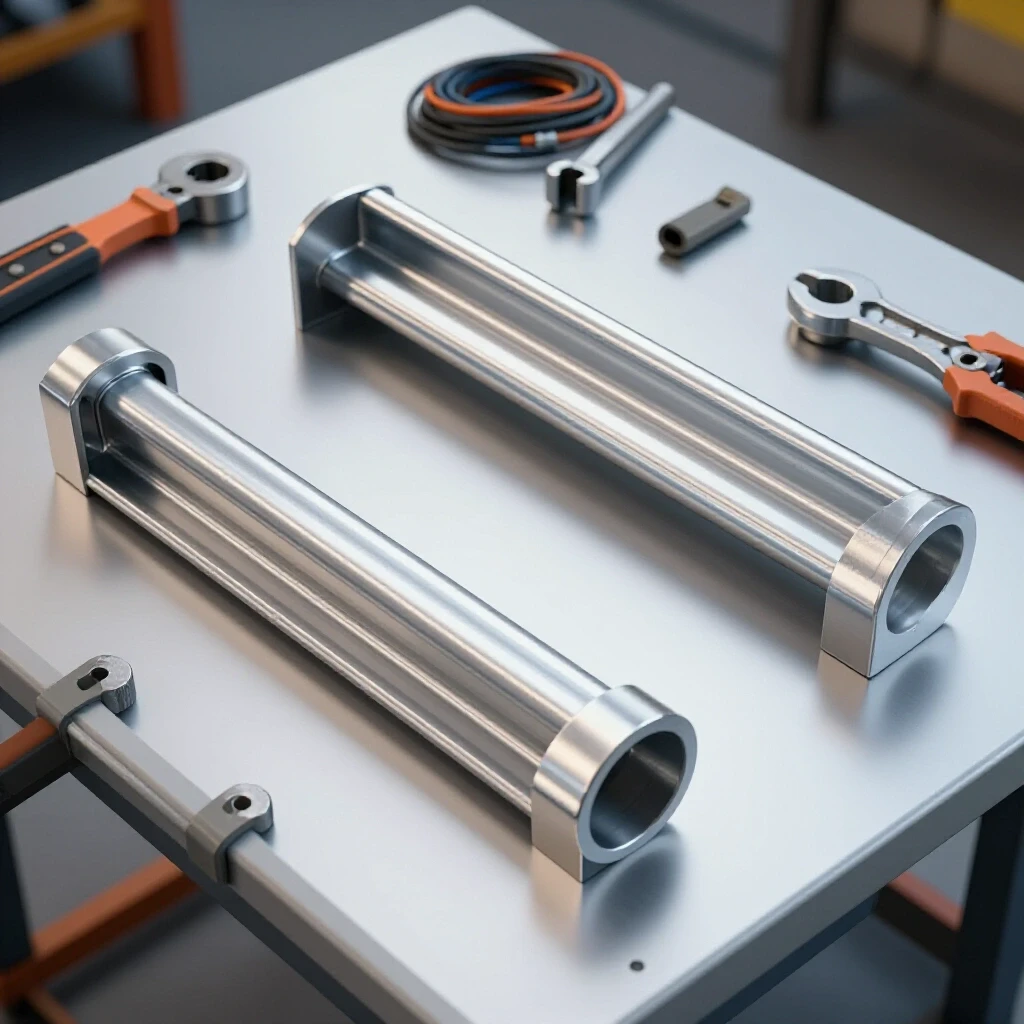
When I plan a mobile containment unit, I start with the internal dimensions of the pans. If you want a shelf to hold a 24-inch pan, the frame opening must be exactly 24 and 1/8 inches to allow for clearance and paint thickness. I use 1.5-inch square tubing with a 1/8-inch wall thickness for the main uprights. This provides a high strength-to-weight ratio and a flat surface that makes layout much easier than using round pipe or angle iron.
Calculating Kerf for Accurate Square Cuts
Kerf is the width of material removed by a saw blade or torch during a cut. Ignoring this leads to parts being 1/16-inch or 1/8-inch short, which ruins the alignment of a mobile storage unit. Accurate square cuts are the foundation of a project that doesn’t require massive gaps to be filled with weld wire.
I always mark my cut lines with a carbide scriber rather than a soapstone or marker. A scriber line is only a few thousandths of an inch wide, whereas a soapstone mark can be 1/16-inch wide. If you “split the line” with a 1/16-inch abrasive blade, you need to know which side of the line the blade is on. If you cut on the wrong side, your piece is now 1/16-inch too short. Over four cuts, your frame is 1/4-inch out of alignment.
Metal Kerf Allowances by Cutter Type
| Cutting Tool | Typical Kerf Width | Accuracy Potential | Best Use Case |
|---|---|---|---|
| Cold Saw | 0.090″ – 0.120″ | +/- 0.010″ | Primary frame members |
| Abrasive Chop Saw | 0.125″ – 0.150″ | +/- 0.030″ | Rough sizing of stock |
| Bandsaw | 0.035″ – 0.045″ | +/- 0.015″ | Detail cuts and angles |
| Plasma Cutter | 0.060″ – 0.080″ | +/- 0.040″ | Sheet metal pans |
Establishing Dimensional Tolerances for the Build
Setting a tolerance means deciding how much error you can live with before the project is considered a failure. For workshop jigs and fixtures, I aim for a tolerance of +/- 1/16th inch across the entire 48-inch span of a cart. This ensures that the casters sit flat and the containment trays don’t bind.
To maintain this, I use a “master length” technique. I cut one piece to the exact size, then use it as a physical stop for all subsequent cuts of the same length. This eliminates the variation that comes from reading a tape measure differently each time. If your first upright is 32 inches, every upright must be 32 inches, or the top of your cart will be tilted, causing liquids to pool in one corner of the drip trays.
Building Workshop Jigs and Fixtures for Alignment
Jigs are temporary structures used to hold workpieces in exact positions during assembly. They prevent the frame from shifting while you apply the first critical tack welds. Without physical restraints, the heat from the welding arc will pull the metal toward the joint, or “draw” it out of square.
For a mobile containment cart, I build a simple “L-jig” on my welding table. I bolt two pieces of heavy angle iron to the table at a perfect 90-degree angle using a precision square. I then slide my frame members into this corner and clamp them down hard. This physical barrier fights the metal’s urge to move as it heats up.
Using Clamping Layouts to Prevent Movement
Clamping is not just about holding pieces together; it is about resisting the massive foot-pounds of force generated by cooling steel. When a weld cools, it shrinks by about 1% to 3% in volume. If the metal isn’t clamped, that shrinkage will pull your 90-degree corner into an 88-degree corner.
I place clamps every 6 to 8 inches along a joint if possible. For the main frame of the cart, I use “F-style” heavy-duty clamps that can apply over 1,000 pounds of pressure. I also use copper heat sinks—thick blocks of copper placed near the weld zone—to soak up excess heat and reduce the total thermal expansion of the steel tubing.
Squaring the Base with the 3-4-5 Method
The 3-4-5 method is a geometric rule used to ensure a corner is perfectly square by measuring the hypotenuse of a triangle. If one side is 3 inches and the other is 4 inches, the diagonal must be 5 inches. On a larger scale, like a cart base, I use 18 inches, 24 inches, and 30 inches.
- Mark 18 inches from the corner on the longitudinal rail.
- Mark 24 inches from the same corner on the lateral rail.
- Measure the diagonal distance between the two marks.
- Adjust the rails until the diagonal is exactly 30 inches.
- Tack weld the outside corner once the measurement is confirmed.
Mastering the Weld Sequencing Layout to Control Distortion
Weld sequencing is the order in which you apply heat to a joint. By alternating sides and positions, you use the natural shrinkage of cooling metal to pull the frame back into square rather than out of it. This is the most critical stage of custom fabrication projects.
If you weld the entire inside of a corner first, the joint will “close up.” If you weld the outside first, it will “open up.” The trick is to balance these forces. I always use a “star pattern” or “cross-sequencing” method, similar to how you tighten lug nuts on a car wheel. Never finish one joint completely before moving to the next; instead, move around the project to distribute the heat load evenly.
The Science of Angular Weld Shrinkage
Angular shrinkage occurs when the weld bead on one side of a plate cools and pulls the edges together. In square tubing, this often manifests as the “diamond effect,” where a square frame becomes skewed. Understanding that the weld pulls toward the side with the most deposited metal allows you to compensate.
I often “pre-set” my joints by a degree or two in the opposite direction of the expected pull. If I know a heavy fillet weld on the inside of the cart’s upright will pull it inward, I clamp the upright so it leans slightly outward before I start. As the weld cools, it pulls the upright into a perfectly vertical position.
Weld Sequencing and Distortion Control
| Step | Action | Purpose | Result |
|---|---|---|---|
| 1 | Small tacks on all four corners | Fixes geometry | Prevents initial shift |
| 2 | Weld outside corners (alternating) | Counters internal pull | Keeps the frame “open” |
| 3 | Weld vertical flats (alternating) | Distributes heat | Minimizes longitudinal bow |
| 4 | Weld inside corners (last) | Final structural tie | Pulls frame into final square |
Proper Tack Welding Techniques
A tack weld should be small enough to be easily ground away if you make a mistake, but strong enough to hold the weight of the metal. For 1/8-inch wall tubing, I use tacks that are about 1/4-inch long. I place them on the corners of the tubing where the metal is strongest.
I never rely on a single tack. I place two tacks on opposite sides of the tube to create a hinge point. If I only tack one side, the heat from that single tack will pull the tube out of alignment before I can even reach for the second tack. By placing two tacks quickly, I lock the piece in a neutral state.
Fabricating Secondary Containment Pans and Sealed Drawers
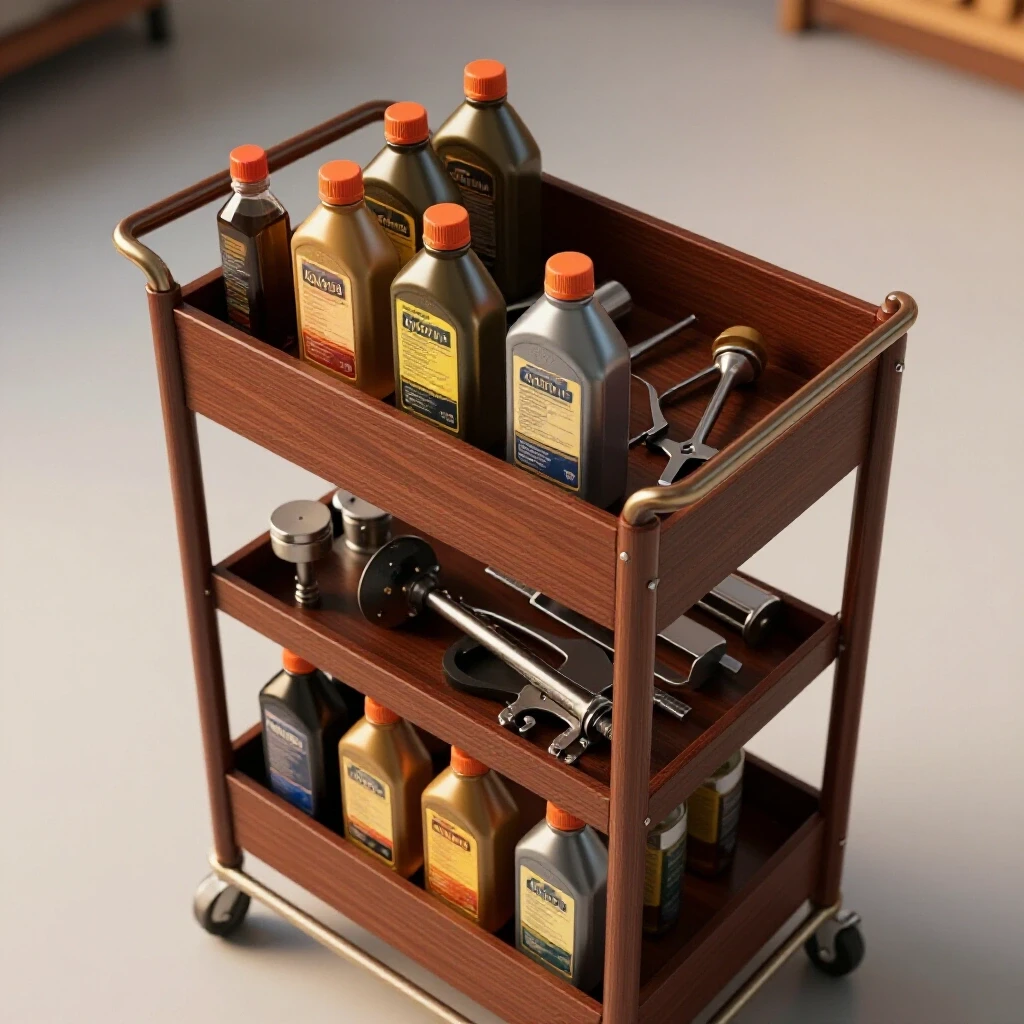
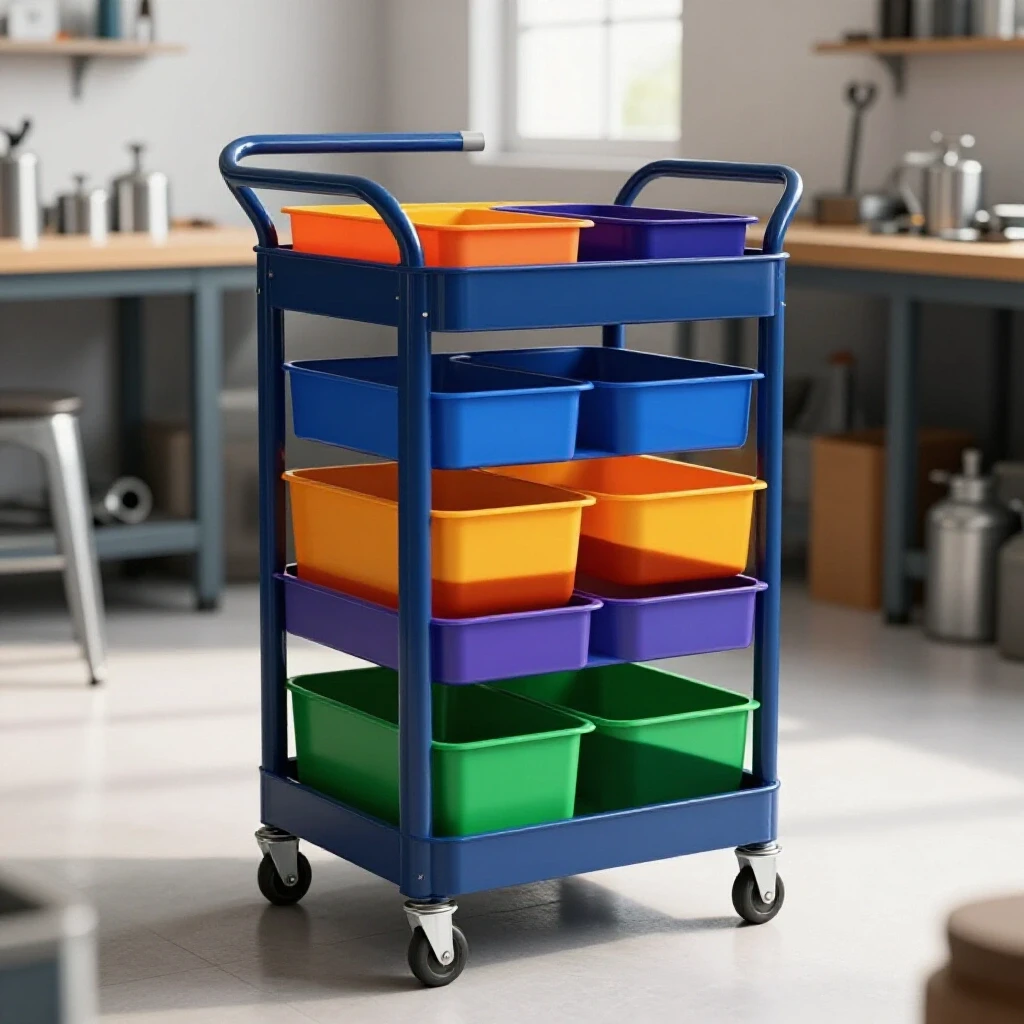
The core of a liquid-safe cart is the containment system. This involves bending and welding sheet metal into leak-proof basins that sit within the structural frame to catch drips. These pans must be sized to hold at least 110% of the largest container stored on that shelf to ensure safety in the event of a total vessel failure.
I use 14-gauge cold-rolled steel for these pans. It is thick enough to weld without blowing holes through it, but thin enough to bend in a standard bench-top brake. The corners of these pans are the most common failure points. I prefer to “notch and fold” the corners, then use a TIG welder or a fine-tuned MIG welder to fuse the seams.
Managing Heat on Thin Sheet Metal
Sheet metal is much more prone to warping than structural tubing. When welding the seams of a containment tray, I use a “stitch welding” technique. I weld one inch, move to the opposite corner, weld another inch, and let the first section cool.
If you run a continuous bead along a 24-inch pan seam, the metal will “oil-can”—it will pop in and out because the center expanded more than the edges. To prevent this, I keep the metal cool enough to touch with a gloved hand within 10 seconds of welding. Using a aluminum backer block behind the seam also helps dissipate heat rapidly.
Creating Drip-Secure Shelving Interfaces
The pans need to sit securely but remain removable for cleaning. I weld small 3/4-inch angle iron “cleats” to the inside of the main frame. These cleats act as a shelf for the pan. I ensure the cleats are level within 1/32nd of an inch across the span.
If the cleats are not level, the pan will rattle or, worse, sit at an angle. For a cart designed to hold chemicals, you want any spills to stay centered in the pan rather than running toward a corner. I use a digital protractor to verify that every cleat is at exactly 0 degrees relative to the main uprights.
Correcting Metal Warping Solutions After Welding
Even with the best planning, some movement occurs. Post-weld correction involves strategic heat application or mechanical force to bring the cart back within a +/- 1/16th inch tolerance. This is the “black magic” of fabrication that separates a hobbyist from a professional.
If a rail has bowed upward, I use a “flame straightening” technique. I use an oxy-acetylene torch to heat a small triangular spot on the side opposite the bow. As that spot cools, it shrinks and pulls the rail straight. You must be careful; too much heat will make the problem worse. I only heat the metal until it is a dull cherry red, then let it air cool.
Using Mechanical Force for Final Straightening
Sometimes a frame is square, but one leg is “long” because the base twisted. This is usually caused by an uneven welding table. I fix this by placing the cart on a known flat surface, like a concrete floor, and identifying which caster is off the ground.
I use a heavy-duty hydraulic jack and a chain to “tweak” the frame. By anchoring the high corners and jacking up the low corner, I can move the steel past its elastic limit so it takes a new, flatter shape. I do this in small increments, checking the “rock” of the cart after every adjustment.
Final Inspection and Caster Mounting
The final step is mounting the casters. I prefer 5-inch polyurethane wheels with total-lock brakes. These casters must be mounted to a flat plate that is welded to the bottom of the uprights. If the mounting plate is warped, the caster swivel will bind.
I use a 1/4-inch thick mounting plate to provide a rigid base. I tack the plates in place, then check the “diagonal squareness” of the caster centers. If the distance between the front-left and rear-right casters is the same as the distance between the front-right and rear-left, the cart will track perfectly straight when pushed across the shop.
Actionable Framework for a Successful Build
Following a structured checklist ensures that you don’t miss a critical alignment step during the heat of fabrication. This framework is what I use in my own shop to keep projects on track and under budget.
- Material Prep: De-grease all steel with acetone. Remove the mill scale from weld zones using a flap disc. Clean metal produces fewer defects and less heat buildup.
- Cut Verification: Measure every piece after cutting. Group identical lengths together and verify they are within 1/32-inch of each other.
- The Base Build: Assemble the bottom rectangle first. Use the 3-4-5 method and clamp it to the table. Tack only the outside corners.
- Upright Integration: Square the uprights to the base using a machinist square. Use “gusset tacks” (temporary braces) to hold them at 90 degrees.
- The Sequence: Weld the base completely using the cross-pattern. Then weld the top rails, then the mid-shelves.
- Containment Test: Once the pans are welded, fill them with an inch of water to check for pinhole leaks before painting.
- Finishing: Grind all welds flush where the pans sit to ensure a flat interface. Apply a chemical-resistant epoxy paint to protect the steel from corrosion.
Conclusion
Building a high-quality workshop storage unit is a masterclass in managing the physical properties of steel. By focusing on accurate square cuts, using robust workshop jigs and fixtures, and following a strict weld sequencing layout, you can produce a project that is both functional and structurally sound. Remember that metal warping solutions are often found in the preparation stage, not just the correction stage. If you take the time to calculate your kerf, clamp your joints, and control your heat, you will end up with a cart that sits flat and serves your shop for decades.
The next step is to get out into the garage and start your layout. Start by measuring your largest liquid containers and sketching your pan dimensions. Once you have your cut list, remember: measure twice, cut once, and tack four times before you lay that first bead.
FAQ: Fabrication and Distortion Control
How do I stop my frame from pulling out of square when I weld the corners?
The best way is to use a combination of heavy clamping and proper sequencing. Tack all four corners of the frame first to create a rigid structure. Then, weld the outside of the joints on opposite corners. The outside welds pull the joint “open,” which counters the tendency of the inside welds to pull the joint “shut.”
What is the best way to check for square on a large cart?
Measure the diagonals. Measure from the top-left corner to the bottom-right corner, then do the same for the other side. If the two measurements are identical, the frame is square. Even a 1/16-inch difference means the frame is slightly skewed.
Why do my welds look good but the metal is warped?
This is usually caused by too much heat input. If you travel too slowly or use a voltage that is too high, the heat-affected zone (HAZ) becomes too large. The larger the HAZ, the more the metal will expand and contract. Try increasing your travel speed or using a “stitch” technique to keep the metal cooler.
Do I really need to remove mill scale before welding?
Yes. Mill scale (the dark grey coating on hot-rolled steel) is an insulator and contains impurities. Welding over it requires more heat to get through the scale, which increases distortion. It also leads to porosity and weaker welds. A quick pass with a 60-grit flap disc is all it takes.
How much gap should I leave between pieces for a good weld?
For 1/8-inch square tubing, a “tight fit” (zero gap) is usually best for beginners to prevent blow-through. However, a small 1/32-inch gap allows for full-depth penetration. If you leave a gap, you must be even more careful with your clamps, as the gap gives the metal more room to pull together.
Can I use a wood workbench as a welding fixture?
It is not ideal because wood can char or catch fire, and it isn’t perfectly stable under heat. However, if you must, you can screw metal “cleats” to the wood to act as a jig. Just be sure to have a fire extinguisher handy and move the project to a metal surface for the final welding.
What is the best material for secondary containment pans?
14-gauge or 16-gauge mild steel is the standard. It is easy to form and weld. Stainless steel is better for corrosion resistance but is much more expensive and warps significantly more than mild steel when welded.
How do I fix a “rocking” cart if one leg is short?
Before you weld the casters on, place the cart on a flat floor. If it rocks, find the “short” leg. You can often add a small shim (a piece of sheet metal) between the leg and the caster mounting plate to level it out without having to cut the frame apart.
What is “tack spacing” and why does it matter?
Tack spacing is the distance between your temporary welds. For a 1.5-inch tube, I put one tack on each of the four corners. If you only tack the top and bottom, the sides are free to pull. Tacking all four corners locks the tube in all three dimensions.
How do I prevent the sheet metal pans from warping?
Use the “back-step” welding method. Instead of welding from left to right in one go, start 2 inches from the left and weld back to the start. Then move 4 inches from the left and weld back to the 2-inch mark. This distributes the heat more evenly and prevents the “wave” effect.
(This article was written by one of our staff writers, Robert Kline. Visit our Meet the Team page to learn more about the author and their expertise.)