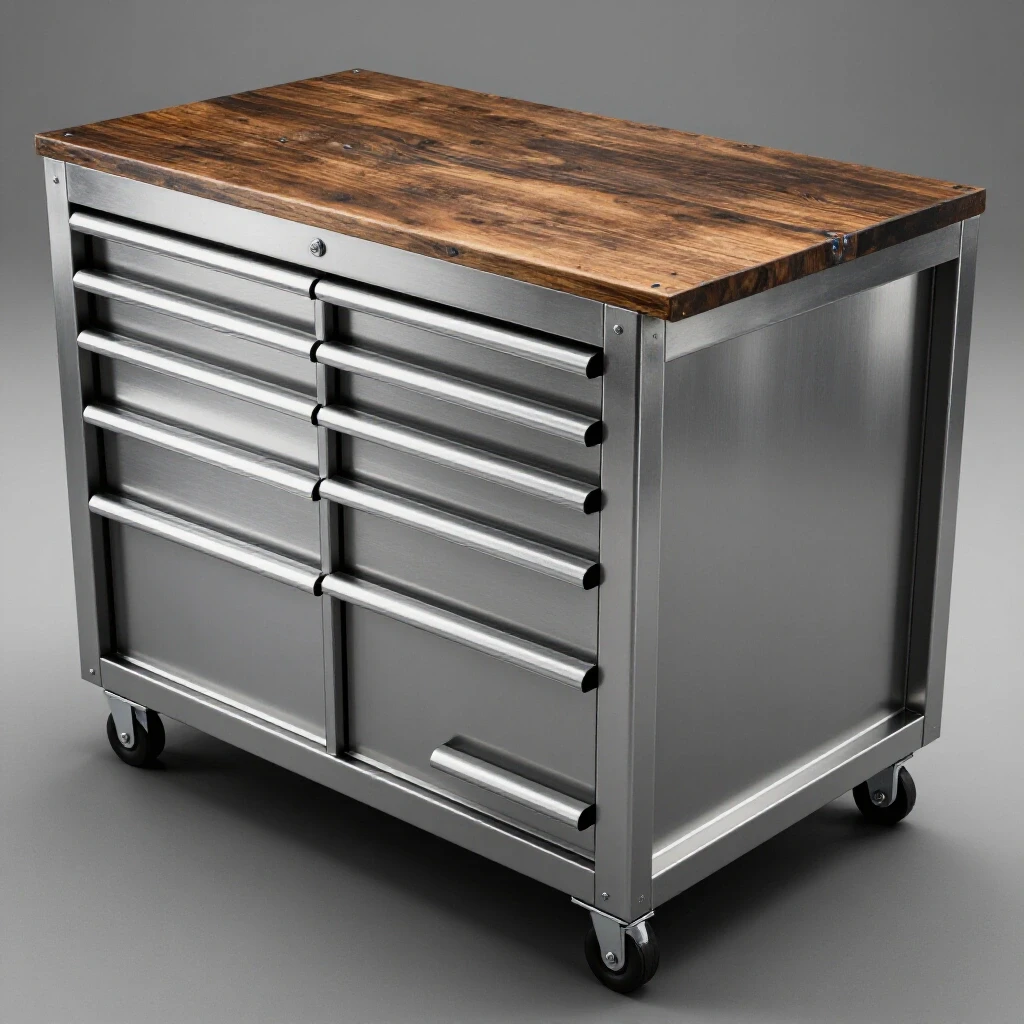
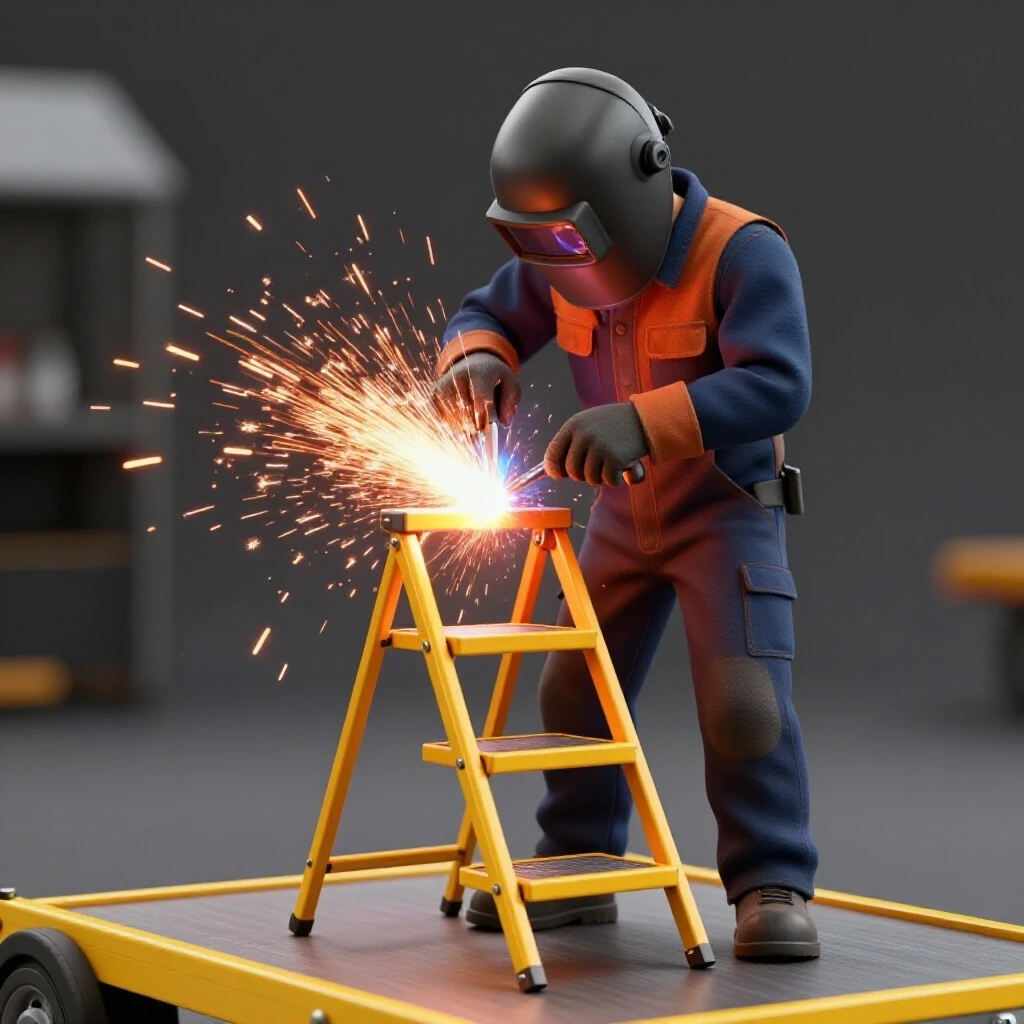
How to Build a Spill-Proof Rolling Paint Supply Cart (Plan)
There is a specific kind of frustration that only a fabricator understands. You spend three hours measuring, marking, and cutting square tubing to the exact sixteenth of an inch. You deburr every edge and clamp everything to your table. Then, after running a few beautiful beads, you unclamp the frame only to watch it spring into a trapezoid. That “ping” of metal moving as it cools is the sound of hours of work going down the drain.
In my thirteen years as a prototype technician, I have built everything from heavy-duty utility trailers to precision laboratory fixtures. I have learned the hard way that steel is a living thing. It breathes, it moves, and it fights you every time you pull the trigger on a MIG gun. When you are building a mobile unit designed to carry heavy, messy liquids like paint cans, the stakes are higher. If the frame is twisted, the casters won’t track straight, and you risk a tipping hazard that could ruin your shop floor.
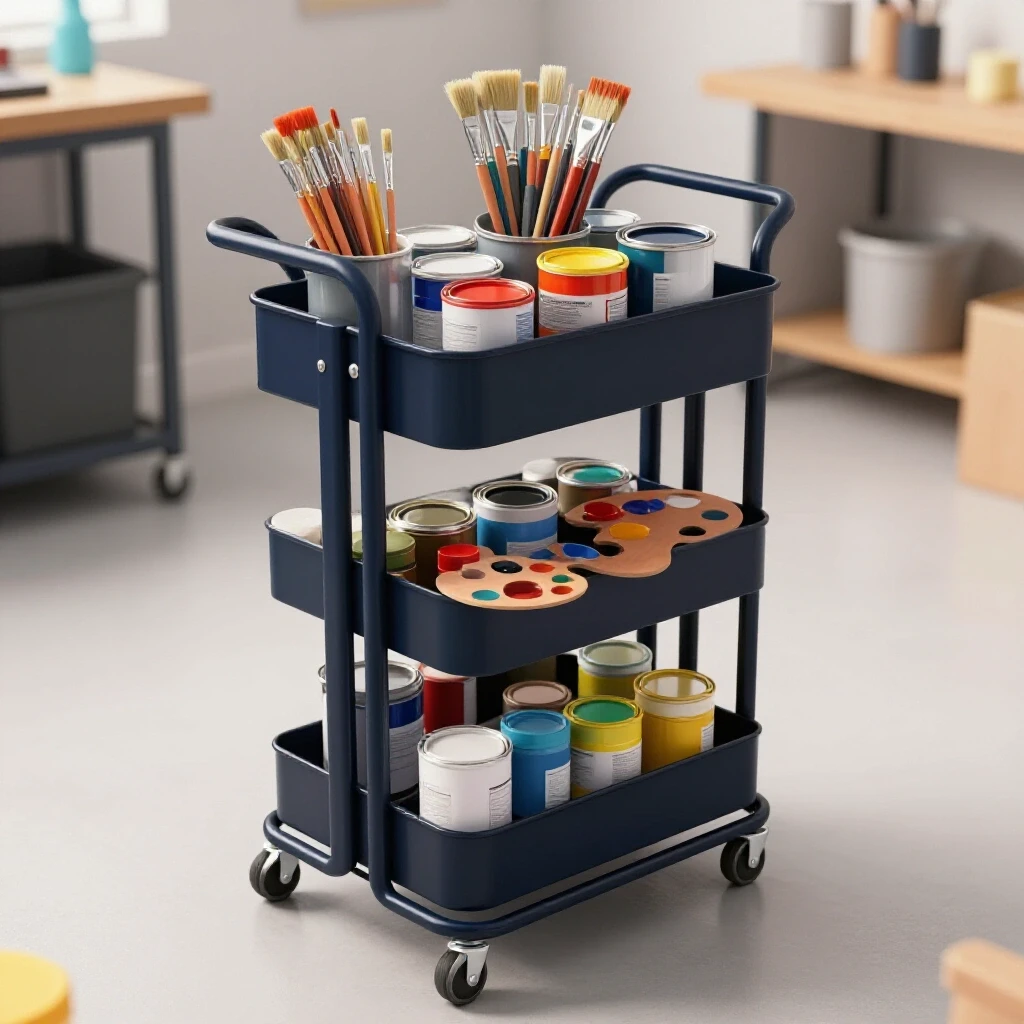
This guide focuses on the technical reality of building a stable, rolling containment system. We will look at how to manage heat, how to plan your cuts to account for the width of the blade, and how to sequence your welds so the metal stays where you put it. This is not about getting lucky; it is about using physics to your advantage.
Mastering the Blueprint and Material Cut List
A successful build begins with a precise roadmap that accounts for every fraction of an inch. Planning your cut list involves more than just listing lengths; it requires understanding how your saw blade removes material and how pieces will overlap at the joints.
In custom fabrication projects, the most common mistake is forgetting about “kerf.” Kerf is the width of the material turned into dust by your saw blade. If you are using a standard 14-inch abrasive chop saw, that blade is likely 3/32 or 1/8 of an inch thick. If you mark four 24-inch pieces on a single stick of tubing and cut on the line, your last piece will be nearly half an inch short.
For a rolling unit designed to hold paint cans securely, I prefer using 1-inch square tubing with a 1/8-inch wall thickness. This provides enough mass to sink the heat from a weld without blowing through, but keeps the cart light enough to maneuver. When designing the base, I always plan for a “dropped” center of gravity. This means the heavy liquid containers sit as low to the ground as possible, usually just three inches above the casters.
Metal Kerf Allowances by Cutter Type
| Cutting Tool | Typical Kerf Width | Accuracy Level | Best Use Case |
|---|---|---|---|
| Abrasive Chop Saw | 1/8″ (3.2mm) | Low | Rough framing |
| Cold Saw | 3/32″ (2.4mm) | High | Precision fit-ups |
| Portable Band Saw | 1/32″ (0.8mm) | Medium | On-site adjustments |
| Plasma Cutter | 1/16″ – 1/8″ | Variable | Plate and sheet steel |
| Angle Grinder (Thin) | 3/64″ (1.2mm) | Manual | Small detail cuts |
Preparing Stock for Accurate Square Cuts
Getting a project to stay square starts with the ends of your material. If your cuts are off by even half a degree, that error compounds over the length of the frame, leading to a structure that wobbles or refuses to sit flat.
To achieve accurate square cuts, I always check my saw’s fence against the blade with a high-quality machinist square before the first cut. Never trust the built-in gauges on a hobbyist chop saw. Once the cuts are made, I use a flap disc on an angle grinder to remove the “burr” or the sharp edge left by the saw. This ensures the pieces sit flush against each other.
Cleaning the metal is the next non-negotiable step. New steel comes coated in “mill scale,” a dark grey flaky layer, and often a thin coat of shipping oil. Welding through this causes porosity—tiny bubbles in the weld that weaken the structure. I use a clean strip disc to take the metal down to a bright, shiny finish at least one inch back from every joint.
Building Workshop Jigs and Fixtures for Alignment
Workshop jigs and fixtures are temporary structures or tools used to hold your workpieces in the exact position required during the welding process. They act as a second set of hands that do not move or flinch when the heat starts to rise.
For a mobile containment cart, the base frame is the most critical part. I use a “strongback” or a heavy steel welding table as my primary fixture. If you don’t have a dedicated welding table, you can build a temporary jig by tacking scrap angle iron to a flat steel plate. This creates a “pocket” where your tubing can sit, ensuring every corner is exactly 90 degrees.
Clamping is where most builders fail. You need to apply enough pressure to resist the metal’s urge to warp, but not so much that you deform the tubing. I use F-style clamps and copper-plated welding magnets. Interestingly, magnets are great for initial layout, but they can pull the welding arc away from the joint (a phenomenon called “arc blow”). Always back up your magnets with mechanical clamps before you start your tack welds.
Fixturing Span Recommendations
- For 1-inch tubing: Place a clamp every 6 to 8 inches along the joint line.
- For sheet steel pans: Use “clecos” or small tack welds every 2 inches to prevent oil-canning.
- Corner joints: Use a 90-degree corner clamp to hold the vertical and horizontal members simultaneously.
- Caster plates: Use C-clamps to hold the plate flat against the tubing to prevent the plate from curling up at the edges.
Strategic Weld Sequencing Layout to Control Heat Warping
Weld sequencing layout is the specific order in which you apply welds to a structure to balance the internal stresses caused by heating and cooling. Since metal shrinks as it cools, sequencing helps pull the project back into alignment rather than out of it.
When you weld one side of a joint, the metal expands as it gets hot. As it cools, it contracts more than it expanded, pulling the metal toward the weld. If you weld all four sides of a corner in a circle, you will likely pull the frame out of square. Instead, I use the “opposite side” technique. I place a small tack weld on the inside corner, then move to the opposite corner of the frame and do the same.
For the final beads on our fluid transport unit, I follow a specific sequence: top left, bottom right, top right, bottom left. This balances the “pull” across the entire geometry of the frame. If I am attaching a sheet metal floor to the frame, I use “stitch welding”—laying down one-inch beads every six inches—rather than a continuous seam. This prevents the thin sheet from warping into a wavy mess.
Weld Sequencing and Distortion Control
| Joint Type | Pull Direction | Mitigation Strategy |
|---|---|---|
| T-Joint | Toward the bead | Weld both sides simultaneously or use “back-stepping” |
| Corner Joint | Inward (closing the angle) | Preset the angle 1-2 degrees open before welding |
| Butt Weld | Longitudinal shrinkage | Use spaced tack welds and weld from the center out |
| Lap Joint | Upward curling | Clamp to a heavy heat sink (thick copper or steel bar) |
Managing Angular Pull and Post-Weld Straightening
Angular pull is the tendency of a joint to “close up” or bend toward the side where the most weld metal is deposited. Even with the best sequencing, some movement is inevitable because of the physics of thermal expansion and contraction.
If I notice a vertical support on the cart is leaning inward by 1/16th of an inch, I don’t reach for a sledgehammer immediately. Instead, I use “heat shrinking.” By applying a small amount of heat with a torch to the opposite side of the weld, I can encourage the metal to pull back the other way. However, for most DIY custom fabrication projects, the best solution is to “over-set” the joint. If I know a weld will pull a piece 1 degree inward, I clamp it 1 degree outward before I start.
Tack welds are your best friend here. A tack weld should be about the size of a pencil eraser. I place tacks at every corner and then measure my diagonals. If the diagonal measurements are within 1/16th of an inch, the frame is square. If not, a quick tap with a dead-blow hammer can break a small tack, allowing for adjustment before the final structural beads are laid.
Integrating Spill-Proof Features and Final Assembly
The goal of this build is a stable platform for liquids. This requires a low center of gravity and custom retaining brackets. I fabricate these brackets from 1/8-inch flat bar, bent into a “U” shape to cradle the specific diameter of the paint cans.
To ensure the cart is truly “spill-proof,” the bottom shelf should be a solid sheet of steel with 1-inch lips turned upward. This creates a “catch pan” that can hold the contents of a gallon can if it were to leak. When welding this pan to the frame, I use silicone bronze TIG or a very cool MIG setting to avoid burning through the thinner gauge metal.
The casters are the final critical component. I always use “total lock” casters, which lock both the wheel rotation and the swivel. When you are loading or unloading heavy cans, you don’t want the cart to pivot away from you. I weld 1/4-inch thick mounting plates to the bottom of the frame to provide a solid base for the casters to bolt onto.
Actionable Framework for the Build
- Draft the Plan: Draw the frame, accounting for 1/8-inch kerf on all cuts.
- Cut and Prep: Square the saw, cut the tubing, and grind all joints to shiny metal.
- Fixture the Base: Clamp the four base members to a flat surface and check diagonals.
- Tack Weld: Place tacks on the inside corners first, then re-check squareness.
- Main Frame Sequence: Weld in a “criss-cross” pattern to distribute heat evenly.
- Install Uprights: Use a magnetic square to hold vertical tubes; tack and check for plumb.
- Add Containment Shelves: Stitch weld the sheet metal pans to the frame.
- Caster Plates: Weld plates to the corners, ensuring they are level with each other.
- Clean and Finish: Grind welds flush where necessary and apply a protective coating.
Conclusion
Building a high-quality, straight metal project like a mobile supply cart is a test of patience and technique. It is easy to get rushed and start welding before the layout is truly square, but that is where the most common failures occur. By understanding how heat moves through steel and using smart weld sequencing layout, you can create a tool that is both functional and durable.
Remember that metal warping solutions are not about stopping the metal from moving—that is impossible. Instead, it is about controlling where and how it moves. Use your clamps, trust your machinist square, and always measure your diagonals twice. When you finally roll that cart across your shop floor and it moves silently and straight, you will know the extra time spent on the layout was worth every second.
FAQ: Custom Metal Fabrication and Layout
How do I keep my frame square when I don’t have a professional welding table? You can use a thick sheet of plywood as a temporary flat surface, but be careful of fire hazards. A better option is to buy four “corner magnets” or build a simple jig out of straight 2x4s and clamp your metal inside that frame. Always check your diagonals (corner to corner) to ensure they are identical.
What is the best way to fix a frame that has already warped? If the warp is minor, you can often “cold straight” it using a large C-clamp or a hydraulic jack and some heavy weights. If it is significant, you may need to use a rosebud tip on an oxy-acetylene torch to heat the side opposite the weld until it is cherry red, then let it cool naturally to pull it back.
Why do my welds look good but the joint is weak? This is usually due to a lack of penetration or welding over mill scale. Ensure you have ground the joint to bare, shiny metal. If you are welding 1/8-inch tubing, make sure your welder is set to a high enough voltage to “dig” into the base metal rather than just sitting on top of it.
How many tack welds do I really need? For 1-inch tubing, one tack on each of the four sides of the joint is ideal. At a minimum, place two tacks on opposite sides. This prevents the joint from “hinging” open as the metal expands.
Can I use a wood saw to cut my metal tubing? No. Standard wood blades rotate too fast and have the wrong tooth geometry. You can use a circular saw if you buy a dedicated “metal cutting” blade designed for low RPMs, but a portable band saw or an abrasive chop saw is much safer and more accurate.
How do I calculate the diagonal of a square frame to check for squareness? Use the Pythagorean theorem: A² + B² = C². For a frame that is 20 inches by 30 inches, calculate 20 squared (400) plus 30 squared (900), which equals 1300. The square root of 1300 is approximately 36.05 inches. If your diagonal is 36 and 1/16th, you are perfectly square.
What is the “heat-affected zone” and why does it matter? The heat-affected zone (HAZ) is the area of metal around the weld that didn’t melt but reached high enough temperatures to change its properties. This is where most warping occurs. By keeping your welds small and moving quickly, you minimize the HAZ and reduce distortion.
Should I weld the casters directly to the frame? I don’t recommend it. Casters eventually wear out or the bearings fail. It is better to weld a 1/4-inch steel plate to the frame, drill and tap holes (or use nuts), and bolt the casters on. This also prevents the heat of welding from damaging the plastic or rubber components of the caster.
How do I stop thin sheet metal from “oil-canning” or popping? Oil-canning happens when the edges of the sheet are constrained by welds and the center expands. To prevent this, use very short tack welds and skip around the perimeter. Never run a long, continuous bead on thin sheet metal unless you are using a specialized pulse welder.
What is the best way to mark my cut lines on dark steel? Standard pencils won’t show up. Use a silver “welder’s pencil” or a fine-tip paint marker. For the most accurate layout tips, use a scribe to scratch a line into the metal, then rub soapstone over the scratch to make it visible.
(This article was written by one of our staff writers, Robert Kline. Visit our Meet the Team page to learn more about the author and their expertise.)