Master Scheduling Templates for Custom Metalwork (DIY Guide)
Twenty years ago, my shop was a chaotic mix of extension cords, mismatched workbenches, and a constant search for the right grinding disc. I was producing quality work, but the mental load of tracking every piece of steel and every project deadline was exhausting. As I moved from hobbyist projects to more complex custom fabrication, I realized that the physical layout of my shop and the way I sequenced my tasks were just as important as my welding technique. Scaling a fabrication business isn’t just about buying faster tools; it’s about creating a system where those tools can actually perform.
Today, my workshop operates on lean principles that I’ve adapted from industrial manufacturing for a smaller footprint. Transitioning to a high-output environment requires a hard look at how material moves from the rack to the shipping crate. If you find yourself stepping over scrap or waiting for a single-phase motor to cool down, you are facing the classic bottlenecks of a shop in transition. My goal is to help you navigate these hurdles by sharing the frameworks I use to manage time, power, and airflow.
Mapping Material Travel Paths to Reduce Shop Friction
Efficient workshop layout is the foundation of any high-output fabrication space. It involves analyzing the physical path a piece of raw stock takes as it moves through various stages of production to minimize wasted movement.
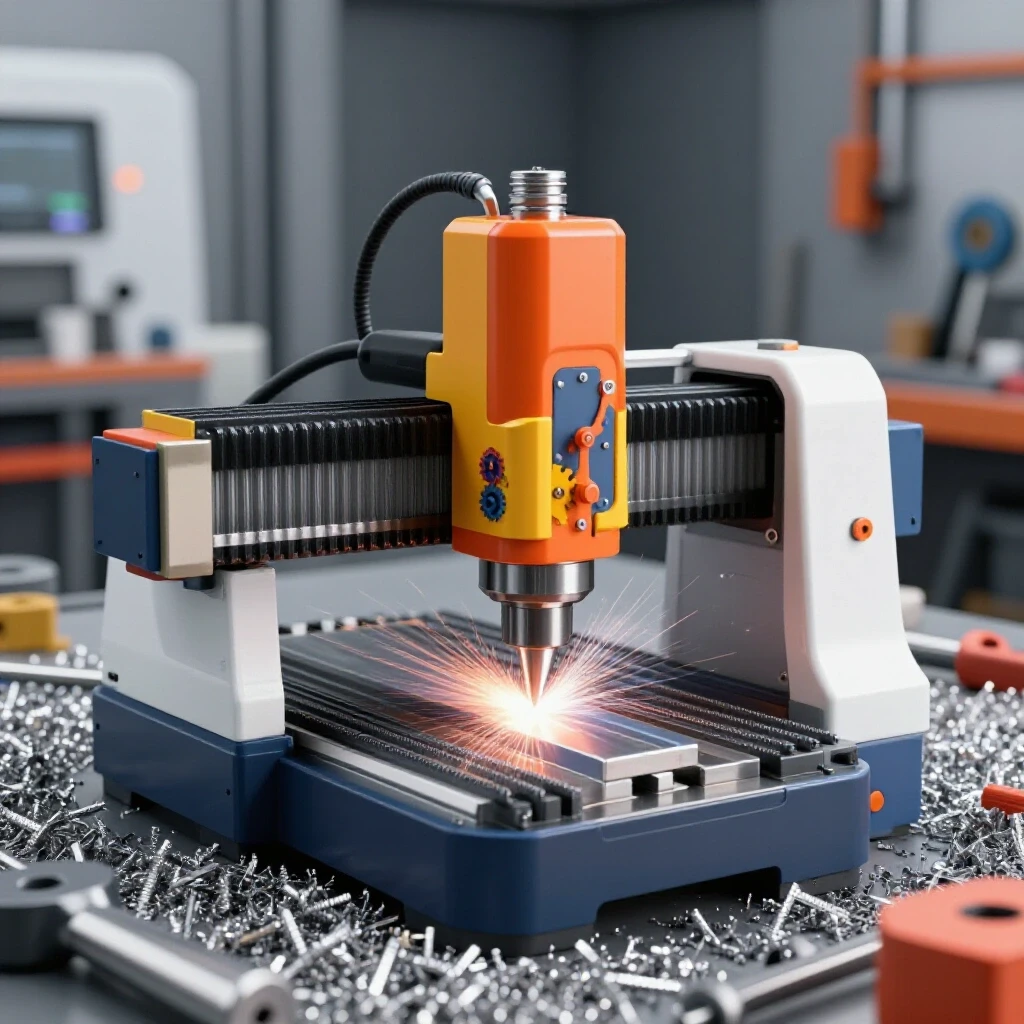
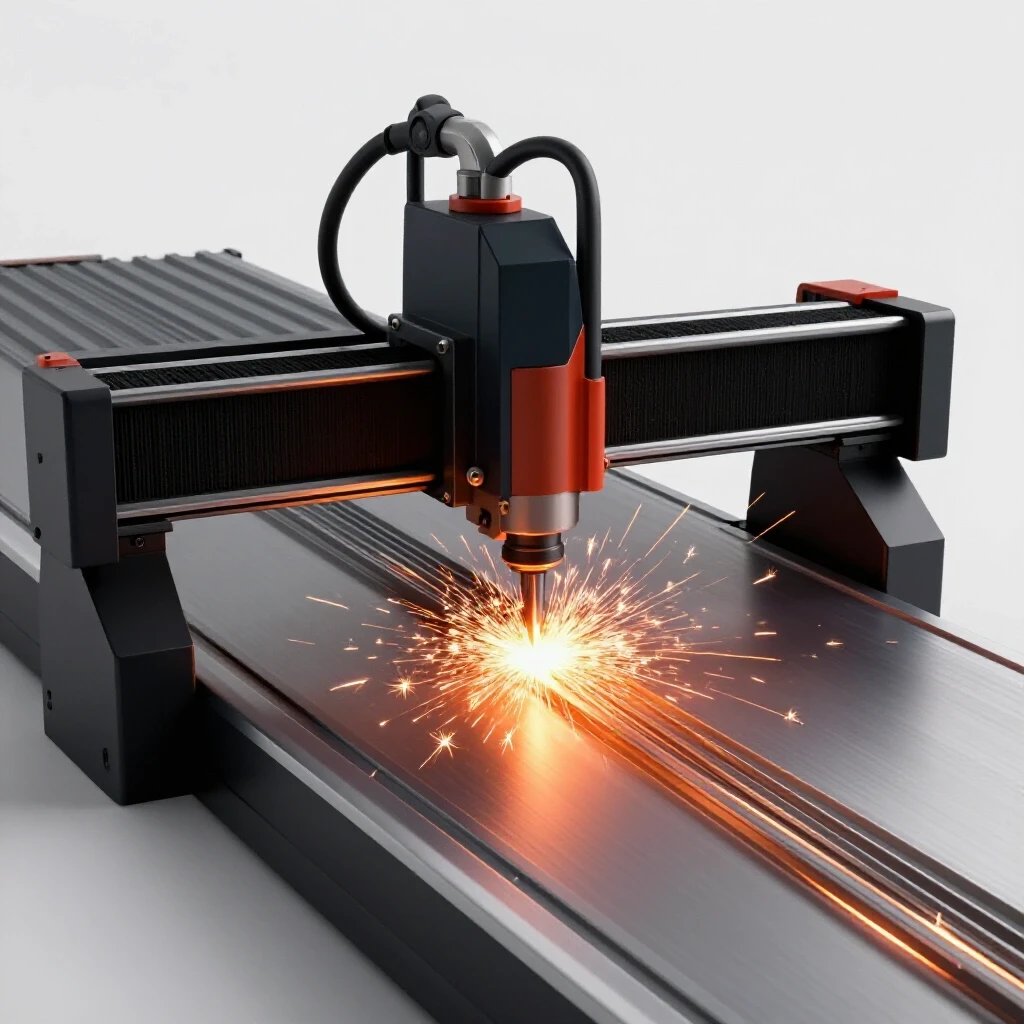
When I first installed my CNC plasma table, I made the mistake of putting it in a corner far from my material rack. I spent hours every week just moving heavy sheets of 4×8 plate across the shop. Now, I follow a linear flow pattern. Raw material enters at one end, moves to the cutting station, proceeds to fabrication and welding, and finally reaches the finishing and shipping area. This reduces “back-tracking,” which is the primary killer of shop throughput.
- Zoning: Divide your shop into “hot” (welding, cutting) and “cold” (assembly, CAD work) zones.
- Access Zones: Maintain at least a 3-foot perimeter around major machinery for maintenance and safety.
- Floor Load: Ensure your slab can handle the concentrated weight of heavy machinery like a 4,000-pound ironworker or a loaded plate rack.
Workshop Layout Flow Comparison
| Layout Type | Material Travel | Best For | Main Drawback |
|---|---|---|---|
| U-Shaped | Entry and Exit are near each other | Small square shops | Can cause “traffic jams” at the door |
| Linear (I-Flow) | Straight line from start to finish | Long, narrow buildings | Requires a door at both ends |
| L-Shaped | Corner-based workflow | Multi-use garages | Creates a dead zone in the corner |
| Cellular | Grouping tools by project type | Complex, multi-part builds | Requires duplicate tools in each cell |
Building Balanced 3-Phase Power Systems for Heavy Machinery
A 3-phase power converter is a device that allows you to run industrial-grade machinery on standard residential or light commercial single-phase electricity. This is a critical upgrade for any shop integrating heavy-duty motors.
Most advanced shop owners eventually hit a wall with 240V single-phase power. Industrial saws, mills, and large compressors often run on 3-phase power because it is more efficient and provides smoother torque. In my shop, I opted for a rotary phase converter (RPC). It uses a dummy motor to generate the third leg of electricity. While digital phase converters are becoming more common, the RPC remains a robust, cost-effective solution for a DIY-integrated shop.
- Phase Balancing: You must measure the voltage between all three legs under load. If they are more than 5-10% apart, you risk overheating your motors.
- Circuit Dedicatedness: Never daisy-chain high-draw machines. Each major tool needs its own breaker to prevent nuisance trips.
- Voltage Drop: Use the correct wire gauge based on the distance from your panel. For a 50-amp 3-phase load over 50 feet, I typically use 6 AWG copper.
3-Phase Power Converter Options
| Converter Type | Cost | Efficiency | Best Application |
|---|---|---|---|
| Static Converter | Low | 60-70% | Small motors that don’t start under load |
| Rotary (RPC) | Medium | 85-90% | General shop use with multiple machines |
| Digital (VFD) | High | 95%+ | Precision control for a single machine |
| Phase Perfect | Very High | 97%+ | Sensitive CNC electronics and high-end tools |
Designing High-Volume Clean Air Filtration and Fume Extraction
Air quality management involves the use of blowers, ductwork, and filters to remove hazardous metal dust and welding fumes from the shop environment. This is vital for both health and machine longevity.
When I started doing high-volume plasma cutting, the fine dust coated everything in my shop within days. I had to design a custom extraction system. For a standard 4×4 or 4×8 plasma table, you need at least 1,000 to 2,000 Cubic Feet per Minute (CFM) of airflow to effectively capture smoke. I used 6-inch rigid spiral ducting because flexible hoses create too much static pressure loss, which kills your blower’s efficiency.
- Static Pressure: This is the resistance the air meets as it moves through pipes and filters. Too many 90-degree elbows will drop your CFM significantly.
- Source Capture: Always try to catch the fumes at the tool (like a water table or downdraft kit) before they disperse into the room.
- Ambient Scrubbing: Even with source capture, an overhead air cleaner is necessary to cycle the shop air every 10-15 minutes.
Air Filtration CFM Requirements by Tool
| Tool / Station | Recommended CFM | Duct Diameter | Filter Type |
|---|---|---|---|
| CNC Plasma Table | 1,500 – 2,000 | 6″ – 8″ | Spark arrestor + HEPA |
| Welding Bench | 500 – 800 | 4″ – 6″ | Carbon / Smoke filter |
| Grinding Station | 800 – 1,200 | 5″ | Cyclone separator |
| Sandblasting Cabinet | 400 | 4″ | Cartridge filter |
Creating Systematic Task Sequences for Project Success
Sequencing is the process of ordering fabrication steps to maximize tool usage and minimize setup time. This is the “brain” of your workshop operation, ensuring that materials and labor are used effectively.
In my early days, I would jump between tasks—welding a bit, then grinding, then back to cutting. This “context switching” is a massive time-waster. Now, I use a physical job tracking board. I batch all my cutting for the week on Monday, all my bending on Tuesday, and so on. This DIY approach to organizing shop time ensures that I’m not constantly changing out tooling or recalibrating machines, which can take 15-30 minutes per swap.
- Batching: Group similar tasks together. If you have three projects requiring 1/4-inch plate, cut them all at once.
- Buffer Time: Always account for “shop creep”—the inevitable delays caused by a broken drill bit or a late material delivery.
- Staging Areas: Designate a specific table or rack for “work in progress” (WIP) so parts don’t get lost in the shuffle.
Leveling and Commissioning CNC Plasma Lines
Integrating a CNC plasma system involves the physical setup, calibration, and software synchronization of an automated cutting gantry. This is often the most complex upgrade a shop owner will undertake.
I remember the frustration of my first CNC gantry setup. The table wasn’t perfectly level, which caused the torch height control to freak out mid-cut. You need to use a precision machinist’s level, not just a standard carpenter’s level. Additionally, cable management is often overlooked. If your signal wires are too close to your power wires, electromagnetic interference (EMI) will cause the machine to “ghost” or skip steps.
- Stepper vs. Servo: Steppers are affordable and reliable but can lose their position if they hit an obstruction. Servos have “closed-loop” feedback, meaning they always know where they are, but they cost significantly more.
- Software Integration: Your CAD (design) and CAM (toolpath) software must be compatible with your machine’s controller. I prefer a unified workflow where I can go from a sketch to a cut file in under ten minutes.
- Consumable Tracking: Keep a log of how many pierces you get per nozzle. This helps you predict when a cut might fail due to a worn-out tip.
Capital Amortization of CNC Systems
| Investment Item | Estimated Cost | Lifespan | Monthly Cost (5yr) |
|---|---|---|---|
| Entry-Level CNC Table | $5,000 | 3-5 Years | $83 |
| Mid-Range CNC Table | $15,000 | 7-10 Years | $250 |
| High-Def Plasma Power | $8,000 | 10 Years | $133 |
| Air Dryer / Filtration | $2,500 | 8 Years | $42 |
Resource Allocation and Material Procurement Frameworks
Managing resources means balancing your available cash, floor space, and material inventory to meet project deadlines without over-extending your shop’s capacity.
One of the hardest lessons I learned was the cost of “just-in-case” inventory. I used to buy surplus steel because it was a good deal, but it ended up clogging my floor space and slowing down my workflow. Now, I practice a “just-in-time” approach for large orders. I only keep a small stock of common flats and tubes. For everything else, I coordinate deliveries to arrive exactly when the cutting phase of the project begins.
- Inventory Log: Keep a simple spreadsheet of what you have on the rack. It prevents you from buying a $150 sheet of aluminum you already own.
- Vendor Relationships: Get to know your local steel yard. Ask about their delivery schedules so you can time your project starts accordingly.
- Scrap Management: Have a clear system for what constitutes “usable scrap” versus “recycle bin.” If it’s smaller than 6×6 inches, I usually scrap it to save space.
Practical Steps for Workshop Evolution
Transitioning your shop is a marathon, not a sprint. The most successful fabricators I know are the ones who make incremental, data-driven changes rather than trying to overhaul everything in a single weekend.
Start by timing your current processes. How long does it take you to find a tool? How many minutes are spent moving material? Once you have those numbers, you can see where a layout change or a new 3-phase tool will have the biggest impact. My transition took years, but by focusing on the physics of the shop—power, air, and flow—I was able to double my output without doubling my stress.
- Audit your power: Check your panel capacity before buying any new machinery.
- Map your flow: Use blue painter’s tape on the floor to visualize new machine layouts before bolting them down.
- Document everything: Create simple “standard operating procedures” (SOPs) for machine startup and shutdown to reduce errors.
FAQ
What is the most common mistake when installing a CNC plasma table? The most common mistake is neglecting the air supply. Plasma cutters require extremely dry, clean air. If you have moisture in your lines, your consumables will wear out in minutes, and your cut quality will be poor. Investing in a refrigerated air dryer is often more important than the table itself.
How do I decide between a rotary phase converter and a VFD? If you want to run multiple machines (like a mill, a lathe, and a saw) from one power source, a rotary phase converter is best. If you only have one machine and you want to control its speed (like a belt grinder or a drill press), a Variable Frequency Drive (VFD) is the better choice.
Why is duct diameter so important for dust collection? Airflow is limited by the “bottleneck” of the pipe. A 4-inch pipe has about half the cross-sectional area of a 6-inch pipe. This means a 6-inch pipe can move significantly more air with less resistance, allowing your blower to work at its rated capacity.
How much space should I leave between machines? A good rule of thumb is the “3-foot rule.” You need 36 inches of clear space around the operator’s station and any maintenance access panels. For material handling, ensure you have a “swing zone” that accounts for the longest piece of stock you typically use.
Is it worth upgrading to 3-phase power in a home shop? Yes, if you plan on using industrial-grade machinery. 3-phase motors are simpler, last longer, and are often cheaper to buy on the used market because most homeowners can’t run them. The cost of a converter is usually offset by the savings on the machines themselves.
How do I calculate the CFM I need for my shop? For general air turnover, calculate your shop’s total volume (length x width x height) and divide by the number of minutes you want for a full air change (usually 10-15). For tool-specific extraction, follow the manufacturer’s requirements or use industrial standards like 1,000 CFM for a small plasma table.
What is “static pressure loss” in ductwork? It is the friction that slows down air as it moves through your pipes. Ribbed hoses, sharp 90-degree turns, and long runs all increase static pressure. To minimize this, use smooth-walled rigid pipe and “long radius” elbows.
Should I buy a stepper or servo-driven CNC machine? For most custom fabrication, high-quality stepper motors with “micro-stepping” are more than sufficient. If you are doing high-speed production where every second counts and you cannot afford a single lost step, then the investment in servos is justified.
How can I improve my shop’s material flow without moving heavy tools? Start by clearing the floor. Use mobile bases for smaller tools so they can be tucked away when not in use. Organize your material racks near the entry point and your assembly table near the exit. Even small changes in where you store your hand tools can save miles of walking over a year.
What are the signs of a power phase imbalance? The most obvious sign is a motor that runs hot or makes a growling sound. If you measure the voltage between the three legs and find a difference of more than 10%, you need to adjust the capacitors in your phase converter or check your wiring.
(This article was written by one of our staff writers, Edward Sinclair. Visit our Meet the Team page to learn more about the author and their expertise.)