Crucial Space Measurements Needed for a Shop Layout (Guide)
Standing in the middle of a cold garage with a tape measure in one hand and a chalk line in the other is where every fabrication journey truly begins. I remember my first setup in 2013, trying to fit a horizontal bandsaw, a welding table, and a drill press into a single-car bay. I made the mistake of placing my equipment based on where the outlets were, rather than where the metal needed to move. Within a week, I was tripping over power cords and hitting my elbows on the drill press handle while trying to weld. That experience taught me that a functional space is not about how much equipment you own, but how much room you leave for yourself to work safely.
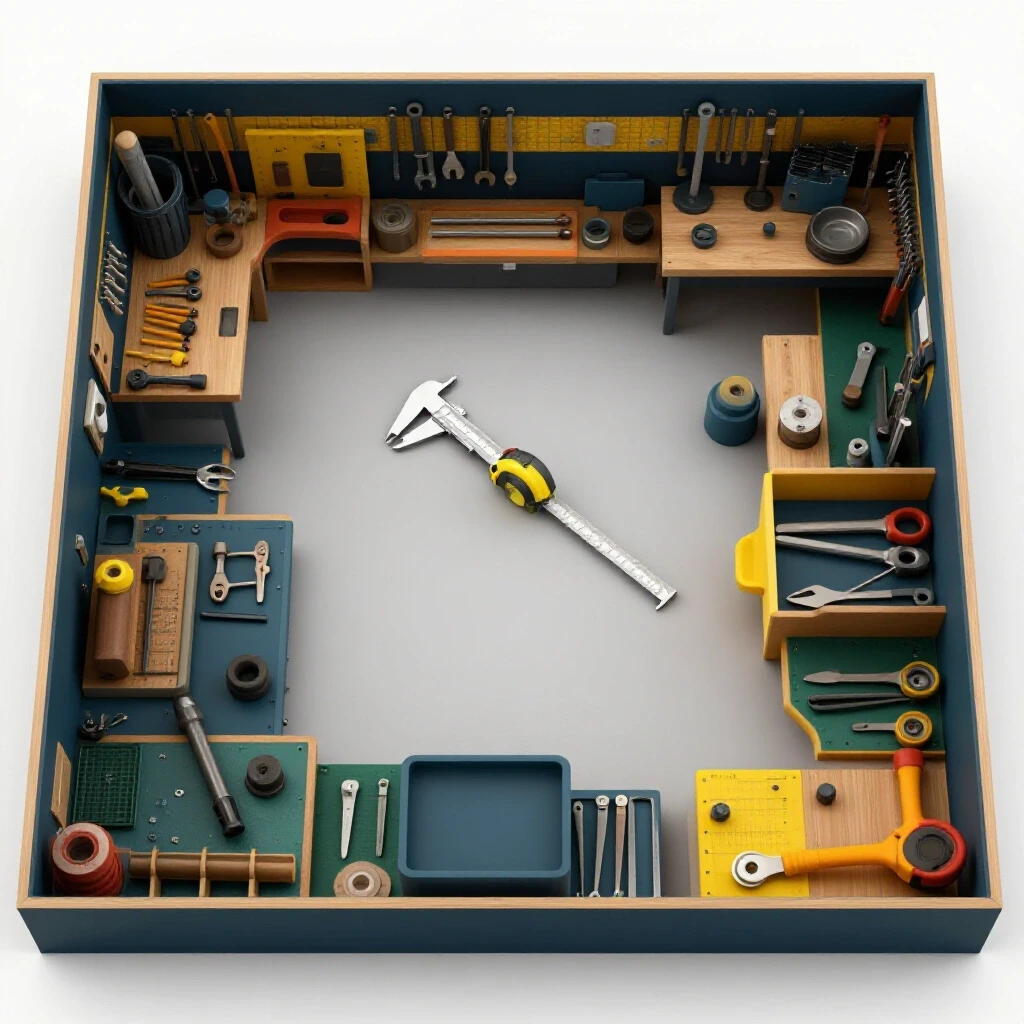
Planning a starter metal workshop layout requires a shift in perspective. You are no longer just looking at floor space; you are looking at “work envelopes.” Every tool has a physical footprint, which is the space it takes up sitting still. However, the work envelope includes the space for the operator to move and the raw material to pass through. By focusing on these spatial needs early on, you can avoid the frustration of a cramped, dangerous environment.
Defining Physical Boundaries and Tool Footprints
The physical footprint is the actual floor space a machine occupies, while the work envelope accounts for the movement of the operator and the material. Understanding the difference prevents you from crowding tools so closely that they become unusable or unsafe during a project.
When you start researching budget metalworking tools, it is easy to focus only on the dimensions listed on the box. A small benchtop drill press might only be 10 inches wide, but you need to account for the swing of the table and the length of the handles. I recommend mapping out each tool footprint on your floor using painter’s tape. This allows you to see the physical reality of your plan before you bolt anything down.
- Static Footprint: The base dimensions of the machine.
- Dynamic Footprint: The space needed when the machine is in operation (e.g., a sliding miter saw extending backward).
- Material Entry/Exit: The path raw metal takes as it enters and leaves the tool.
| Equipment Type | Average Static Footprint (Sq. Ft.) | Required Work Envelope (Sq. Ft.) |
|---|---|---|
| Welding Table (30″ x 48″) | 10 | 35 |
| Bench Grinder Pedestal | 4 | 12 |
| Horizontal Bandsaw | 6 | 20 |
| Drill Press | 3 | 12 |
| Metal Storage Rack | 8 | 18 |
Operator Safety Zones and Ergonomic Clearances
Operator reach and swing clearances are the minimum distances required for a person to move comfortably and safely around a machine without hitting obstacles. These zones ensure that if a piece of metal kicks back or a tool fails, the operator has room to react.
In my years as a maintenance technician, I saw many accidents caused by “operator crowding.” This happens when a technician is pinned between a machine and a wall. For a safe starter metal workshop layout, you should maintain an operator reach zone of 36 to 48 inches. This range allows you to stand firmly, move your arms freely, and step back quickly if a spark flies toward your face.
Interestingly, this 36–48 inch rule applies to almost every stationary tool. If you place a grinder too close to a workbench, you might find yourself hunching over, which leads to fatigue and mistakes. Proper spacing is not just about safety; it is about keeping your body in a natural position so you can focus on the precision of your cuts.
- Primary Reach: The area directly in front of you where most work happens.
- Secondary Reach: The area where you reach for switches or adjust fences.
- Stance Width: Ensure there is enough floor space for a wide, stable leg stance.
Material Handling and Aisle Widths
Aisle widths are the designated pathways used to move raw materials, finished projects, and mobile equipment through the shop. These corridors must remain clear of obstructions to prevent tripping hazards and to allow for the safe transport of heavy steel.
For a home shop, a minimum aisle width of 48 inches is the standard I follow. This might seem like a lot of wasted space in a small garage, but consider the length of a standard steel tube, which is often 20 feet long. Even if you have it cut into 5-foot sections at the supplier, you still need to carry those sections to your rack and then to your saw. A 48-inch aisle allows you to use a small cart or simply carry material without knocking over your welder or hitting your car.
Building on this, think about the “swing” of the material. When you take a long piece of angle iron off the rack, you need a clear radius to turn it toward your workbench. If your aisles are too narrow, you will find yourself performing a dangerous “juggling act” with heavy metal.
- Main Transit Aisle: Connects the entrance to the primary work zones (48 inches wide).
- Tool Access Aisle: Provides 36 inches of space to reach the back or sides of machinery for maintenance.
- Emergency Exit Path: A direct, unobstructed route to the door.
Safe Distances for Welding and Grinding Zones
Dedicated zones for hot work involve separating welding and grinding activities from flammable materials and sensitive electronics. These zones use physical distance and barriers to contain sparks, UV light, and metal dust within a controlled area.
Welding and grinding are the “messy” parts of metalworking. According to American Welding Society (AWS) suggestions, you should keep flammable materials at least 35 feet away from welding sparks. In a standard garage, this is almost impossible. As a result, you must use spatial planning to create a “hot zone.” This area should have non-flammable flooring and be separated by welding curtains or metal shields.
Grinding produces fine metallic dust that can ruin the finish on a nearby project or short-circuit your beginner welder power requirements if it gets into the cooling fans. I suggest placing your grinding station at least 6 to 10 feet away from your welding area. This separation helps keep your “clean” zones for assembly away from the “dirty” zones of material prep.
- Welding Zone: Needs a 5-foot radius of clear, non-flammable floor space.
- Grinding Station: Should be positioned so sparks fly away from the rest of the shop.
- Flash Protection: Use curtains to block UV light from reaching other people in the home.
Vertical Space and Overhead Clearance
Overhead clearance refers to the distance between the floor and the lowest hanging obstacle, such as lights, garage door tracks, or heaters. Vertical storage involves using wall space to keep materials and tools off the floor, maximizing the usable square footage.
Beginners often forget to look up. In my first shop, I forgot to account for the garage door tracks. I bought a tall vertical rack for steel storage, only to realize I couldn’t lean long pieces of tubing against it because the door would hit them when it opened. Always measure your ceiling height and the path of your garage door before planning your storage.
Vertical space is your best friend when working on a budget. By using heavy-duty wall brackets, you can store 30% of your materials off the floor. This opens up your 48-inch aisles and makes the shop feel much larger. Just ensure that your overhead storage does not interfere with your lighting or ventilation.
- Lighting Height: Lights should be high enough to avoid being hit by long metal stock but low enough to provide 50-100 foot-candles of brightness.
- Garage Door Clearance: Mark the “no-fly zone” where the door travels.
- Rack Height: Ensure you can safely reach the top shelf without a ladder in a cramped space.
Ventilation Placement and Airflow Pathways
Garage workshop ventilation involves the strategic placement of fans, vents, and intake sources to remove welding fumes and grinding dust. Proper airflow requires a clear path for fresh air to enter and contaminated air to exit the building.
Metalworking produces hazardous fumes, especially when welding galvanized steel or using certain flux-core wires. You need a system that provides consistent air exchanges. A common benchmark for a small shop is to aim for a ventilation rate that replaces the air in the room every 3 to 5 minutes. This is measured in Cubic Feet per Minute (CFM).
I recommend placing your exhaust fan as close to the source of the fumes as possible. If you weld on a table, a fan pulling air away from your face and out a window is much more effective than a ceiling fan. You also need an “intake” source, like a cracked garage door, to allow fresh air to flow in. Without a clear airflow pathway, your fan will struggle to move any air at all.
| Activity | Recommended CFM (Source Capture) | Recommended Air Exchanges Per Hour |
|---|---|---|
| Light Welding | 150 – 200 | 6 – 10 |
| Heavy Grinding | 300 – 500 | 10 – 15 |
| Plasma Cutting | 500+ | 15 – 20 |
Tool Vetting and Sequencing for Growth
Tool sequencing is the process of acquiring equipment in a specific order based on project needs and available space. This prevents “tool bloat,” where a shop becomes cluttered with unused machinery that consumes valuable floor real estate.
When you are starting out, the temptation to buy every tool on sale is high. However, I advise allocating about 30% of your initial resources to high-quality safety gear and measuring tools before buying the big machines. A high-quality auto-darkening helmet and a precise square will improve your work more than a fancy saw will.
Start with the “Big Three”: a way to cut (bandsaw), a way to join (welder), and a way to shape (grinder). Once you have these, stop buying and start building. Use your first projects to create your own shop furniture, like a welding cart or a heavy-duty workbench. This allows you to test your starter metal workshop layout and make adjustments before your space is completely full.
- Phase 1: Safety gear, measuring tools, and a sturdy workbench.
- Phase 2: Cutting and grinding tools (The “Prep” phase).
- Phase 3: Welding machine and specialized clamps (The “Join” phase).
- Phase 4: Drill press or stationary sanders (The “Finish” phase).
Workshop Organization and Tracking Frameworks
Maintaining an organized shop requires consistent record-keeping and layout management. Using digital or physical tracking tools helps you monitor your tool lifespan, maintenance schedules, and the physical limits of your workspace.
I am a big believer in meticulous record-keeping. In my shop, I keep a log of every abrasive wheel I use and how long it lasts. This helped me realize that “cheap” abrasives often wear out three times faster than professional-grade ones, making them more expensive in the long run. You can use simple tools to keep your shop running smoothly:
- Digital Layout Planners: Use free online floor plan tools to move virtual machines around before moving real ones.
- Power Load Spreadsheets: Track which tools are on which circuit to avoid tripping breakers.
- Safety Logs: Record when you replace respirator filters or fire extinguisher inspection dates.
- Tool Lifespan Estimates: Track hours of use on your welder or saw to plan for future maintenance.
Actionable Benchmarks for the First-Time Shop Owner
Setting up a shop is a marathon, not a sprint. To stay on track, follow these measurable benchmarks during your first few months of operation. These numbers are based on standard industrial practices adapted for a home environment.
- The 50% Rule: Never fill more than 50% of your floor space with stationary tools. The remaining 50% is for you and your projects.
- The 2-Foot Buffer: Maintain at least 2 feet of clearance behind any machine that requires cooling airflow (like a welder or air compressor).
- The 10-Foot Spark Zone: Ensure no flammable liquids or rags are within 10 feet of your grinding station.
- The 20-Amp Standard: Whenever possible, run your welder on a dedicated 20A circuit to prevent power drops during critical beads.
Common Rookie Layout Mistakes to Avoid
Even with the best planning, it is easy to fall into common traps. One of the biggest mistakes I see is placing a workbench against a wall in a way that prevents you from working on all sides. If you are building a large frame, you need to be able to walk around it. If your table is bolted to the wall, you are stuck.
Another mistake is ignoring the “clean-up” factor. Metal shavings, or “swarf,” get everywhere. If you place your precision measuring tools right next to your bench grinder, they will soon be covered in grit. Always plan for “clean zones” where your sensitive tools can be stored in closed cabinets or drawers.
- Mistake: Blocking the electrical panel with heavy material.
- Mistake: Placing a welder in a corner where fumes get trapped.
- Mistake: Not leaving enough room to change the blade on a bandsaw.
- Mistake: Forgetting to account for the height of your welding chair or stool.
As you move forward, remember that your shop is a living thing. It will change as your skills grow. The measurements you set today—the 48-inch aisles and the 36-inch operator zones—are the foundation that will keep you safe while you learn. Don’t be afraid to move a tool if it isn’t working for you. The goal is a functional fabrication space that supports your creativity rather than hindering it.
FAQ
How much space do I really need for a starter metal workshop layout? While you can start in a space as small as 100 square feet, a standard one-car garage (about 200-240 square feet) is ideal for a beginner. This allows for the “Big Three” tools, a workbench, and the necessary 48-inch aisles for moving material safely.
What is the most important measurement to remember when placing tools? The 36–48 inch operator reach zone is critical. This ensures you have enough room to operate the machine safely, maintain a stable stance, and move away quickly if something goes wrong.
Can I put my welding table against a wall? It is possible, but not recommended. Metal projects are often bulky. Having at least three sides of the table accessible allows you to clamp pieces more easily and weld from different angles without moving the heavy project itself.
How do I handle ventilation if I don’t have a built-in HVAC system? Focus on “source capture.” Use a high-CFM exhaust fan placed directly near your welding or grinding area. Ensure you have an intake source (like an open door) on the opposite side of the shop to create a cross-breeze.
Why is aisle width so important in a small shop? Aisles are not just for walking; they are for material transport. Since metal often comes in long, heavy sections, a 48-inch aisle prevents you from damaging your tools or injuring yourself while moving stock from storage to the cutting station.
How do I define a “hot zone” in a wooden garage? A hot zone should have fire-resistant floor coverings (like cement board or specialized mats) and be surrounded by welding curtains. Keep a fire extinguisher within 5 feet of this zone and ensure no flammable materials are stored nearby.
What is the difference between a tool’s footprint and its work envelope? The footprint is the floor space the tool physically touches. The work envelope is the total space needed for the tool, the operator’s movement, and the maximum size of the material being processed.
How much should I spend on safety gear versus tools? A good rule of thumb is to allocate 30% of your initial investment to safety gear and high-quality measuring tools. Protecting your eyes, lungs, and hearing is more important than having a more expensive welding machine.
Where should I store my raw metal stock? Store metal vertically or on high wall racks to save floor space. Ensure the storage area is near the entrance or the cutting station to minimize the distance you have to carry heavy materials through the shop.
How do I prevent grinding dust from getting everywhere? Position your grinding station so sparks fly toward a dedicated “dirty” corner, ideally near an exhaust fan. Use spark shields and keep “clean” tools, like your welder and measuring equipment, in drawers or covered cabinets.
(This article was written by one of our staff writers, Michael Thompson. Visit our Meet the Team page to learn more about the author and their expertise.)