How to Build a Vertical Steel Bar Stock Storage Rack (Guide)
I remember the first time I tried to organize my shop’s steel supply. I had twenty-foot sticks of square tubing leaning against a corner, held back by a single bungee cord. One afternoon, while I was reaching for a piece of flat bar, the whole pile shifted. It was a slow-motion disaster that ended with three hundred pounds of steel sliding across the floor, narrowly missing my shins and denting my welder. That was the day I realized that floor space is a premium and disorganized material is a safety hazard.
In my thirteen years as a prototype technician, I’ve learned that a shop is only as efficient as its material management. Building a freestanding upright organizer for your metal stock is a rite of passage for any fabricator. It requires more than just sticking metal together; it demands an understanding of center of gravity, weld distortion control, and layout precision. If your base isn’t square or your uprights bow during welding, your “solution” becomes a frustrating, rocking eyesore. This guide breaks down the process of creating a robust, vertical storage system that keeps your shop safe and your materials accessible.
Engineering the Foundation of an Upright Material Organizer
Designing a stable upright organizer requires more than just welding pieces together. You must account for the center of gravity, the footprint-to-height ratio, and the total weight of your steel inventory. A well-planned base prevents the structure from tipping when you pull a heavy bar from the top.
When I plan these custom fabrication projects, I always start with the base. For a vertical system, the base needs to be the heaviest part of the assembly. I prefer using 3-inch C-channel or 1/4-inch thick angle iron for the bottom frame. This keeps the weight low. A common mistake is using thin-walled tubing for the base; while it’s easier to cut, it doesn’t provide the “ballast” needed to keep the rack planted when it’s fully loaded with 10-foot or 12-foot bars.
The footprint should be roughly 24 inches by 24 inches for a standard home shop. This size is large enough to stay stable but small enough to tuck into a corner. I calculate my material needs based on the tallest stock I plan to store. If you have 12-foot sticks, your vertical dividers should reach at least 5 or 6 feet high to prevent the bars from leaning at an aggressive, unstable angle.
Load Considerations and Material Yield
Before sparks fly, you need to know what you are asking the metal to do. Steel is heavy. A single 20-foot stick of 2×2 square tubing (1/8″ wall) weighs about 60 pounds. If you plan to store twenty of those, your rack is holding 1,200 pounds. Your weld penetration and joint design must be up to the task.
- Use 11-gauge (1/8″) or thicker square tubing for the main uprights.
- Select 1/4″ plate or heavy C-channel for the base to lower the center of gravity.
- Plan for floor anchors if you live in a region with seismic activity or if your floor is significantly uneven.
Calculating Kerf and Preparing Square Cuts for Assembly
Accurate cuts are the foundation of any square metal project. When you ignore the width of the blade, your dimensions will crawl, leading to gaps that require massive weld beads. Understanding how to measure and mark for specific tools ensures your vertical dividers align without excessive grinding.
The term “kerf” refers to the width of the material removed by the cutting tool. If you are using a standard abrasive chop saw, your kerf is likely 1/8 of an inch. If you mark your steel at exactly 24 inches and cut on the line, your finished piece will be 23-7/8 inches. Over a complex build, these 1/8-inch errors compound, leading to a frame that is out of square before you even strike an arc.
I always use a “scribe and square” method. Instead of a thick soapstone line, I use a carbide scriber for a hair-thin mark. Then, I align the blade so it “takes the line” on the waste side of the material. This ensures every piece is identical. For the vertical dividers of an upright storage stand, consistency is more important than absolute length; if all four dividers are exactly 48-1/8 inches, the rack will be square. If they vary by 1/16 of an inch, the top rail will be crooked.
Metal Kerf Allowances by Cutter Type
| Cutting Tool | Typical Kerf Width | Best Use Case |
|---|---|---|
| Abrasive Chop Saw | 1/8″ (0.125 in) | Bulk cutting of heavy base frames |
| Cold Saw | 3/32″ (0.094 in) | Precision cuts with minimal burr |
| Portable Band Saw | 1/16″ (0.062 in) | On-the-fly adjustments and notches |
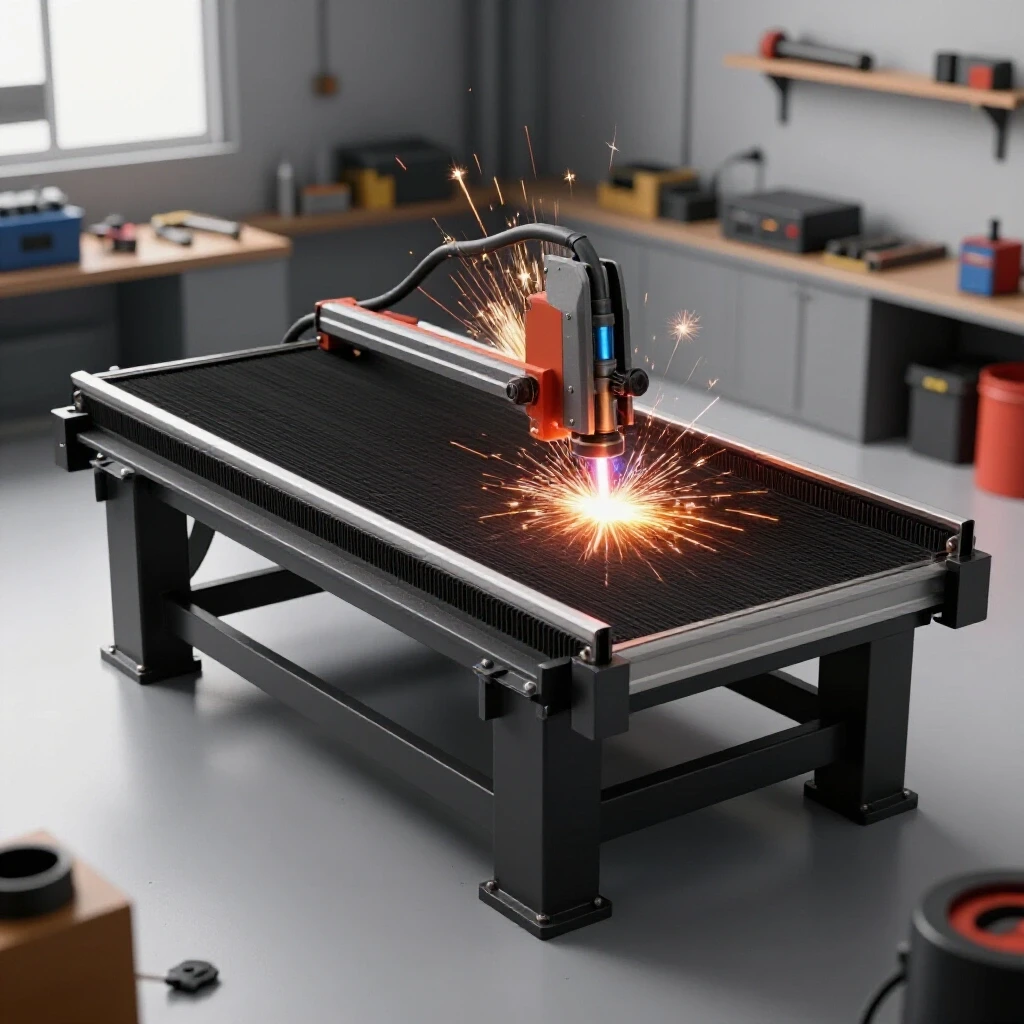
| Plasma Cutter | 1/16″ to 1/8″ | Custom gussets and base plates |
| Oxy-Acetylene Torch | 1/8″ to 3/16″ | Thick structural plate (>1/2″) |
Using Fixtures and Jigs to Prevent Frame Twist
A dedicated layout area or fixture table acts as a second set of hands. By clamping your components to a known flat surface, you resist the natural tendency of steel to twist during the tacking process. This step is critical for ensuring the finished rack sits level on your floor.
In my garage, I don’t always have a $5,000 professional welding table. However, I do have a flat concrete floor and some heavy-duty saw horses. To build workshop jigs and fixtures on a budget, I use “clamping squares”—thick L-shaped brackets made from scrap 3/8” plate. When assembling the base of the material organizer, I clamp these squares into the corners. This forces the 90-degree angle and prevents the “diamonding” effect where a rectangle becomes a parallelogram.
Another trick is the “tack and check” method. I never fully weld a joint until the entire sub-assembly is tacked and measured diagonally. If the diagonal measurements (from corner to opposite corner) are within 1/16 of an inch, the frame is square. If they aren’t, I can easily snap a small tack weld with a pry bar and readjust. Once you lay a full bead, you are committed to whatever shape the metal has taken.
Essential Layout Tools for Custom Fabrication Projects
- Machinist Squares: For verifying 90-degree verticality of the dividers.
- Magnetic Clamps: Useful for holding dividers in place, but be careful—they can cause arc blow in your weld.
- C-Clamps and F-Clamps: You can never have too many. Use them to pull material tight against your jig.
- Digital Protractor: Essential for ensuring the uprights aren’t leaning forward or backward.
- String Line: A simple way to check the straightness of long vertical runs.
Managing Thermal Expansion and Weld Shrinkage Forces
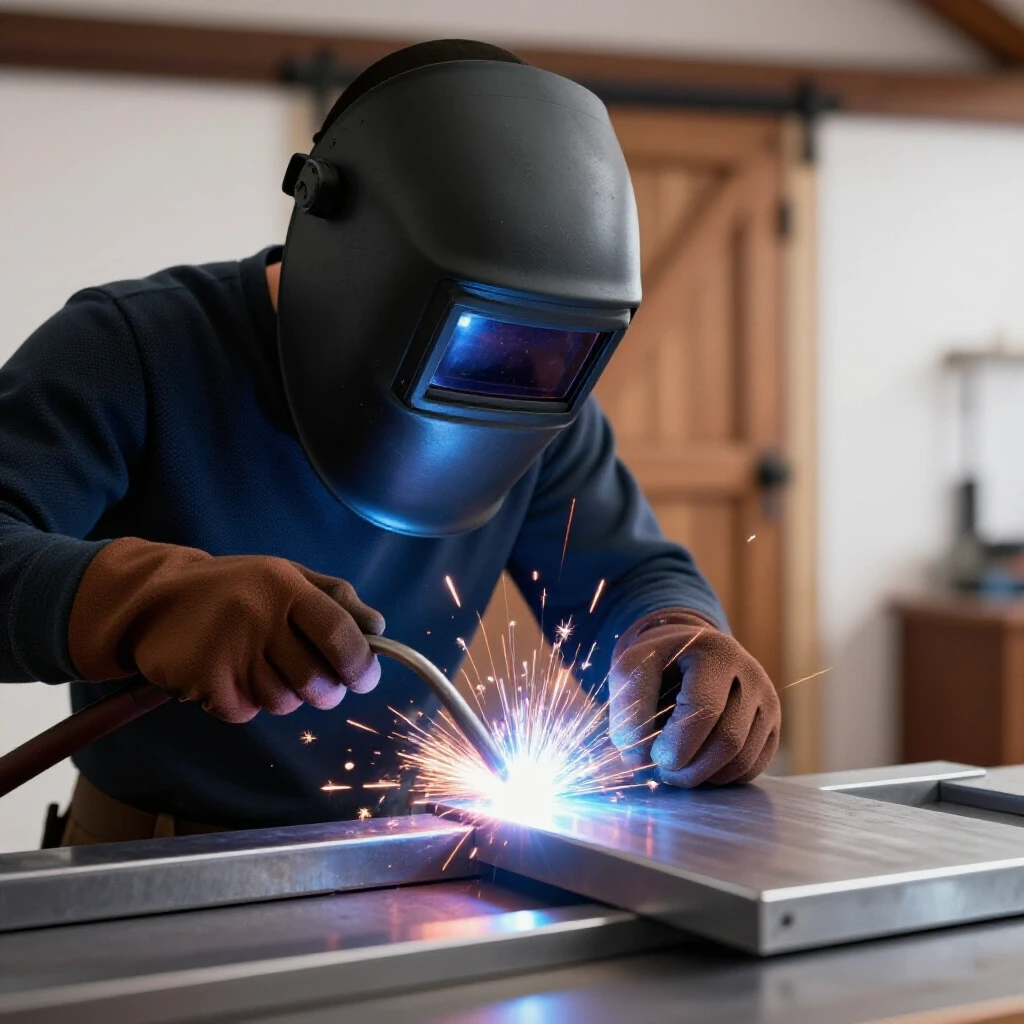
Welding creates intense heat that physically pulls metal out of alignment. If you weld one side of a joint completely before the other, the cooling metal will shrink and bow your uprights. Mastering a balanced sequence is the only way to keep your storage slots straight and functional.
When steel is heated to a molten state, it expands. As it cools and solidifies, it shrinks. This shrinkage exerts a massive amount of force—enough to bend a 2-inch steel tube like a piece of licorice. In a vertical storage build, this usually manifests as “angular pull.” If you weld the inside corner of an upright where it meets the base, the cooling weld will pull that upright inward.
To combat this, I use a “pre-setting” technique. If I know a weld will pull an upright 2 degrees to the left, I might clamp it 2 degrees to the right before welding. However, a more reliable method for most DIYers is heat management through stitch welding and cooling. By jumping from corner to corner and allowing the metal to return to a touchable temperature between passes, you minimize the cumulative heat build-up that causes major warping.
Weld Sequencing and Distortion Control Data
| Joint Type | Shrinkage Direction | Mitigation Strategy |
|---|---|---|
| T-Joint (Upright to Base) | Pulls toward the weld | Tack all four sides; weld in short 1″ increments |
| Butt Weld (Base Frame) | Shrinks across the width | Leave a 1/16″ gap (root opening) to allow for movement |
| Corner Weld | Pulls into a “V” shape | Use a heavy external jig or clamp to a flat table |
| Lap Joint (Dividers) | Minimal pull | Alternate sides to balance the tension |
Sequencing Welds to Maintain Structural Straightness
The order in which you lay your beads determines the final shape of the project. A systematic weld sequencing layout prevents the internal stresses from all pulling in the same direction. I follow a “cross-pattern” similar to tightening lug nuts on a car wheel.
For a vertical bar stand, start by tacking all vertical members to the base. Each upright should have at least four tacks—one on each side. Once everything is tacked and the diagonals are checked, start the final welding on the base. Weld the front-left corner, then the back-right, then the front-right, then the back-left. This distributes the heat evenly across the structure.
When moving to the vertical dividers, weld the “outside” joints first. This pulls the uprights slightly outward, which is often easier to correct than if they pull inward and pinch the storage slots. If you notice an upright starting to lean, stop immediately. Let it cool completely. You can often use a “counter-weld” on the opposite side to pull it back into alignment, but this requires experience to judge the right amount of heat.
The Step-by-Step Tacking Strategy
- Place the component: Align it with your scribe marks.
- Apply the first tack: Put a small (1/8″) tack on the side that is easiest to reach.
- Check for square: Use your square to see if the first tack pulled the piece.
- Apply the second tack: Place it 180 degrees opposite the first tack.
- Re-verify measurements: Check your diagonals and verticality.
- Complete the tacking: Add tacks to the remaining sides before moving to the next component.
Final Assembly and Safety Considerations for Heavy Loads
The safety of a vertical storage system depends on its structural integrity and weight distribution. Using heavy-gauge C-channel for the base provides a low center of gravity, while properly spaced dividers prevent tall bars from swaying. Final checks for weld penetration ensure the rack handles hundreds of pounds safely.
Once the welding is finished, don’t just throw your steel into the rack. I always perform a “stress test.” I’ll grab the top of the rack and give it a firm shake (while it’s empty) to check for any rocking or base instability. If the floor is uneven, I use steel shims to level the base and then weld the shims in place or bolt the rack to the floor using 3/8″ wedge anchors.
Safety doesn’t stop at stability. Every edge on your new organizer should be deburred. In a vertical rack, you will be sliding metal in and out constantly. Sharp edges on the dividers will catch on your stock or, worse, your hands. I spend at least thirty minutes with a flap disc on an angle grinder, rounding over every corner and smoothing every weld. This prevents “stress risers” in the welds and keeps the shop a “blood-free” zone.
Post-Build Checklist and Maintenance
- Leveling: Ensure the rack doesn’t lean more than 1/16″ over 4 feet.
- Weld Inspection: Look for undercut or lack of fusion, especially on the base-to-upright joints.
- Deburring: Run a gloved hand over all edges to check for snags.
- Weight Distribution: Place your heaviest, thickest bars in the center slots to keep the load balanced.
- Labeling: (Optional) Mark each slot for specific material types (e.g., “Aluminum,” “Stainless,” “Mild Steel”) to prevent cross-contamination.
Building your own material management system is an exercise in precision. It teaches you how to respect the physics of metal warping and the importance of a solid layout. By following these metal layout tips and focusing on accurate square cuts, you’ll end up with a fixture that doesn’t just hold steel—it improves the entire workflow of your shop. When every piece of bar stock has a home, you spend less time digging through piles and more time actually fabricating.
FAQ: Common Questions on Vertical Material Storage Construction
How do I prevent the vertical dividers from leaning as I weld them?
The most effective way is to use a “clamping jig.” Take a scrap piece of heavy angle iron and clamp it to the base so it stands perfectly vertical. Then, clamp your divider to that angle iron. This provides a rigid backstop that resists the pull of the weld. Additionally, always place your tacks in a balanced sequence—one on the front, then one on the back—to equalize the tension.
What is the best material for the base of a freestanding rack?
I recommend 3-inch C-channel or 2×2 square tubing with at least a 3/16″ wall thickness. The goal is to make the base significantly heavier than the upper dividers. This lowers the center of gravity. If the base is too light, the rack will become “top-heavy” as you add longer sticks of steel, increasing the risk of a tip-over.
Should I weld the dividers or bolt them?
Welding provides a more rigid structure, which is generally preferred for a permanent shop fixture. However, if you think you might need to move or reconfigure the rack, you can weld “sleeves” (larger diameter tubing) to the base and slide the dividers into them, securing them with grade-5 bolts. This allows for a modular design.
How much weight can a typical DIY vertical rack hold?
If built with 1/8″ wall square tubing and proper weld penetration, a 24×24 inch rack can easily hold 1,000 to 1,500 pounds. The limiting factor is usually the floor’s levelness and the stability of the base. If you plan to exceed 2,000 pounds, I suggest using 1/4″ wall thickness and bolting the base to the concrete floor.
How do I fix a rack that has warped and now rocks on the floor?
If the base has “potato-chipped” (twisted), you can often fix it by adding adjustable leveling feet. Weld a 1/2″ nut to each corner of the base and use heavy-duty bolts as leveling legs. This is often easier and more effective than trying to “cold-bend” a welded frame back into flat alignment.
What is the ideal spacing for the material slots?
For a general-purpose shop, slots spaced 4 to 6 inches apart are ideal. This is wide enough to hold several sticks of 2-inch tubing but narrow enough to keep 1/2-inch rods from leaning too far over. I like to make one or two slots slightly wider (8 inches) for storing wider flat bar or odd-shaped remnants.
How tall should the uprights be for 20-foot sticks?
For 20-foot material, your vertical supports should be at least 6 to 7 feet tall. The “rule of thumb” is that the support should reach at least one-third of the height of the material being stored. If the supports are too short, the material will bow under its own weight and could potentially flip the rack.
Do I need to paint the rack?
Steel will rust over time, especially in humid garages. A simple coat of industrial enamel or even “rattle-can” primer will prevent surface oxidation. More importantly, painting the rack a bright color (like safety orange or yellow) makes it more visible, reducing the chance of someone walking into the protruding bars.
Can I use a MIG welder for this project, or do I need TIG?
A MIG welder is actually preferred for this type of structural shop furniture. It provides excellent penetration on thicker materials and is much faster than TIG. Use a .030 or .035 solid wire with a 75/25 Argon/CO2 gas mix for the best results on mild steel.
What is “arc blow” and why does it matter here?
Arc blow happens when the magnetic field of your welding current is deflected, often by the magnetic clamps used to hold the project together. If you notice your arc wandering or “spitting” near a magnet, move the magnet further away from the joint. This ensures a clean, strong weld on your critical base-to-upright joints.
(This article was written by one of our staff writers, Robert Kline. Visit our Meet the Team page to learn more about the author and their expertise.)