How to Choose Weldable Metals for DIY Fabrication (Guide)
I spent my first three years in a fabrication shop learning that metal has a memory and a temper. I once built a heavy-duty engine stand using what I thought was high-strength tubing, only to watch the main upright slowly bow under a load that was technically within its limits. That failure taught me that structural integrity is not just about the thickness of the steel; it is about how the material reacts to the heat of the torch and the path the weight takes through the joints.
In my 14 years of inspecting industrial frames and building custom shop tools, I have seen that most failures happen long before the welder is even turned on. They happen at the workbench during the material selection phase. When you choose a metal for a project, you are choosing its “weldability”—a term we use to describe how easily a metal can be joined without cracking or losing its strength. This guide focuses on the practical physics of selecting the right stock so your projects remain stable and safe.
Understanding Structural Metal Load Capacity and Yield Strength
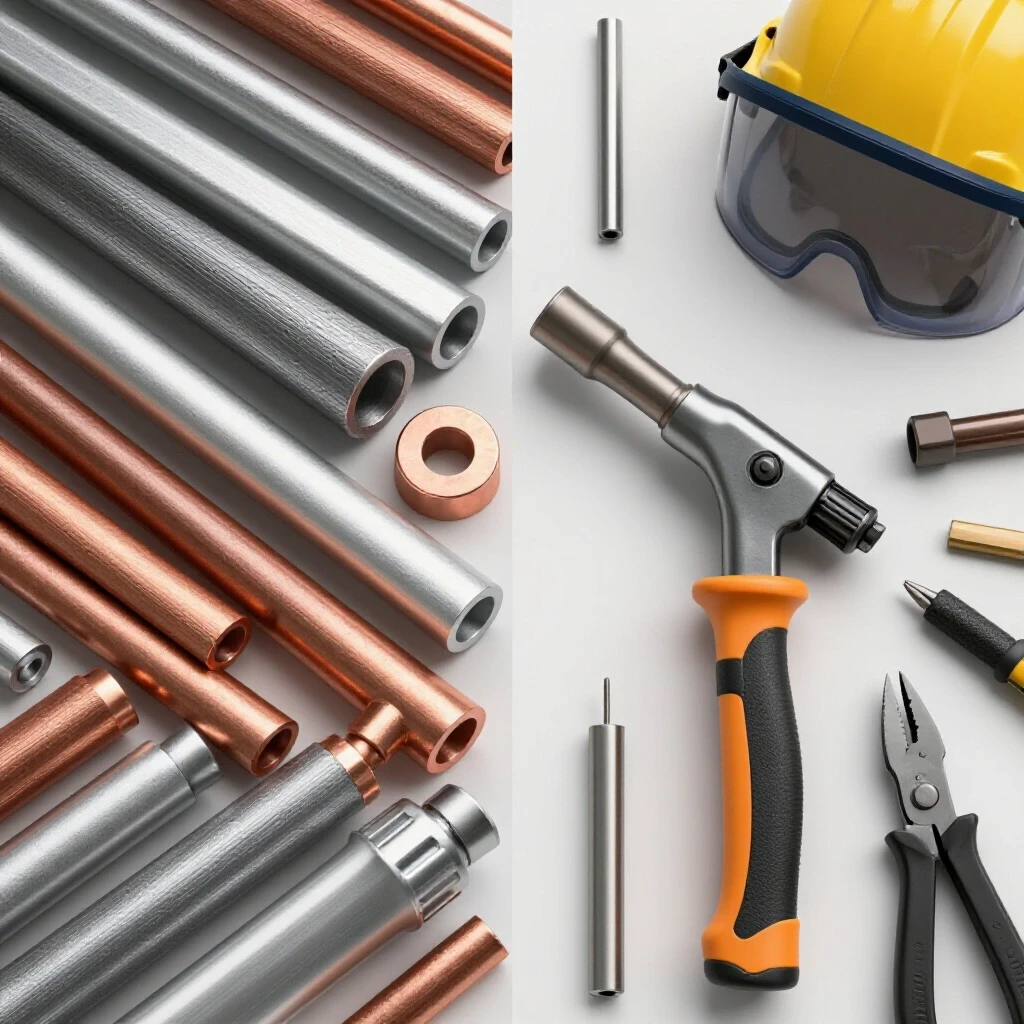
Structural metal load capacity refers to the maximum weight or force a piece of metal can support before it deforms or breaks. Yield strength is the specific point where the metal stops acting like a spring and starts to permanently bend. Knowing these numbers allows you to build with a predictable safety margin.
When I look at a blueprint, the first thing I check is the yield strength, usually measured in pounds per square inch (PSI). For most of us working in a home shop, A36 mild steel is the baseline. It has a yield strength of about 36,000 PSI. This means if you apply more than 36,000 pounds of force per square inch, the steel will stretch and stay stretched.
For DIY projects, we never want to get anywhere near that limit. We use a safety factor, which is a multiplier that ensures the structure is much stronger than the heaviest load it will ever carry. For a static workbench, a 2:1 safety factor might be enough. However, if you are building something that moves or holds a load over your head, like a gantry crane, I always recommend at least a 4:1 safety factor. This accounts for “dynamic loading,” which is the extra force generated when a weight bounces or shifts suddenly.
| Metal Type | Common Alloy | Yield Strength (PSI) | Weldability Rating | Primary Use |
|---|---|---|---|---|
| Mild Steel | A36 / 1018 | 36,000 | Excellent | Frames, brackets, tables |
| Stainless Steel | 304 | 30,000 | Good | Food grade, outdoor use |
| Aluminum | 6061-T6 | 35,000* | Moderate | Lightweight structures |
*Note: Aluminum yield strength drops significantly in the heat affected zone after welding.
Identifying Reliable Alloys for Home Fabrication
Identifying reliable alloys involves selecting materials that respond predictably to standard welding processes like MIG, TIG, or Flux-Cored. Most home shops rely on a few specific grades of steel and aluminum because they offer the best balance of cost, strength, and ease of joining.
In my experience, the most forgiving material for any project is mild steel. It has a low carbon content, which means it doesn’t get brittle when you heat it up and cool it down quickly. If you are using a MIG welder or a Flux-Cored setup, mild steel is your best friend. It allows for a wide range of heat settings and is very resistant to cracking under stress.
Stainless steel, specifically the 304 grade, is excellent for projects that need to resist rust. However, it behaves differently than mild steel. It holds onto heat much longer, which causes it to warp or “potato chip” if you aren’t careful. When I weld stainless, I have to use shorter beads and move around the project to keep the heat from building up in one spot.
Aluminum is a different beast entirely. Most hobbyists use 6061-T6 aluminum. It is strong and light, but it conducts heat so fast that it acts like a giant heat sink. You need a lot of power to start the weld, and then you have to back off quickly as the entire piece gets hot. Interestingly, the “T6” in 6061 refers to its heat treatment. When you weld it, you actually “anneal” or soften the metal around the joint, reducing its strength in that area by up to 50%.
Managing the Heat Affected Zone Weakness
The heat affected zone, or HAZ, is the area of metal immediately surrounding the weld bead that was heated but not melted. This area undergoes a change in its internal structure that can make it softer or more brittle than the rest of the part. Understanding the HAZ is critical for preventing structural cracking.
I have seen many beautiful welds fail not in the middle of the bead, but right next to it. This is because the HAZ is often the weakest link in the chain. When you apply intense heat, the grains of the metal grow larger, which generally makes the material less capable of handling vibrations or sudden impacts.
To manage HAZ weakness, you must control your “heat input.” This is a calculation of how much energy you are putting into the metal per inch of weld. In the shop, this means keeping your travel speed consistent. If you move too slowly, you soak the metal in heat, widening the HAZ and increasing the risk of a brittle fracture. I always suggest using “stitch welding”—welding two inches here, then moving to the other side of the frame—to let the first area cool down.
Preventing Welding Defects and Structural Failure
Welding defects are flaws like holes, cracks, or gaps in a weld that compromise its strength. Structural failure occurs when these defects allow the metal to pull apart under a load. Most defects are caused by poor preparation or incorrect machine settings rather than the metal itself.
One of the most common issues I see in garage fabrication is porosity. These are tiny bubbles trapped in the weld that look like a sponge. They are usually caused by a low welding gas flow rate or a breeze in the shop blowing away your shielding gas. If your gas isn’t protecting the molten puddle, oxygen gets in and creates those bubbles. A porous weld has almost no structural integrity and will fail under tension.
Another silent killer is “lack of fusion.” This happens when the weld metal sits on top of the base metal without actually melting into it. It looks like a good weld, but it is essentially just “hot glued” on. To prevent this, I always emphasize proper joint preparation. You must grind away mill scale, rust, and oil until the metal is shiny. If the arc has to fight through a layer of crusty oxide, it won’t penetrate deep enough to create a safe bond.
| Defect Type | Likely Cause | Visual Sign | Solution |
|---|---|---|---|
| Porosity | Low gas flow / Wind | Small pinholes | Increase CFH; block drafts |
| Undercut | Too much heat / Slow speed | Groove at weld edge | Lower voltage; faster travel |
| Lack of Fusion | Cold settings / Dirty metal | Weld sits “tall” | Increase heat; grind to shiny metal |
| Cracking | Rapid cooling / Wrong filler | Line down center | Pre-heat thick metal; slow cooling |
Workshop Safety Checklist and PPE Integration
A workshop safety checklist is a formal series of steps taken to ensure the environment and the operator are protected from fire, fumes, and radiation. PPE integration means wearing the correct gear, such as auto-darkening helmets and leather protection, as a mandatory part of the workflow.
Before I strike an arc, I go through a mental checklist. Is there sawdust on the floor? Is there a gallon of gasoline nearby? Welding produces sparks that can fly 20 feet and smolder in a pile of rags for hours before catching fire. My garage fabrication safety routine always includes a “fire watch”—staying in the shop for at least 30 minutes after the last weld to make sure nothing is smoking.
Your eyes and lungs are your most important tools. For most DIY welding, you need a helmet with a Shade 10 to 13 filter. If you are welding at high amperages, you need a darker shade to prevent “arc eye,” which feels like having sand rubbed into your eyes. Furthermore, never weld on galvanized steel (the shiny, silver-coated stuff) without a respirator. The zinc coating releases toxic fumes that can cause “metal fume fever,” a miserable flu-like illness.
- Clear the Zone: Remove all flammable liquids and debris within a 25-foot radius.
- Check Ventilation: Ensure a fan is pulling fumes away from your face, not across the weld.
- Inspect Cables: Look for frayed wires or loose ground clamps that could cause a short.
- Verify PPE: Wear dry leather gloves, a flame-resistant jacket, and a properly rated helmet.
- Set Gas Flow: Ensure the regulator is set between 15–20 CFH (cubic feet per hour).
Diagnostic Inspection Techniques for the Home Shop
Diagnostic inspection involves checking your welds for hidden flaws using simple, non-destructive methods. While we don’t have X-ray machines in our garages, we can use visual cues and basic kits to verify that a joint is sound.
The first step is a visual inspection. I look for a consistent “stack of dimes” appearance in TIG or a smooth, slightly convex bead in MIG. If the weld looks “cold” (lumpy and disconnected), it probably is. I also check the “toe” of the weld—the point where the bead meets the flat metal. It should transition smoothly. If there is a notched-out groove there, it’s called “undercut,” and it acts like a perforation on a piece of paper, making the metal easy to snap.
For critical joints, I use a “dye penetrant kit.” You spray a red dye on the weld, wipe it off, and then apply a white developer. If there is a tiny crack you can’t see with your eyes, the red dye will bleed out into the white developer. It is a simple, low-cost way to ensure your engine hoist or trailer hitch isn’t hiding a disaster.
Calibrating Welding Gas Flow Rate for Clean Joints
Welding gas flow rate is the speed at which shielding gas leaves the nozzle to protect the weld puddle. It is measured in CFH. If the flow is too low, you get porosity; if it is too high, you create turbulence that actually pulls air into the weld.
In my shop, I generally keep my regulator set to 15–20 CFH. If I am working in a corner where air is trapped, I might drop it to 12. If there is a slight draft, I might bump it to 25. Interestingly, more is not always better. I have seen guys crank their gas up to 50 CFH thinking it would provide “extra protection,” only to find their welds full of holes because the gas was swirling like a mini-tornado.
You can test your coverage by doing a “spot test.” Hold the torch over a piece of scrap, trigger the gas for a second without striking an arc, then strike the arc and make a small puddle for three seconds. Let off the trigger but keep the torch over the puddle (this is called post-flow). If the spot is shiny and silver, your gas coverage is perfect. If it’s brown or black, you have a gas issue.
Structural Load Testing and Joint Verification
Structural load testing is the process of applying a controlled weight to a finished project to ensure it holds up as designed. Joint verification is the final check of all connection points to ensure they are fully fused and capable of transferring the load.
Once a project is finished, I don’t just put it into service. I test it. If I built a bench designed to hold 500 pounds, I will slowly load it with 750 pounds of sandbags or weights while keeping a safe distance. I look for any popping sounds or visible deflection. This “proof loading” gives me the confidence that my material selection and weld quality are up to the task.
I also pay close attention to the “load path.” This is the imaginary line that weight travels through your structure to the ground. Every weld along that path must be verified. If you have a strong beam but it’s welded to a thin, weak bracket, the bracket will fail. I always try to design joints so the metal itself carries the weight, and the weld simply holds the metal in place. This is called “mechanical interference,” and it is a much safer way to build.
Essential Tools for Material Verification and Safety
To choose and prepare your metals correctly, you need a few specific tools that go beyond the welder itself. These items help you verify what you are working with and ensure the environment remains controlled.
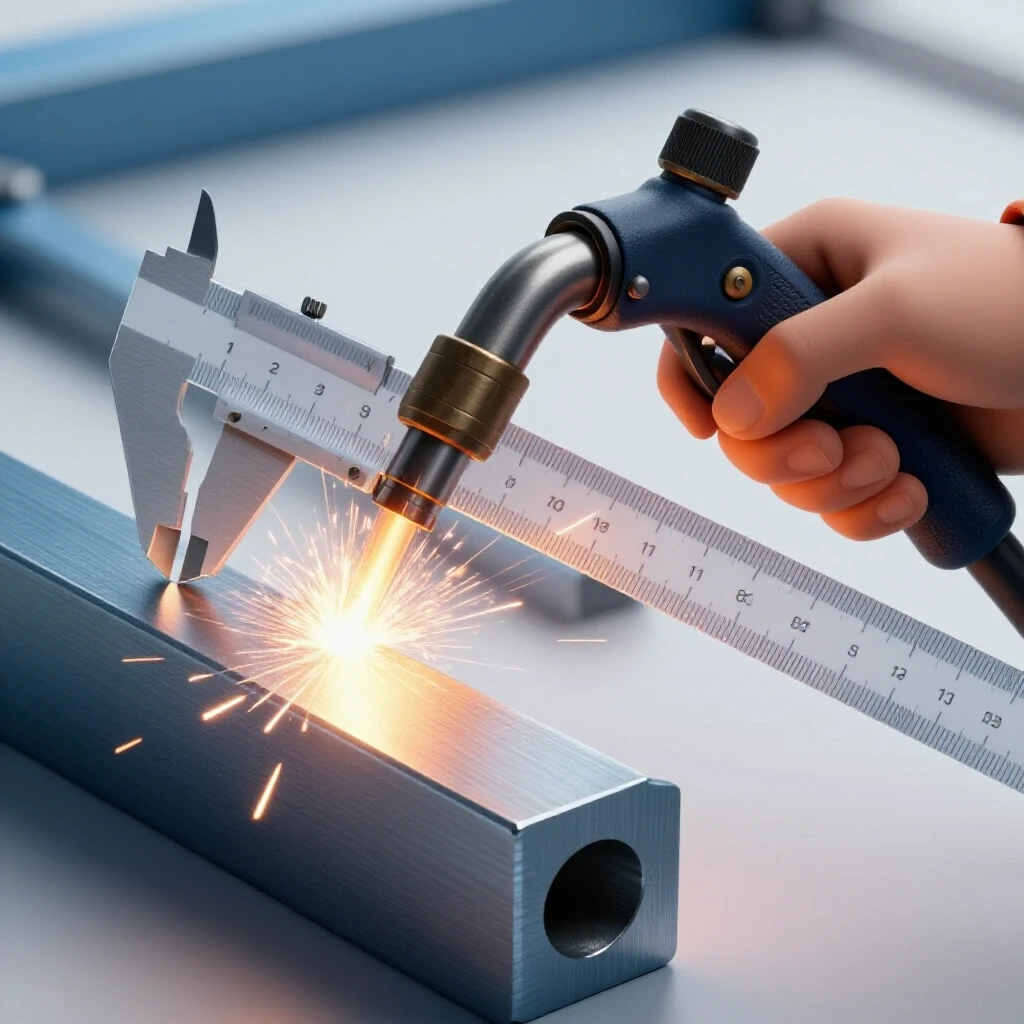
- Calipers: Used to measure the exact thickness of your metal. A 1/8-inch plate and a 10-gauge plate look similar but have different load capacities.
- Angle Grinder with Flap Discs: Essential for removing mill scale and creating a “V-groove” on thick joints to ensure full penetration.
- Electronic Gas Flow Tester: A small tube that fits over your welding nozzle to tell you exactly how much gas is coming out, regardless of what the regulator says.
- Infrared Thermometer: Useful for checking “pre-heat” temperatures on thicker steel or monitoring how hot your project is getting to prevent warping.
- Auto-Darkening Helmet: Look for one with a “grind mode” and at least four sensors to ensure it triggers every time you strike an arc.
By focusing on these technical foundations—yield strength, heat management, and gas calibration—you move from “guessing” to “engineering.” Metalworking is a disciplined craft where respect for the material leads to projects that last a lifetime.
FAQ: Common Questions on Selecting and Welding DIY Metals
What is the easiest metal for a beginner to weld safely? Mild steel (A36) is the most beginner-friendly material. It is inexpensive, has excellent weldability, and is very forgiving of minor errors in heat settings. It doesn’t require complex pre-heating or specialized cooling procedures for most common thicknesses (1/8″ to 1/4″).
How do I know if my metal is too thin for the project’s load? You should calculate the safety factor. If your project needs to hold 200 lbs, design it to hold 800 lbs (a 4:1 safety factor). If the metal visibly bows or flexes under a small amount of hand pressure, it is likely too thin for structural use and requires bracing or a thicker gauge.
Why did my aluminum weld crack as soon as it cooled? Aluminum is prone to “hot cracking,” which happens if the weld cools too quickly or if the wrong filler rod is used. Using 4043 or 5356 filler rods usually prevents this. Also, ensure you aren’t “tacking” the metal too tightly, which prevents it from shrinking naturally as it cools.
Can I weld stainless steel to mild steel? Yes, but you must use a specific filler rod, typically 309L. If you use standard mild steel wire, the weld will be brittle and prone to cracking because the different alloys won’t mix properly. Note that the joint will still be susceptible to rust on the mild steel side.
How do I prevent my project from warping during welding? Warping is caused by uneven heating. To prevent it, use “tack welds” every few inches to lock the pieces in place. Then, use the “backstepping” technique: instead of one long bead, weld short sections in opposite directions to distribute the heat evenly across the structure.
What is the “mill scale” and why must I remove it? Mill scale is the dark grey, flaky layer of iron oxide found on hot-rolled steel. It has a higher melting point than the steel underneath and acts as an insulator. If you don’t grind it off to reveal shiny metal, you will get a “cold” weld with poor penetration and potential failure.
Is flux-cored welding as strong as MIG welding with gas? Yes, flux-cored welding can be just as strong, provided the settings are correct. It often penetrates deeper into thick metal than MIG. However, it produces more “spatter” and a layer of slag that must be chipped off and cleaned between every pass to avoid inclusions.
What should I do if I see a crack in my finished weld? Never just weld over a crack. You must grind out the entire cracked area until you reach solid metal, then re-clean and re-weld the joint. A crack acts as a stress riser and will continue to grow through a new weld if it isn’t completely removed.
How much gas flow is too much for MIG welding? Anything over 25–30 CFH is usually excessive for indoor DIY welding. High flow rates cause turbulence at the nozzle, which sucks in atmospheric oxygen and nitrogen, leading to porosity (bubbles) in your weld. Stick to 15–20 CFH for the best results.
How can I tell if I have “good penetration” on a butt joint? On a butt joint (two pieces of metal edge-to-edge), you should ideally see a small “heat tint” or a slight bead of metal on the backside of the joint. This indicates that the weld pool traveled all the way through the thickness of the material.
(This article was written by one of our staff writers, James Harlan. Visit our Meet the Team page to learn more about the author and their expertise.)