How to Construct Safe Wooden Shipping Crates for Parts (Fix)
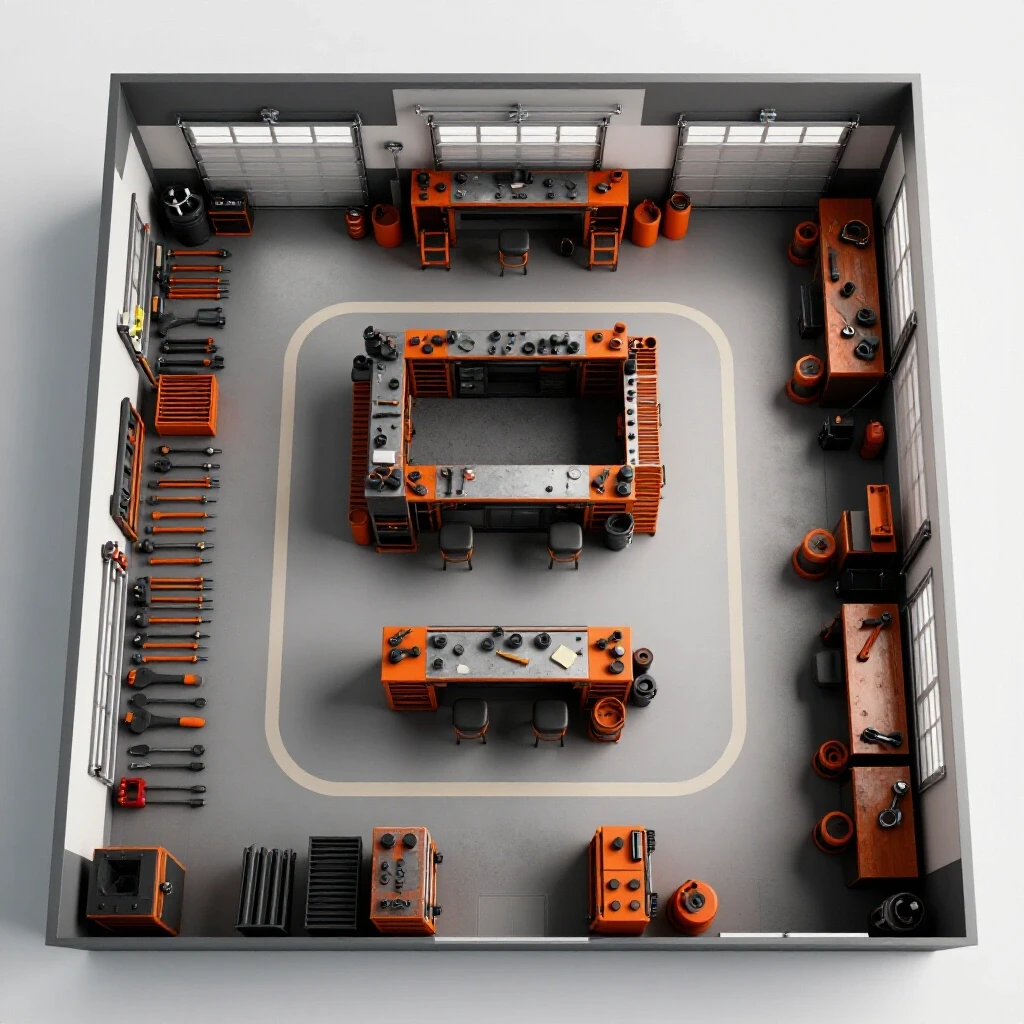
Scaling a fabrication shop from a hobbyist’s garage to a professional-grade facility is a journey marked by a shift in perspective. Early on, I spent all my time worrying about the quality of the weld or the precision of the cut. However, as my order volume increased and my parts became more complex, I realized that a perfect part is worthless if it arrives at its destination damaged because of a flimsy container. Transitioning to a high-output environment requires more than just a faster CNC plasma table; it demands a systematic approach to how we protect and move our work. Integrating a dedicated zone for building robust timber enclosures into an advanced workshop layout is a critical step in eliminating production bottlenecks and ensuring that the quality of your packaging matches the quality of your fabrication.
Designing a Linear Material Path for Part Packaging
A linear material path is a workflow strategy where raw materials enter one end of the shop and finished, packaged goods exit the other without ever doubling back. In an optimized fabrication environment, this prevents the “spaghetti effect” where workers cross paths, increasing the risk of accidents and slowing down production.
In my early years, I made the mistake of building my wooden enclosures wherever I had an open patch of floor. This meant I was often dragging heavy lumber across the same space where I was trying to weld or grind. The sawdust from the wood construction would settle on freshly prepped metal, ruining my paint finishes. I eventually redesigned my floor plan to include a dedicated “clean-out” zone. This area is situated at the very end of the production line, immediately following the final inspection station.
By positioning your wood processing and assembly area near the shop’s exit, you ensure that the messiest part of the packaging process stays isolated from your precision machinery. This layout also facilitates a smoother flow for material handling. I found that by placing my lumber rack directly adjacent to my assembly table, I reduced my daily foot traffic by nearly 30%. When you are scaling a fabrication shop, every minute spent walking is a minute you aren’t billing for.
Choosing Dimensionally Stable Lumber for Heavy-Duty Enclosures
Selecting the right material for your protective fabrication packaging involves understanding the physics of wood under stress. Dimensionally stable lumber refers to wood that resists warping, shrinking, and swelling when exposed to changes in humidity or temperature, which is vital for maintaining the structural integrity of a custom part container.
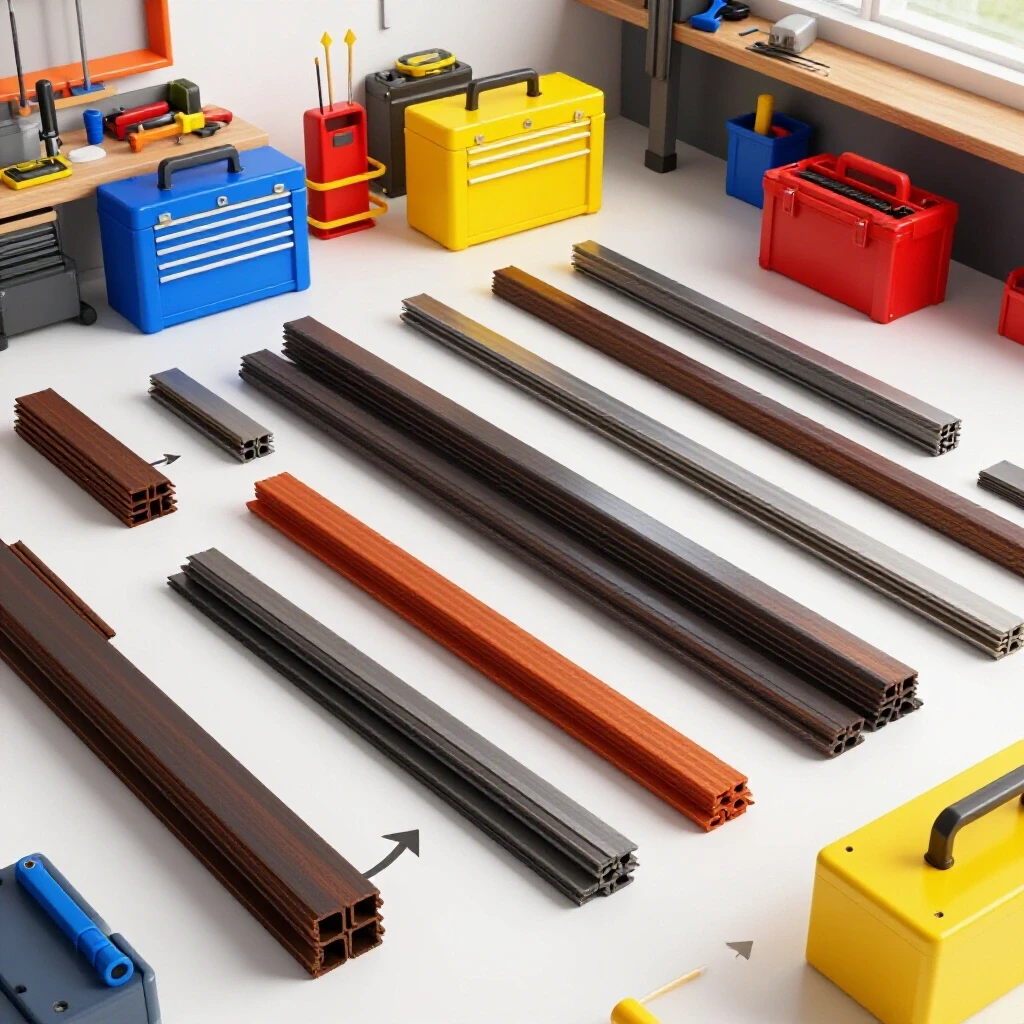
For most of my heavy-duty enclosures, I rely on kiln-dried softwoods like Douglas Fir or Southern Yellow Pine for the primary framing. These woods offer an excellent strength-to-weight ratio and are relatively inexpensive. However, for precision-machined parts that are exceptionally heavy, I sometimes move to hardwoods like White Oak for the base runners. Hardwoods have a higher density, which prevents the wood from compressing under the concentrated weight of a metal baseplate.
When you are sourcing materials, avoid “green” lumber. Freshly cut wood has a high moisture content, and as it dries in your shop, it will twist. This can put unwanted stress on the parts inside or cause the enclosure to “rack,” making it unstable. I keep a simple moisture meter in my shop and look for a reading below 15% before I start cutting. This small step has saved me from numerous headaches where a door or lid wouldn’t fit because the frame moved overnight.
Engineering Internal Bracing and Corner Reinforcements
Internal bracing is the skeletal structure within a wooden container that prevents it from collapsing under external pressure or shifting during movement. Corner reinforcements are secondary blocks or brackets that tie the walls together, significantly increasing the enclosure’s resistance to “racking,” which is the tendency of a rectangular box to tilt into a parallelogram.
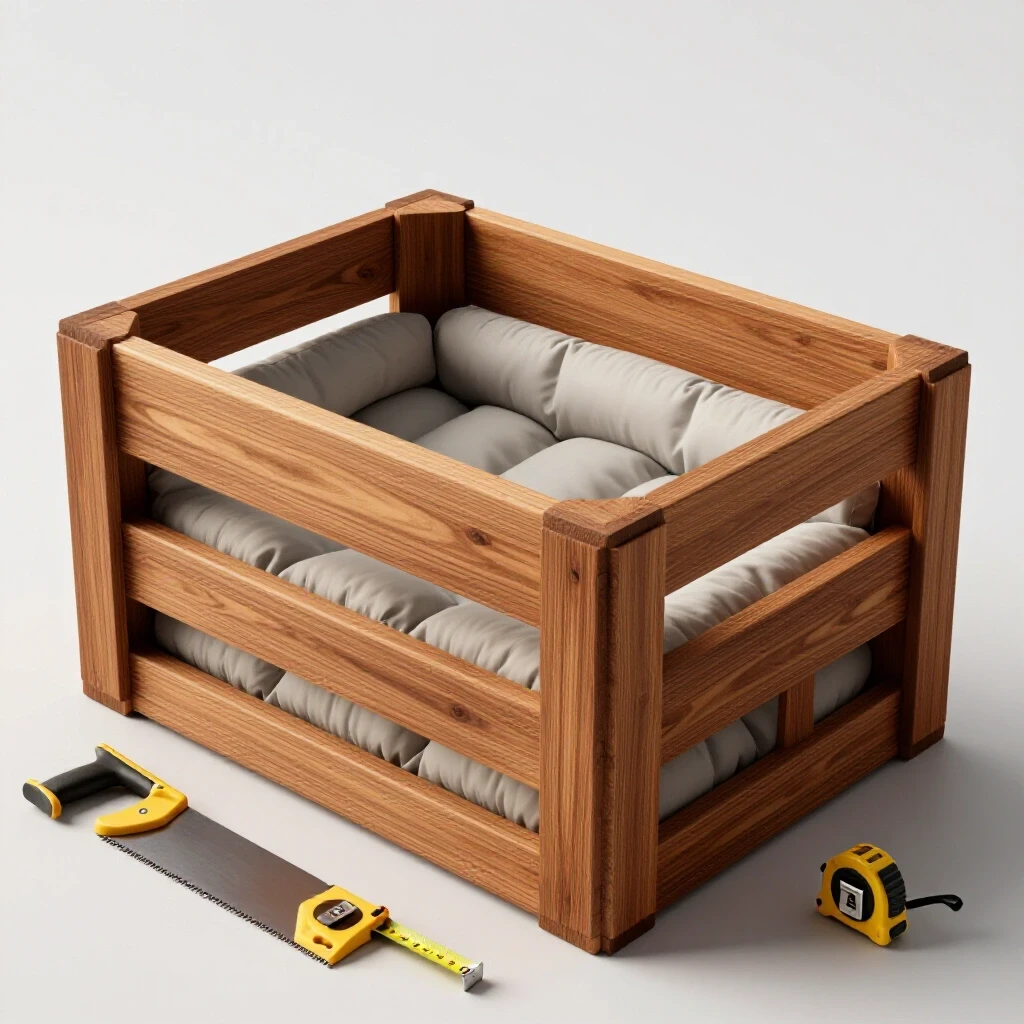
I approach crate engineering like I approach a chassis build. You need a rigid frame before you add the skin. For any part over 100 pounds, I use 2×4 vertical corner posts rather than just nailing the plywood sides together. These posts provide a solid meat for your fasteners to bite into and allow you to stack containers if floor space becomes tight.
Building on this, I always integrate diagonal bracing on at least two sides of the enclosure. A simple 45-degree member prevents the entire structure from folding. Interestingly, I’ve found that using a CNC plasma table to cut custom 10-gauge steel gussets for the corners of my wooden frames adds incredible rigidity for very little cost. It’s a perfect example of how to integrate automation into your packaging workflow.
| Reinforcement Type | Material | Best Use Case | Benefit |
|---|---|---|---|
| Vertical Corner Posts | 2×4 or 4×4 Softwood | Heavy assemblies (>200 lbs) | Prevents crushing during stacking |
| Diagonal Cross-Bracing | 1×4 Pine or Plywood strips | Tall or narrow enclosures | Eliminates lateral racking |
| Steel Gussets | 10ga Mild Steel | High-value, heavy parts | Maximum joint integrity |
| Internal Cleats | 2×2 Softwood | Securing internal dividers | Prevents internal part movement |
Integrating Dampening Liners and Vibration Controls
Vibration damping is the process of using energy-absorbing materials to isolate a fabricated part from the shocks and harmonic frequencies it may encounter. Liners like closed-cell foam or heavy-duty felt act as a buffer, preventing the wood from scratching finished surfaces and absorbing impacts that could misalign sensitive components.
When I’m shipping a powder-coated assembly, I never let the metal touch the wood directly. Wood is abrasive. I use 1/2-inch thick closed-cell polyethylene foam, which I spray-glue to the internal bracing. Unlike open-cell foam (like a sponge), closed-cell foam does not hold moisture, which is critical for preventing rust on raw steel parts.
For precision-ground surfaces, I prefer industrial felt. It’s denser than foam and won’t compress as much under heavy loads, ensuring the part stays exactly where I bolted it down. I’ve learned the hard way that if a part can move even an eighth of an inch inside its enclosure, it will eventually hammer its way through the side. The goal is to make the part and the enclosure move as a single, unified mass.
Scaling Power and Air Systems for High-Volume Crating
Integrating a professional-grade packaging station requires a serious look at your shop’s infrastructure. Scaling power and air systems means ensuring you have the electrical capacity to run heavy-duty wood-processing tools and the air filtration necessary to keep the resulting dust out of your lungs and your CNC electronics.
Most high-end table saws and planers used for preparing enclosure lumber run on 3-phase power. If your shop only has a standard 240V single-phase supply, a 3-phase power converter is a non-negotiable upgrade. I use a rotary phase converter (RPC) because it handles the high startup surges of woodworking machinery better than static converters. When choosing an RPC, I recommend sizing it at 2x the horsepower of your largest motor to ensure voltage stability.
Simultaneously, you must address air quality. Wood dust is not just a nuisance; it’s a fire hazard and a health risk. A standard shop vac won’t cut it when you’re ripping down sheets of plywood for hours. You need a dedicated dust collection duct design that provides at least 1,000 CFM at the tool.
| Tool Type | Required CFM | Minimum Duct Diameter | Static Pressure Goal |
|---|---|---|---|
| 10″ Table Saw | 550 CFM | 4 inches | 3.5″ SP |
| 12″ Miter Saw | 400 CFM | 4 inches | 4.0″ SP |
| CNC Router/Table | 800-1,200 CFM | 5-6 inches | 5.0″ SP |
| General Shop Air | 1,500+ CFM | N/A (Ambient) | N/A |
Automating Component Production with CNC Tool Workflows
One of the most significant leaps I made in my workshop was moving from hand-cutting crate panels to using a CNC gantry setup. By treating the wooden enclosure as just another part in the CAD/CAM workflow, you can achieve a level of precision and speed that manual methods can’t touch.
I developed a set of “master templates” in my CAD software for various enclosure sizes. When a job is finished, I simply enter the dimensions of the part, and the software generates the cut list for the plywood skins and internal braces. If you have a CNC plasma table, you can easily swap the torch for a router attachment or even a simple drag-knife to mark the wood.
This integration reduces the technical learning curve for new employees because the “thinking” is done in the office, not on the shop floor. It also allows for nesting, which is the process of arranging parts on a sheet of material to minimize waste. In my experience, CNC-driven packaging can reduce material waste by 15-20% compared to traditional “measure and cut” methods.
Verifying Structural Rigidity Through Load Testing
Before you trust a custom-built wood housing with a high-value part, you must verify its structural rigidity. Load testing in a small-shop environment doesn’t require expensive laboratory equipment; it requires a systematic approach to checking for deflection and fastener integrity.
I use a simple “tip test” for my enclosures. Once the frame is built but before the final skin is applied, I place the part inside and lift one end of the container six inches off the floor. I look for any visible sagging in the base or gaps opening up in the corner joints. If I see more than a 1/8-inch deflection over a four-foot span, I know I need to add more internal bracing.
Another metric I track is fastener withdrawal. If you are using screws, ensure they are long enough to penetrate at least 1.5 inches into the receiving member. I’ve seen many crates fail because the builder used 2-inch screws to go through 3/4-inch plywood into a 2×4. The “bite” isn’t deep enough to handle the shear forces of a heavy part shifting. Always pre-drill your holes to prevent the wood from splitting, which can reduce the joint strength by over 50%.
Case Study: Solving the “Racked Frame” Bottleneck
A few years ago, I was producing a series of heavy manifold assemblies for a local industrial client. I was building the enclosures out of 1/2-inch OSB and 2×2 pine. On the third shipment, the client reported that the boxes were arriving leaning to one side, and the manifolds were rubbing against the internal walls.
I analyzed my workflow and realized that while my cuts were square, my assembly process was flawed. I was nailing the boxes together on a floor that wasn’t perfectly level. As a result, I was “building in” a twist to every enclosure.
To fix this, I invested in a heavy, 3-phase powered cast-iron assembly table and leveled it to within .005 inches across its length. I also switched from 2x2s to 2x4s for the corner posts and started using a pneumatic framing nailer with ring-shank nails. The result? The racking issues disappeared, and my assembly time dropped by 40% because I wasn’t fighting to pull the boxes back into square. This experience reinforced the idea that the tools you use for packaging are just as important as the tools you use for fabrication.
Implementing a Workshop Layout Matrix
To truly optimize your space, you should use a workshop layout matrix. This is a tool that helps you evaluate the relationship between different work zones based on the frequency of material movement.
- Identify Zones: List your main areas (CNC Table, Welding Station, Finishing, Crating Station, Shipping Dock).
- Rate Relationships: Assign a value (1-5) based on how often parts move between these zones. For example, Finishing to Crating is a 5 (High Frequency).
- Map the Flow: Place zones with a “5” rating next to each other.
- Evaluate Obstacles: Check for electrical drops and air lines. If your Crating Station needs 3-phase power, ensure it’s near your phase converter or main panel.
By using this matrix, I realized that my crating station was too far from my air compressor. This meant I had 50 feet of air hose dragging across the floor, creating a trip hazard. Moving the station closer not only improved safety but also increased the air pressure at my pneumatic nailers, leading to more consistent fastener depth.
Maintaining Air Quality and Safety Standards
In an advanced shop, air quality management is a constant battle. When you are combining metal fabrication with wood enclosure construction, you are dealing with two very different types of particulate matter. Metal dust is heavy and abrasive; wood dust is light and combustible.
I follow a strict “source collection” policy. Every saw and sander in my packaging zone is connected to a multi-stage cyclone dust collector. Unlike single-stage collectors, a cyclone separates the large chips from the fine dust before the air hits the filter. This prevents the filter from clogging and maintains a consistent CFM.
I also use an ambient air scrubber hanging from the ceiling. This unit runs 24/7 and cycles the entire volume of shop air every 10 minutes. According to OSHA guidelines for general industry, maintaining low levels of wood dust is essential for preventing long-term respiratory issues and minimizing fire risks. If you can see dust floating in the beams of your shop lights, your filtration is inadequate.
Practical Benchmarks for Shop Evolution
As you transition your workshop, use these benchmarks to measure your progress. They provide a clear roadmap for moving from a hobby-level setup to a professional-grade operation.
- Access Zones: Maintain at least a 3-foot clear path around all packaging machinery. This ensures you have room to maneuver large sheets of plywood safely.
- Electrical Balance: In a 3-phase system, ensure your leg voltages are balanced within 5%. An unbalanced load can cause motors to overheat and fail prematurely.
- Material Handling: If you are moving parts over 50 pounds, integrate a jib crane or a mobile lift table into your crating zone to reduce physical strain.
- Fastener Inventory: Standardize your fasteners. I only keep three lengths of structural screws in stock. This simplifies the workflow and ensures the right screw is always used for the right joint.
Building for the Future: Modern Automation Tools
The final step in optimizing your fabrication packaging is the adoption of modern software and smart controllers. Cloud-based ERP (Enterprise Resource Planning) systems can now track your lumber and foam inventory in real-time, automatically triggering a reorder when you get low.
Smart phase-angle controllers on your 3-phase motors can soft-start your large saws, reducing the mechanical shock on the belts and the electrical spike on your panel. These technologies might seem like overkill for a small shop, but they are the foundation of a scalable business. They allow you to focus on the high-level strategy of your business while the systems handle the repetitive tasks.
In my shop, the transition wasn’t overnight. It was a series of small, data-driven decisions. By treating the construction of wooden enclosures with the same engineering rigor as my metalwork, I was able to increase my throughput and significantly reduce my shipping damage claims. The goal is to build a system that is predictable, repeatable, and safe.
FAQ: Professional Wood Packaging for Fabricated Parts
What is the best wood for a heavy-duty part enclosure? For most applications, kiln-dried Douglas Fir or Southern Yellow Pine is ideal for framing due to its strength and availability. For the “skin,” 1/2-inch or 3/4-inch ACX plywood is preferred over OSB because it has fewer internal voids and holds fasteners better.
How do I prevent my wooden containers from racking? The most effective way to prevent racking is to add diagonal bracing. A simple 1×4 running from the top corner to the opposite bottom corner on at least two adjacent sides will lock the geometry of the box.
Why should I use 3-phase power for my packaging tools? 3-phase motors are more efficient, last longer, and provide more consistent torque than single-phase motors. For high-volume shops, this means faster cutting speeds and less downtime due to motor burnout.
What is the difference between foam and felt for internal lining? Foam (specifically closed-cell polyethylene) is better for absorbing heavy impacts and is moisture-resistant. Felt is better for protecting high-polish or precision-ground surfaces from micro-abrasions caused by vibration.
How much airflow do I need for a wood-processing station? A minimum of 1,000 CFM at the source is recommended for a professional shop. This ensures that both fine dust and heavy chips are captured before they can settle on your metalwork or be inhaled.
Can I use my CNC plasma table to help build wooden crates? Yes. While not designed for wood, you can use the gantry to mark cut lines or attach a small router to cut out complex internal cradles and bracing from plywood or foam.
How do I know if my enclosure is strong enough? Perform a deflection test. Lift one end of the loaded container. If the base bows more than 1/8 of an inch, you need to increase the size of your longitudinal runners or add more vertical support.
What is the most common mistake in crate construction? Under-fastening. Many builders rely on gravity and a few nails. For heavy parts, every structural joint should be glued and screwed with fasteners that penetrate at least 1.5 inches into the framing members.
Should I use screws or nails for my enclosures? Screws are superior for the primary frame because they offer better withdrawal resistance. However, for attaching the plywood skin, high-quality ring-shank nails from a pneumatic gun are often faster and provide sufficient holding power for most loads.
How do I integrate a crating station into a small shop with limited space? Use a “mobile cell” approach. Put your assembly table and saws on heavy-duty locking casters. This allows you to roll the packaging station into the center of the shop when needed and tuck it against a wall when you’re focusing on fabrication.
(This article was written by one of our staff writers, Edward Sinclair. Visit our Meet the Team page to learn more about the author and their expertise.)