How to Cool Workshop Power Tool Motors in Summer (DIY Fix)
I have spent nearly two decades in fabrication shops, and I have learned that heat is the silent enemy of precision. On a Tuesday in mid-July, I was working on a series of structural steel brackets when my primary abrasive saw started to bog down. The motor casing was hot enough to burn, and the cut quality was degrading. In a high-production environment, heat does more than just slow you down; it introduces variables that ruin your tolerances. When a motor overheats, it loses efficiency, which can lead to tool chatter or even electrical failure that halts your entire workflow.

Managing the temperature of your equipment during the summer months is a diagnostic challenge. It requires looking at your shop as a thermal system. You have to identify where the heat is coming from, how it is being trapped, and how to move it away using whatever materials you have on hand. This guide focuses on systematic, non-invasive methods to keep your power tools running within their safe thermal limits without needing expensive commercial cooling systems.
Diagnostic Framework for Thermal Management in Metalworking
Thermal management is the process of identifying heat sources and implementing strategies to dissipate that energy before it causes mechanical or electrical failure. In a metalworking context, this involves monitoring the temperature of motor housings and understanding how ambient air affects the tool’s internal cooling fan.
When I approach a machine that is running hot, I start with a high-level diagnostic framework: observation, isolation, and variable control. I look for the physical signs of heat distress. Is there a smell of burnt varnish? Is the motor housing vibrating more than usual? These are often the first indicators that the internal windings are reaching their limit. In my experience, a motor running at its thermal limit will show a noticeable drop in RPM under load, which can lead to issues like tool chatter and poor surface finishes.
To isolate the cause, I use an infrared thermometer to map the heat across the tool. If the heat is concentrated near the vents, the internal fan is likely struggling. If the heat is uniform across the casing, the duty cycle is being exceeded. By controlling variables—such as moving the tool out of direct sunlight or adding a dedicated floor fan—I can systematically determine which cooling method provides the most relief.
The Impact of Ambient Temperature on Tool Duty Cycles
A duty cycle is the ratio of time a machine can operate under load versus the time it needs to rest and cool down. As ambient temperatures rise in the summer, the “rest” portion of this cycle must increase because the temperature delta between the motor and the surrounding air is smaller, slowing the rate of heat transfer.
In a shop that is 95 degrees Fahrenheit, your tools reach their maximum operating temperature much faster than they would at 65 degrees. I have seen fabricators ignore this, pushing their grinders until the thermal overload trips. This is a mistake. Every time a motor hits its thermal limit, the insulation on the copper windings degrades slightly. Over time, this leads to an internal short.
I recommend tracking your run times during heatwaves. If you normally grind for 10 minutes and rest for five, you might need to shift to a 7-minute work window with an 8-minute rest. This systematic approach prevents the cumulative heat soak that kills tools. It is the same logic we use when troubleshooting weld porosity; you have to control the environment to ensure the process remains stable.
| Ambient Temp (°F) | Estimated Duty Cycle Reduction | Recommended Rest Increase |
|---|---|---|
| 70 – 75 | 0% (Baseline) | None |
| 85 – 90 | 15% – 20% | 5 Minutes |
| 95 – 100 | 30% – 40% | 10 Minutes |
| 105+ | 50%+ | 15 Minutes |
Maximizing Passive Airflow Through Tool Positioning
Tool positioning refers to the strategic placement of equipment within a workshop to take advantage of natural air currents and cross-ventilation. By aligning the intake vents of a power tool with the direction of the prevailing breeze or shop fans, you can significantly improve its ability to shed heat.
During one particularly brutal summer, I was struggling with a stationary belt sander that kept tripping its breaker. I realized the sander was tucked in a corner where hot air was pooling. By simply moving the sander three feet to the left—directly in the path of the bay door breeze—the casing temperature dropped by 15 degrees.
You should always look at the intake and exhaust ports of your tools. Most handheld grinders pull air in from the rear and exhaust it out the front gear case. If you are working in a way that blocks these rear vents with your hand or clothing, you are suffocating the motor. I teach my team to maintain a “clearance zone” of at least six inches around all motor vents. This is a basic mechanical troubleshooting step that costs nothing but saves the tool from premature wear.
- Identify the intake and exhaust vents on every tool.
- Position tools so the intake faces the coolest part of the shop.
- Ensure your body or workpieces do not block the airflow path.
- Use floor fans to create a high-velocity stream of air across the motor housing.
Fabricating Airflow Redirectors from Shop Scrap
Airflow redirectors are DIY shrouds or baffles made from thin-gauge sheet metal or cardboard designed to funnel cool air directly into a tool’s intake vents. These devices are used when the ambient air is moving, but not necessarily reaching the internal components of the motor.
I once had a large drill press that was running hot during a long production run of 1/2-inch holes in plate steel. The shop fan was blowing air, but it was hitting the side of the press rather than the motor vents. I took a piece of scrap aluminum flashing, bent it into a simple U-shape, and taped it to the motor housing. This “scoop” caught the air from the shop fan and forced it into the motor’s cooling slots.
This is a classic metal fabrication fix. You aren’t changing the tool; you are optimizing its environment. When building these, ensure they are secure and cannot vibrate into the moving parts of the machine. A loose baffle can cause tool chatter or mechanical interference if it shifts during operation.
- Measure the dimensions of the motor’s air intake vents.
- Cut a piece of scrap material (cardboard or light-gauge metal) to act as a funnel.
- Shape the material so it has a wide mouth to catch air and a narrow exit that aligns with the vents.
- Secure the redirector using heavy-duty tape or magnets, ensuring it does not block the exhaust ports.
- Test the setup by checking the casing temperature after 10 minutes of use.
Electrical Resistance and Voltage Drop in High Heat
Voltage drop is the decrease in electrical potential as current flows through a circuit, often caused by long extension cords or high resistance. In summer, heat increases the electrical resistance of copper, which compounds voltage drop and causes motors to draw more current and run even hotter.
I have seen many fabricators blame a “weak motor” when the real culprit was a 50-foot extension cord sitting in the sun. As the cord heats up, its resistance increases. This means the motor receives less than the required voltage, forcing it to work harder to maintain its RPM. This creates a feedback loop: more current equals more heat, which leads to more resistance.
In my diagnostic guide for electrical issues, I always check the voltage at the tool under load. If you see a drop of more than 3% to 5%, your cord is too long or the gauge is too thin for the heat. For a standard 15-amp grinder, I recommend using a 12-gauge cord and keeping it as short as possible. Also, try to keep your power cords off the hot asphalt or concrete, as surface temperatures can exceed 130 degrees, further increasing resistance.
- Measure voltage at the outlet and at the tool end of the cord.
- Limit voltage drop to less than 3% (about 3.6 volts for a 120V circuit).
- Use 12-gauge or 10-gauge extension cords for high-draw tools.
- Keep cords in the shade or off hot shop floors to minimize resistance.
Managing Dust Accumulation to Prevent Thermal Insulation
Dust accumulation occurs when metal shavings, wood dust, or grinding swarf build up inside the motor housing and on the cooling fins. This layer of debris acts as an insulator, trapping heat inside the motor and preventing the internal fan from moving air effectively.
Cleaning your tools is a fundamental part of a lathe alignment checklist or any machine maintenance routine, but it is critical in summer. I make it a habit to blow out every power tool with compressed air at the end of every shift. You would be surprised how much metallic dust hides inside a grinder. That dust is not just an insulator; it can also be conductive, leading to intermittent electrical gremlins or “ghost” shorts.
When you blow out a tool, do not use more than 30 PSI. High-pressure air can actually drive the dust deeper into the bearings or damage the delicate fan blades. I always aim the air into the exhaust ports first to push the dust back out through the intakes. This systematic cleaning ensures that the motor can “breathe” as efficiently as possible when the temperature spikes.
Case Study: Isolating Overheat Issues on a Cold Cut Saw
I was recently called to a shop where a high-end cold cut saw was repeatedly shutting down. The operator thought the motor was failing, but the symptoms were inconsistent. Sometimes it would run for an hour; other times, it would quit after two cuts.
I started my diagnostic process by checking the mechanical alignment. A blade that is slightly out of alignment will create friction and drag, which forces the motor to work harder. Using a dial indicator, I found the blade had a run-out of 0.015 inches—well outside the 0.002-inch tolerance. This misalignment was causing tool chatter and excessive heat.
However, even after aligning the blade, the motor was still running hot. I then looked at the power supply. The saw was plugged into a circuit that was also running a large industrial fan and a small welder. During the heat of the day, the total draw on that circuit was causing a voltage drop. By moving the saw to a dedicated 20-amp circuit and correcting the blade alignment, the motor temperature stabilized. This case study highlights that heat is often the result of multiple small failures rather than one big one.
Mechanical Troubleshooting Steps for Hot Motors
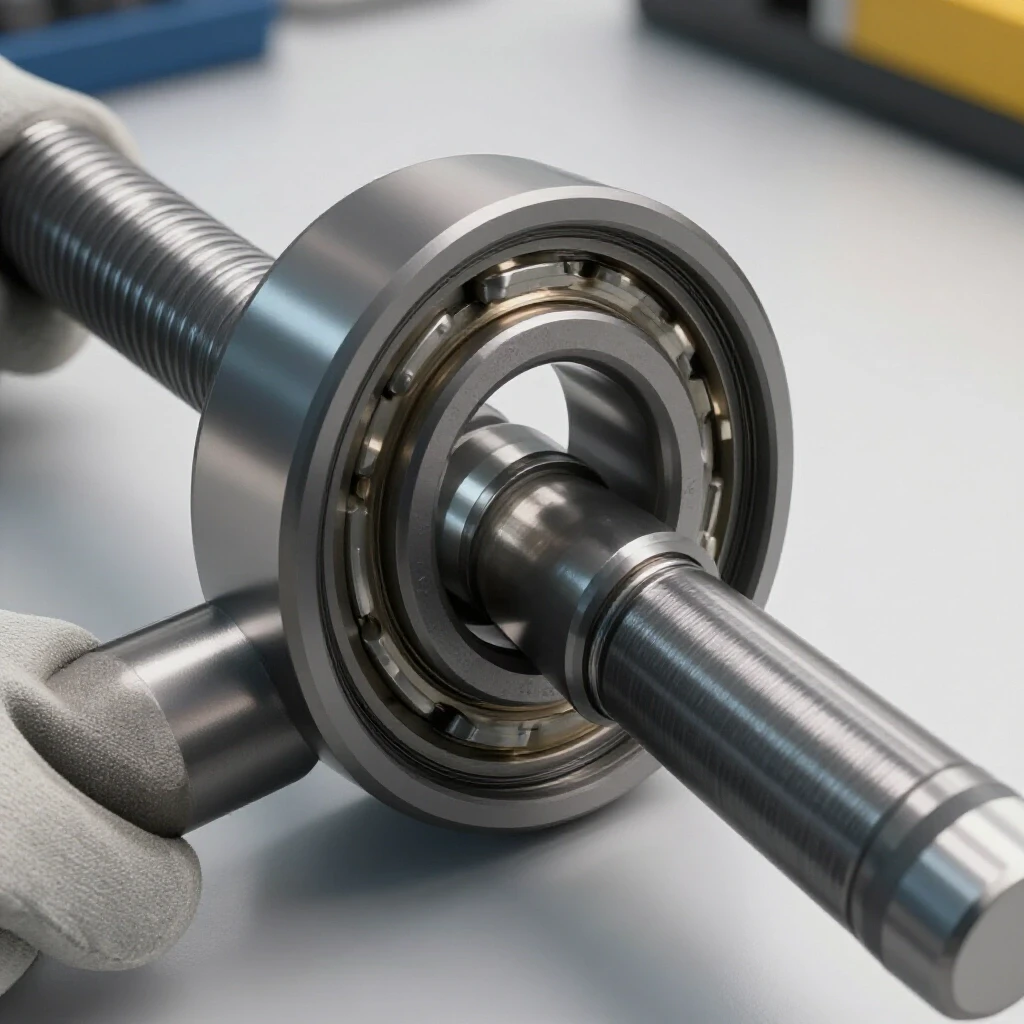
When a motor is running hot, you must look beyond the electrical components. Mechanical friction is a major contributor to thermal buildup. If a bearing is starting to fail or if a drive belt is too tight, the motor has to overcome that extra resistance, which converts directly into heat.
I use a systematic checklist to rule out mechanical heat sources: 1. Check Bearing Play: Unplug the tool and spin the spindle by hand. It should feel smooth. Any gritty feeling or “play” indicates a bearing issue that is generating heat. 2. Inspect Belt Tension: If the tool is belt-driven, ensure the belt is not over-tightened. Excessive tension puts a lateral load on the motor bearings, causing them to overheat. 3. Verify Lubrication: In tools with gearboxes, like right-angle grinders, old or dried-out grease increases friction. Replacing the grease can often drop the operating temperature significantly. 4. Monitor Spindle Backlash: Excessive backlash can cause the motor to “hunt” or vibrate, which generates heat. Adjusting the gears to a 0.002 to 0.005-inch tolerance can improve efficiency.
By addressing these mechanical baselines, you reduce the base load on the motor, giving it more “thermal headroom” to handle the summer heat.
Using Infrared Tracking for Preventive Maintenance
Modern diagnostic tools like infrared (IR) cameras or thermometers have changed how we handle shop maintenance. Instead of waiting for a tool to smell like it’s burning, I use an IR thermometer to establish a “heat profile” for my most important machines.
Once a week during the summer, I take a reading of the motor housing after 15 minutes of use. I record this in a maintenance log. If I see the temperature trending upward—say, from 140 degrees to 160 degrees over a few weeks—I know something is wrong. It could be dust buildup, a failing capacitor, or a bearing starting to seize.
This data-driven approach removes the guesswork. It allows you to perform repairs on your own terms rather than during a critical project. If you notice a specific part of the motor is hotter than the rest, you can pinpoint the issue. For example, heat near the brushes often means they are worn and sparking excessively, which adds significant thermal load to the system.
| Tool Component | Normal Temp Range (°F) | Warning Temp (°F) | Critical Temp (°F) |
|---|---|---|---|
| Motor Housing | 100 – 140 | 160 | 180+ |
| Gear Case | 110 – 150 | 170 | 190+ |
| Power Cord | 70 – 90 | 110 | 130+ |
| Switch/Handle | 70 – 100 | 115 | 125+ |
Actionable Tracking Framework for Workshop Tools
To stay ahead of the heat, I recommend implementing a simple tracking framework. This is a checklist you can go through every morning when the forecast calls for high temperatures. It ensures that your equipment is prepared for the thermal stress of the day.
- Pre-Shift Clear-Out: Use compressed air to blow dust out of all intake and exhaust vents.
- Fan Alignment: Position shop fans to create a clear airflow path across the workstations.
- Cord Inspection: Ensure all extension cords are fully uncoiled (coiled cords act as inductors and trap heat) and kept in the shade.
- Lubrication Check: Add a drop of oil to any exposed bearings or ports as specified by the manufacturer.
- Duty Cycle Planning: Schedule the heaviest cutting or grinding tasks for the early morning when the ambient temperature is lowest.
By following this systematic approach, you treat heat as a manageable variable rather than an unavoidable disaster. It’s the same mindset required for troubleshooting weld porosity or fixing structural alignment faults—you break the problem down into its smallest parts and address each one methodically.
FAQs on Cooling Workshop Power Tool Motors
How do I know if my motor is too hot?
A general rule of thumb is the “touch test,” though you must be careful. If you can’t keep your hand on the motor casing for more than a second, it is likely over 140 degrees Fahrenheit. While many motors are rated for higher temperatures, consistently running at this level will shorten the tool’s life. Use an infrared thermometer for a more accurate reading; anything over 160 degrees on the external casing is a sign to stop and let it cool.
Can I use a damp rag to cool down a motor casing?
I strongly advise against this. While it might seem like a quick fix, the rapid cooling can cause the metal casing to contract unevenly, potentially cracking it or misaligning the internal bearings. More importantly, moisture near electrical vents is a major safety hazard. Stick to increased airflow from fans or DIY baffles to lower temperatures gradually and safely.
Why does my tool seem to have less power when it’s hot?
This is due to increased electrical resistance. As the copper windings in the motor heat up, they become less efficient at conducting electricity. This results in less torque and a drop in RPM. If you continue to push the tool in this state, it will draw more current to compensate, leading to a “thermal runaway” where the tool eventually burns out or trips a breaker.
Will blowing out the motor with compressed air really help?
Yes, it is one of the most effective DIY fixes available. Metal dust and shop debris act as a thermal blanket. By removing this layer, you allow the internal fan to move air directly over the components. Just remember to use regulated air (around 30 PSI) to avoid damaging internal parts like the fan blades or the commutator.
Does the length of my extension cord affect motor heat?
Absolutely. A cord that is too long or too thin creates a voltage drop. When a motor receives less voltage than it’s designed for, it has to work harder and draw more amps to perform the same task. This extra amperage generates significant heat within the motor windings. Always use the shortest, heaviest-gauge cord possible during hot weather.
Should I remove the plastic housing of my tool for better cooling?
No. The housing is designed to create a specific airflow path. The internal fan pulls air in one side and pushes it out the other, specifically over the hottest parts of the motor. If you remove the housing, the air just disperses in all directions, and the “wind tunnel” effect is lost, often causing the motor to overheat even faster.
What is the best way to position a shop fan for cooling?
Position the fan so it blows across the motor’s intake vents. You want to provide the internal fan with a steady supply of moving air. If the tool is stationary, like a bench grinder, place the fan to the side or slightly behind it. Avoid blowing air directly into the exhaust vents, as this can fight the internal fan and stall the airflow.
How does heat affect tool chatter and cut quality?
As a motor and its bearings heat up, components expand. This expansion can introduce tiny amounts of play or “slop” in the spindle. In precision work, even 0.002 inches of movement can cause resonant vibrations, leading to tool chatter and a poor surface finish. Keeping the motor cool helps maintain the mechanical tolerances required for clean, accurate cuts.
Can I use scrap sheet metal to make a cooling shroud?
Yes, this is a great DIY solution. A simple shroud can help direct air from a floor fan into the tool’s intake vents. Just ensure the shroud is not touching any moving parts and is securely fastened. Use magnets or clamps to hold it in place so it doesn’t vibrate loose and cause a mechanical fault during operation.
Is it better to let a tool idle or turn it off to cool down?
For most power tools, letting them idle for 30 to 60 seconds after a heavy cut is beneficial. The internal fan is still spinning at high speed, which helps flush out the peak heat from the windings. However, if the tool is already excessively hot, it’s better to turn it off and let it sit in the path of a shop fan to cool down completely before the next use.
(This article was written by one of our staff writers, Paul Whitaker. Visit our Meet the Team page to learn more about the author and their expertise.)