How to Cut Thick Steel Plate in a Home Workshop (Methods)
When I first walked into my empty two-car garage in 2013, I had a $2,000 budget and a vision of building custom truck bumpers. The reality of working with heavy gauge metal hit me hard when I realized my standard household outlets couldn’t handle the draw of a heavy-duty motor, and my first “budget” saw lasted exactly three days before the motor burned out. Setting up a functional space for processing 6mm to 25mm steel plate requires more than just buying the first tool you see on sale; it requires a calculated approach to power, safety, and equipment longevity.
In my twelve years as an industrial maintenance technician, I have learned that the most expensive tool is the one you have to buy twice. For beginners, the pressure to “get started” often leads to skipping the foundational work of workshop planning. We are going to look at how to transform a standard residential space into a capable fabrication zone, focusing on the specific requirements for severing thick sections of mild steel without blowing your budget or your circuit breakers.
Assessing Your Starter Metal Workshop Layout and Power Limits
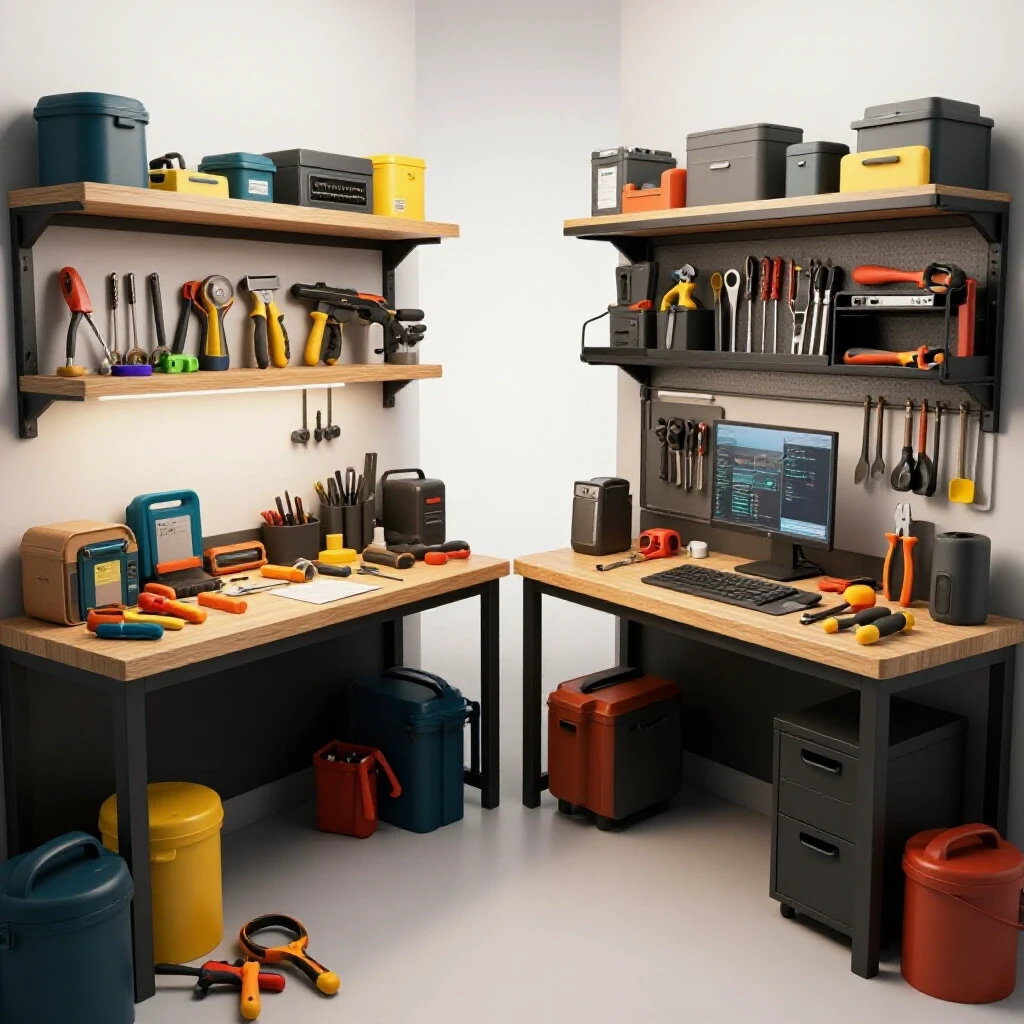
A starter metal workshop layout must prioritize the flow of heavy materials and the massive electrical demand of metal-processing machinery. This involves measuring your available floor space to ensure you have at least a four-foot clearance around your primary cutting station and verifying that your electrical panel can support sustained high-amperage draws.
Before you buy a single tool, you must understand your “fuel.” Most residential garages are wired with 15-amp or 20-amp circuits shared with household lights or appliances. Processing a 12mm steel plate usually requires tools that pull near the limit of these circuits. If you try to run a high-draw tool on a 15-amp circuit, you will spend more time resetting breakers than making progress.
Understanding Workshop Electrical Setup Checklists
A workshop electrical setup checklist is a formal review of your garage’s power capacity, focusing on breaker ratings, wire gauges, and dedicated lines for high-draw tools. This step ensures that your equipment operates at full power without overheating the wiring or causing frequent nuisance trips during heavy operations.
I recommend documenting every outlet in your shop. When I started, I used a simple spreadsheet to track which outlets were on which breakers. I found that my garage was on the same 15-amp circuit as my refrigerator in the mudroom. Every time the fridge kicked on while I was using my grinder, the power would dip. For consistent results with heavy plate, you should ideally have at least one dedicated 20-amp, 120V circuit, or better yet, a 240V outlet for a plasma cutter or a large welder.
- 15-Amp Circuit: Suitable for small 4.5-inch grinders and hand tools.
- 20-Amp Circuit: Necessary for 7-inch grinders and most abrasive chop saws.
- 30-Amp/240V Circuit: Required for entry-level plasma cutters capable of severing 20mm plate.
- 10-Gauge Wire: The standard for 30-amp runs to prevent voltage drop over distance.
Calculating Tool Footprint and Material Flow
Tool footprint measurements refer to the physical space a machine occupies plus the “work zone” required to safely feed material into or through it. For thick plate work, this includes the space needed to maneuver heavy sheets and the clearance required to keep sparks away from flammable materials.
Steel plate is heavy. A 4-foot by 8-foot sheet of 12mm steel weighs roughly 650 pounds. You cannot simply “move it out of the way” like a piece of plywood. Your layout must allow you to bring material in from the door and move it directly to a cutting station. I learned this the hard way after blocking my only workbench with a stack of steel I couldn’t move by myself.
| Tool Type | Footprint (Sq. Ft) | Work Zone Clearance | Recommended Power |
|---|---|---|---|
| Abrasive Chop Saw | 4 | 6 feet (sides) | 20A / 120V |
| Plasma Cutting Table | 12-24 | 4 feet (all sides) | 30A / 240V |
| Bench Grinder | 2 | 2 feet (front) | 15A / 120V |
| Vertical Band Saw | 6 | 5 feet (front/sides) | 20A / 120V |
Budget Metalworking Tools for Heavy Plate Work
Choosing budget metalworking tools involves identifying equipment that offers the best ratio of motor durability to price while specifically capable of handling material thicknesses up to 25mm. This phase of planning focuses on selecting foundational tools that can grow with your skills rather than cheap alternatives that fail under load.
When I built my first shop, I allocated 30% of my budget to high-quality safety gear and measuring tools. The remaining 70% went toward the machines. This might seem backward, but a $100 grinder is useless if you can’t see what you’re doing through a cheap, foggy face shield or if you’re constantly fighting poor-quality measuring tapes that lead to wasted material.
Why Affordable Fabrication Tools Require Careful Vetting
Affordable fabrication tools are entry-level machines designed for hobbyist use, but they must still meet basic industrial standards for duty cycles and motor insulation. Vetting these tools involves checking user reports for “thermal shutdown” frequency and ensuring replacement parts, like brushes or guards, are readily available from the manufacturer.
The term “duty cycle” is something you will hear often. It refers to the amount of time a tool can run in a 10-minute period before it needs to cool down. A tool with a 20% duty cycle can only run for 2 minutes before needing an 8-minute rest. When you are parting a 25mm thick plate, the tool is under immense stress. I once bought a “bargain” plasma cutter that had a 10% duty cycle at its maximum setting. It took me three hours to make a two-foot cut.
Prioritizing the Angle Grinder as a Primary Tool
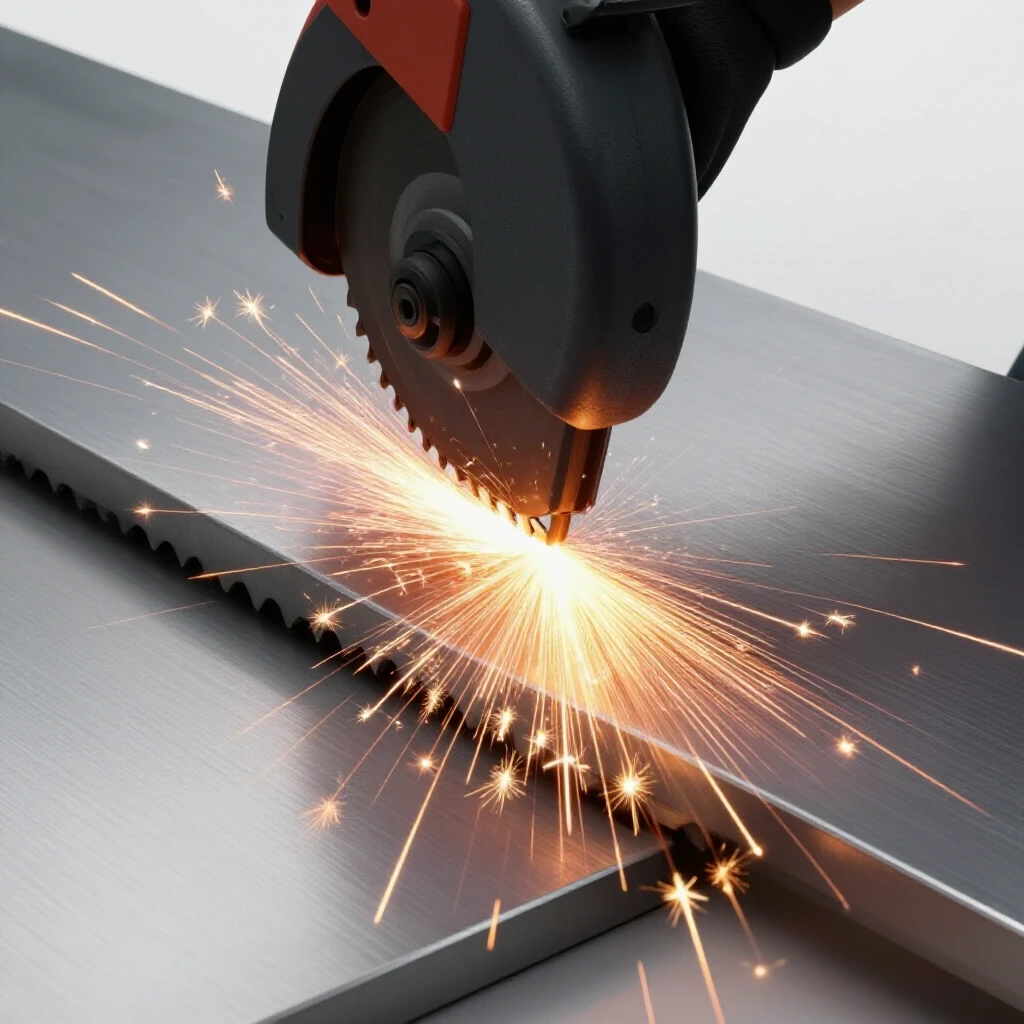
The angle grinder is a handheld power tool used for grinding, cutting, and polishing metal through the use of high-speed rotating discs. In a budget shop, a high-quality 4.5-inch or 5-inch grinder is the most versatile tool for processing plate, provided you use the correct abrasive ratings and techniques.
For material between 6mm and 12mm, a 4.5-inch grinder is my “daily driver.” However, for anything thicker, the depth of cut becomes an issue. You can’t reach the center of a 25mm plate with a standard 4.5-inch disc. This is where a 7-inch or 9-inch grinder comes in. These larger tools are heavier and have more “kickback” potential, so they require a firm grip and a stable stance.
- Grinder Size: 4.5″ for up to 10mm; 7″ or 9″ for 12mm to 25mm.
- Disc Type: Use .045″ thin cutoff wheels for faster, cooler cuts.
- Abrasive Material: Ceramic or Zirconia grains last 3-4 times longer than Aluminum Oxide.
- Safety Feature: Always look for a tool with a “slip clutch” to prevent wrist injury during a kickback.
Thermal Separation Methods for Thick Sections
Thermal separation involves using extreme heat to melt or oxidize a narrow path through the metal, most commonly achieved in a home shop through plasma cutting or oxy-fuel torches. These methods are highly effective for plate over 12mm where mechanical saws might struggle with speed or blade wear.
In my experience, a plasma cutter is the single biggest “game changer” for a home shop. While the initial cost is higher than a saw, the versatility is unmatched. You can cut curves, holes, and straight lines in 20mm plate with the same ease. However, you must account for the air requirements.
Beginner Welder Power Requirements and Plasma Needs
Beginner welder power requirements and plasma needs refer to the specific voltage and amperage necessary to maintain a stable arc while cutting or joining thick metal. For thermal cutting of 12mm to 25mm plate, most machines require a 240V input to provide enough “punch” to blow the molten metal through the bottom of the cut.
Most entry-level plasma cutters are “dual voltage,” meaning they can run on 120V or 240V. On 120V, you might be limited to 6mm plate. To successfully sever a 25mm plate, you need a machine rated for at least 40 to 50 amps of output. Additionally, you need a clean, dry air supply. Moisture in your air line will eat through your expensive copper consumables in minutes.
- Check the “Clean Cut” rating: This is the thickness the machine can cut smoothly.
- Check the “Severance” rating: This is the absolute maximum thickness the machine can hack through.
- Air Supply: Ensure your compressor can provide at least 4 to 5 CFM (Cubic Feet per Minute) at 90 PSI.
- Consumable Cost: Factor in $50 to $100 for a starter kit of electrodes and nozzles.
Managing Heat and Slag in a Garage Space
Heat and slag management is the process of controlling the molten metal byproduct and the thermal expansion of the workpiece during a cut. This is critical in a home workshop to prevent fires and ensure the plate doesn’t warp or “walk” out of alignment as it gets hot.
When cutting 25mm plate, the amount of molten “slag” (dross) produced is significant. I recommend building a simple “slat table” or using a dedicated metal bucket filled with sand to catch the sparks. Never cut directly over a concrete floor without protection; the intense heat can cause the moisture in the concrete to expand rapidly, leading to “spalling” where chunks of concrete literally explode off the floor.
Mechanical Cutting with Cold and Abrasive Saws
Mechanical cutting refers to the use of physical teeth or abrasive edges to remove material in a straight line, typically using a chop saw or a portable band saw. For beginners, this is often the most approachable way to get clean, square edges on thick plate strips or brackets.
I spent years using a standard abrasive chop saw. They are loud, messy, and the sparks go everywhere. Eventually, I moved to a “dry-cut” or “cold saw” which uses a carbide-tipped blade spinning at a much lower RPM. The difference in cut quality is night and day. A cold saw leaves a finished edge that doesn’t require grinding, which saves hours of labor over the course of a project.
Why Cheap Abrasives Cost More in the Long Run
Abrasive wheel speed ratings and material composition determine how quickly a disc wears down while attempting to part heavy steel. Cheaper discs often use low-grade bonding agents that break down quickly, requiring more frequent replacements and increasing the risk of “shattering” if the disc binds in the cut.
I tracked my costs over a year and found that I was spending $150 a year on “bargain” 14-inch abrasive blades. I switched to a single $120 carbide blade for my cold saw, and it lasted the entire year. Not only was it cheaper in the long run, but the cuts were accurate to within a fraction of a millimeter, whereas the abrasive blades would “flex” and produce angled cuts on 20mm plate.
- Abrasive Blade: $5 – $15 per blade; high dust; high sparks; low accuracy.
- Carbide Blade: $100 – $180 per blade; low dust; no sparks; high accuracy.
- Blade Speed: Carbide blades must run at low RPM (approx. 1,300 – 1,500) or the teeth will shear off.
Essential Starter Tool Sequencing
Essential starter tool sequencing is the logical order in which a beginner should acquire equipment to maximize their shop’s capability while staying within a budget. This strategy prevents “over-tooling” in one area while lacking basic necessities in another.
- Level 1: 4.5-inch Angle Grinder and high-quality PPE. (Capability: up to 10mm plate).
- Level 2: Abrasive Chop Saw or Portable Band Saw. (Capability: Straight cuts on 12mm plate).
- Level 3: 40A Plasma Cutter and Air Compressor. (Capability: Complex shapes in 20mm+ plate).
- Level 4: Cold Saw or specialized plate shears. (Capability: Production-level accuracy).
Workshop Ventilation and Safety Standards
Garage workshop ventilation is the system of fans, filters, and air paths used to remove hazardous metal dust and thermal fumes from a confined space. This is a non-negotiable part of a safe shop, as cutting thick plate produces significantly more airborne particulates than working with thin sheet metal.
OSHA guidelines for industrial spaces are a great reference point for home shops. For a standard 20×20 foot garage, you want to achieve at least 15 to 20 air changes per hour when cutting or welding. I achieved this by installing a high-velocity exhaust fan in a window and keeping the main garage door cracked about six inches to create a “cross-draft.”
Selecting Safety Gear Based on ANSI and AWS Standards
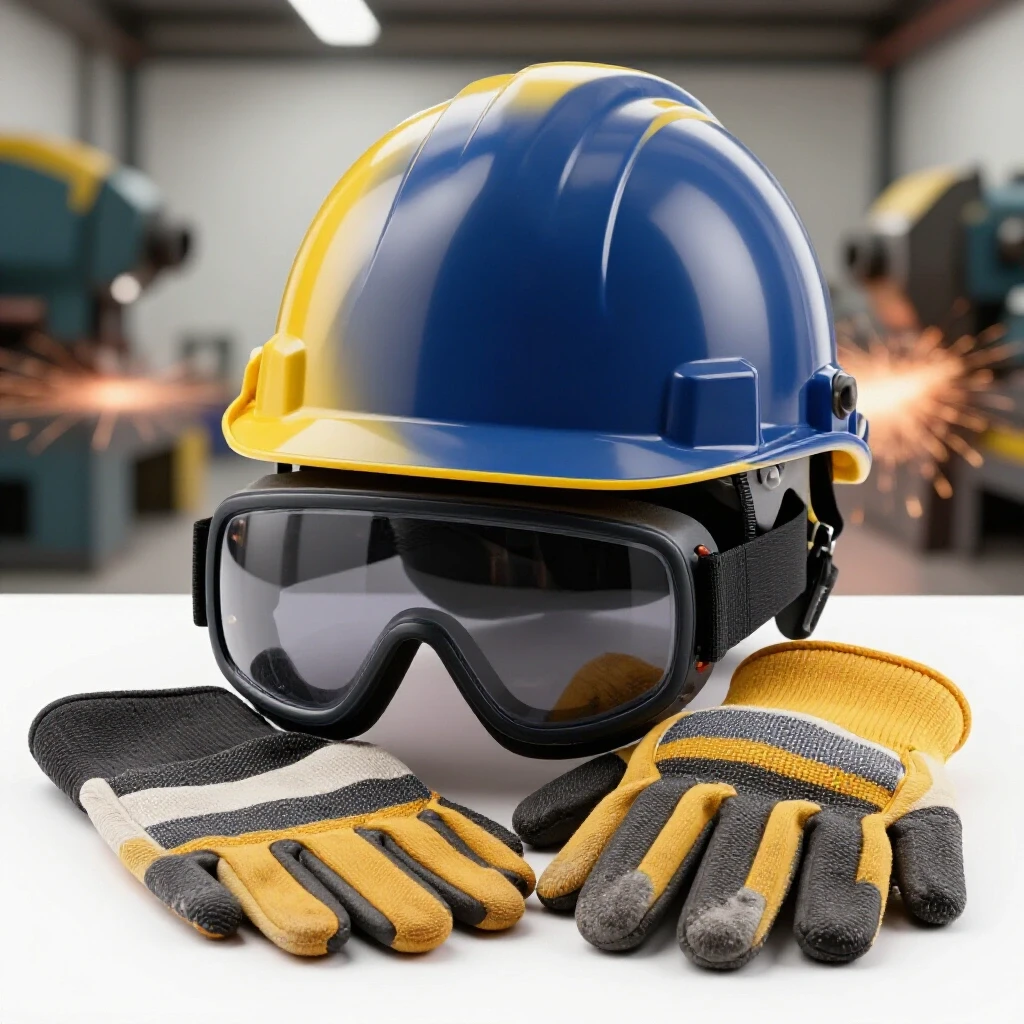
Safety gear vetting involves checking for specific certifications, such as ANSI Z87+ for eye protection and AWS-recommended shade levels for thermal cutting. For thick plate work, standard “safety glasses” are often insufficient; you need full-face protection to guard against high-velocity sparks and hot slag.
When I was 26, I had a piece of hot “swarf” (metal shavings) fly under my safety glasses and embed in my cornea. It was a painful, expensive lesson. Now, I never touch a grinder without a face shield over my glasses. For plasma cutting, you need a minimum shade 5 lens to protect your eyes from the intense UV light, which is similar to the light produced during welding.
- Eye Protection: ANSI Z87+ rated glasses AND a clear face shield.
- Hand Protection: Heavy-duty leather gauntlet gloves (not thin “mechanic” gloves).
- Body Protection: 100% cotton or leather apron; synthetic fabrics like polyester will melt to your skin.
- Hearing Protection: NRR (Noise Reduction Rating) of at least 25dB; grinders are loud enough to cause permanent damage.
Required CFM Ventilation Rates for Metal Fumes
CFM ventilation rates represent the volume of air, measured in cubic feet per minute, that a fan can move to clear a room of contaminants. For a home fabrication space, the goal is to capture fumes at the source before they disperse into the rest of the garage or into the house.
If your garage is 4,000 cubic feet (20x20x10), and you want 15 air changes per hour, you need a fan that can move 1,000 CFM. Many “box fans” only move about 300-500 CFM and are easily bogged down by filters. I recommend a dedicated “utility blower” or a “shutter fan” mounted high on a wall to pull the rising smoke and fine dust out of the workspace.
Practical Steps for Making Your First Cuts
Once your shop is set up and your power is verified, the actual process of severing a 15mm or 25mm plate requires a methodical approach. You cannot “rush” thick metal. The more material there is, the more heat is generated, and the more likely the tool is to bind.
I always start by marking my line with a soapstone or a silver streak pencil. Then, I use a center punch to “dimple” the line every two inches. If the dust or sparks cover my mark, I can still see the physical indentations in the metal. This small step has saved me from thousands of dollars in wasted material over the years.
The Importance of Secure Fixturing
Secure fixturing is the use of heavy-duty clamps and magnets to hold the workpiece immobile during the cutting process. Because thick plate is heavy and the tools used to cut it generate significant torque, any movement of the plate can cause the cutting disc to shatter or the plasma arc to wander.
Never trust the weight of the plate to keep it still. A 20mm plate might feel unmovable, but a 7-inch grinder spinning at 8,000 RPM can easily shift it. I use heavy C-clamps or “F-style” welding clamps to secure the plate to a dedicated steel table. If you are using a wooden workbench, place a sheet of 1/4-inch cement board under the metal to prevent the wood from charring.
Finishing and Deburring the Edge
Finishing and deburring is the final stage of processing metal where sharp “burrs” or slag are removed to create a safe, smooth edge. On thick plate, this often requires a “flap disc” on an angle grinder, which combines the aggression of a grinding wheel with the finishing capabilities of sandpaper.
A “burr” on a 25mm plate is essentially a serrated knife edge. I’ve seen them slice through leather gloves with ease. After every cut, I take two minutes to run a 60-grit flap disc at a 45-degree angle along the top and bottom edges. This “breaks the corner” and makes the part safe to handle.
- Remove heavy slag with a chipping hammer or a flat chisel.
- Use a hard grinding wheel for major high spots.
- Finish with a 60-grit or 80-grit flap disc for a smooth surface.
- Wipe down with a rag and some denatured alcohol to check for hidden cracks or deep gouges.
FAQ: Mastering Heavy Plate Processing in Home Workshops
What is the cheapest way to cut 12mm steel plate? The most budget-friendly method is a 4.5-inch angle grinder equipped with a high-quality .045″ thin cutoff wheel. While it is slower than other methods and produces a lot of dust, the initial tool investment is under $100. Ensure you use a 10-amp or higher motor to prevent burnout.
Can I use a standard wood-cutting circular saw for metal? No. Standard circular saws spin at roughly 5,000 RPM, which is too fast for metal-cutting blades. Using a wood saw on metal will likely result in the carbide teeth shearing off the blade, creating a significant safety hazard. You must use a dedicated metal-cutting circular saw designed for lower RPMs.
How do I know if my garage wiring can handle a plasma cutter? Check your electrical panel for a 240V breaker (a “double” breaker). If you have a 30-amp or 50-amp 240V outlet (like for a dryer or welder), you can run a plasma cutter capable of 20mm+ plate. On a standard 120V/15A outlet, you will be limited to very thin cuts and short run times.
What is the difference between an abrasive saw and a cold saw? An abrasive saw uses a friction disc that “melts” through the metal, creating heat and sparks. A cold saw uses a toothed blade at low speeds to physically “chip” the metal away, leaving the workpiece cool to the touch and providing a much cleaner, more accurate edge.
How often should I replace my grinding discs? Replace a disc immediately if it shows any signs of chipping, cracking, or if it has been dropped. Additionally, if the disc has worn down to a diameter where it can no longer reach the required depth of cut, it is spent. Never use a 4.5-inch disc that has worn down to 3 inches on a high-speed tool.
Do I really need a dedicated ventilation system? Yes. Cutting thick steel produces “hexavalent chromium” (if working with stainless) and general metallic dust that can cause long-term respiratory issues. Even a simple high-CFM exhaust fan and a cracked garage door are significantly safer than working in a sealed room.
Why does my plasma cutter stop working after a few inches of cutting? This is likely due to the “duty cycle.” The machine is overheating and its internal thermal protection has kicked in. You may also have moisture in your air lines, which causes the arc to “sputter” and fail.
Can I cut 25mm plate with a torch? Yes, an oxy-acetylene or oxy-propane torch is a classic industrial method for 25mm plate. However, it requires a higher learning curve than a plasma cutter and involves storing pressurized gas cylinders, which some residential homeowners prefer to avoid.
What safety gear is most important for heavy grinding? A full-face shield is the most critical piece of gear for heavy grinding. Standard safety glasses do not protect your neck or face from the massive volume of hot sparks and potential disc fragments produced when working with heavy gauge material.
Is 25mm steel too thick for a home shop? It is not too thick, but it is the upper limit for most hobbyist equipment. To work with 25mm (1 inch) plate, you must have a 240V power supply and heavy-duty material handling tools, as a small piece of 1-inch plate can easily weigh 50-100 pounds.
(This article was written by one of our staff writers, Michael Thompson. Visit our Meet the Team page to learn more about the author and their expertise.)