How to Identify and Reduce Shop Process Bottlenecks (Tips)
For more than 20 years, I have lived the evolution of a fabrication shop. I started with a basic welder and a handheld grinder in a cramped garage. Today, my operation utilizes CNC plasma systems and refined material handling. The transition from a hobbyist setup to a professional workspace is rarely a straight line. It is a series of strategic pivots. As I scaled, I realized that the biggest hurdle was not the lack of tools. It was the presence of hidden stalls in my workflow. These stalls happen when your layout, power, or air systems cannot keep up with your production goals.

When you reach a certain level of output, the physical limits of your shop become obvious. You might find yourself tripping over scrap metal or waiting for a compressor to catch up. These are signs that your processes have reached a limit. My goal is to share how I identified these production halts and the steps I took to fix them. We will look at layout physics, electrical upgrades, and the integration of automation. This is about turning a hobby space into a high-efficiency manufacturing cell.
Analyzing Material Travel to Eliminate Workflow Delays
Material flow mapping is the practice of tracking the physical path a part takes from raw stock to finished product. By visualizing this movement, you can see where parts pile up or where you are walking too much.
In my early days, I spent a lot of time moving heavy steel sheets across the shop. I would pull a sheet from the rack, carry it to the saw, then move it to the welding table. This back-and-forth movement was a massive drain on my energy and time. I eventually sat down and drew a “spaghetti map” of my shop. I traced every step I took for a single project. The lines crossed everywhere. This was a clear sign of a layout that was fighting against me.
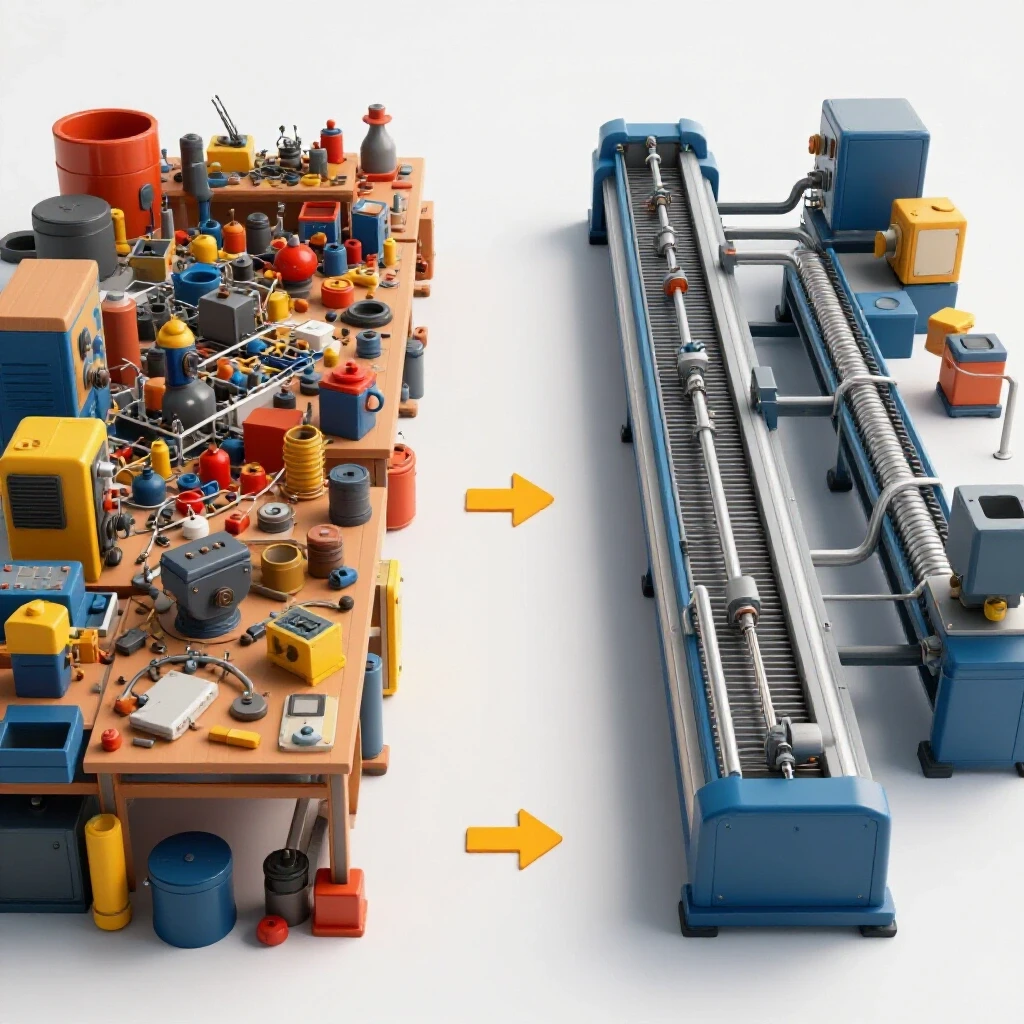
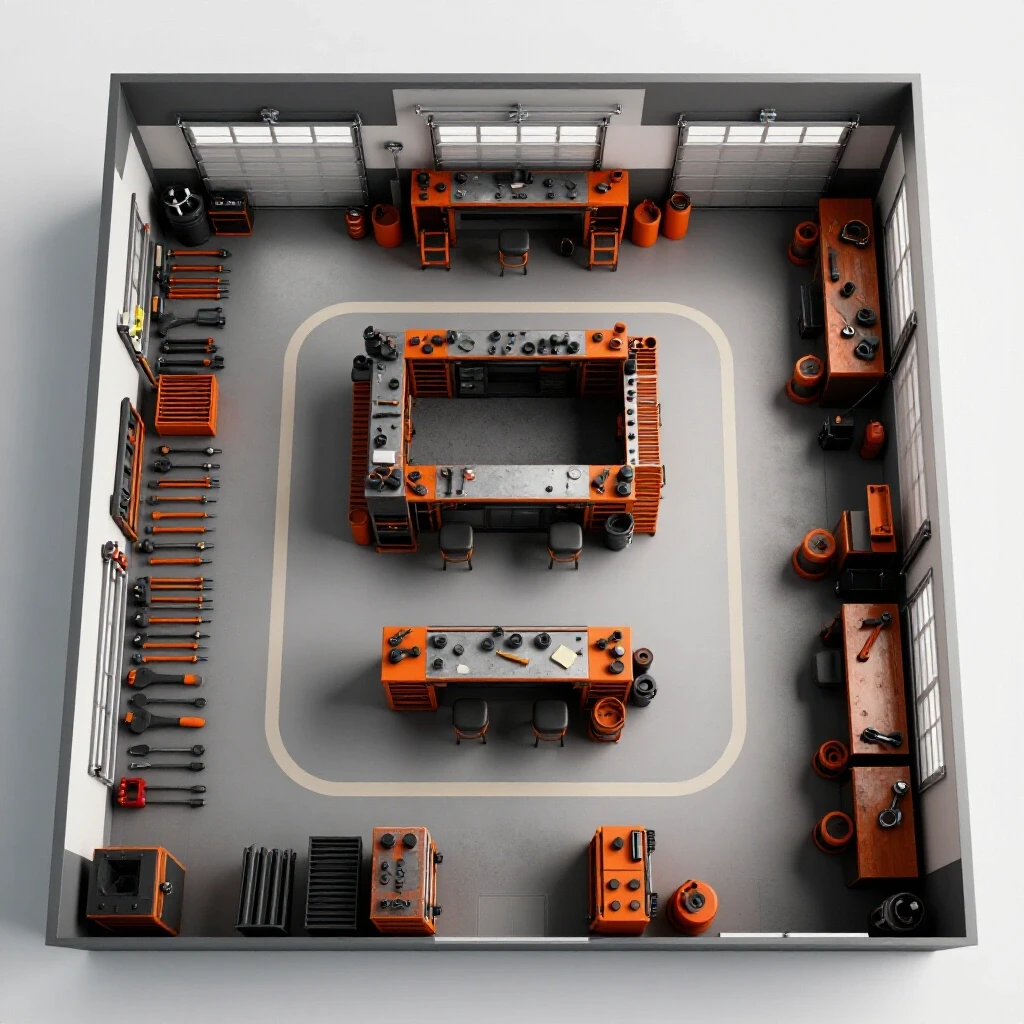
To fix this, I adopted a linear flow pattern. I reorganized my shop so that material enters at one end and exits at the other. Raw stock sits near the cutting station. The cutting station feeds into the fabrication area. The fabrication area leads to the finishing and shipping zone. This reduces “travel waste,” which is any movement that does not add value to the part.
- Zoning: Group your tools by function. Keep all your grinding and prep tools in one area to contain dust.
- Buffer Space: Leave room for “work in progress” (WIP) between stations. If one machine is faster than the next, you need a place to set parts without blocking the aisle.
- The 3-Foot Rule: Always maintain a 3-foot clear zone around primary machinery. This is not just for safety; it ensures you have the room to move long workpieces without hitting a wall.
Workshop Layout Flow Comparison
| Layout Type | Best Use Case | Primary Benefit | Main Drawback |
|---|---|---|---|
| Linear Flow | Long, narrow shops | Minimal material handling | Requires a long floor plan |
| U-Shaped Flow | Square or wide shops | Entry and exit are at the same point | Can get congested in the center |
| Cellular Flow | Complex, multi-step parts | High efficiency for specific tasks | Hard to reconfigure for new projects |
Space Optimization and Equipment Placement Strategies
Space optimization is the process of maximizing your available square footage by analyzing floor load ratings and machine footprints. It involves placing heavy equipment where the slab is strongest and ensuring enough clearance for operation.
When I installed my first CNC plasma table, I didn’t think about the “swing room.” I placed it too close to a support post. Every time I had to load a 4×8 sheet of steel, I had to do a 10-point turn with my material cart. I eventually had to move the entire machine. This taught me that machine placement is about more than just where the tool fits. It is about how the operator interacts with the tool.
You must also consider floor load ratings. A standard residential garage floor is often 4 inches thick. This is usually enough for a car, but a heavy ironworker or a large CNC mill can create “point loads” that crack the concrete. If you are moving into heavy machinery, check your slab thickness. You may need to pour a reinforced pad for specific equipment.
- Vertical Storage: Use the air above your head. Cantilever racks for steel and wall-mounted bins for hardware keep the floor clear.
- Mobile Bases: Put everything that isn’t a precision CNC machine on heavy-duty casters. This allows you to “flex” your shop layout for oversized projects.
- Service Access: Never push a machine flush against a wall if the motor or electronics are in the back. You will eventually need to service it, and moving a 2,000-pound machine just to change a fuse is a major production stall.
Solving Power Limitations with Phase Conversion Systems
A 3-phase power converter is a device that allows you to run industrial-grade machinery on standard residential single-phase electricity. This is essential for scaling because most high-output motors are designed for 3-phase power.
Most home shops have 240V single-phase power. This is fine for a small welder, but industrial saws, mills, and large compressors often require 3-phase power. When I first encountered this, I was intimidated by the cost of bringing 3-phase power from the utility company. It was quoted at over $15,000. Instead, I looked into phase converters.
There are two main types: Rotary Phase Converters (RPC) and Variable Frequency Drives (VFD). An RPC uses a “idler motor” to create a third leg of power. It is robust and can run multiple machines at once. A VFD is an electronic device that controls a single motor. It allows you to change the motor speed, which is great for a drill press or lathe. However, a VFD is usually dedicated to one machine. Balancing your electrical load is critical to prevent damaging your expensive motors.
3-Phase Power Options for Small Shops
- Rotary Phase Converter (RPC): Best for running a whole shop. It is loud but very reliable.
- Variable Frequency Drive (VFD): Best for single machines. It provides soft-start and speed control.
- Digital Phase Converter: The most expensive but provides the cleanest power. Ideal for CNC machines with sensitive electronics.
- Static Phase Converter: The cheapest option, but it only provides about 2/3 of the motor’s rated horsepower. I generally advise against these for high-output shops.
Engineering Clean Air and Fume Extraction Solutions
Air quality management involves using dust collectors and fume extractors to remove airborne particles and gases from the shop environment. Effective systems rely on high CFM (Cubic Feet per Minute) ratings and proper duct design.
In my early years, I ignored dust collection. I figured a respirator was enough. But as I added a CNC plasma table and did more grinding, the “shop haze” became a real problem. It wasn’t just a health issue; the fine metal dust was getting into the fans of my computers and welders, causing them to overheat.
I learned that a “shop vac” is not a dust collector. You need volume (CFM) to move air, and you need velocity (FPM) to keep the dust from settling in the pipes. For metal dust, you want a transport velocity of about 4,000 feet per minute. If the air moves too slowly, the dust drops out of the air and piles up in your ducts. This creates a fire hazard and blocks the airflow, leading to a massive drop in system performance.
- Cyclone Separators: Use a two-stage system. The cyclone drops the heavy chips into a bin, while the fine filter catches the microscopic dust. This keeps your main filter from clogging every ten minutes.
- Ducting Material: Use smooth-walled metal pipe for your main runs. Corrugated plastic hose has high “static pressure loss,” which kills your suction.
- Fume Extraction: For welding and plasma cutting, you need a dedicated exhaust fan or a water table. A CNC plasma table without a water table or a high-volume downdraft system will fill a shop with smoke in under a minute.
Air Filtration CFM Requirements by Tool
- Small Bench Grinder: 300–500 CFM
- Large Belt Sander: 600–800 CFM
- CNC Plasma Table (Downdraft): 1,500–2,500 CFM
- Whole-Shop Air Scrubber: 1,000+ CFM (to cycle the air 6-8 times per hour)
Implementing CNC Automation for Higher Throughput
CNC (Computer Numerical Control) integration is the process of adding automated cutting or milling tools into your workflow. This shift requires learning CAD (Computer-Aided Design) and CAM (Computer-Aided Manufacturing) software.
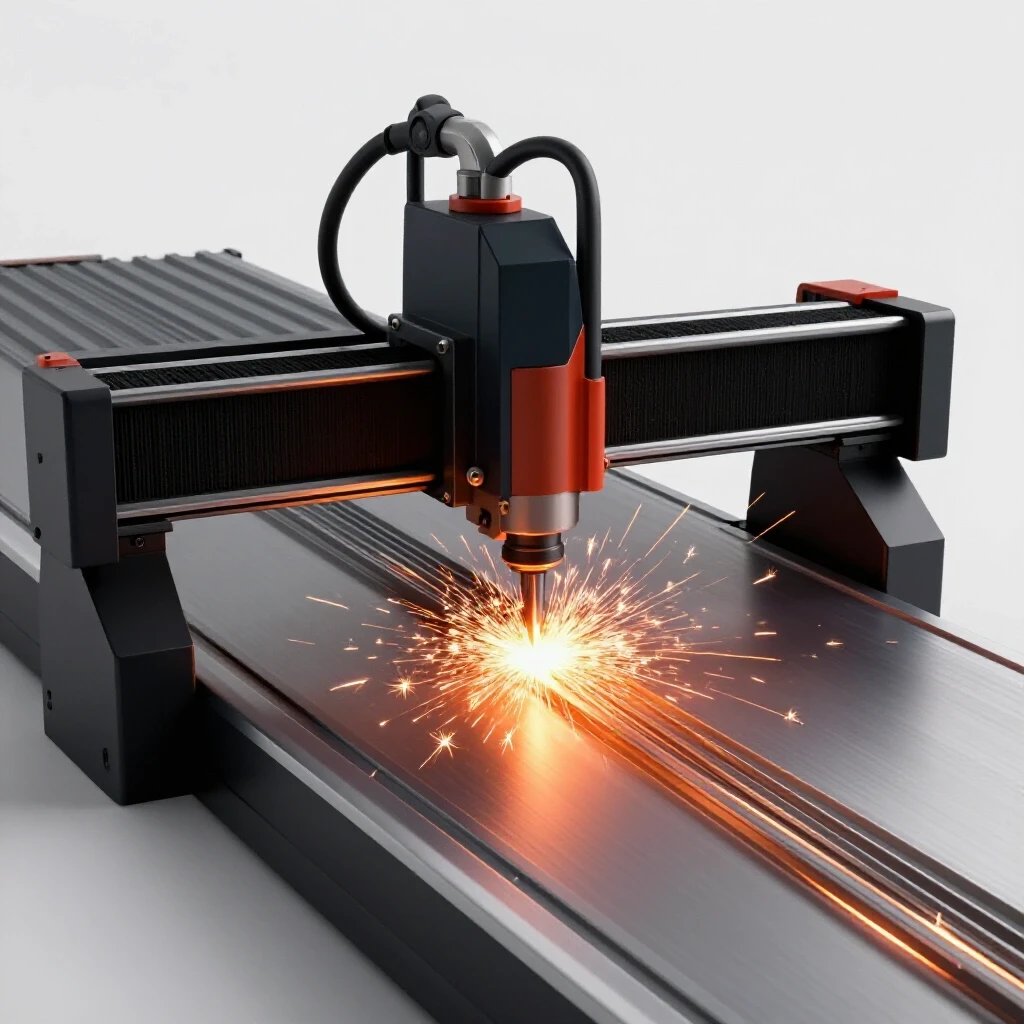
Adding a CNC plasma table was the single biggest change in my shop. It moved me from “one-off” parts to “small-batch” production. However, the learning curve was steep. The bottleneck moved from my hands to my computer. I found myself spending hours fighting with software instead of cutting metal.
The key to successful automation is a “closed-loop” feedback system. Cheaper CNC machines use stepper motors, which move in steps but don’t “know” if they missed a step. If the torch hits a piece of tip-up scrap, the machine keeps going, ruining the part. Higher-end systems use servo motors with encoders. These motors talk back to the computer. If they get stuck, the machine stops. This prevents wasted material and broken tools.
- CAD/CAM Setup: Start with simple software. I recommend tools that have a large online community so you can find help when you get stuck.
- Tooling Libraries: Create a digital library of your “cut recipes.” Record the speed, height, and amperage for every thickness of metal you use. This eliminates the guesswork and reduces setup time.
- Maintenance Intervals: CNC machines have many moving parts. I keep a logbook for greasing linear rails and checking belt tension. A machine that breaks down mid-job is the ultimate production stall.
Tracking and Measuring Productivity Gains
Productivity tracking is the method of measuring how changes to your shop affect your output. This involves looking at “cycle times” and “machine uptime” to see if your upgrades are paying off.
It is easy to spend money on new tools and assume you are being more productive. But without data, you are just guessing. I started tracking my “torch-on time” for the CNC table. I realized that even though the machine was fast, I was spending too much time cleaning parts. The bottleneck had just moved down the line.
To fix this, I invested in a better vibratory tumbler for deburring. This allowed me to automate the cleaning process while the CNC was cutting the next batch. By looking at the whole process—from CAD design to shipping—I could see where the real delays were happening.
- Amortization: Calculate how long it will take for a new tool to pay for itself. If a $5,000 tool saves you 10 hours a month, and your time is worth $50 an hour, it pays for itself in 10 months.
- Downtime Logs: Record every time a machine stops working and why. If you see the same problem happening every week, you have a process issue that needs a permanent fix.
- Maintenance Schedule: Don’t wait for things to break. Use a calendar to track oil changes, filter replacements, and belt inspections.
Moving Toward a More Professional Operation
Improving a workshop is a continuous process. You will never have a “perfect” layout because your needs will change as you grow. The goal is to create a system that is flexible and efficient enough to handle those changes without grinding to a halt.
Start by looking at your floor. Where is the clutter? Where do you find yourself walking the most? Fix those small things first. Then, look at your power and air systems. Are they holding back the tools you want to buy? Upgrading your infrastructure is often more important than buying the latest shiny machine.
As you integrate automation, remember that the software is just as important as the hardware. Take the time to learn the digital side of the craft. It will pay dividends in the quality and speed of your work. By applying these industrial principles to your home-based or micro-manufacturing shop, you can transition from a hobbyist to a professional with confidence.
Frequently Asked Questions
What is the most common layout mistake in a growing shop? The most common mistake is failing to account for “material handling” space. People often measure the footprint of a machine but forget the 10 feet of space needed to feed a full stick of tubing into a saw. This leads to cramped workspaces where you have to move three things just to use one tool.
Can I run a CNC plasma table on a rotary phase converter? Yes, but you must be careful. CNC electronics are sensitive to voltage fluctuations. If you use an RPC, ensure it is a “CNC-grade” model that provides balanced voltage across all three legs. Many fabricators prefer using a dedicated VFD or a digital phase converter for their most sensitive machines to avoid “noisy” power issues.
How do I know if my dust collector is powerful enough? You can check this by measuring the “static pressure” in your lines. If you see dust accumulating in the corners of your shop or settling inside your ducts, your CFM is likely too low. For metalworking, you need enough suction to pull heavy particles upward and through the entire pipe run without them dropping out.
What is the difference between stepper and servo motors for CNC? Stepper motors move in fixed increments and are generally cheaper. However, they lack “feedback.” If the machine hits an obstacle, it loses its position. Servo motors use encoders to report their exact position to the controller. If a servo motor misses a step, the system can correct it or stop the machine, which prevents ruined workpieces.
How much clearance should I leave between machines? A good rule of thumb is at least 36 inches of walking space. For machines that handle long stock, like a cold saw or a planer, you need “infeed” and “outfeed” clearance equal to the longest piece of material you plan to cut. If you cut 20-foot sticks of tubing, you need a 20-foot clear path on both sides of the saw.
Is it worth upgrading to 3-phase power in a home shop? If you plan to use industrial-grade equipment, yes. 3-phase motors are more efficient, last longer, and are often cheaper to buy on the used market because most home users can’t run them. A phase converter is a one-time investment that opens the door to much more powerful machinery.
How often should I change my shop’s air filters? This depends on your volume, but in a high-output shop, I check pre-filters weekly. A clogged filter increases the load on your fan motor and reduces CFM drastically. If you notice a drop in suction at the tool, the filter is usually the first place to look.
What is the best way to manage metal fumes in a small space? Source capture is always best. This means using a “fume arm” or a downdraft table that pulls the smoke away right at the point of the weld or cut. Exhausting air outside is effective but requires you to have a “make-up air” source so you don’t create a vacuum in your shop, which can pull carbon monoxide back in from your water heater or furnace.
How do I calculate the “ROI” of a new machine? Take the total cost of the machine (including shipping and setup) and divide it by the monthly savings it provides. Savings can come from reduced labor time, less wasted material, or the ability to take on new types of jobs. If the machine pays for itself in less than 18-24 months, it is generally considered a solid investment for a scaling shop.
Do I really need a water table for my CNC plasma? Unless you have a very powerful downdraft system, yes. Plasma cutting creates a massive amount of fine dust and hazardous fumes. A water table catches about 90% of that dust before it enters the air. It also helps keep the metal cool, which reduces warping on thin sheets.
(This article was written by one of our staff writers, Edward Sinclair. Visit our Meet the Team page to learn more about the author and their expertise.)