How to Increase Production Output in a Garage Shop (Methods)
After twelve years of maintaining a meticulous workshop log, I have learned that the most expensive tool is the one that stops working in the middle of a deadline. I started my journey in a cramped single-car garage, fighting against budget-grade equipment that promised industrial performance but delivered thermal shutdowns. Today, my shop runs on a system of verified metrics and scheduled maintenance rather than marketing promises. I do not care about the color of the paint on a welder or the “pro” label on a grinder; I care about the duty cycle, the motor insulation class, and the availability of replacement brushes.
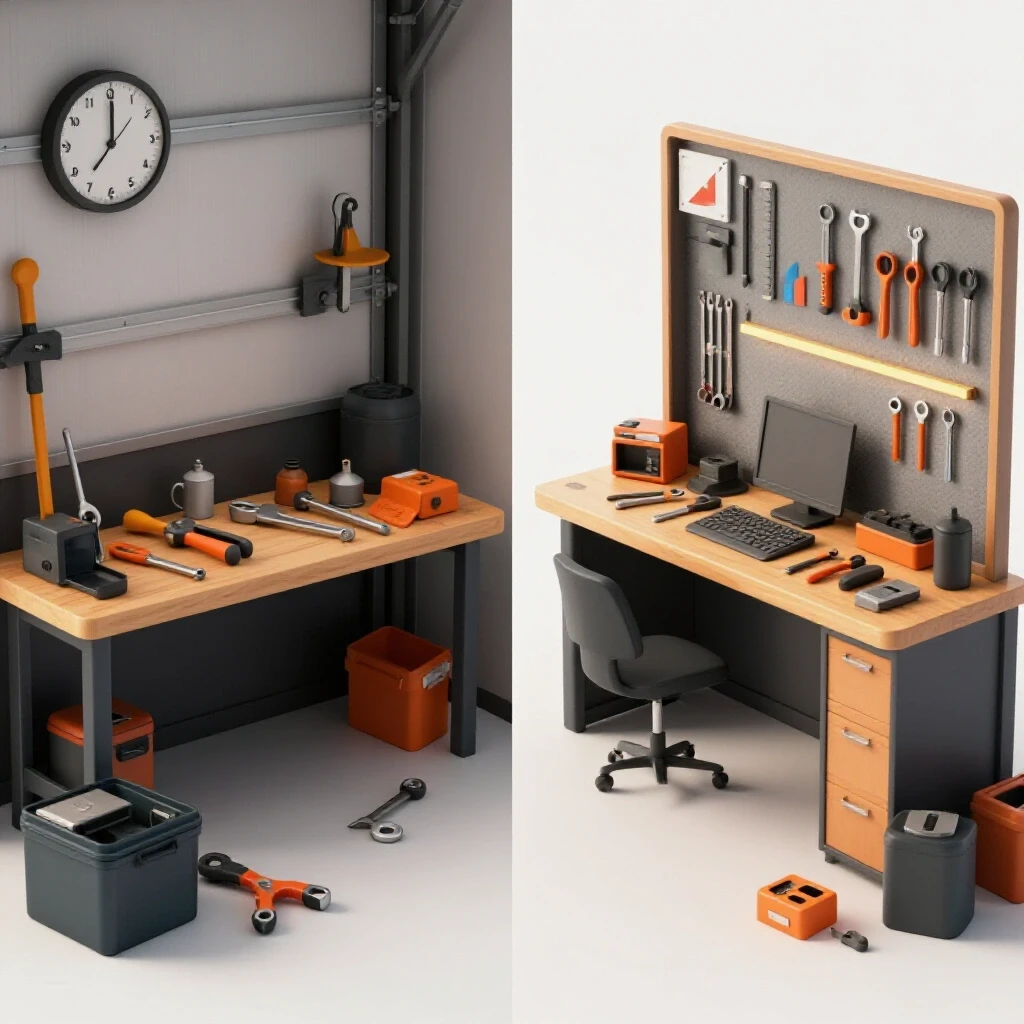
When we talk about streamlining fabrication workflows, we are really talking about the management of heat, movement, and friction. Every minute spent searching for a 1/2-inch wrench or waiting for a welder to cool down is a direct hit to your shop’s efficiency. By analyzing tool performance through the lens of long-term durability, you can build a workspace that produces more parts with fewer headaches. This guide focuses on the data-driven methods I use to evaluate equipment and optimize my manual production processes.
Why Spec Sheet Literacy is Your First Line of Defense
Spec sheet literacy is the ability to look past marketing buzzwords to find the engineering realities of a tool, such as its NEMA motor rating or thermal protection limits. Understanding these numbers allows you to predict exactly when a tool will fail under load before you ever pull the trigger.
When I evaluate a new piece of equipment, I ignore the “Peak Horsepower” or “Max Amps” listed on the box. These are often “stall ratings” that the tool can only sustain for a fraction of a second. Instead, I look for the continuous duty rating. For example, a motor rated with Class H insulation can handle temperatures up to 180°C (356°F), whereas a standard Class B motor is only rated for 130°C (266°F). In a small shop, that 50-degree difference determines whether you can finish a long pass on a structural weld or if you have to stop and let the transformer cool.
I also track the “Power Factor” of my inverter-based tools. Power factor is a ratio (usually between 0.1 and 1.0) of how effectively a tool uses the electricity it draws from the wall. A welder with a power factor of 0.95 is much more efficient and runs cooler than a budget unit with a factor of 0.70. High efficiency means less heat buildup in your shop’s wiring and more stable arcs during long fabrication sessions.
Understanding the Reality of Duty Cycles
A duty cycle is the percentage of a ten-minute period that a machine can operate at a specific output before it must rest to avoid damage. It is a critical metric for anyone looking to maintain a steady rhythm in their metalwork.
If a MIG welder has a duty cycle of 40% at 200 Amps, it means you can weld for four minutes, but you must let the fan run for six minutes of cooling. Many entry-level machines claim “200 Amp Output” but hide a 10% duty cycle in the fine print. In my experience, attempting to bypass these limits results in “thermal drift,” where the internal components expand from heat, causing the arc quality to degrade long before the thermal shut-off switch actually trips.
| Tool Type | Entry-Level Duty Cycle | Mid-Range Duty Cycle | Industrial-Grade Duty Cycle |
|---|---|---|---|
| MIG Welder (200A) | 10% – 20% | 30% – 45% | 60% – 100% |
| Plasma Cutter (40A) | 15% – 25% | 40% – 50% | 60% + |
| Air Compressor | 25% (Intermittent) | 50% – 75% | 100% (Continuous) |
Optimizing Workshop Layout for Seamless Material Flow
Workshop layout optimization involves arranging tools and workstations in a sequence that mimics the natural progression of a project, from raw material to finished product. A well-planned floor plan reduces the physical fatigue of the fabricator and minimizes the time lost to unnecessary movement.
In my shop, I utilize the “Triangle of Fabrication” method. This places the raw material rack, the cutting station (bandsaw), and the primary welding table in a tight triangular formation. I once logged my steps during a batch build of twenty steel frames. Before rearranging the shop, I walked nearly two miles just moving between the saw and the welder. After moving the saw within six feet of the welding table, I cut my movement time by 70%, allowing me to finish the batch two hours earlier.
Sequential Process Mapping
Sequential process mapping is the act of listing every physical step required to complete a part and identifying where “bottlenecks” or “dead time” occur. It is a simple way to visualize where your shop is losing momentum.
To do this, I use a basic stopwatch and a notebook. I record how long it takes to de-burr a cut, how long I spend swapping consumables, and how much time is spent moving heavy stock. If I notice that de-burring takes longer than the actual cut, I know I need to invest in a dedicated belt grinder or a higher-quality cold saw blade. This data-driven approach prevents me from buying tools I don’t need while highlighting the ones that will actually speed up my work.
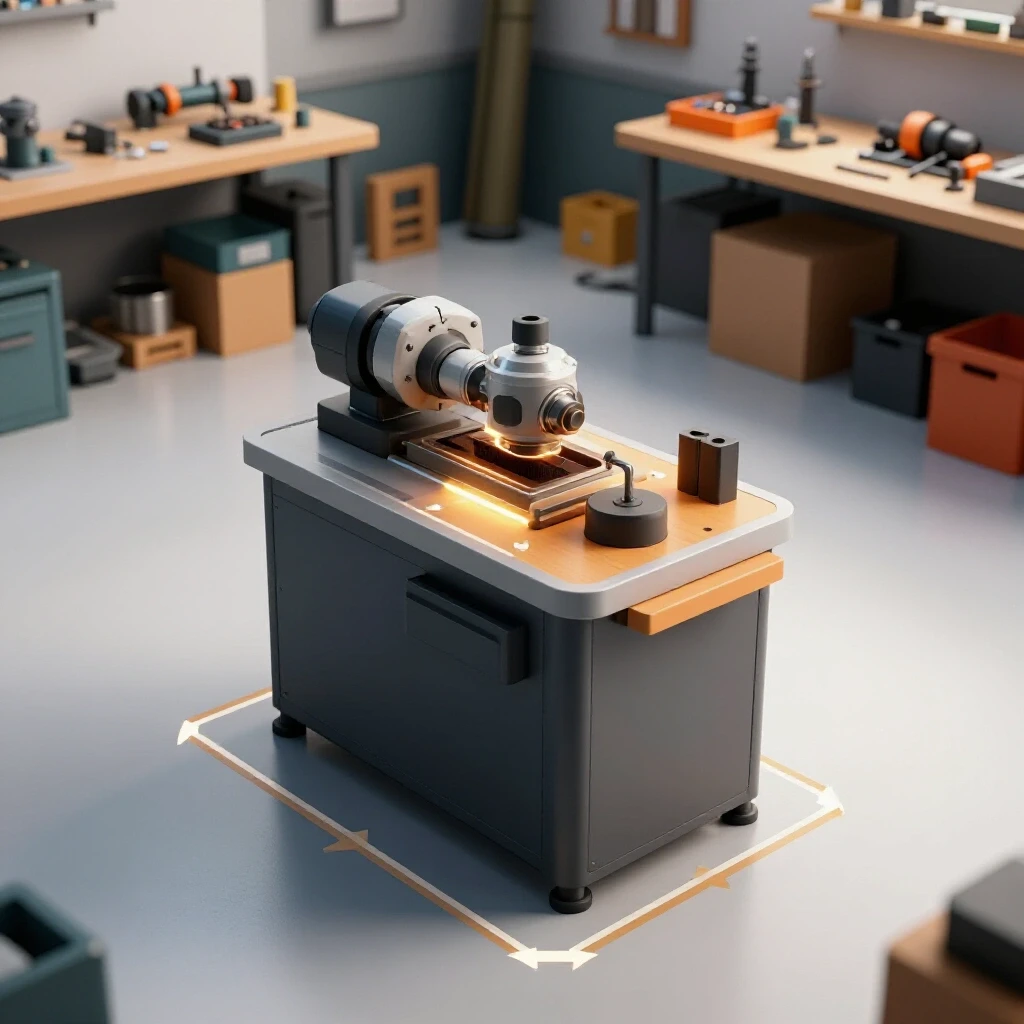
- Step 1: Mark the floor with tape to define “zones” (Cutting, Grinding, Welding, Finishing).
- Step 2: Ensure every zone has its own dedicated trash bin and scrap bucket to avoid cross-contamination.
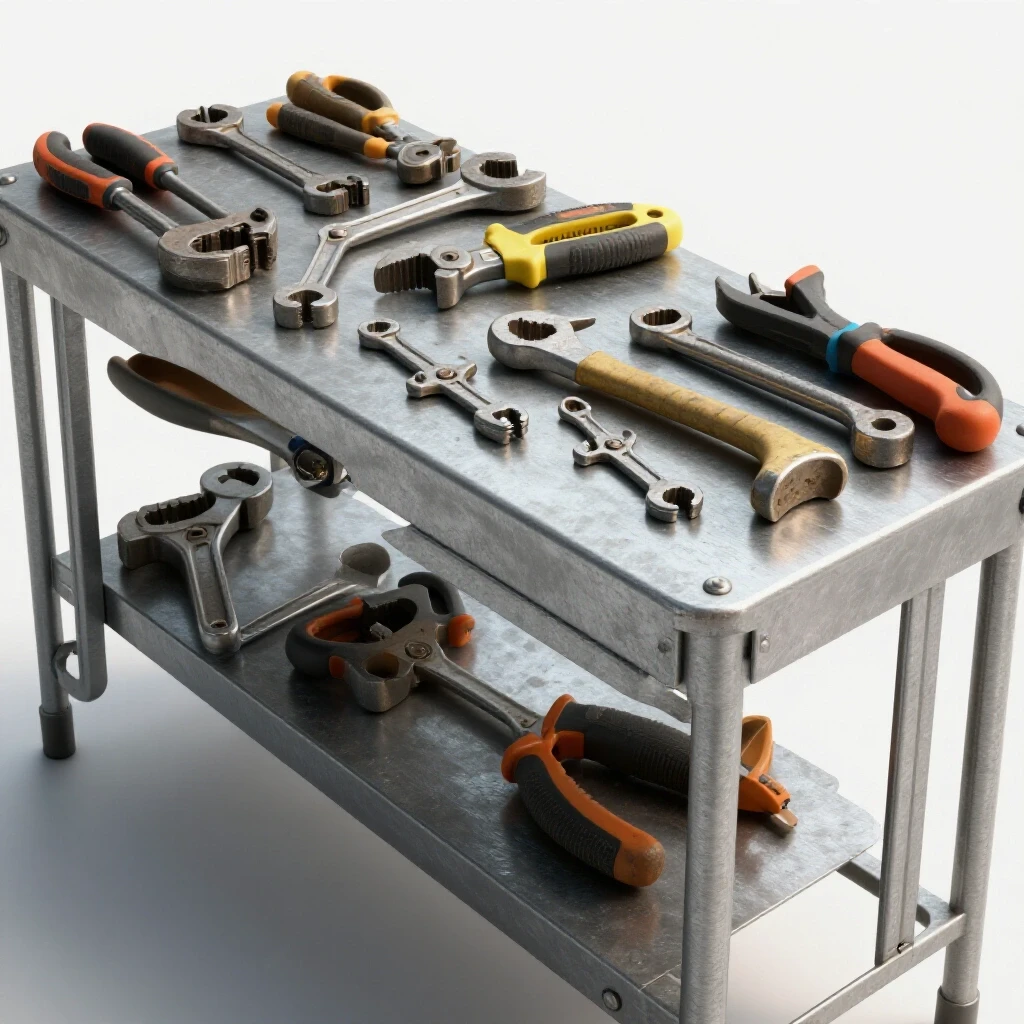
- Step 3: Place high-use tools (grinders, squares, clamps) on mobile carts that can follow you to the workpiece.
Maximizing Throughput with Precision Jigs and Fixtures
Jigs and fixtures are custom-made tools designed to hold workpieces in the exact same position for every repetition of a task. They eliminate the need for manual measuring and marking, which are the two most common sources of error and delay in a garage shop.
I have a rule: if I have to make more than three of the same part, I build a jig. For a recent project involving forty-eight railing pickets, I spent one hour building a dedicated stop-block system for my bandsaw and a welding fixture out of scrap angle iron. This “upfront” hour saved me roughly six hours of measuring and squaring each individual picket. My logs show that parts made in a fixture have a 95% higher accuracy rate than those measured by hand, which also eliminates the time spent on “re-work.”
Designing for Repeatability
Designing for repeatability means creating a workflow where the “setup” is done once, and the “execution” is done many times without further adjustment. This is the most effective way to increase your shop’s daily output without buying expensive automation.
When building fixtures, I use toggle clamps and heavy-duty magnets. I avoid using “C-clamps” for repetitive tasks because the threading and unthreading process is a major time-sink. A toggle clamp provides instant, repeatable pressure with a single flick of the wrist. I also suggest “color-coding” your fixtures. If you have multiple projects, painting the fixture for “Project A” blue and “Project B” red prevents confusion and ensures you grab the right tool for the job.
- Standardize your hardware: Use the same size bolts across all your fixtures so you only need one wrench.
- Use hard stops: Never rely on a pencil mark; always use a physical block of steel to stop your material at the correct length.
- Build-in “heat sinks”: If welding in a jig, use copper or thick aluminum backing bars to pull heat away from the part and prevent warping.
The Critical Role of Power Requirements and Utility Management
Utility management is the practice of ensuring your shop’s electrical and pneumatic systems can handle the sustained loads of production-level work. Underpowered circuits lead to voltage drops, which can damage sensitive inverter electronics and reduce the torque of your motors.
Many fabricators try to run high-output tools on 120V household circuits. In my experience, this is the fastest way to kill a tool. A 120V MIG welder is often limited to a 20% duty cycle because the internal transformer has to work twice as hard to produce the necessary amperage. When I upgraded my shop to dedicated 240V, 50-amp circuits, my equipment ran cooler, and my weld penetration became significantly more consistent.
Managing Air Supply for Continuous Use
Air supply management involves sizing your compressor and lines to ensure that pneumatic tools, like plasma cutters or air sanders, don’t “starve” during long runs. A compressor that runs constantly will overheat, moisture will build up in the lines, and your tool performance will suffer.
I track my compressor’s “recovery time”—the time it takes to go from the cut-in pressure to the cut-out pressure. If this time starts to increase, it usually indicates a leak or a failing reed valve. To maintain high throughput, I use a refrigerated air dryer and large-diameter (1/2 inch) lines. This ensures the air reaching my plasma cutter is bone-dry, which can triple the life of my consumables and prevent the “sputtering” that ruins expensive sheets of metal.
- Check Voltage Under Load: Use a multimeter to see if your 240V line drops below 230V when the welder is running.
- Drain Tanks Daily: Moisture is the enemy of pneumatic efficiency; an automatic tank drain is a cheap way to save your tools.
- Upgrade to Brushless: When possible, choose brushless DC motors for cordless tools. They are more efficient, run cooler, and have no brushes to wear out.
Establishing a Preventative Maintenance Framework
A preventative maintenance framework is a scheduled series of inspections and cleanings designed to identify tool wear before it causes a catastrophic failure. It shifts your shop from a “reactive” mindset (fixing things when they break) to a “proactive” one (keeping things running).
I keep a digital maintenance log for every major tool in my shop. For example, my horizontal bandsaw gets a “Level 1” inspection every 50 hours of runtime. This includes checking the blade tensioner, cleaning the chips out of the drive wheels, and inspecting the coolant pump. Because I track these intervals, I haven’t had a surprise blade snap or a motor burnout in over three years.
The “Pre-Flight” Inspection Routine
A pre-flight inspection is a two-minute check performed before the start of every work session. It ensures that the tools are safe to operate and that you won’t be interrupted by a simple mechanical issue halfway through a cut.
I start every day by checking the tension on my grinder discs and the wire tension in my MIG feeder. I also look for “fretting” on power cords—small cracks or wear spots that can cause a short. This might seem tedious, but my logs show that these two minutes of checking prevent an average of 45 minutes of troubleshooting later in the day.
- Daily: Clean work surfaces and check for loose fasteners on vibrating machinery.
- Weekly: Blow out welder interiors with compressed air (low pressure) to remove conductive dust.
- Monthly: Check motor brushes on grinders and drills; replace if they are worn past 50%.
- Annually: Change the oil in the air compressor and the gearboxes of your saws.
Brand-to-Brand Evaluations and Warranty Recovery
Brand evaluation is the process of comparing tools based on their internal build quality and the manufacturer’s history of honoring warranties. It is about looking past the “red vs. blue” tribalism and focusing on who provides the best long-term support for the fabricator.
I have found that some “premium” brands have excellent initial performance but terrible parts availability. If a $2,000 welder breaks and the replacement control board is on a six-month backorder, that tool is a liability. I prefer brands that provide public access to exploded-view parts diagrams and allow me to order individual bearings or switches directly. This “repairability factor” is more important to my shop’s output than any specific feature.
Navigating the Warranty Maze
Warranty recovery is the systematic approach to ensuring a manufacturer fulfills their promise of repair or replacement. This requires keeping organized records of purchase dates, serial numbers, and maintenance logs.
When a tool fails under warranty, I don’t just send it back. I document the failure with photos and provide my maintenance log to prove the tool wasn’t abused. This data-driven approach has saved me thousands of dollars. Manufacturers are much less likely to claim “user error” when you can show them a log of every hour the tool was used and every time the oil was changed.
| Brand Tier | Typical Warranty | Parts Availability | Repairability Score |
|---|---|---|---|
| Budget / Import | 1 Year (Limited) | Poor / None | 2/10 |
| Mid-Range / Prosumer | 3 Years | Moderate | 6/10 |
| Industrial / Professional | 3-5 Years | Excellent | 9/10 |
Actionable Benchmarks for Your Workshop
To truly improve your shop’s results, you need benchmarks—specific, measurable goals that tell you if your changes are working. I use three primary metrics: Cost Per Cut, Arc-On Time, and Re-Work Rate.
Cost Per Cut is calculated by dividing the price of a blade or abrasive by the number of cuts it makes before failing. I found that a $150 carbide-tipped blade actually costs less per cut than a $20 abrasive disc because it lasts ten times longer and cuts three times faster. By tracking these numbers, I can make informed decisions about which consumables are actually “cheaper” in the long run.
Tool-Buying Decision Pathway
When it is time to add a new machine to the shop, I follow a strict decision pathway to ensure I am not overpaying for features I won’t use.
- Determine the Primary Load: Will this tool run for 10 minutes a day or 4 hours a day?
- Check Power Requirements: Do I have the existing electrical capacity, or will this require a $500 electrician visit?
- Evaluate the “Consumable Tail”: How much do the blades, tips, or filters cost, and can I buy them locally?
- Verify the Duty Cycle: Does the machine’s 100% duty cycle rating meet my most common project needs?
- Assess Repairability: Can I find a parts manual online for this exact model?
Conclusion: Small Gains Lead to Massive Results
Increasing the throughput of a garage shop is not about buying the most expensive machine on the market. It is about understanding the limitations of the tools you have and building a system that minimizes downtime. By focusing on duty cycles, power efficiency, and preventative maintenance, you can transform a hobbyist space into a high-functioning production environment.
My logs have taught me that consistency is better than speed. A fabricator who works at a steady, uninterrupted pace for four hours will always out-produce a fabricator who works at a “fast” pace but has to stop every thirty minutes to fix a tool or find a tool. Start by tracking your time and your tool failures. The data will tell you exactly where your shop needs to grow.
FAQ: Maximizing Shop Efficiency and Tool Longevity
Does running a welder on 120V actually damage the machine?
It doesn’t necessarily damage it immediately, but it forces the internal components to run much hotter to achieve the same output. This heat degrades the insulation on the transformer windings over time, leading to a shorter overall lifespan. If you plan on doing more than occasional repairs, a 240V circuit is the single best investment you can make for tool longevity.
How do I know if a “brushless” tool is worth the extra cost?
For high-use tools like grinders or drills, brushless motors are almost always worth it. They are more efficient (longer battery life or lower power draw) and have no physical brushes that create friction and heat. In my shop, my brushless grinders run about 20% cooler than my brushed models, which means they don’t thermal-trip during heavy surface prep.
What is the most common cause of “unexpected” bandsaw failure?
Inadequate blade tension and “chip loading.” If you don’t clean the metal shavings (chips) out of the blade gullets, they get carried into the drive wheels. This causes the blade to slip or track off-center, which can ruin the blade and the rubber tires on the wheels. A simple brush attachment to clean the blade as it runs can double your blade life.
Is “Duty Cycle” measured at room temperature or in a hot shop?
Most reputable manufacturers (like Miller or Lincoln) test their duty cycles at 104°F (40°C). However, many “budget” brands test at 70°F (21°C). This means a budget welder’s 40% duty cycle might drop to 20% on a hot summer day in your garage. Always look for the ambient temperature rating on the spec sheet.
How can I calculate my shop’s “Arc-On Time”?
You can buy inexpensive vibration-activated hour meters that stick onto your welder or saw. These record the actual time the machine is running. By comparing your “total shop time” to your “arc-on time,” you can see exactly how much time is being “wasted” on setup, cleaning, and material handling.
Why does my air compressor keep blowing fuses?
This is usually due to a “hard start” caused by a failing unloader valve. When a compressor stops, the unloader valve bleeds the air out of the line between the pump and the tank. If this valve fails, the motor has to start against full tank pressure, which causes a massive current spike that blows the fuse. It’s a $15 part that can prevent a $300 motor burnout.
What is “Power Factor Correction” (PFC) and do I need it?
PFC is a technology in modern inverter welders that smooths out the power draw from the wall. It allows the machine to run on a wider range of input voltages (like a long extension cord) without losing arc stability. If your shop has “dirty” power or you often work on job sites with generators, PFC is a must-have feature.
Can I use a regular shop vac for metal dust?
No. Fine metal dust is conductive and abrasive. If it gets into the motor of a standard shop vac, it can cause a short circuit or premature bearing failure. For a production environment, use a dedicated dust extractor with a HEPA filter or a cyclone separator to keep the metal particles away from the motor.
How often should I realistically change the oil in my gear-drive saw?
I recommend changing it after the first 50 hours of “break-in” time to remove any manufacturing burrs, and then every 250 to 500 hours thereafter. Check your manual, but if the oil looks dark or smells burnt, it has lost its lubricity and is no longer protecting your gears from the heat of high-volume cutting.
What is the “best” way to store digital tool manuals?
I use a dedicated folder on a cloud drive (like Dropbox or Google Drive) and name every file with the brand, model, and year of purchase. I also take a photo of the receipt and the serial number plate and store them in the same folder. This makes it incredibly easy to find part numbers or file warranty claims from my phone while I’m actually standing at the workbench.
(This article was written by one of our staff writers, David Reynolds. Visit our Meet the Team page to learn more about the author and their expertise.)