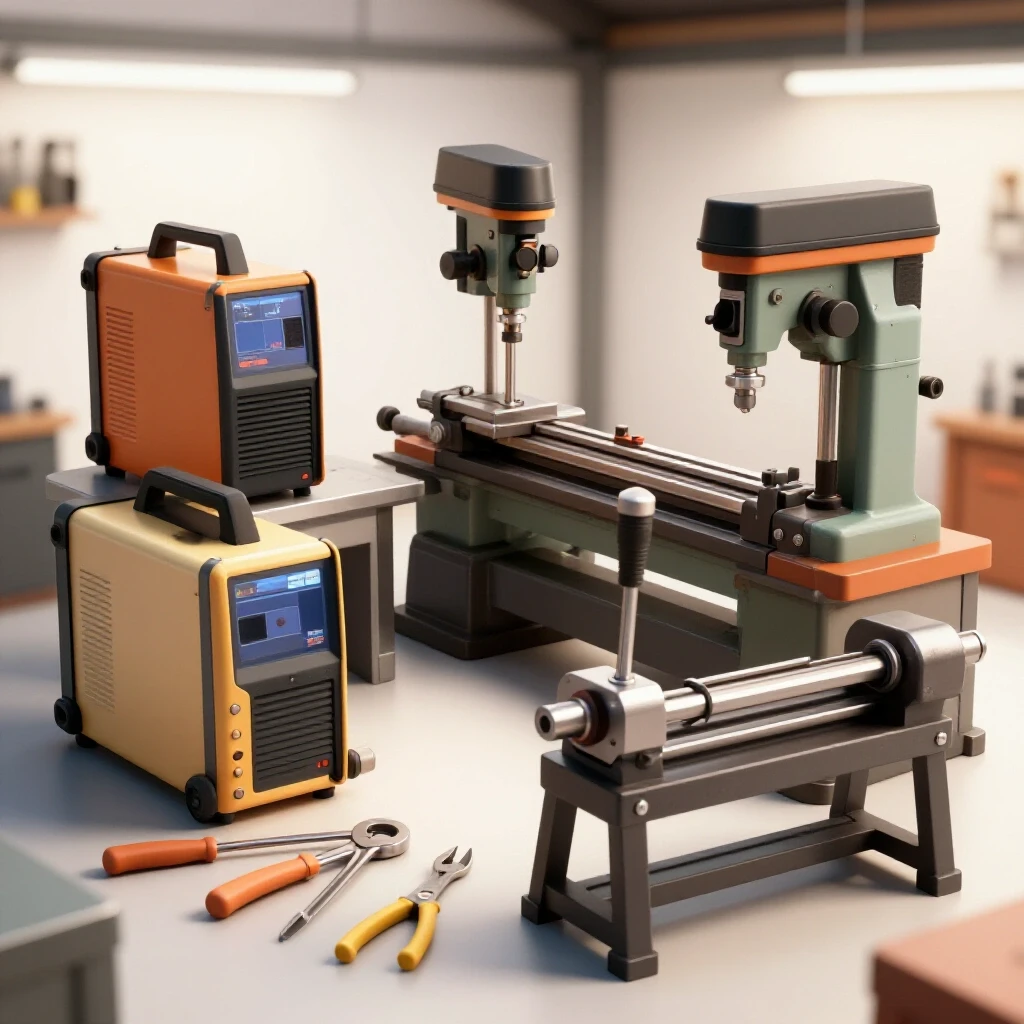
What to Know Before Buying Major Workshop Equipment (Tips)
I have spent the last fifteen years in a shop, surrounded by the hum of motors and the smell of ozone. My journey started with a basic budget welder that promised the world but delivered a cloud of smoke after just twenty minutes of use. That failure taught me a lesson that marketing brochures never mention: specifications on paper rarely match the reality of a hot workshop. Since then, I have kept detailed logs of every machine I have owned, tracking every hour of runtime and every penny spent on repairs.
Buying heavy machinery is a high-stakes game. When you are looking at a new lathe, mill, or industrial welder, you are not just buying a tool; you are buying a commitment to a specific workflow. The frustration of a mid-project breakdown is not just about the cost of parts. It is about the lost time and the physical strain of working with equipment that was never designed for your actual workload. My goal is to share the metrics I use to cut through the noise and evaluate equipment based on how it actually performs over hundreds of hours.
Decoding Manufacturer Spec Sheets and Real-World Performance
Evaluating equipment specifications involves looking past the bold numbers on the front of a box to find the actual operating limits. These metrics define how long a machine can run under load before it requires a cooling period or risks permanent internal damage. Understanding these figures prevents premature tool failure and ensures the machine fits your specific production needs.
Understanding Duty Cycle Ratings and Thermal Limits
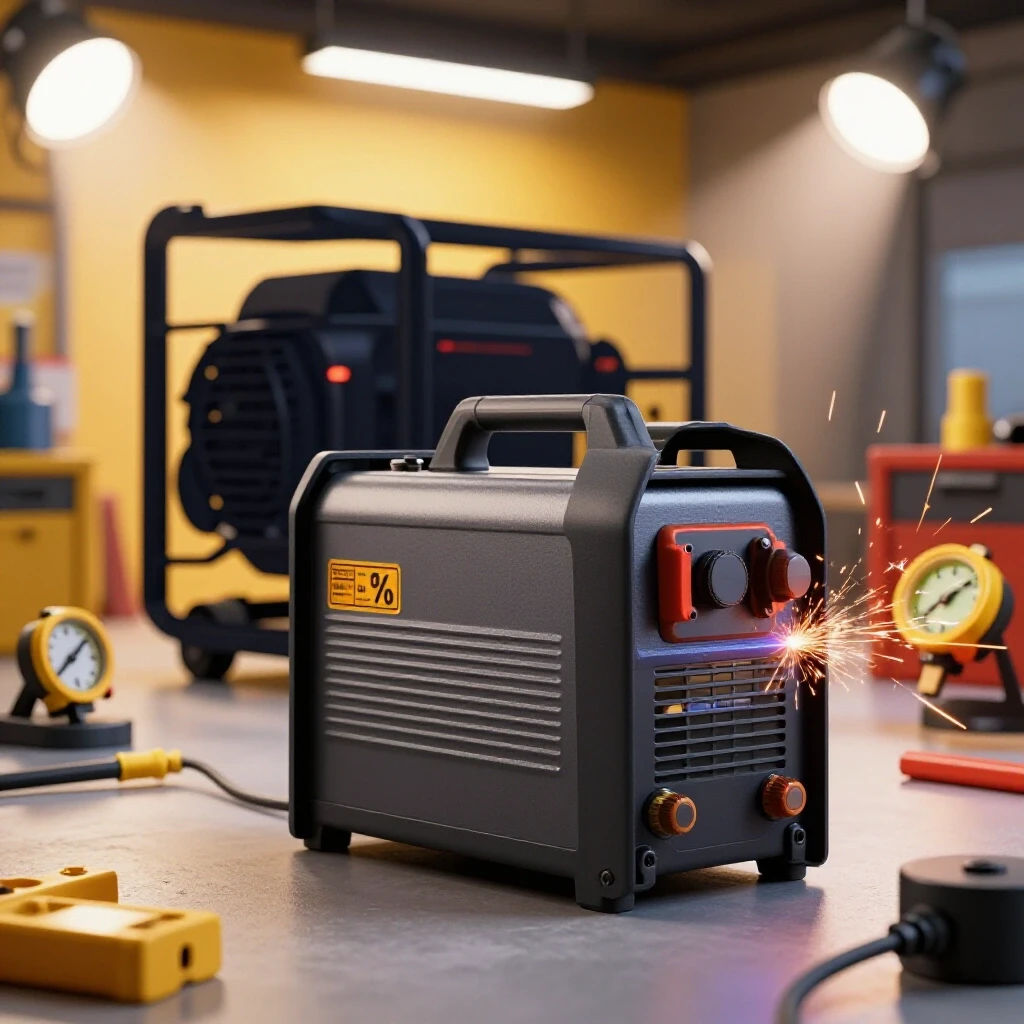
Duty cycle is a measurement of how many minutes out of a ten-minute period a machine can operate at a specific output before it overheats. For example, a 60% duty cycle at 200 amps means the machine can run for six minutes but must then rest for four minutes. This rating is critical for preventing transformer or inverter burnout during heavy fabrication.
In my experience, many entry-level machines are rated at an ambient temperature of 70 degrees Fahrenheit. However, my shop often hits 90 degrees in the summer. When the ambient temperature rises, that 60% duty cycle can easily drop to 40% or less. I always look for equipment tested at 104 degrees Fahrenheit (40 degrees Celsius), which is the professional standard. If a manufacturer does not list the testing temperature, I assume it is the lower, more optimistic figure.
- Light Duty: 20% to 30% duty cycle (suitable for short tacks and thin gauge material).
- Medium Duty: 40% to 60% duty cycle (ideal for general shop fabrication and repair).
- Heavy Duty: 80% to 100% duty cycle (required for structural work and continuous production).
Why Motor Insulation Classes Determine Tool Lifespan
Motor insulation classes are standardized ratings that tell you how much heat the internal wiring of a motor can handle before the insulation melts. This is a primary indicator of long-term durability in saws, mills, and grinders. Choosing a higher insulation class ensures the motor can survive accidental overloads without a catastrophic short circuit.
I once pushed a small band saw through a thick piece of 4140 steel. The motor got hot, but because it had Class F insulation, it survived. A cheaper motor with Class B insulation likely would have smelled like burning plastic and died right there. When I evaluate a new piece of stationary equipment, I check the nameplate for these specific NEMA (National Electrical Manufacturers Association) classifications.
| Insulation Class | Maximum Operating Temp | Typical Application |
|---|---|---|
| Class B | 130°C (266°F) | Light-duty consumer power tools |
| Class F | 155°C (311°F) | Standard industrial machinery |
| Class H | 180°C (356°F) | Heavy-duty, high-heat environments |
Assessing Workshop Infrastructure Requirements
Before bringing a heavy machine home, you must ensure your shop can actually support its physical and electrical needs. Infrastructure assessment covers everything from the thickness of your concrete floor to the capacity of your electrical panel. Failing to plan for these factors can lead to expensive electrical upgrades or even structural damage to your workspace.
Electrical Circuits and Phase Requirements
Electrical requirements define the type of power a machine needs to operate safely and efficiently, including voltage, amperage, and phase. Most residential shops run on single-phase power, while many industrial machines require three-phase power. Understanding these needs prevents you from buying a machine that you literally cannot plug in without a costly converter.
I learned this the hard way when I found a great deal on a vintage milling machine. I didn’t check the motor plate and realized too late it was a 480V three-phase unit. To run it on my 240V single-phase shop power, I had to invest in a rotary phase converter. Now, I always calculate the “Full Load Amps” (FLA) listed on the tool’s spec sheet. If a welder pulls 50 amps on a 240V circuit, I make sure my breaker and wire gauge can handle 125% of that load to account for startup surges.
- 120V Single-Phase: Standard for small handheld tools and light bench machinery.
- 240V Single-Phase: Necessary for most professional-grade welders, compressors, and large saws.
- 208V/480V Three-Phase: Found in heavy industrial equipment; requires a phase converter for home use.
Floor Loading and Physical Footprint Clearance
Floor loading refers to the amount of weight a floor can support per square foot, while footprint clearance is the total space needed for safe operation. Heavy machinery like ironworkers or large lathes can weigh several thousand pounds, concentrating immense pressure on a small area of concrete. Proper spacing ensures the operator can move freely without safety hazards.
When I added a 3,000-pound lathe to my shop, I had to verify the thickness of my concrete slab. A standard 4-inch residential slab might crack under the concentrated weight of a heavy machine’s leveling feet. I also use “swing zones” in my planning. This means measuring not just the machine itself, but how far the materials will stick out during use. A 10-foot stick of tubing going into a cold saw needs 10 feet of clearance on both sides of the blade.
- Measure the machine’s base dimensions.
- Add a 36-inch “safety perimeter” for the operator.
- Calculate the weight-per-foot by dividing total weight by the number of leveling pads.
- Verify that overhead clearance accounts for any moving parts or lifting eyes.
Evaluating Mechanical Build Quality and Rigidity
Mechanical build quality is the foundation of precision in metalworking, focusing on how well a machine resists flexing under pressure. Rigidity is what allows a tool to maintain tight tolerances and produce a clean finish on hard materials. By examining the materials and construction methods used, you can predict how the machine will hold up under heavy use.
Cast Iron vs. Fabricated Steel Frames
The frame of a machine is its skeleton, usually made from either cast iron for dampening or fabricated steel for weight savings. Cast iron is preferred for precision tools because it absorbs vibrations, which prevents “chatter” on the surface of your workpiece. Fabricated steel is common in modern, lighter equipment but may require more anchoring to remain stable.
In my maintenance logs, I have noticed that my cast iron tools require less frequent recalibration. Steel frames tend to move slightly as they heat up and cool down, or as the shop floor shifts. When I look at a new piece of equipment, I look for “ribbed” castings. These are internal reinforcements in the iron that add strength without adding excessive bulk. If a machine feels “tinny” or vibrates excessively when you tap the frame, it likely lacks the mass needed for serious fabrication.
Bearing Quality and Lubrication Systems
Bearings are the components that allow parts to rotate smoothly, and the lubrication system is what keeps them from burning out. High-quality machines use sealed or shielded bearings from reputable manufacturers and provide easy access for maintenance. A poor lubrication design will lead to premature wear and expensive teardowns within the first few years of ownership.
I always look for “grease zerks” or oil ports that are easily accessible. If I have to take a machine half apart just to oil a hidden bearing, I know that maintenance will likely be neglected. I also prefer machines that use standard bearing sizes. If a bearing fails five years from now, I want to be able to buy a replacement from a local industrial supply house rather than waiting weeks for a proprietary part from overseas.
- Sealed Bearings: Maintenance-free but must be replaced entirely when they wear out.
- Tapered Roller Bearings: Found in high-load areas like lathe spindles; often adjustable for wear.
- Centralized Lubrication: A “one-shot” system that oils multiple points with a single lever pull.
Analyzing Long-Term Maintenance and Parts Availability
Long-term maintenance planning involves identifying how easy it will be to keep a machine running over a decade of use. This includes the availability of wear items like belts, seals, and electronic boards, as well as the quality of the technical documentation provided. A machine is only an asset if you can find the parts to fix it when it eventually breaks.
Standardized vs. Proprietary Components
Standardized components are parts like motors, switches, and belts that follow universal sizing rules, making them easy to replace. Proprietary components are custom-made by the manufacturer and can only be sourced from them. Choosing equipment with standard parts significantly reduces the risk of a machine becoming a “paperweight” if the manufacturer goes out of business.
I once owned a welder with a proprietary cooling fan. When the bearings in the fan died, the manufacturer wanted $150 for a replacement that took three weeks to ship. If the machine had used a standard 120mm industrial fan, I could have fixed it for $20 the same afternoon. Now, I check the spec sheets for NEMA motor frame sizes and standard belt numbers (like A-series or B-series V-belts).
Documentation and Service Manuals
Documentation includes the wiring diagrams, exploded parts views, and maintenance schedules provided by the manufacturer. High-quality equipment comes with a detailed manual that allows a technician (or a skilled owner) to troubleshoot issues down to the component level. Without these documents, diagnosing an electrical fault becomes a guessing game that costs hours of frustration.
Before I buy a major tool, I go to the manufacturer’s website and try to download the manual. If all I find is a four-page “quick start guide” with no wiring diagram, I reconsider the purchase. A true service manual should include: 1. Full electrical schematics. 2. Exploded views with individual part numbers. 3. A schedule for oil changes and tension adjustments. 4. A troubleshooting flow chart for common error codes.
Practical Pre-Purchase Inspection Strategies
A pre-purchase inspection is your last chance to verify the machine’s condition and performance before money changes hands. This process involves testing the equipment under load and checking for signs of hidden wear or poor manufacturing. Using a systematic approach during the inspection ensures that you don’t miss critical red flags that could lead to failure.
The “Under Load” Testing Protocol
Testing under load means running the machine at its maximum rated capacity to see how it handles the stress. This reveals issues that might not be apparent when the machine is idling, such as belt slippage, motor overheating, or frame flex. It is the only way to verify that the equipment can actually do the work you bought it for.
When I test a welder, I don’t just run a one-inch bead. I run several long passes at the machine’s maximum amperage to see if the cooling fan kicks in and if the arc remains stable. For a saw, I cut the largest piece of solid bar stock the machine is rated for. If the motor bogs down or the blade wanders significantly, the machine’s real-world capacity is lower than the advertised “max capacity.”
- Check for unusual noises: Grinding, squealing, or heavy vibration.
- Monitor heat buildup: Touch the motor housing (carefully) after a few minutes of work.
- Verify accuracy: Use a dial indicator to check for “runout” or wobble in rotating parts.
The Used Machinery Diagnostic Checklist
When buying used equipment, you are looking for signs of how the previous owner treated the machine. A well-maintained tool will have clean oil, tight fasteners, and minimal “slop” in the controls. Conversely, a machine covered in grime with rounded-off bolt heads suggests a history of neglected maintenance that will soon become your problem.
I always bring a small flashlight and a set of calipers when inspecting used gear. I look into the nooks and crannies for metal shavings that shouldn’t be there. I also check the “ways” (the sliding surfaces) on lathes and mills for scoring or deep scratches. If the ways are worn, the machine will never be accurate, and regrinding them often costs more than the machine is worth.
- Check oil levels and clarity (dark, gritty oil is a bad sign).
- Test all speeds and feeds to ensure gears engage smoothly.
- Look for “mushroomed” parts where someone hit the machine with a hammer.
- Inspect the power cord for cracks, burns, or improper repairs.
Establishing a Long-Term Ownership Framework
Owning major shop equipment is a marathon, not a sprint. To get the most out of your investment, you need a system for tracking performance and staying ahead of wear. This framework turns reactive repairs into proactive maintenance, saving you money and preventing the stress of unexpected downtime.
Creating a Digital Maintenance Log
A maintenance log is a record of every service action, from simple oiling to major component replacements. By tracking these events against the machine’s runtime hours, you can identify patterns of wear and predict when the next failure might occur. This data is invaluable when it comes time to sell the machine or decide when to upgrade.
I use a simple spreadsheet for my shop. Every time I change the oil in my compressor or replace the brushes in a grinder, I log the date and the “hour meter” reading. If I don’t have an hour meter, I estimate based on my weekly shop usage. This log helped me realize that a certain type of drive belt was failing every 200 hours, allowing me to switch to a heavy-duty version before the next break.
The Warranty Recovery System
A warranty is only useful if you have the documentation and proof of maintenance required to file a claim. Many manufacturers will deny a claim if you cannot prove that the machine was serviced according to their schedule. Keeping your receipts and logs organized ensures that you are protected if a major component fails prematurely.
I keep a dedicated folder (both physical and digital) for every major tool purchase. This folder contains the original receipt, a copy of the warranty terms, and my maintenance log. If a circuit board fries in my welder, I have everything ready to show the manufacturer that the machine was operated within its limits and maintained perfectly. This preparation has saved me thousands of dollars in repair costs over the years.
- Keep original receipts in a fireproof box or scanned to the cloud.
- Register the product with the manufacturer immediately after purchase.
- Document any “out of box” defects with photos and emails to the dealer.
The secret to a successful workshop is not having the most expensive tools, but having the most reliable ones. By looking past the marketing and focusing on duty cycles, motor classes, and physical build quality, you can build a shop that works as hard as you do. Take the time to analyze the specs, check your infrastructure, and keep a detailed log. Your future self, standing in front of a machine that actually works when you need it, will thank you.
Frequently Asked Questions
What is the difference between a transformer and an inverter welder?
Transformer welders use a heavy copper or aluminum core to step down voltage, making them extremely durable but heavy and less power-efficient. Inverter welders use electronic switching to create a more stable arc in a smaller package. Inverters offer more features but are generally more sensitive to dust and power fluctuations.
How do I know if my shop’s concrete can hold a heavy machine?
Most modern residential garage floors are 4 inches thick and can support roughly 3,000 to 4,000 pounds if the weight is distributed. However, machines with small leveling feet create “point loads.” For machines over 2,000 pounds, consider using steel spreader plates under the feet to distribute the weight across a larger surface area.
Why does the “Max Amperage” on a welder matter less than the duty cycle?
A welder might be capable of hitting 200 amps, but if its duty cycle at that power is only 10%, you can only weld for one minute before it shuts down. It is better to buy a machine with a lower max output but a higher duty cycle at the amperage you use most frequently (typically 100-125 amps for general fabrication).
Is three-phase power better than single-phase for a home shop?
Three-phase power is more efficient and allows for smaller, more powerful motors that run smoother. However, since most homes only have single-phase power, you will need a Variable Frequency Drive (VFD) or a Rotary Phase Converter. For most hobbyists, sticking to high-quality 240V single-phase equipment is simpler and more cost-effective.
How often should I perform maintenance on my stationary tools?
Maintenance intervals depend on usage, but a good rule of thumb is to check oil levels and belt tension every 50 hours of runtime. A deeper inspection, including cleaning internal dust and checking electrical connections, should be done every 200 hours or at least once a year.
What should I do if a machine’s manual is not in my language or is missing?
Try to find the “OEM” (Original Equipment Manufacturer) version of the machine. Many tools are made in the same factory and rebranded. If you can find a similar-looking machine from a more established brand, their manual will often cover the same maintenance and safety protocols for the mechanical components.
Can I run a 240V machine on a 120V circuit with an adapter?
No. Attempting to run a high-draw 240V machine on 120V will result in a blown breaker at best and a fire or motor damage at worst. Always match the machine’s requirements to your shop’s electrical capacity. If you need 240V, hire an electrician to run a dedicated circuit.
What is “runout” and why should I measure it before buying a lathe or mill?
Runout is the amount of wobble in a rotating shaft or spindle. Even a tiny amount of runout (over 0.001 inches) can cause vibration, poor surface finish, and broken drill bits. Measuring this with a dial indicator during a pre-purchase inspection tells you immediately if the machine’s bearings are shot or if the spindle is bent.
Why is dust extraction important for metalworking tools?
While we often think of dust extraction for wood, metal “dust” (swarf and grinding fines) is abrasive and often conductive. If this dust gets sucked into the cooling fans of your welder or electronics, it can cause a short circuit. A good extraction system keeps your lungs and your expensive tool’s circuit boards clean.
What are the signs that a motor is about to fail?
Listen for a high-pitched whining (bearing failure), a heavy humming without turning (capacitor failure), or an acrid, “burnt toast” smell (insulation failure). If the motor housing is too hot to touch after only a few minutes of light use, it is likely drawing too much current and is on its way out.
(This article was written by one of our staff writers, David Reynolds. Visit our Meet the Team page to learn more about the author and their expertise.)