How to Weld and Fabricate Tractor Replacement Parts (Guide)
I spent my early years in manufacturing thinking that if I had money in the bank at the end of the month, I was doing fine. It took a few lean years and a hard look at my balance sheet to realize that “busy” does not always mean “profitable.” For many of you transitioning from a hobby to a side business, the first time a neighbor asks you to fix a cracked hitch or build a new set of brackets for their equipment, the instinct is to give a low price just to get the work.
Pricing anxiety is a real hurdle. You want to be fair, but you also need to cover the invisible costs that eat into your margins. Over 16 years, I have learned that the difference between a shop that thrives and one that folds is the ability to track every penny spent on shielding gas, grinding wheels, and the electricity running your welder. This guide focuses on the financial and technical realities of building durable steel components for agricultural use while ensuring your shop stays in the black.
Establishing a Profitable Shop Rate for Agricultural Fabrication
A shop rate is the total hourly cost of keeping your doors open plus your desired profit margin. It is the most critical number in your business because it covers your mortgage, insurance, and the time you spend sweeping the floor, not just the time the arc is on.
When I first started, I guessed my rate based on what the local tractor dealership charged. That was a mistake. They have much higher overhead than a small shop, but they also have higher volume. For a side-hustle in a home workshop, a realistic shop rate usually falls between $65 and $120 per hour.
To find your specific number, you must list every fixed cost you have. This includes your shop insurance, property taxes, software subscriptions for invoicing, and a portion of your utility bills. If your monthly fixed costs are $800 and you plan to work 40 hours a month on side jobs, your “overhead burden” is $20 per hour before you even pick up a torch. Add your desired take-home pay and a 10% to 20% profit margin for the business itself to reach your final rate.
Factoring in Labor vs. Machine Time
Labor time includes the hours you spend cleaning rust off old steel, while machine time accounts for the wear and tear on your equipment. You should charge for every minute spent on a project, including the time it takes to drive to the steel yard.
- Direct Labor: The actual time spent cutting, fitting, and welding.
- Indirect Labor: Time spent quoting the job, ordering materials, and cleaning the shop.
- Machine Burden: A small hourly fee added to cover the eventual replacement of your welder or saw.
Mapping Equipment Depreciation and Payback Periods
Depreciation tracks how a tool loses value over time, while the payback period calculates when a tool pays for itself through billable work. Understanding these metrics prevents you from over-investing in shiny new tools that your current workload cannot support.
If you buy a high-quality MIG welder for $2,500, it doesn’t just cost $2,500 today. You should expect it to last about five years in a part-time shop environment. This means the tool “costs” you $500 per year in depreciation. If you don’t factor this into your rates, you won’t have the cash to replace it when it eventually dies.
To calculate the payback period, divide the cost of the tool by the additional monthly profit it generates. For example, if a new cold saw saves you two hours of grinding time per week—and your labor rate is $75/hour—that saw is “earning” you $150 a week. A $1,500 saw would pay for itself in just 10 weeks of consistent work. This is how you justify upgrades: through time saved and increased accuracy.
Tool ROI Timeline Examples
| Tool Investment | Initial Cost | Estimated Lifespan | Monthly Revenue Needed for 1-Year Payback |
|---|---|---|---|
| Industrial MIG Welder | $2,800 | 7-10 Years | $233 |
| Heavy-Duty Welding Table | $1,200 | 20+ Years | $100 |
| Magnetic Drill | $850 | 5-7 Years | $71 |
| Horizontal Band Saw | $1,500 | 10 Years | $125 |
Sourcing Steel and Managing Material Markups
This involves finding reliable local suppliers for mild steel and adding a percentage to the cost to cover handling and storage. For agricultural repairs, you will primarily work with 1/8-inch to 1/4-inch mild steel plate and tubing.
Never pass through the cost of steel to your customer at the price you paid. If you spend an hour driving to the steel yard and use your truck to haul 200 pounds of plate, you have incurred costs. I recommend a material markup of 20% to 50%. This covers the “cost of carry”—the money tied up in your inventory—and the risk of a mistake during the cutting process.
For standard agricultural components, like bucket ears or mounting plates, I keep a stock of A36 mild steel. It is predictable, easy to weld, and widely available. When sourcing, ask your supplier for “remnants” or “drops.” These are shorter pieces left over from larger industrial orders. You can often buy these by the pound at a significant discount, which increases your profit margin when you bill the customer at the full retail rate.
Tracking the True Cost of Welding Consumables
Consumables are items used up during a job, like shielding gas, welding wire, and abrasive disks. Many small shop owners ignore these because they seem cheap, but they can easily consume 10% of your total project revenue if not tracked.
I once tracked a month of repairs on hay equipment and realized I was spending nearly $4.00 per hour on grinding disks and wire alone. If you aren’t adding a “consumable burden” to your quotes, you are paying the customer to work for them. A simple way to handle this is to add a flat 5% to 10% “shop supplies” fee to every invoice.
Alternatively, you can track specific usage for larger jobs. For example, a standard 80cf tank of 75/25 shielding gas costs about $50 to $70 to refill. If you run your flow meter at 20 cubic feet per hour (CFH), you have four hours of trigger time. That means your gas cost is roughly $15 per hour of actual welding.
Consumable Cost Tracking Baseline
- Welding Wire (.035 ER70S-6): Approximately $2.00–$3.00 per pound.
- Shielding Gas: $12.00–$18.00 per hour of arc-on time.
- Abrasives (Flap Disks/Cut-off Wheels): $5.00–$8.00 per hour of heavy prep or finishing.
- Electricity: Usually negligible ($0.50–$1.00/hr), but worth noting for heavy spray-transfer welding.
Estimating Labor and Fit-Up for Equipment Repairs
This is the process of predicting how long it will take to clean, cut, jig, and weld a specific component. In agricultural work, “fit-up” often takes three times longer than the actual welding because of rust and bent frames.
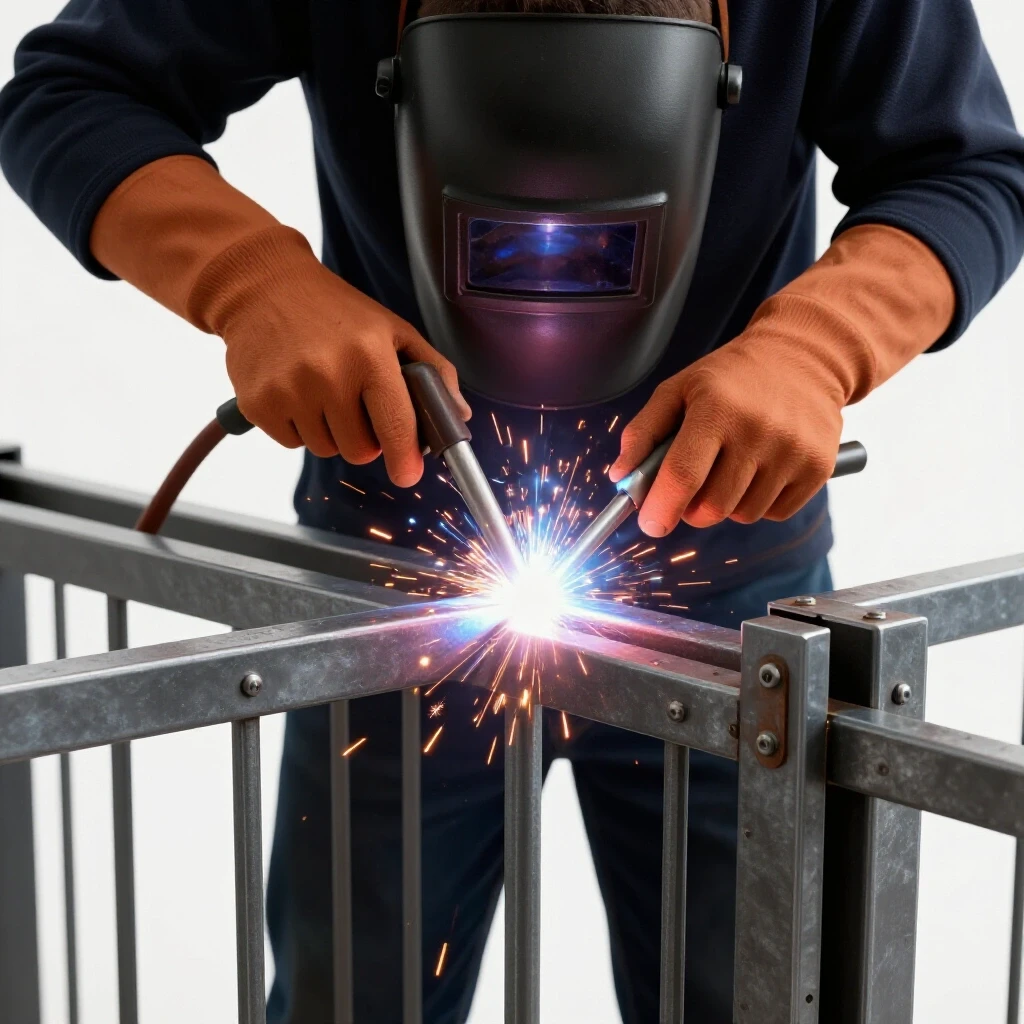
When fabricating replacement parts for tractors, such as a new hitch plate or a reinforcement gusset, you must account for the thickness of the material. Welding 1/4-inch steel requires more heat and more passes than 1/8-inch material. This means more gas, more wire, and more time.
I always use a “complexity multiplier” when quoting. If a job involves simple straight cuts and flat welds, the multiplier is 1.0. If I have to crawl under a machine to weld out-of-position or spend hours grinding away old, dirty welds, the multiplier jumps to 1.5 or 2.0. This ensures that the difficult jobs don’t bankrupt the shop.
Managing Distortion in Thick Sections
One of the biggest time-wasters is fixing a part that warped during welding. When working with 1/4-inch plate, the heat input can easily pull a bracket out of alignment.
- Tack Welding: Use heavy tacks every 2-3 inches before doing a final pass.
- Backstepping: Weld in short sections, moving in the opposite direction of the overall bead travel.
- Jigging: Use your welding table and heavy clamps to physically restrain the metal until it cools.
- Cooling Time: Never rush the cooling process with water; let the steel normalize naturally to avoid brittleness.
Building a Custom Job Quote
A professional quote protects both you and the customer by defining the scope of work and the expected cost. It should break down materials, labor, and shop fees so the customer understands exactly what they are paying for.
When I quote a project, like a custom-fabricated weight bracket, I start with the material list. I calculate the linear feet of steel and the number of cuts required. Then, I estimate the welding time. I always add a 15% “buffer” to my labor estimate for unforeseen issues. If the job goes perfectly, I make a little extra profit. If I run into a problem, I don’t lose money.
For modern shop management, I recommend using digital tools. Software like QuickBooks Solo or FreshBooks allows you to send professional invoices from your phone. For estimation, a simple spreadsheet in Google Sheets can help you calculate markups and labor rates instantly.
- Material Cost: Steel price + 30% markup.
- Labor Cost: Estimated hours x Shop Rate ($85/hr).
- Consumables: 10% of labor cost.
- Subtotal: Sum of the above.
- Tax: Applicable local sales tax on materials.
Post-Job Reconciliation and Financial Review
A review of the actual costs versus the estimate ensures the shop stays profitable. This is the most skipped step in small-scale fabrication, yet it is the most important for long-term growth.
After you finish a repair and get paid, sit down with your notes. Did the 1/4-inch plate take longer to cut than you thought? Did you go through two grinding disks instead of one? If you estimated four hours but it took six, you need to know why.
Perhaps your band saw blade was dull, or the fit-up was more complex than expected. This data is gold. It allows you to adjust your future quotes so you don’t repeat the same mistake. I keep a “Job Log” where I record the estimated time versus the actual time for every project. Over a year, this log showed me that I was consistently underestimating “prep time” by 30%. Adjusting my quotes for that one factor increased my year-end profit significantly.
Key Performance Indicators (KPIs) for Your Shop
- Profit Margin per Job: Total Revenue minus Total Expenses (including your labor).
- Consumable Ratio: Total spent on supplies divided by total revenue.
- Effective Hourly Rate: Total profit divided by total hours worked (this shows if you are actually making your target shop rate).
Strategy for Bulk Metal Sourcing and Storage
Buying steel one piece at a time is the most expensive way to run a shop. To increase your margins, you need to transition to bulk purchasing once you have the cash flow.
When you know you will be building several sets of replacement components, buy full 20-foot lengths of square tubing or 4×8 sheets of plate. The price per pound drops significantly when you buy in bulk. However, you must factor in the “storage cost.” If the steel is sitting in your way and preventing you from working efficiently, the bulk discount isn’t worth it.
I recommend building a dedicated vertical or horizontal rack. This keeps your inventory organized and prevents the steel from rusting on a damp concrete floor. Use a simple labeling system—I use a paint marker to write the thickness and type of steel on the end of every remnant. This saves minutes of measuring every time you need a small gusset or brace.
Final Steps for the Professional Side-Hustler
Transitioning from a hobbyist to a professional fabricator requires a shift in mindset. You are no longer just “making stuff”; you are managing a micro-manufacturing facility.
Start by cleaning your shop and organizing your tools. A clean shop is a safe shop, and an organized shop is a profitable one. Every minute you spend looking for a 3/4-inch wrench is a minute you aren’t billing a customer. Next, refine your shop rate. Be honest about your costs and don’t be afraid to charge what you are worth. Quality agricultural fabrication is a specialized skill, and farmers are usually willing to pay for repairs that actually hold up under heavy use.
Finally, keep your books updated weekly. Don’t wait until tax season to find out you’ve been losing money on every hitch you’ve welded. By tracking your consumables, managing your depreciation, and quoting with a data-driven approach, you can build a side business that provides both personal satisfaction and a solid return on investment.
Frequently Asked Questions
What is a realistic shop rate for a part-time fabrication business?
For most side-hustlers working out of a home shop, a rate between $65 and $120 per hour is standard. This covers your overhead, your labor, and a small profit margin. If you are highly specialized or have expensive equipment like a CNC plasma table, your rate should be on the higher end of that scale.
How do I calculate the markup on steel for replacement parts?
A standard markup is 20% to 50% above your cost. This covers the time you spent sourcing the material, the fuel for your truck, and the storage space in your shop. If you have to do significant processing, like cutting large sheets into smaller blanks, aim for the higher end of that range.
Why should I track consumables like welding gas and wire?
Consumables are “hidden” costs that can quickly erode your profit. Shielding gas alone can cost $15 per hour of trigger time. If you don’t account for these in your shop rate or as a separate fee, you are essentially paying for the customer’s materials out of your own pocket.
How do I determine the payback period for a new welder?
Divide the total cost of the welder by the monthly profit it generates. If a $2,000 welder allows you to take on jobs that pay $500 in profit per month, the payback period is four months. This helps you decide if an upgrade is a sound financial move or just a “want.”
What is the best way to handle distortion when welding 1/4-inch steel?
Heavy tack welds and backstepping are the most effective manual methods. You should also use clamps to secure the part to a thick welding table. Allowing the part to cool slowly and naturally is also vital for maintaining the structural integrity of the steel.
Should I charge for the time I spend quoting a job?
Yes, but usually not as a separate line item. Your hourly shop rate should be high enough to cover “administrative time,” which includes quoting, ordering materials, and cleaning. If a quote is exceptionally complex and requires detailed drawings, you may want to charge a flat “design fee” that is credited back if they hire you.
How do I price a repair versus building a new part from scratch?
Repairs are often harder to price because of “unknowns” like hidden cracks or grease-soaked metal. For repairs, I often quote a “time and materials” rate with a guaranteed maximum. For new fabrication, a fixed-price quote is better because you have total control over the materials and the process.
What is the most common mistake in fabrication job costing?
Underestimating “prep and finish” time is the biggest pitfall. Most people estimate how long the welding will take but forget the hours spent grinding rust, beveling edges, jigging the parts, and painting the finished product. Always add a 15-20% time buffer to your initial estimate.
Do I need special insurance for a side-hustle fabrication shop?
Yes. Your standard homeowner’s insurance likely will not cover a business operating on the property, especially one involving fire hazards like welding. Look for a “General Liability” policy. It is an overhead cost, but it protects your personal assets if a part you fabricated fails and causes damage.
How can I lower my material costs for small agricultural parts?
Establish a relationship with a local steel service center and ask for their “drops” or “remnants.” These are high-quality pieces of steel that are too short for industrial orders but perfect for tractor brackets and reinforcements. Buying these by the pound can save you 30% to 50% compared to buying full lengths.
(This article was written by one of our staff writers, Michael Hargrove. Visit our Meet the Team page to learn more about the author and their expertise.)