How to Negotiate Better Steel Prices from Suppliers (Guide)
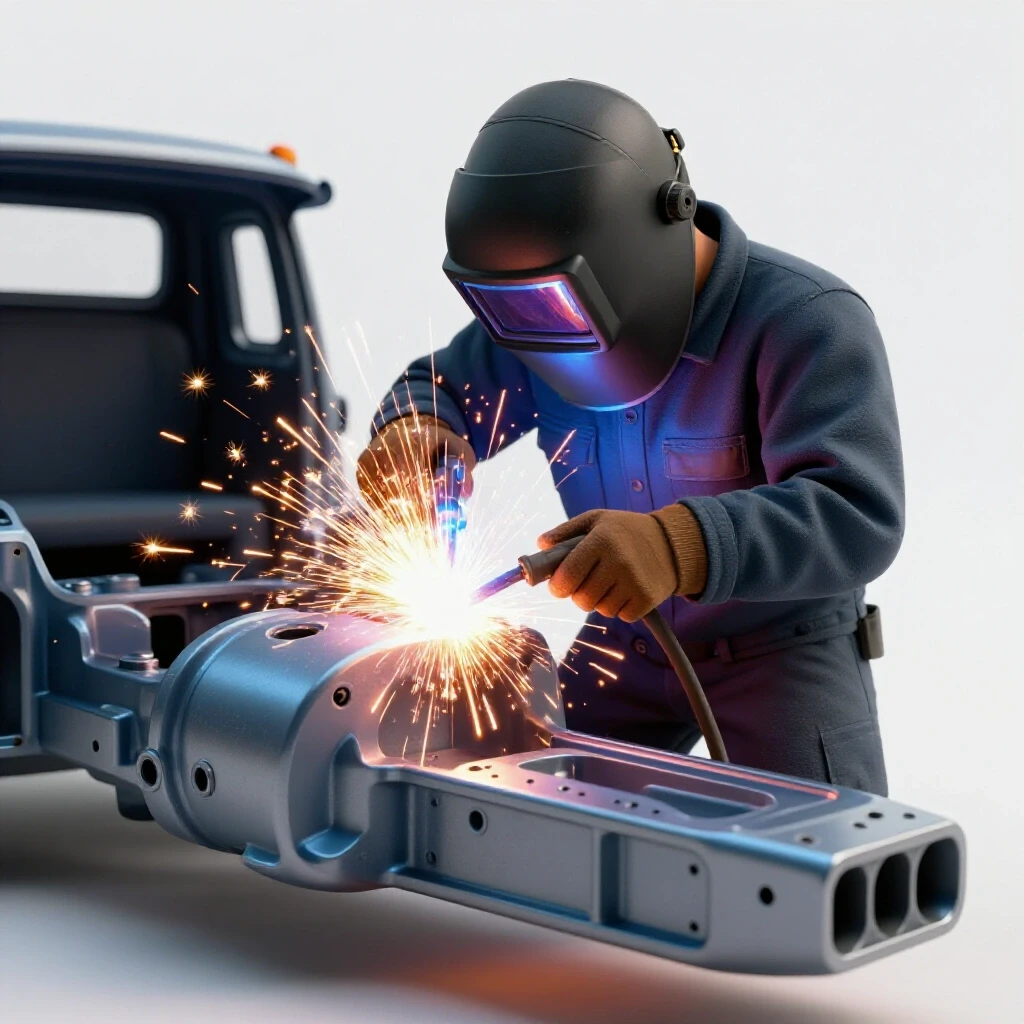
I started my first manufacturing business with a used MIG welder, a 4.5-inch grinder, and a lot of optimism. Like many of you, I transitioned from a hobbyist to a side-hustler, taking on small repair jobs and custom gate builds on the weekends. I quickly realized that knowing how to lay a clean bead is only twenty percent of the battle. The real challenge was the “shop math” that happens at the desk, not the welding bench.
The first time I quoted a large railing project, I based my material costs on a price list that was six months old. When I went to the local metal yard to place the order, the cost of square tubing had jumped by fifteen percent. I didn’t have the courage to go back to the customer and ask for more money, so I ate the cost. That mistake taught me that a fabrication business lives or dies by its ability to manage raw material expenses and overhead. If you want to move from “making a little extra cash” to running a profitable small shop, you have to treat your metal sourcing and shop rates with the same precision you use for a critical weld.
Establishing a True Shop Hourly Rate for Side-Hustle Metalworking
A shop hourly rate is the total cost required to keep your workshop operational for one hour, covering everything from rent and electricity to insurance and equipment wear. It is the fundamental number that ensures your labor and overhead are paid for before you even consider adding a profit margin.
Many small shop owners make the mistake of setting their rate based on what they think the “going rate” is in their town. I’ve seen guys charge $40 an hour because they think it sounds fair, only to realize later that after paying for shielding gas, electricity, and grinding wheels, they are making less than minimum wage. In my experience, a realistic shop rate for a well-equipped home-based side-hustle usually falls between $65 and $120 per hour.
To calculate this, you need to add up your fixed monthly costs. This includes your shop rent (or a portion of your mortgage), utilities, insurance, and software subscriptions for bookkeeping or design. Divide that total by the number of billable hours you actually work each month. If your fixed costs are $800 and you work 40 hours of side-hustle time, your overhead is $20 per hour. You then add your desired take-home pay and a “burden factor” for consumables.
- Fixed Costs: Rent, insurance, utilities, and debt payments.
- Variable Costs: Consumables like welding wire, gas, and abrasives.
- Labor: The actual wage you pay yourself for the time spent fabricating.
- Profit Margin: The extra 10-20% that stays in the business for future growth.
Mapping Machinery Amortization and Tool ROI
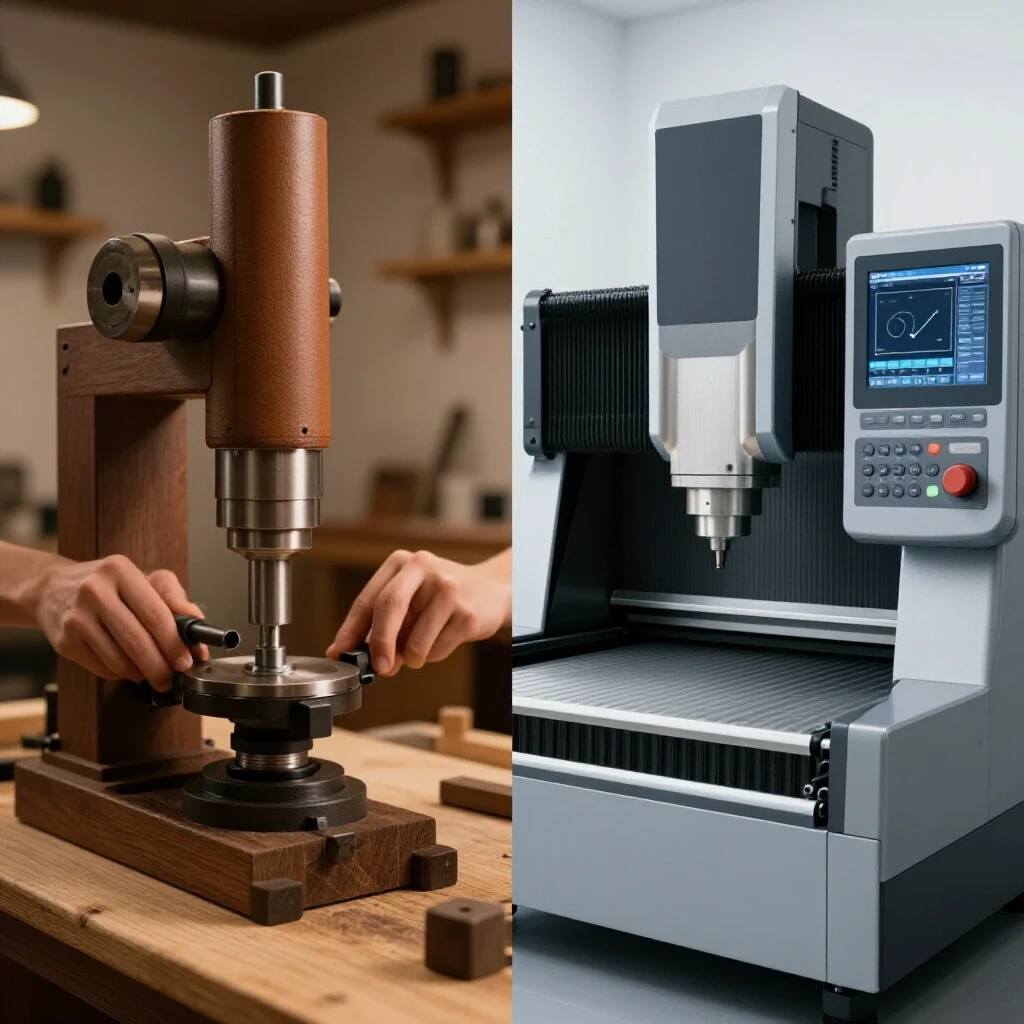
Machine amortization is the process of spreading the cost of a major equipment purchase over its expected useful life to understand its daily or hourly cost. Calculating the Return on Investment (ROI) helps you determine if a new tool will actually pay for itself through increased speed or new capabilities.
When I bought my first industrial-grade cold saw, it cost $3,500. It felt like a massive hit to my savings. However, when I looked at the math, the saw was rated for 5,000 hours of use. That meant the machine cost me $0.70 per hour to own. Because it cut five times faster than my old abrasive saw and required zero cleanup on the edges, it saved me fifteen minutes of labor per project. At a $80 shop rate, that saw paid for itself in less than a year.
| Equipment Type | Initial Cost | Expected Life (Years) | Hourly Amortization |
|---|---|---|---|
| Entry-Level MIG Welder | $1,200 | 5 | $0.48 |
| Industrial Plasma Table | $12,000 | 8 | $3.00 |
| Heavy-Duty Ironworker | $8,500 | 15 | $1.13 |
| Professional Grinder | $250 | 2 | $0.24 |
Note: Hourly amortization assumes 500 hours of use per year for side-hustle shops.
Strategies for Securing Competitive Rates for Metal Stock
Securing competitive rates for your raw metal stock involves more than just asking for a discount; it requires building a professional relationship with suppliers and understanding their operational needs. By aligning your purchasing habits with the supplier’s workflow, you can often unlock lower price tiers usually reserved for larger accounts.
When you are a small shop, you don’t have the “volume lever” to pull. You can’t threaten to take your ten-million-dollar account elsewhere. Instead, you have to be the “easy customer.” This means having your cut lists ready, knowing the exact material grades you need, and being flexible with your pickup times. I found that if I showed up at the metal yard on a slow Tuesday morning with a clear list and a trailer ready to load, the sales reps were much more likely to give me the “contractor rate” rather than the “walk-in retail rate.”
Leveraging Remnants and “Drops”
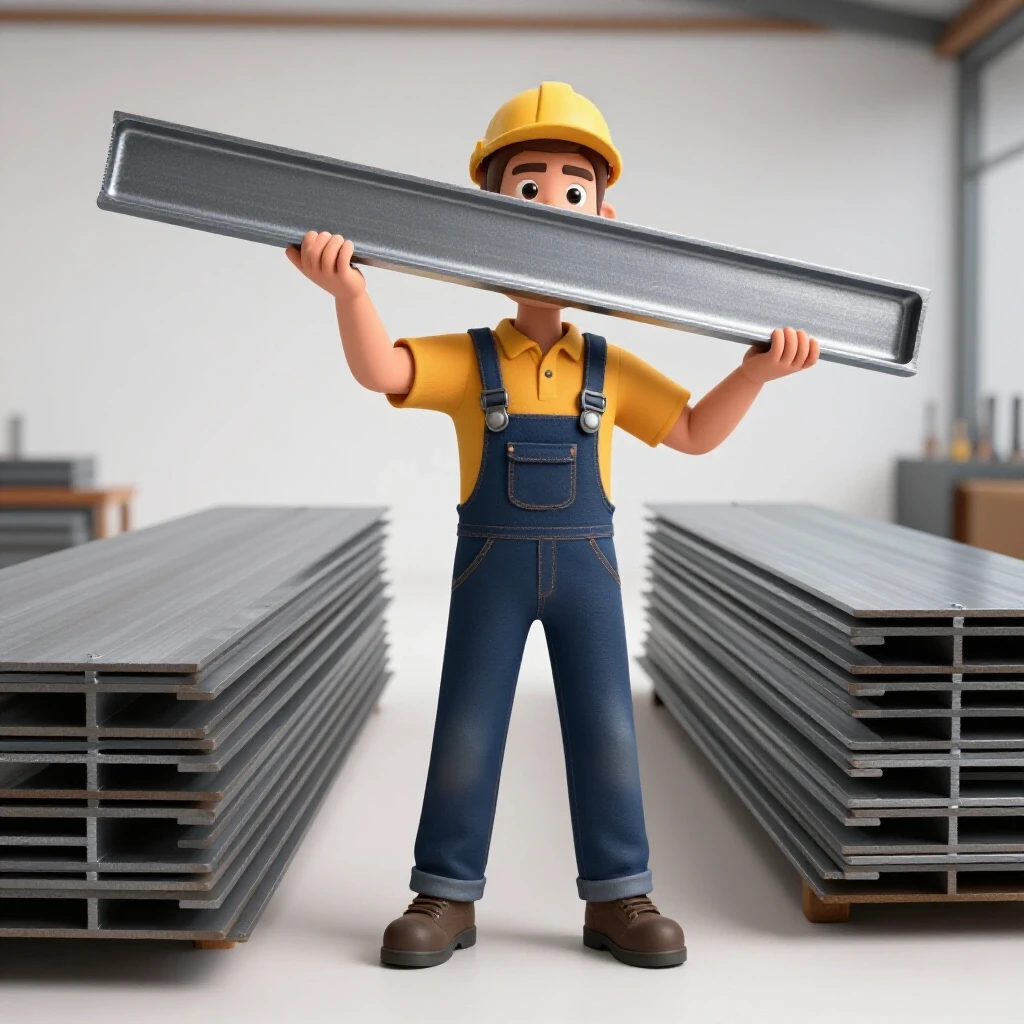
Remnants, often called “drops,” are the leftover pieces of metal from larger industrial orders that the supplier cannot sell as full-length stock. These pieces are often sold at a significant discount, sometimes by the pound rather than the foot, making them ideal for small fabrication jobs.
I always keep a “drop list” in my pocket. Whenever I visit my supplier, I ask to check their remnant rack. If I see 2×2 square tubing or 1/4-inch plate in lengths over three feet, I buy it on the spot if the price is right. Building an inventory of discounted drops allows you to bid on small repair jobs with a much higher profit margin because your material cost is half of what your competitor is quoting.
Consolidating Orders for Volume Breaks
Consolidating orders involves grouping multiple upcoming projects together to purchase material in bulk, which helps you reach the minimum weight or footage requirements for price breaks. This strategy reduces the per-unit cost and minimizes the impact of delivery fees or fuel surcharges.
- Plan ahead: Look at your project calendar for the next 60 days.
- Standardize sizes: Try to design projects using the same wall thickness and tube sizes to increase the total footage of a single item.
- Ask for the “full stick” price: Often, buying a full 20-foot or 24-foot stick is cheaper than asking the supplier to cut a 12-foot piece for you.
Why Hidden Consumables Bleed Small Shop Profits
Consumable tracking is the practice of measuring the usage of items that are destroyed or used up during fabrication, such as welding gas, wire, sanding discs, and drill bits. These “hidden” costs can easily account for 15% of your total project expense, yet they are the most frequently overlooked items in fabrication job costing.
I once tracked every single flap disc I used over a month of building custom furniture. I was shocked to find I was spending nearly $200 a month on abrasives alone. I hadn’t been charging for them because I figured they were just “part of doing business.” Now, I apply a “consumable burden factor” to every quote. This is usually a flat 10-15% markup on the raw material cost or a flat $5-$10 per shop hour, depending on the intensity of the work.
Formulating a Real Material Markup
A material markup is an additional percentage added to the cost of raw goods to account for the time spent ordering, picking up, and storing the material. It also serves as a buffer against price fluctuations that may occur between the time of the quote and the time of purchase.
For a side-hustle metalworking business, a standard markup is 20% to 30%. If a project requires $500 in steel, I quote the customer $650 for materials. This covers my gas to get to the supplier, the time spent loading the trailer, and the “storage fee” for keeping that steel in my shop until the project starts. If the material is a specialty alloy that is hard to source, I may push that markup to 50%.
Building a Custom Job Quote and Tracking Post-Job Profits
Building a custom job quote requires a systematic approach to combining your shop rate, material costs, consumable burden, and profit margin into a single, professional document. Tracking your actual costs after the job is finished is the only way to verify if your quoting process is accurate.
I use a simple spreadsheet to track my “estimated vs. actual” costs. After every project, I sit down and look at how much time I actually spent versus what I quoted. If I quoted ten hours but it took fifteen, I need to know why. Was the material harder to work with than expected? Did a tool break? This post-job analysis is what separates a hobbyist from a professional. It allows you to refine your fabrication job costing over time so your bids become more competitive and more profitable.
- Calculate Raw Material: Use current market rates plus your markup.
- Estimate Labor Hours: Be honest about setup time, cleaning, and finishing.
- Add Consumable Burden: Use a percentage or flat hourly fee.
- Include Subcontracted Services: Powder coating, laser cutting, or galvanizing.
- Apply Final Profit Margin: This is the “business growth” fund.
Essential Tools for Metal Business ROI and Tracking
Managing a shop’s finances is significantly easier with the right digital tools. These resources help you maintain accurate records for tax purposes and ensure you aren’t losing money on every weld you lay.
- QuickBooks or FreshBooks: Essential for professional invoicing and tracking material expenses against specific jobs.
- Inventory Management Spreadsheets: A simple Google Sheet can track your current stock of steel “drops” and their purchase price.
- Cut List Optimization Software: Tools like MaxCut help you minimize waste by planning how to cut parts from standard stock lengths.
- Time Tracking Apps: Use an app like Toggl to track exactly how many hours you spend under the hood versus grinding or prepping.
Common Mistakes in Small Metal Shop Pricing
The most common mistake I see is the “friend and family” discount. While it’s tempting to help out people you know, every hour you spend working for free or for “cost” is an hour you aren’t earning the money needed to maintain your equipment. Another major trap is failing to account for “shop consumables” like floor dry, rags, and cleaning solvents. These small items add up over a year.
Finally, many side-hustlers forget to factor in the cost of their own mistakes. In a professional shop, if you cut a piece of expensive stainless steel too short, the business pays for that error. You must build a small “waste factor” into your material quotes—usually 5-10%—to cover the inevitable mistakes that happen in any manual fabrication process.
Conclusion: Taking the Next Steps Toward Profitability
Moving your shop from a hobby to a profitable side business requires a shift in mindset. You have to stop viewing yourself as just a fabricator and start seeing yourself as a manager of resources. Start by calculating your true shop rate this weekend. Look at your last three jobs and see if you actually made the profit you thought you did.
Once you have your numbers, reach out to your metal supplier. Don’t just ask for a lower price; ask how you can make their job easier. Can you pick up on a specific day? Can you buy in larger quantities? By mastering the financial side of the shop, you ensure that your passion for metalworking can sustain itself—and your family—for years to come.
FAQ: Managing Fabrication Economics and Material Sourcing
How do I handle a supplier who won’t give me a discount because my orders are too small?
Focus on being the most efficient customer they have. Have your part numbers and quantities ready before you call. Ask if they have a “will-call” rack for small orders or if they can waive a cutting fee if you buy the whole stick. Sometimes, the “discount” comes in the form of saved time or waived fees rather than a lower per-foot price.
What is a reasonable markup for steel in a small shop?
For standard carbon steel, a 20% to 30% markup is common. This covers the “hidden” costs of sourcing, such as fuel, wear on your vehicle, and the time spent at the metal yard. For specialty items or small “drops,” you can often mark up 50% or more.
Should I charge for the time I spend quoting a job?
Generally, you don’t charge for the initial quote, as that is a cost of doing business (marketing). However, if a project requires several hours of detailed CAD design or engineering, you should inform the client that there is a “design fee” that will be applied to the final invoice or charged upfront.
How do I track welding gas usage for a single job?
It is difficult to be exact without flow meters, but a good rule of thumb is to track your “arc time.” Most side-hustle shops find that a flat “consumable fee” of $5 to $10 per hour of welding time covers the cost of gas and wire effectively without needing complex scales.
Is it better to buy a cheaper tool or wait and save for a professional one?
Calculate the ROI. If a $500 tool saves you 10 hours of work a year at an $80 shop rate, it pays for itself. If a $5,000 tool saves you the same 10 hours, the payback period is too long for a small shop. Always buy the tool that provides the fastest return on investment based on your current workload.
How often should I update my material pricing in my estimating software?
In a volatile market, you should check prices weekly. At a minimum, always call your supplier for a “spot price” on any quote that is over $1,000 in materials. Never rely on a price list that is more than 30 days old.
What if my shop rate is higher than the local competition?
Focus on value and reliability. Most customers are willing to pay more for a fabricator who communicates well, meets deadlines, and provides high-quality work. If you compete solely on price, you will eventually go out of business because there is always someone willing to work for less than they are worth.
How do I account for electricity costs in my shop rate?
Look at your utility bills for the last six months. Calculate the average monthly cost and divide it by your billable hours. For most small shops, electricity is a relatively small part of the overhead—often less than $2 per hour—but it must still be included in your fixed cost calculation.
What is a “burdened” labor rate?
A burdened labor rate is your base hourly wage plus the cost of all benefits, taxes, and overhead associated with that hour of work. Even if you are a one-man shop, you must account for the self-employment taxes and insurance you have to pay.
Should I buy a delivery truck or just pay the supplier’s delivery fees?
Compare the annual cost of the delivery fees versus the cost of a truck payment, insurance, and fuel. For most side-hustlers, it is cheaper to pay a $75 delivery fee once a month than to own and maintain a dedicated flatbed truck. Only buy the truck when the delivery fees exceed the monthly cost of ownership.
(This article was written by one of our staff writers, Michael Hargrove. Visit our Meet the Team page to learn more about the author and their expertise.)