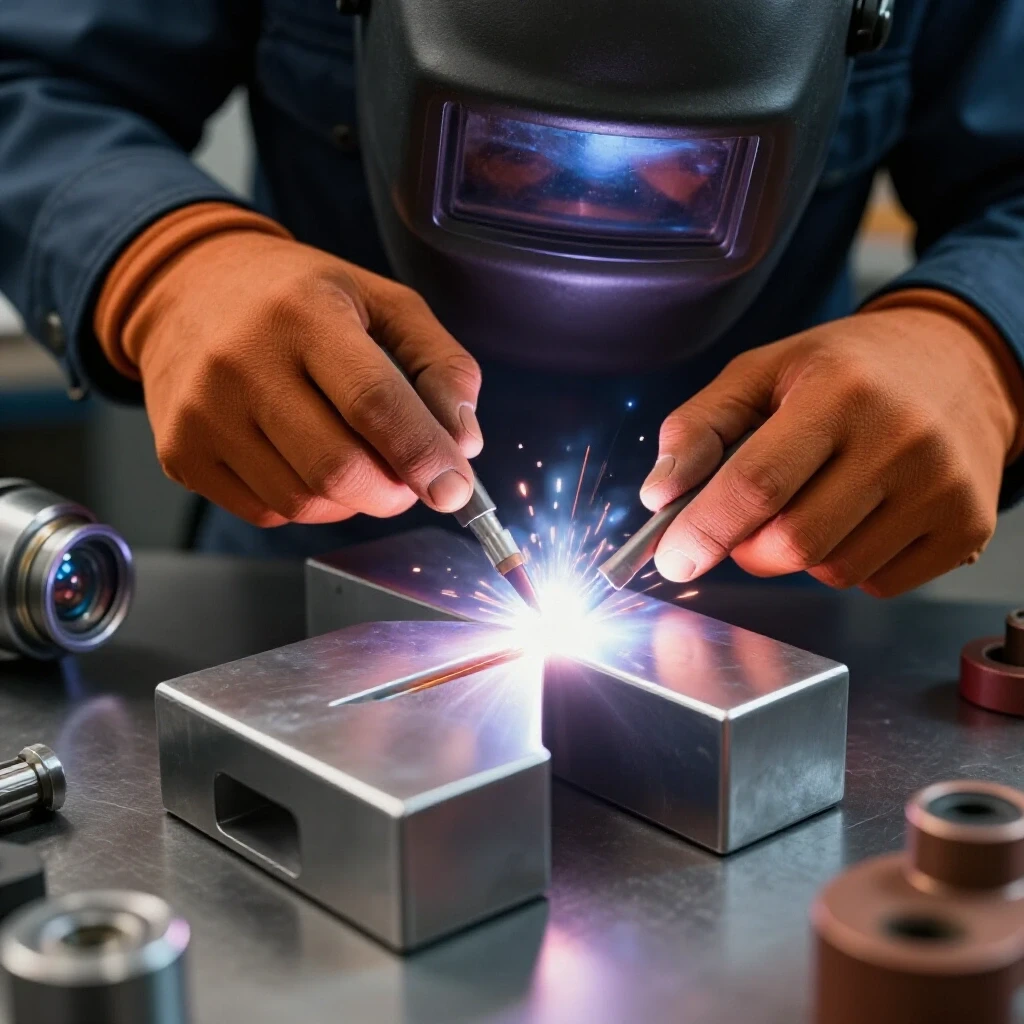
How to Prevent Carbon Contamination on Stainless (DIY Fix)
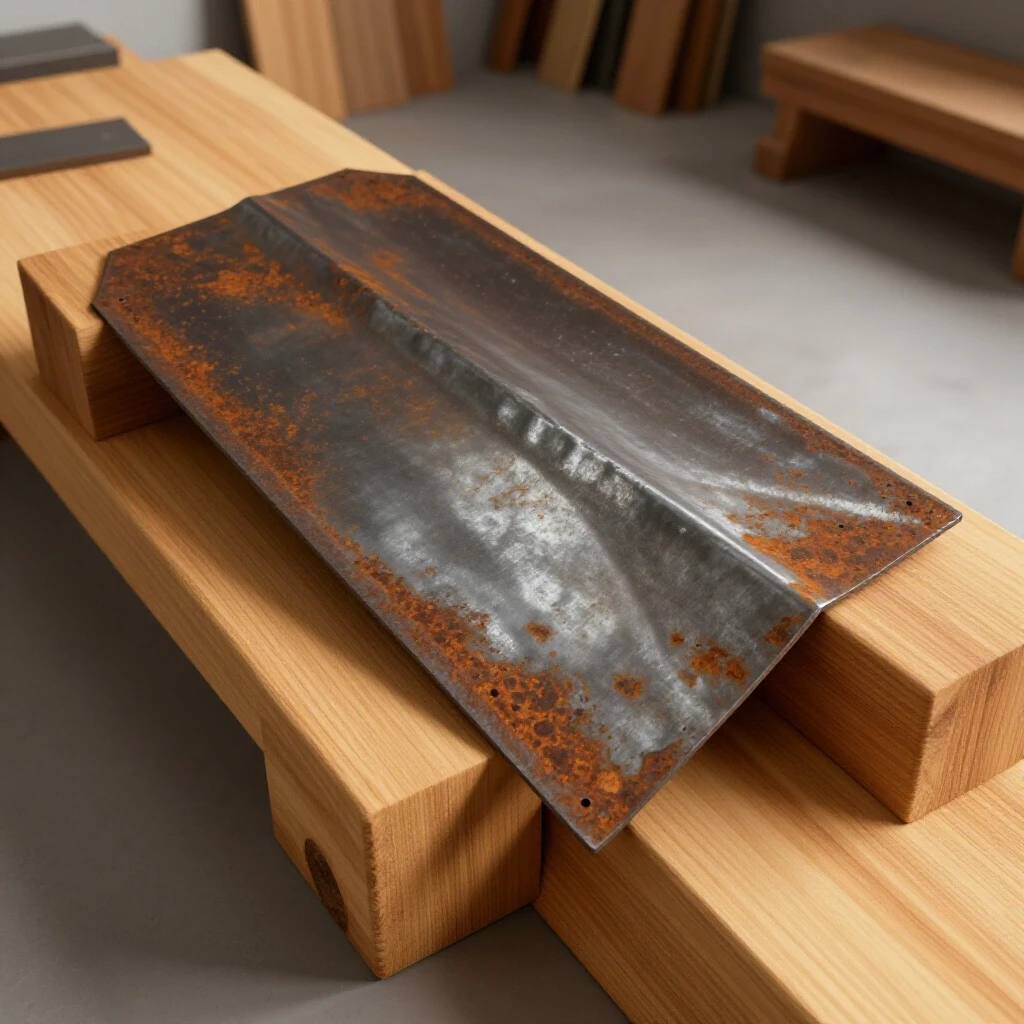
I remember the first time I saw “rust-proof” steel fail. I was three years into my career, working on a custom architectural project. We had spent weeks cutting and fitting high-grade 304 stainless steel panels. They looked perfect when they left the shop. Two weeks later, the client called, furious. The panels were covered in tiny, blooming orange spots. It looked like the metal had chickenpox. I spent the next three days scrubbing those panels by hand, questioning everything I knew about metallurgy.
That experience taught me a hard lesson: stainless steel is only as good as the environment it is worked in. Those rust spots weren’t a failure of the material. They were a failure of my process. I had used the same grinding discs for mild steel and stainless. I had clamped the panels directly to a carbon steel welding table. In my haste, I had unknowingly embedded iron particles into the surface of the stainless. This is the “hidden gremlin” of the fabrication world. It is a diagnostic nightmare because the damage is invisible until the environment triggers a reaction.
If you are seeing unexpected surface tea-staining or localized pitting on your stainless projects, you are likely dealing with iron transfer. This guide is built on 15 years of troubleshooting these exact issues. We are going to break down how to audit your shop, isolate your tools, and create a “clean zone” to ensure your work remains corrosion-resistant. We will use systematic testing and mechanical separation to solve this without needing a laboratory.
Mapping the Diagnostic Path for Surface Integrity
Identifying how foreign particles enter your workflow requires a systematic audit of every touchpoint. You must treat your stainless material like a clean-room component from the moment it enters your shop.
Surface integrity in stainless steel refers to the maintenance of the protective chromium oxide layer. When carbon steel particles or “free iron” are pressed into this surface, they create a site where the protective layer cannot form. This leads to localized galvanic corrosion. To fix this, we must look at the three primary vectors: airborne dust, tool-to-workpiece contact, and shared work surfaces.
My diagnostic framework follows a simple rule: if it touched mild steel, it cannot touch stainless. I start by mapping the material’s path through the shop. Did it sit on a forklift with steel forks? Was it cut on a bandsaw that just finished a run of A36 angle iron? By isolating each step, you can find the exact point of failure.
- Initial Observation: Check for orange staining near grind marks or clamp points.
- Variable Control: Process a “control” piece of stainless using only new, dedicated hand tools.
- Isolation: Separate your grinding and cutting stations by at least 10 feet or use physical barriers.
Diagnostic Pathway for Identifying Iron Transfer
| Step | Action | What to Look For | Potential Root Cause |
|---|---|---|---|
| 1 | Visual Inspection | Small, isolated rust blooms. | Embedded carbon steel dust. |
| 2 | Ferroxyl Test (DIY) | Blue color change on surface. | Presence of free iron particles. |
| 3 | Tool Audit | Inspect grinding discs and files. | Cross-use between metal types. |
| 4 | Work Surface Check | Inspect table tops and vise jaws. | Direct contact with mild steel. |
| 5 | Airflow Analysis | Check proximity of bench grinders. | Airborne “hot” sparks landing on work. |
Mechanical Isolation Strategies in the Workshop
Preventing the transfer of iron requires physical barriers and a strict “dedicated tool” policy. This is the most effective way to maintain the material’s natural resistance using common shop equipment.
Mechanical isolation is the practice of ensuring that no carbon-based steel or iron tools ever make direct contact with the stainless surface. This is critical because the pressure of a clamp or the friction of a file can mechanically “smear” iron into the stainless. Once embedded, these particles act as a bridge for moisture to bypass the chromium protection.
In my shop, I use a “color-code” system. Everything dedicated to stainless—files, wire brushes, and hammers—gets a wrap of blue electrical tape. This prevents the “grab and go” mistake that happens when you are in a rush. If you see a tool without blue tape near the stainless bench, it’s a red flag.
- Tool Dedication: Never use a wire brush on stainless if it has ever touched mild steel.
- Surface Protection: Cover steel workbenches with heavy-duty cardboard, plywood, or specialized welding blankets.
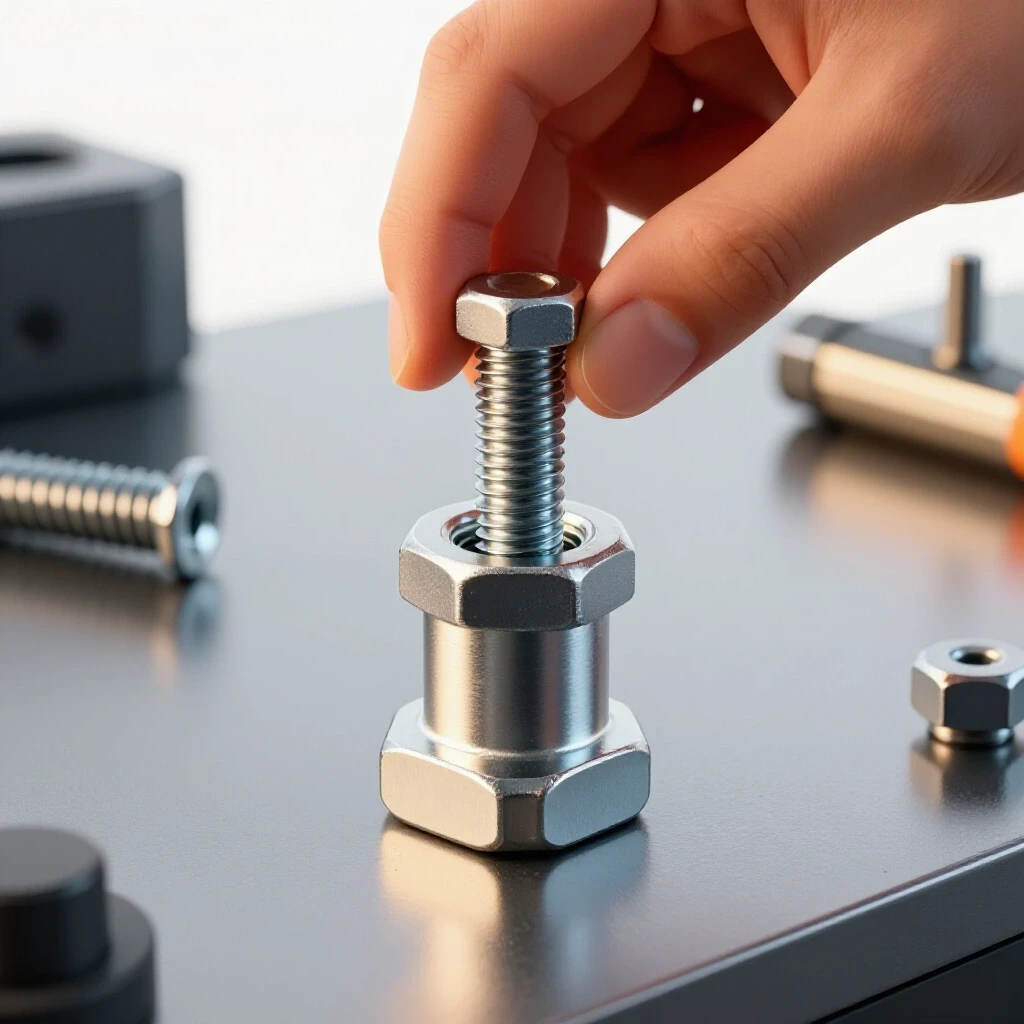
- Clamping Barriers: Use copper, aluminum, or plastic shims between steel clamp jaws and the workpiece.
Essential Tool Kit for Clean Fabrication
- Stainless Steel Wire Brushes: Specifically labeled and never used on other metals.
- Non-Marking Dead Blow Hammer: To prevent iron transfer during fit-up.
- Aluminum or Copper Vise Jaws: Soft jaws that won’t leave iron deposits.
- Dedicated Deburring Tools: High-speed steel or carbide bits used only for non-ferrous work.
- Clean Microfiber Cloths: For wiping away dust without scratching.
Troubleshooting Abrasive Cross-Contamination
Grinding and cutting are the most common ways to ruin a stainless project. The high heat and pressure of an abrasive wheel make it easy to bake iron dust into the metal.
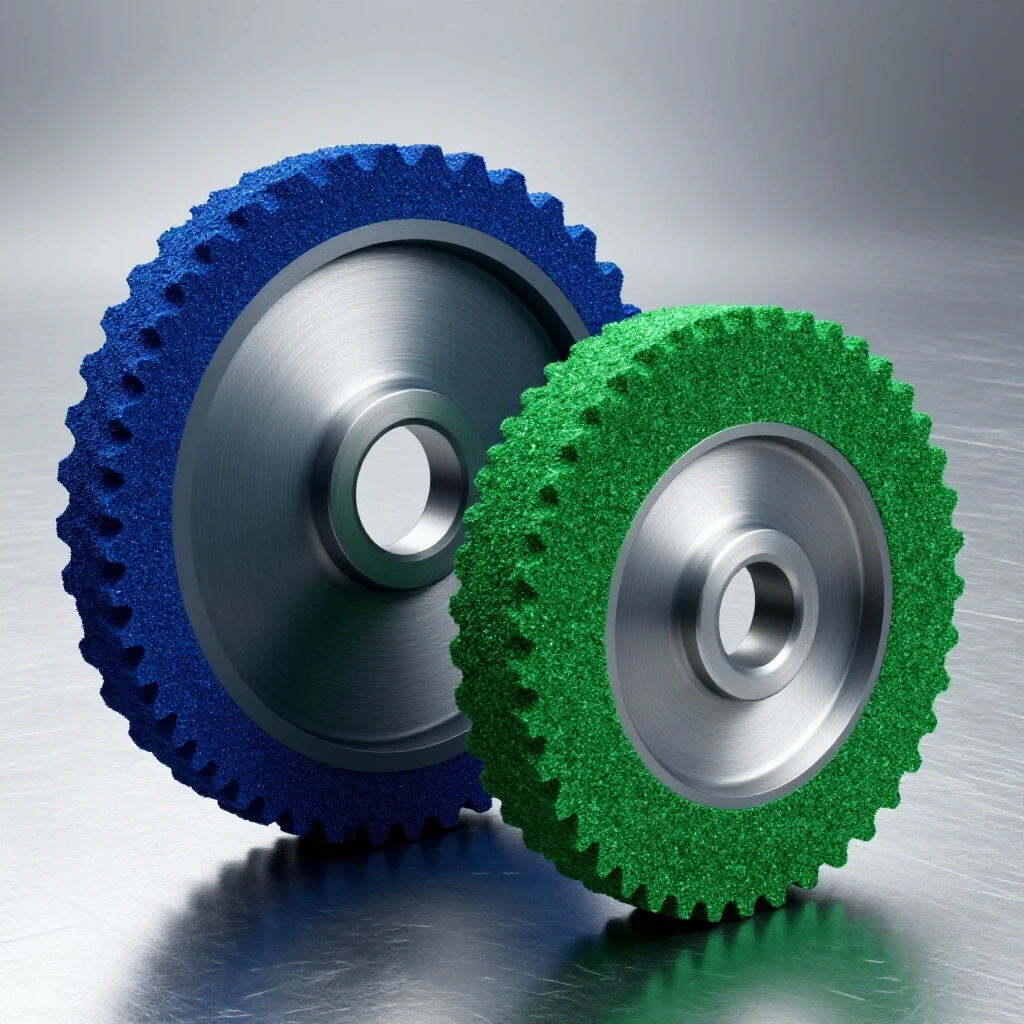
Abrasive cross-contamination occurs when a grinding wheel or sanding belt picks up carbon steel particles and then redeposits them onto a stainless surface. Even “iron-free” wheels can become contaminated if they are used on a mixed-metal project. You have to think of an abrasive wheel like a sponge; it holds onto whatever it just touched.
I once worked with a fabricator who couldn’t figure out why his welds were showing porosity and surface rust. We tracked it back to his bench grinder. He was sharpening his tungsten electrodes on the same wheel he used to deburr mild steel bolts. That tiny amount of iron on the tungsten was being carried directly into the weld pool. We switched to a dedicated diamond wheel for tungstens, and the problem vanished.
- Abrasive Selection: Look for wheels labeled “Inox” or “Contaminant Free” (Fe+S+Cl < 0.1%).
- RPM Management: Keep your speeds high enough to cut but low enough to avoid excessive heat tint.
- Directional Grinding: Always grind away from the joint to prevent pushing dust into the fit-up gap.
Abrasive Performance Metrics
| Metric | Target Value | Why It Matters |
|---|---|---|
| Iron Content | < 0.1% | Prevents localized rust spots. |
| Grinding Pressure | Light to Medium | Prevents “smearing” particles into the grain. |
| Surface Finish (Ra) | 32-63 micro-inches | Smoother surfaces resist contamination better. |
| Disc Speed (SFM) | 5,000 – 8,000 | Optimal for cutting without overheating. |
Protecting Stainless During Forming and Clamping
The physical force used to bend or hold metal is a major source of surface damage. When you use a steel brake or a heavy vise, you are essentially “printing” iron onto your workpiece.
Forming protection involves using sacrificial layers to prevent metal-to-metal contact between the machine and the material. When a press brake hits a sheet of stainless, the pressure at the V-die is immense. If that die has any mild steel scale or rust on it, it will be pressed permanently into the stainless sheet.
I recommend using a “barrier method” for all forming operations. I keep rolls of 2-inch wide masking tape and scraps of leather in my kit. Taping the “shoulders” of a press brake die or the jaws of a vise creates a 0.005-inch to 0.010-inch buffer that prevents iron transfer. It’s a simple DIY fix that saves hours of post-work polishing.
- Vise Protection: Use “soft jaws” made of aluminum or high-density plastic.
- Brake Die Barriers: Apply specialized urethane film or heavy masking tape to the dies.
- Hammering: If you must use a steel hammer, place a piece of copper sheet over the impact area.
Step-by-Step Vise Setup for Stainless
- Clean the Vise: Use a vacuum and a clean rag to remove all mild steel filings.
- Install Soft Jaws: Snap on aluminum or copper jaw covers.
- Check Alignment: Ensure the jaws are parallel to within 0.002 inches to prevent uneven pressure.
- Apply Tape: For high-polish work, add a layer of blue painter’s tape to the jaws.
- Monitor Pressure: Use only enough force to hold the piece; over-clamping can deform the surface.
Why Tool Chatter and Vibration Increase Contamination Risk
Excessive vibration during machining or grinding isn’t just a noise issue; it creates microscopic “pockets” that trap contaminants.
Tool chatter is a resonant vibration that occurs when the cutting tool and the workpiece are not perfectly rigid. In stainless steel, which work-hardens quickly, chatter causes the tool to bounce. This bouncing creates a rough, “torn” surface finish. These microscopic tears are the perfect hiding spot for iron dust and moisture, leading to premature failure.
When I troubleshoot chatter on a lathe or mill, I look at the “rigidity chain.” If your tool overhang is too long, or your spindle bearings have more than 0.001 inches of play, you will get vibration. By tightening up the machine’s tolerances, you produce a smoother surface that is much easier to keep clean.
- Isolate Harmonics: Change your RPM by 10-15% to move away from the resonant frequency.
- Check Backlash: Ensure your lead screws have less than 0.003 inches of play.
- Tool Geometry: Use sharp, positive-rake carbide inserts to “slice” the metal rather than pushing it.
Post-Fabrication Inspection and DIY Verification
Once the fabrication is done, you need a way to prove that your surface is clean. You don’t need a lab to do this; you just need a simple test.
A DIY iron-transfer test involves creating an environment where any “free iron” will react quickly. The most common shop-level test is the “Water Damp Test.” You spray the finished part with distilled water and keep it moist for 24 hours. If there is any iron contamination, you will see tiny rust spots appear. This allows you to address the issue in the shop rather than at the client’s site.
I also use a “ferroxyl test” for high-stakes projects. You can mix a small amount of potassium ferricyanide and nitric acid (following all safety protocols) to create a solution that turns bright blue in the presence of free iron. If the surface stays clear, your mechanical isolation worked. If it turns blue, you know you have a “hot” spot that needs to be mechanically removed with a dedicated flap disc.
- The 24-Hour Mist Test: Use a spray bottle and distilled water to check for “blooms.”
- Magnification: Use a 10x jeweler’s loupe to inspect grind marks for embedded dark specks.
- Surface Roughness: Check that your final finish is consistent; rough spots trap more particles.
Quality Control Checklist
- Visual Audit: No visible scratches from steel tools or clamps.
- Magnet Test: Ensure no magnetic particles are clinging to the surface.
- Water Break Test: Water should sheet off the surface evenly; if it beads around a spot, there may be oil or contaminants.
- Wipe Test: A clean white cloth rubbed on the surface should show zero dark residue.
- Documentation: Note the batch of abrasives and tools used for future troubleshooting.
Case Study: The “Ghost Rust” in the Saw Room
I once consulted for a shop that was losing 20% of their stainless railings to surface corrosion. They had dedicated tools and separate benches. On paper, they were doing everything right. I spent a day watching their workflow and found the “electrical gremlin” of their process.
They had a large horizontal bandsaw used for both mild steel and stainless. Even though they “cleaned” the saw between uses, the coolant system was shared. The coolant was full of microscopic mild steel chips. When they cut the stainless, the pump showered the material with iron-rich fluid. The pressure of the blade then “ironed” those chips into the cut ends.
The fix was two-fold. First, we installed a dedicated “stainless-only” bandsaw. Second, we switched to a dry-cut cold saw for smaller pieces. The “ghost rust” disappeared overnight. This highlights why you must look beyond the obvious tools and check your fluids and shared machinery.
Actionable Tracking Framework for Shop Hygiene
To keep your shop running smoothly, use this simple log to track your “clean zone” maintenance.
- Weekly: Vacuum all “stainless-only” benches and wipe down vise jaws.
- Monthly: Inspect the “blue tape” tools. Replace any worn wire brushes.
- Per Project: Record the abrasive lot numbers and verify the “Water Damp Test” results.
Maintenance History Planner
| Date | Task | Result | Technician |
|---|---|---|---|
| 10/01 | Clean Press Brake Dies | No visible scale remaining. | PW |
| 10/05 | Calibrate Vise Alignment | 0.001″ runout detected/fixed. | PW |
| 10/10 | Replace Stainless Wire Brushes | New brushes color-coded blue. | PW |
| 10/15 | Coolant System Flush | Removed iron sludge from Saw #2. | PW |
Managing the integrity of your stainless surfaces is a game of discipline, not expensive equipment. By treating every tool like a potential contaminant and every work surface as a source of “infection,” you can produce work that stands the test of time. The frustration of “mystery rust” is avoidable once you master the systematic isolation of your shop’s environment.
Frequently Asked Questions
Why does my stainless steel rust after I use a wire wheel on it? If the wire wheel is made of carbon steel, or if it was previously used on mild steel, it will embed iron particles into the stainless surface. These particles rust quickly, creating the appearance that the stainless itself is failing. Always use a dedicated, new stainless steel wire brush.
Can I use the same flapper disc for both metals if I “clean” it first? No. Abrasive grains are porous and hold onto microscopic metal fragments. “Cleaning” a disc by running it on a piece of scrap doesn’t remove the particles embedded deep in the resin. It is much cheaper to buy a second $5 disc than to refinish a $500 part.
How far away should my grinding station be from my stainless work? Ideally, at least 10 to 15 feet, or separated by a physical curtain. “Hot” sparks from a carbon steel grinder can fly a significant distance and melt themselves into the surface of a nearby stainless sheet.
Is it okay to use a permanent marker on stainless steel? Be careful. Some markers contain chlorides or sulfur, which can cause “under-film” corrosion. Use only “low-chloride” or “halide-free” markers specifically designed for stainless steel fabrication.
Does heat tint from welding cause rust? Yes. The “rainbow” colors near a weld are a thickened oxide layer that is actually less corrosion-resistant than the base metal. While this guide focuses on mechanical transfer, you should always remove heavy heat tint using a dedicated fine-grit abrasive to restore the surface.
What is the best way to clean a steel table before putting stainless on it? Vacuuming is better than blowing with compressed air, which just scatters the dust. After vacuuming, wipe the table with a degreaser and then lay down a barrier like clean cardboard or a dedicated rubber mat.
Can I use a standard file on stainless? Only if that file is brand new and is never used on mild steel afterward. Files are very effective at “smearing” iron into the grain of the stainless. Color-code your stainless-only files to prevent mix-ups.
How do I know if my abrasives are “contaminant-free”? Check the label for the “Inox” symbol or a chemical breakdown showing iron (Fe), sulfur (S), and chlorine (Cl) levels below 0.1%. Most reputable manufacturers provide this data on the disc or the packaging.
Will a magnet help me find contamination? Sometimes. High-powered neodymium magnets can pick up larger iron filings, but they won’t help with particles that are already mechanically embedded or “smeared” into the surface. The Water Damp Test is more reliable for DIY verification.
What should I do if I find rust spots on my finished project? You must mechanically remove the iron. Use a fresh, dedicated stainless-only abrasive or a non-woven nylon pad (like a Scotch-Brite) to buff out the spot. Ensure you go deep enough to remove the embedded particle, not just the surface stain.
(This article was written by one of our staff writers, Paul Whitaker. Visit our Meet the Team page to learn more about the author and their expertise.)